- Android
- Android x86
- 19 August 2012 at 14:46 UTC
-

This is a project porting Android open source project to x86 platform, formerly known as "patch hosting for android x86 support". The initial plan is to host different patches for android x86 support the open source community. A few months after we created the project, we discovered that we could do much more than just hosting patches. So we decided to create our code base to provide support on different x86 platforms, and set up a git server to host it.
Android x86 is available in several editions depending on your computer.
In this tutorial we used Android 4.0 for x86 virtual machine (whose link is on our Android x86 review).
Other editions are available on the website of the AMD Brazos publisher, Laptops ASUS, ASUS Eee PC ...
1. Installation
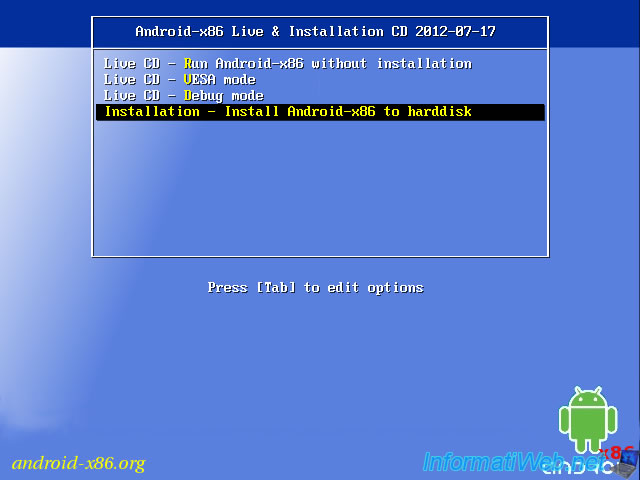
Boot from the CD and select "Installation - Install Android-x86 to harddisk".
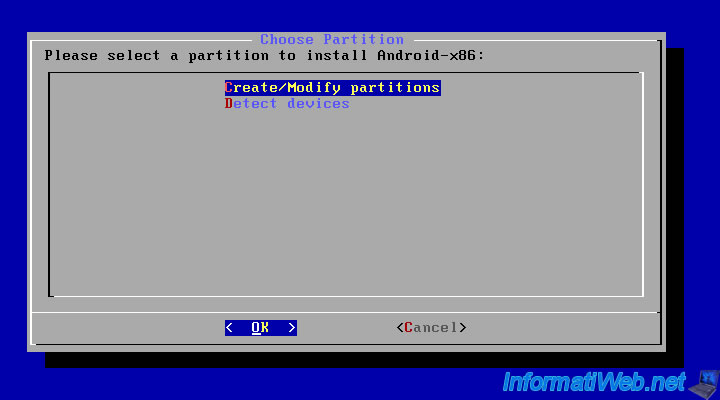
Select "Create/Modify partitions".
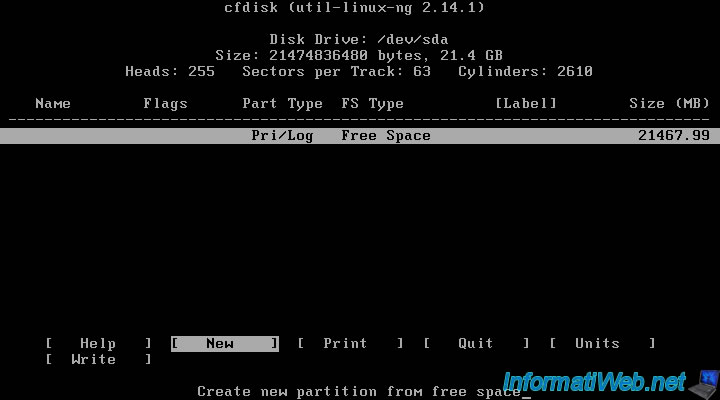
Select "New" and press "ENTER".
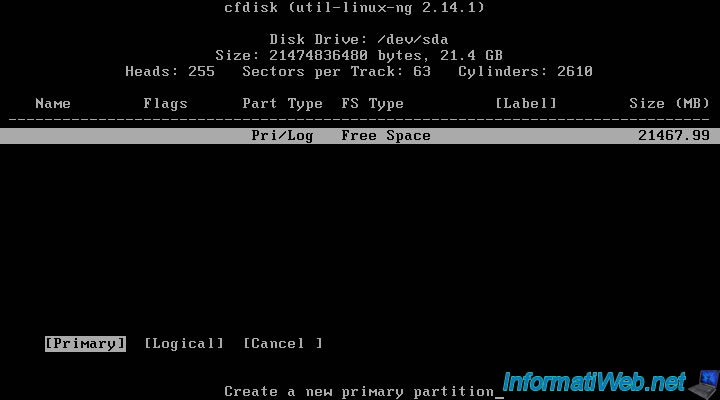
Select "Primary" and press "ENTER".
Specify the size of the partition to create.
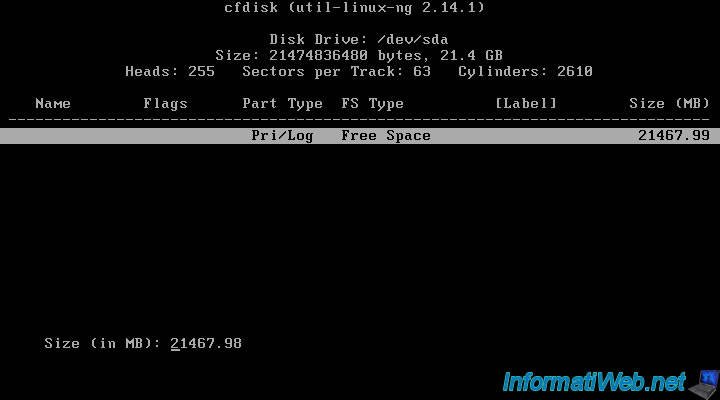
Select "Bootable" and press "ENTER".
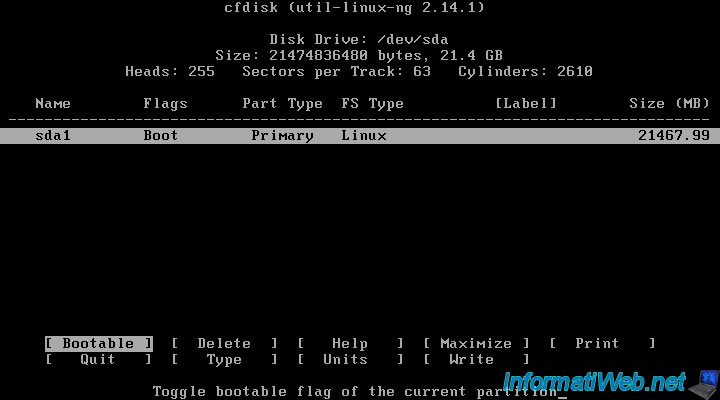
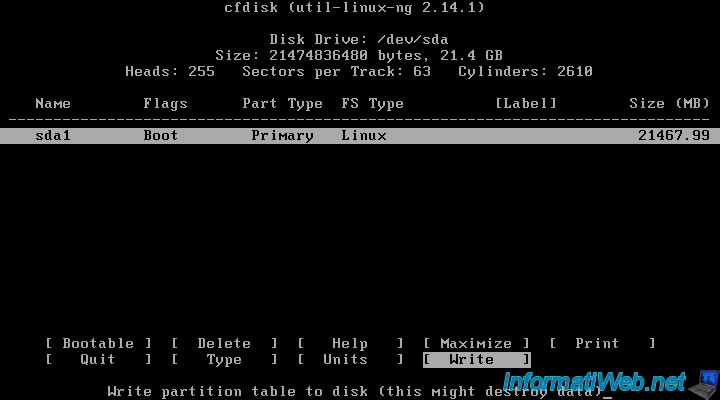
Once configured partitions, select "Write" and press "ENTER" for the changes to be taken.
Type "yes" (the "s" may be invisible because it is off the screen but it's still taken into account) and press "ENTER".
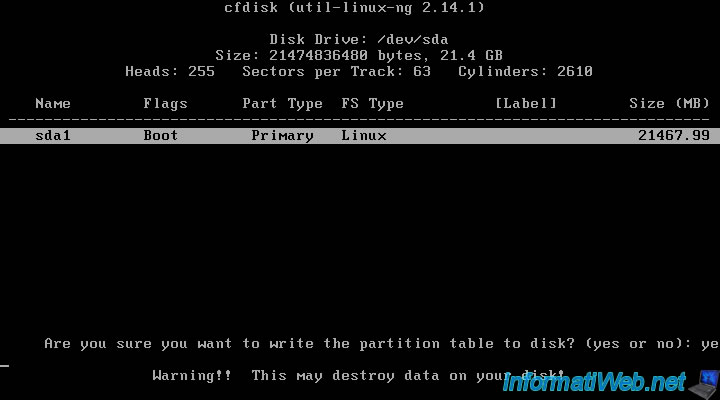
Android x86 writing the partition table on the hard disk.
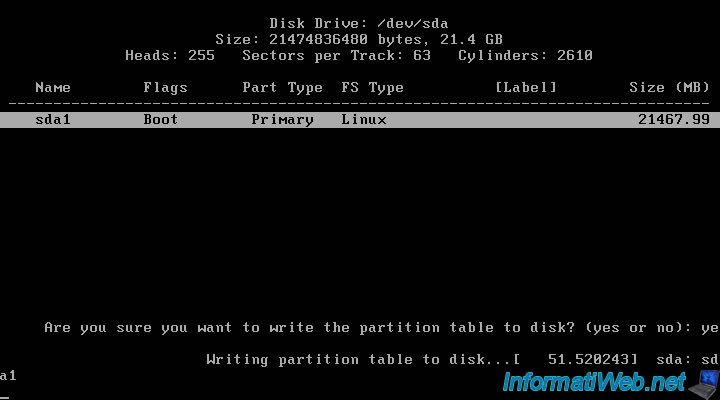
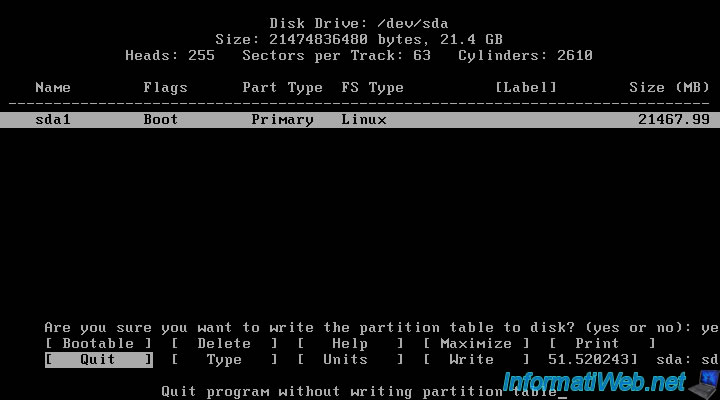
Select "Quit" and press "ENTER".
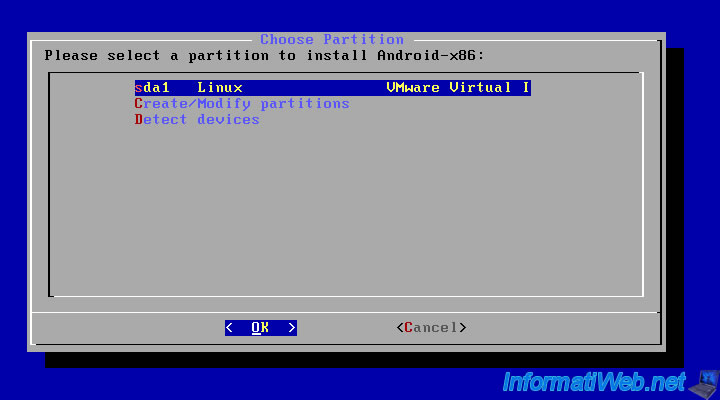
Select the partition you just created.
Select "ext3".
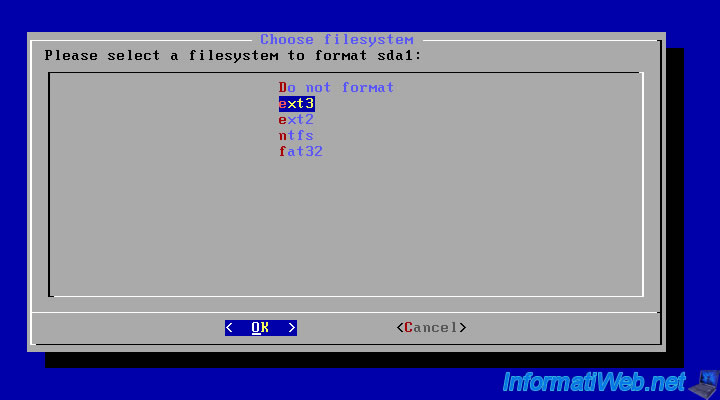
Select "Yes" to format the partition. This will erase all data therein (if any) and then create the ext3 file system on the selected partition.
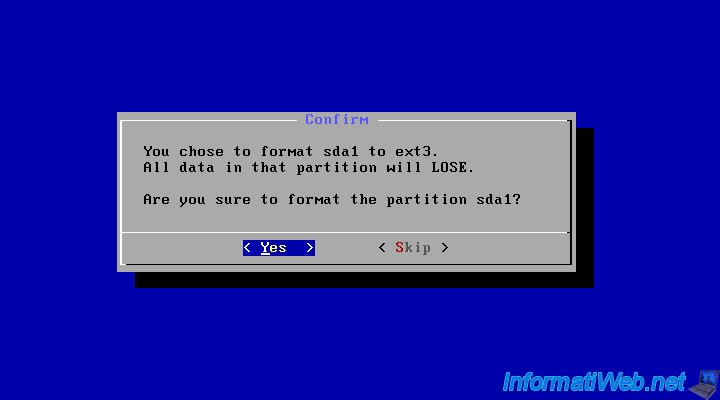
The installation wizard will format the partition.
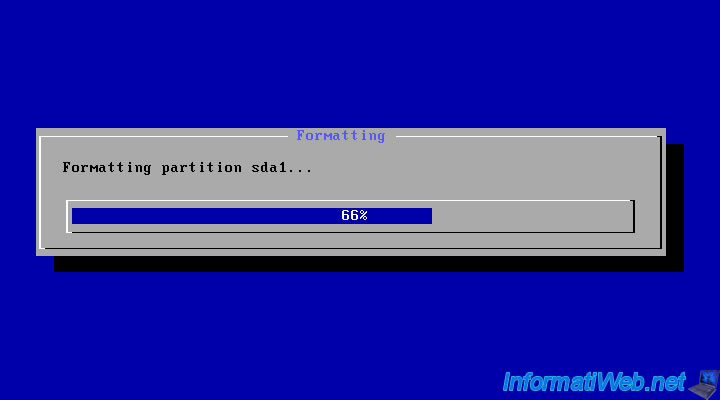
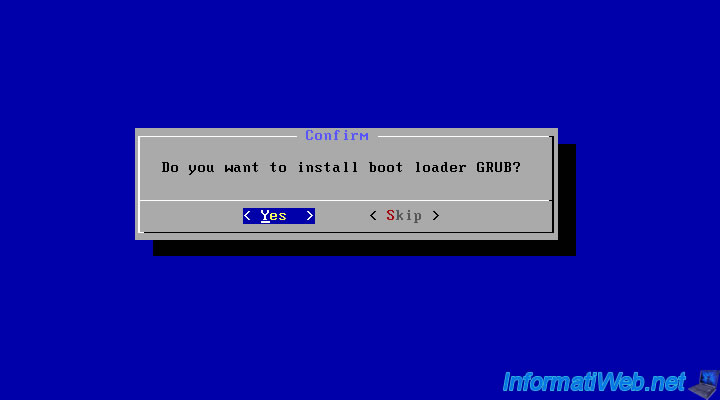
Select "Yes".
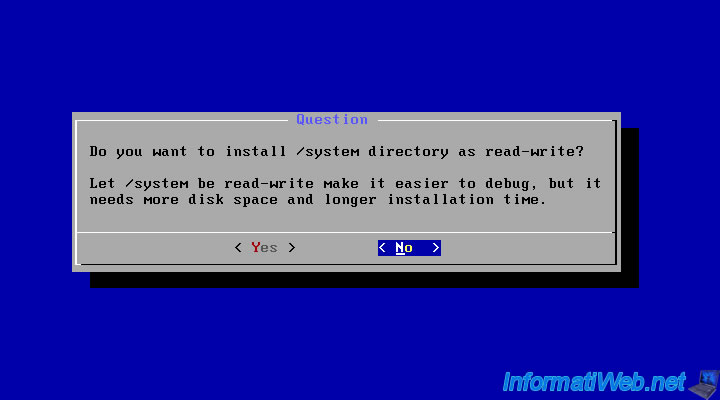
Select "No". This allows especially the debug mode.
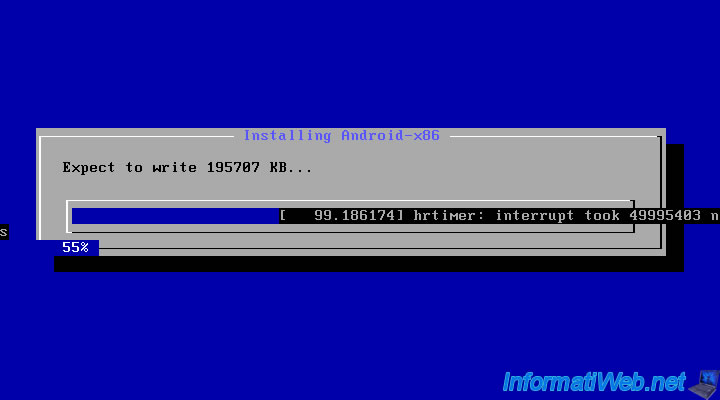
The installation is performed.
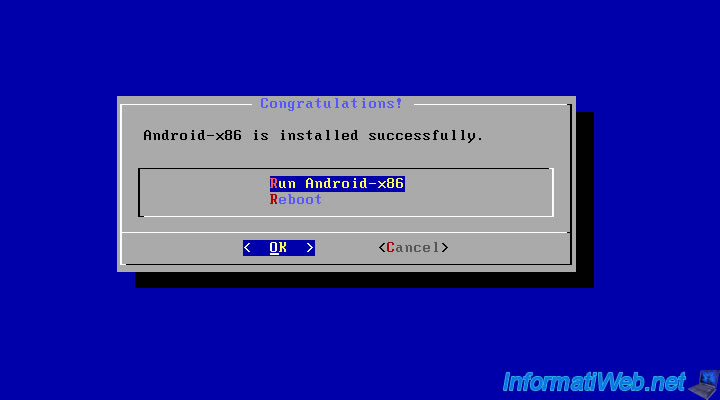
Select "Run Android-x86" to launch Android x86.
2. Configuration
Android x86 starts.

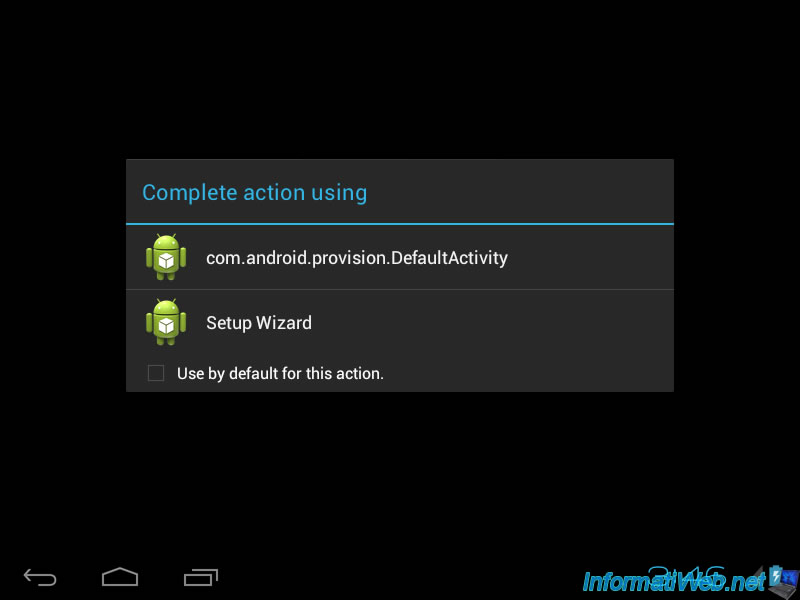
Click on "Setup Wizard".
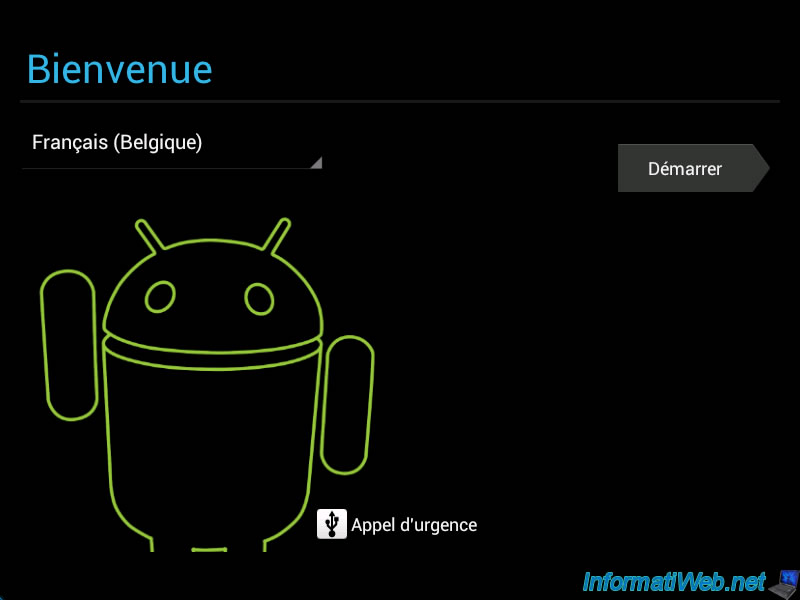
Select your "language (Country)" and click "Start".
The wizard configures settings.
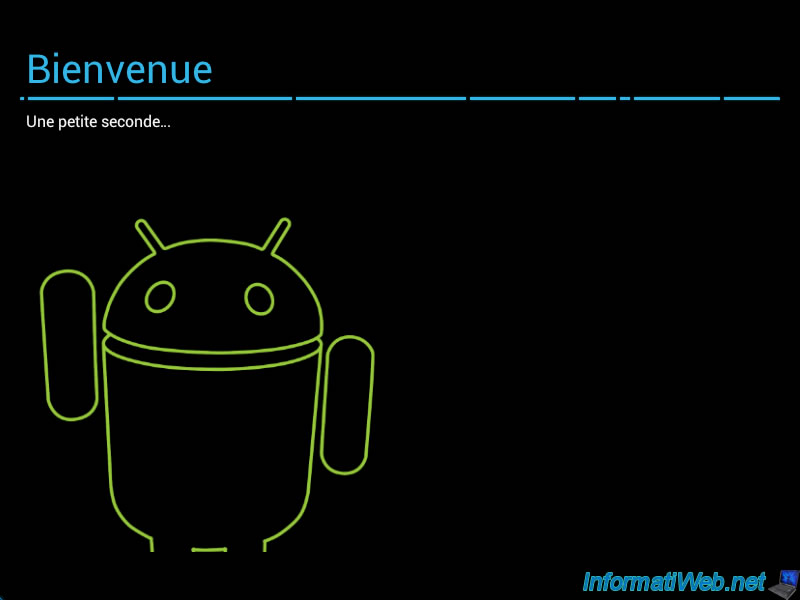
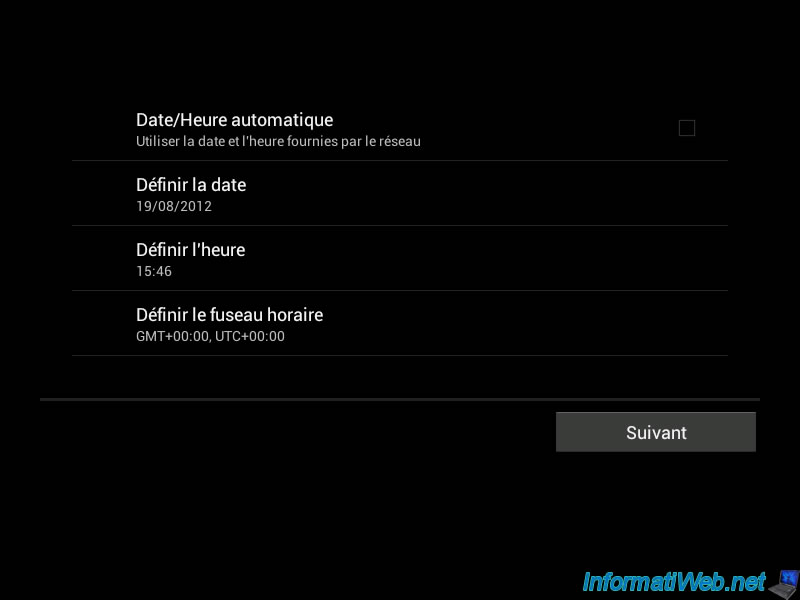
Set the date, time and time zone if necessary.
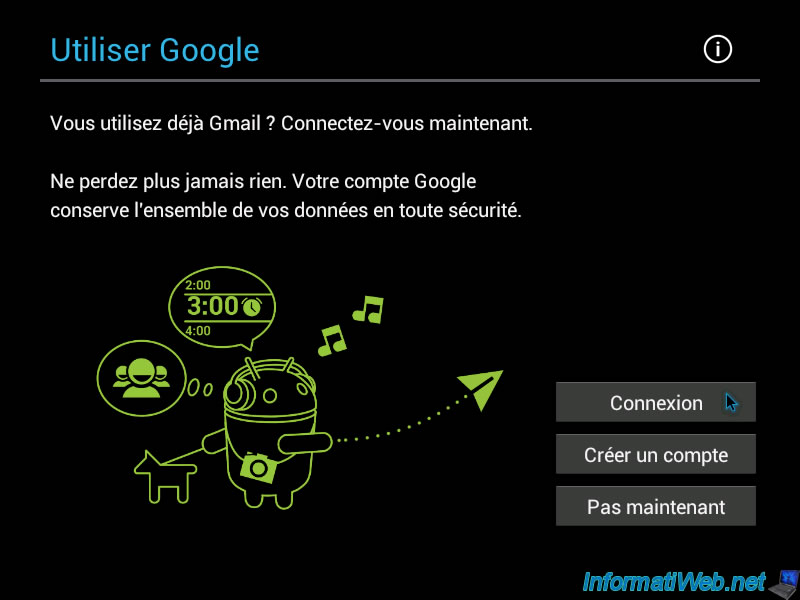
To install apps (even free) from Google Play, you must have recorded free your Android device with your Google Account. To do this, click "Login".
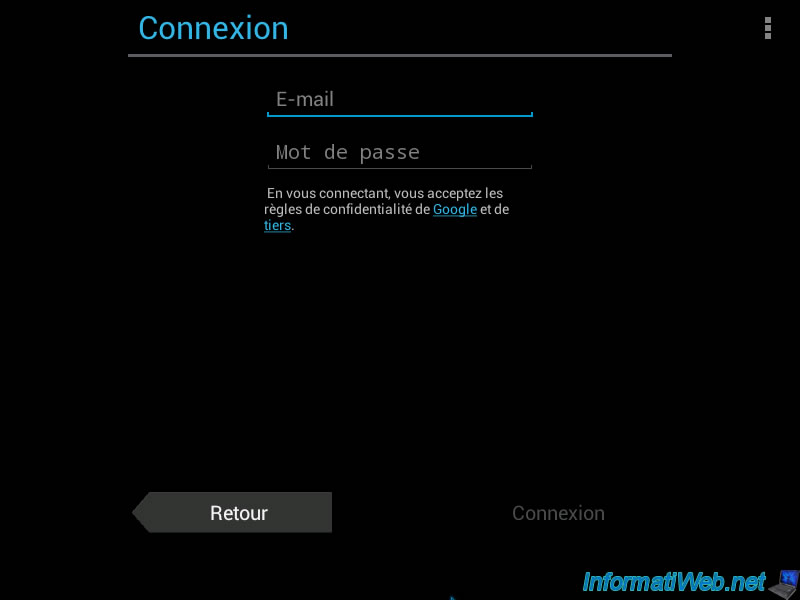
Enter the email address of your Google Gmail account and its password. Then click Login.
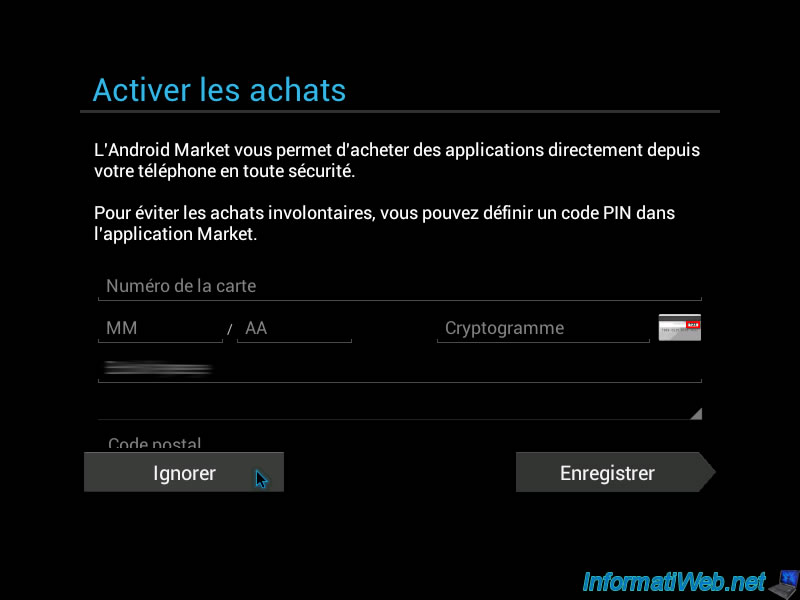
This information is only used to buy paid applications. Click on "Ignore".
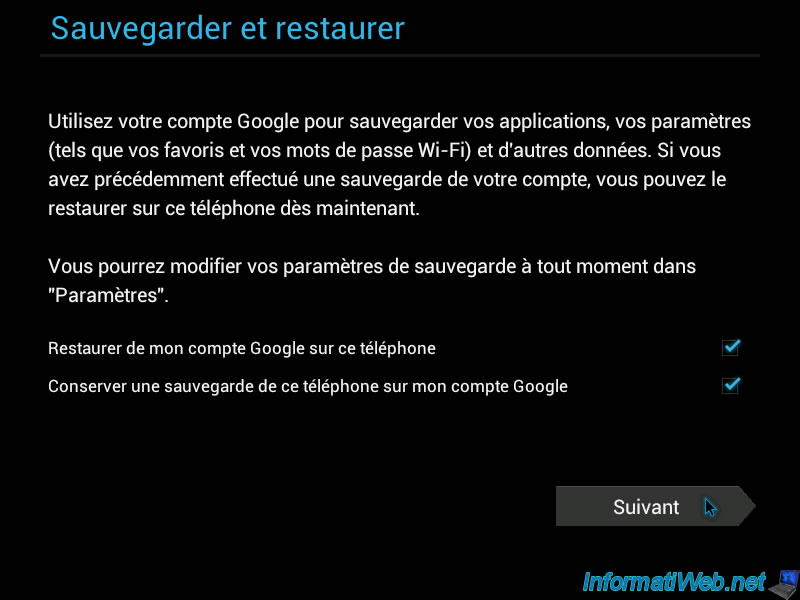
This saves the applications you have installed ... By ticking the second box, you can, for example, whether the application you will see on Google Play is compatible with your Android device.
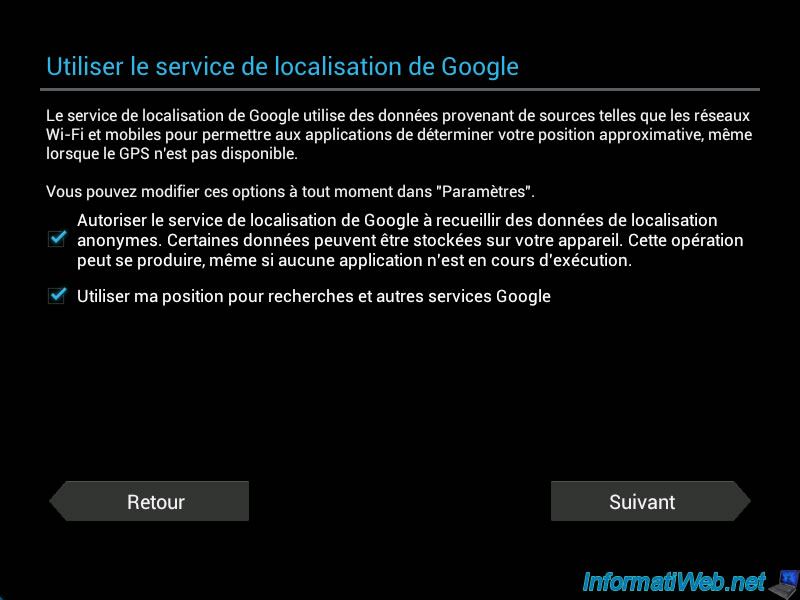
This allows some applications to know where you are following the Wireless Access Point which you are connected.
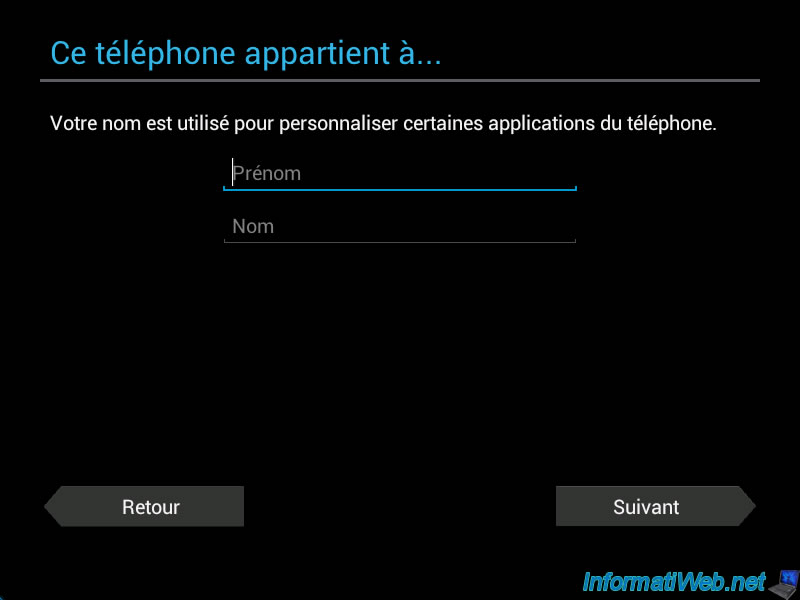
Enter your first and last name (if they are not already displayed).
Your phone can receive updates from Google.
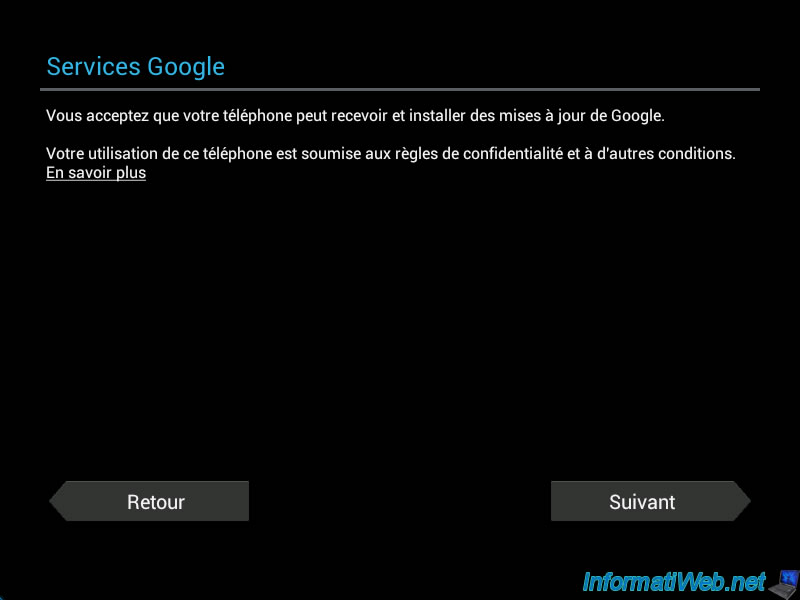
Click "Finish".
Click OK.

Android x86 is now installed and configured on your computer.

You must be logged in to post a comment