- Others
- EasyBoot
- 12 January 2012 at 18:29 UTC
-

First download "EasyBoot" and install normally.
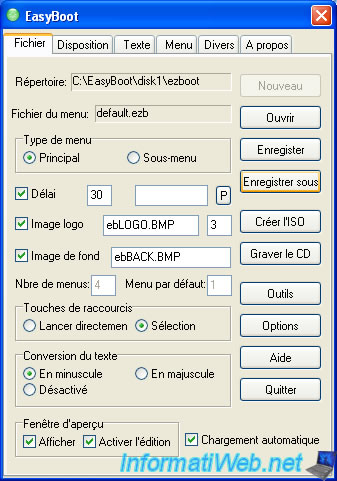
Run the software and you get this :
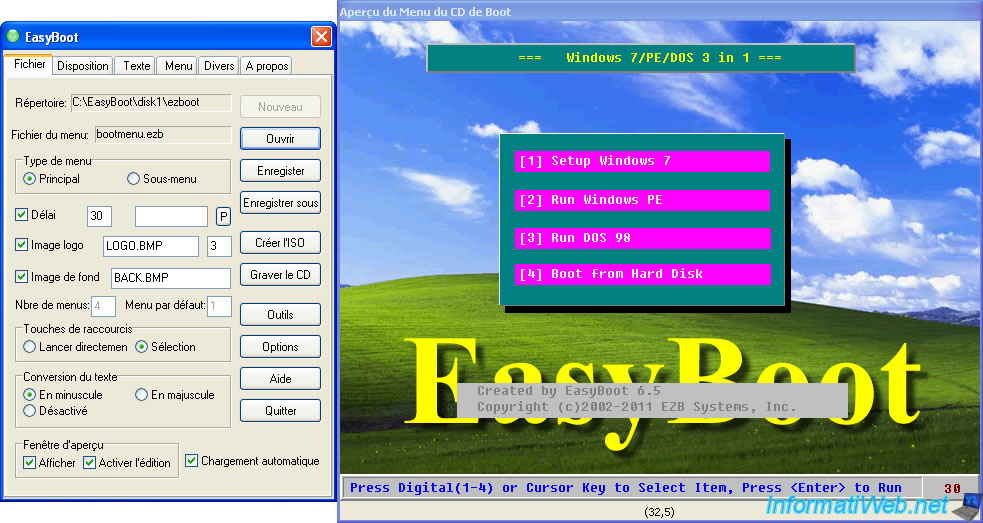
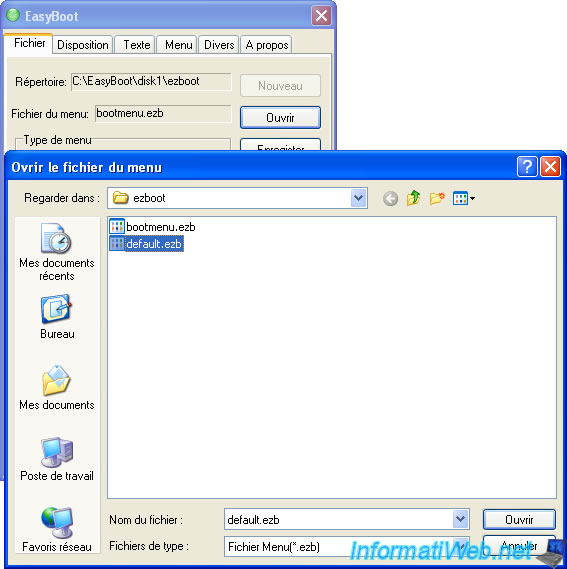
Default 2 files (source) menu available. For this tutorial, I used the "default.ezb" file, but you can very well keep the one responsible for the moment.
If you want to load the "default.ezb" (source) file default, just click on "Open".
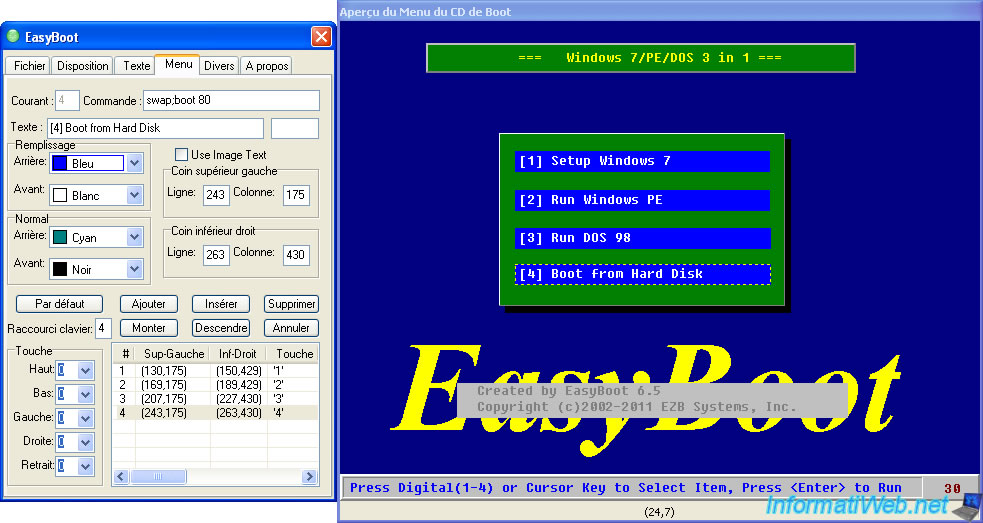
To change the appearance of the menu as well as associated with each "button" command, just make a click on the button in question and the left window will automatically go in the "Menu" to allow you to change the text to appear and their order. The command syntax is very simple : run [filename with extension]
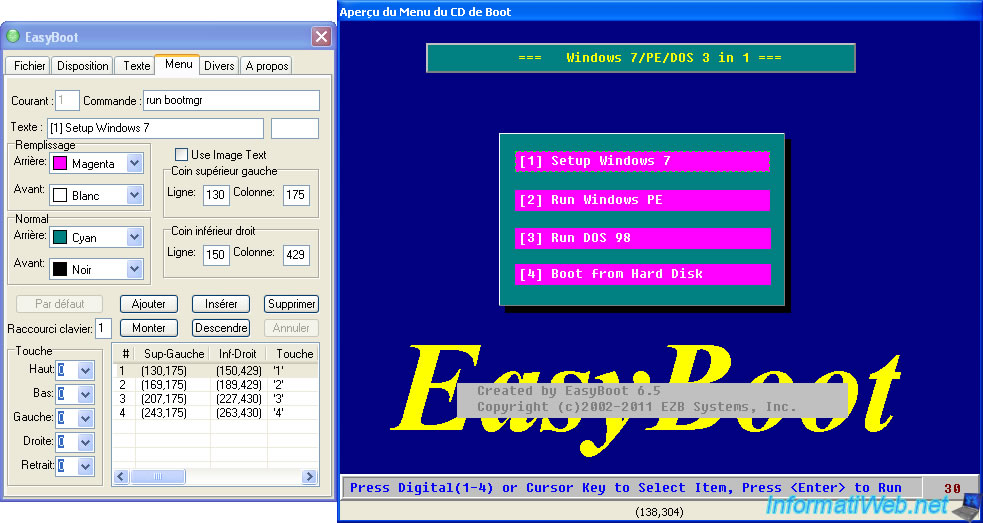
You can if you wish, change the colors of the menu in the same tab. Under "Filling" (left window).
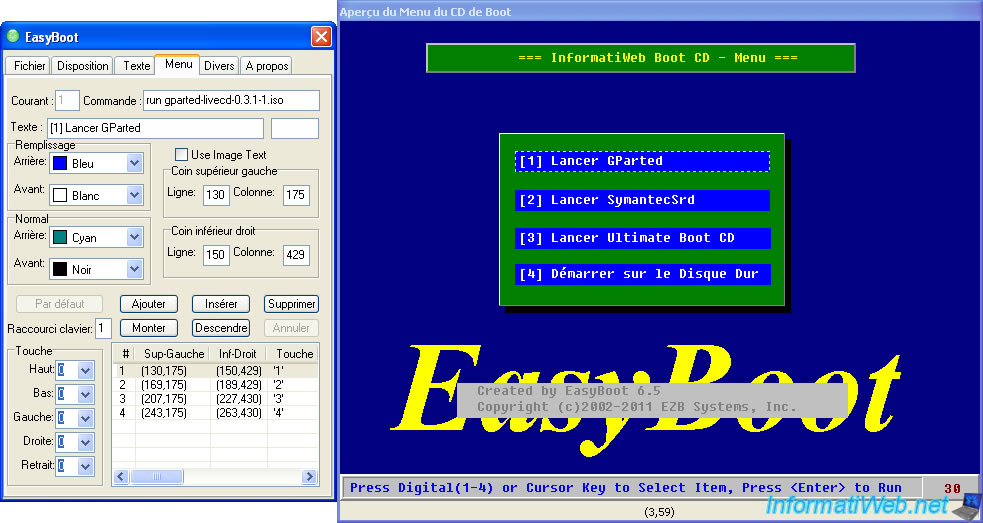
As with any software, when you create something it is important to save regularly. To do this, click "Save As" and give a name to your "source" file from your menu.
We will now add programs that are in the form of / image Bootable CD DVD to ISO format. In our tutorial, we will make a CD of IT, so we will put a partitioning software, a backup and several testing utilities.
Partitioning software will "GParted" the backup "Norton Ghost 15" and those test will be those of "Ultimate Boot CD".
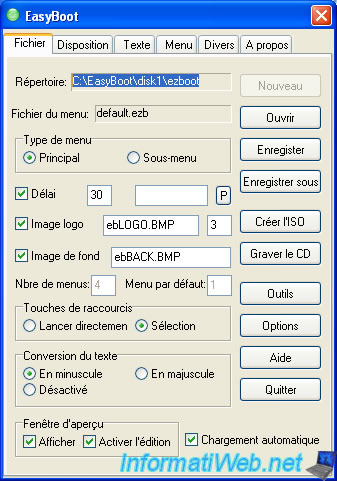
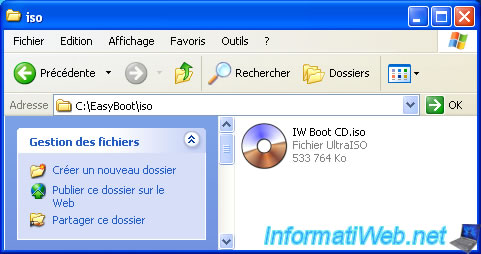
To add our programs, you must add the CD that you will create. To do this go to Windows Explorer and go to the folder indicated at the top of the window (highlighted in blue in the image).
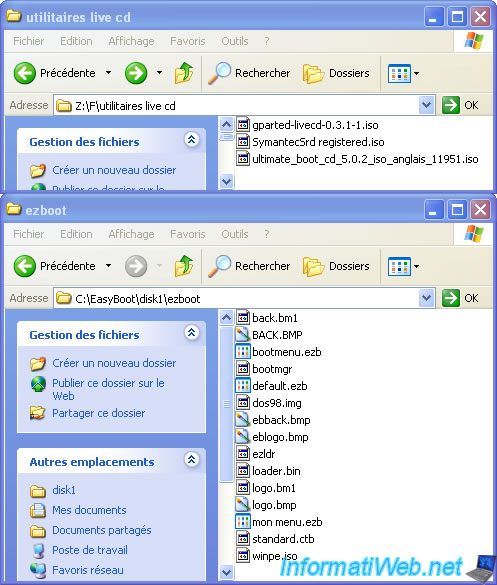
Move or simply copy the files in the desired iso file cd "EasyBoot" you want to create. The "SymantecSrd registered.iso" file is the live cd bootable "Norton Ghost".
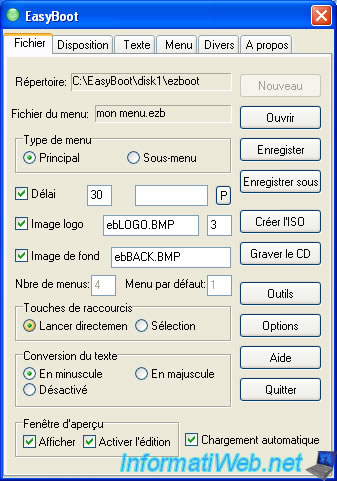
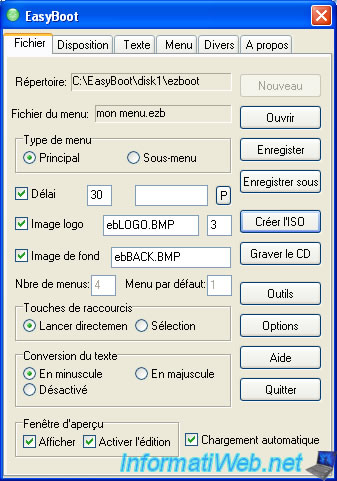
We recommend that you select "Start directly" in the "File" tab for the corresponding program number on which you press launches when you press rather than simply selecting the corresponding line and you are forced to click with your mouse or press "ENTER" in addition to the figure.
Now that our programs are in the folder of our future "Boot CD - Menu", you must change the text that appears on the menu as well as their order.
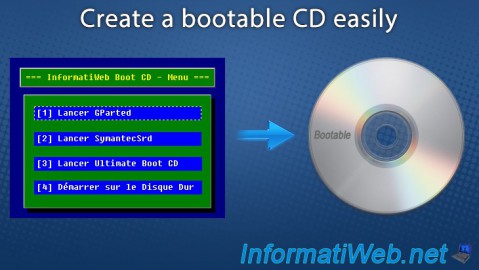
Example: For the live cd "Norton Ghost", we put the live cd iso file in "C:\EasyBoot\disk1\ezboot" and so the command "run gparted-livecd-0.3.1-1.iso " is met and the text "[1] Start GParted"
Note : You can also change the title of the menu as we did.
Once configured the CD, you must create the iso file you will burn with "Nero" or other burning software.
To do this in the "File" tab, click "Create ISO".
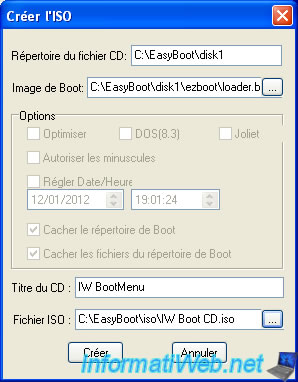
Let "directory of the CD file" as it is otherwise find more programs that have been added. Let "Boot Image" by default because it is one of EasyBoot.
Set the CD title : it's the name that is displayed instead of "CD" in the "My Computer (Computer in Win Vista / 7)" and where you want to save the ISO file from your CD bootable.
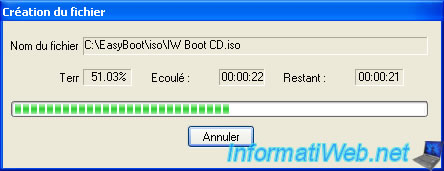
The ISO file is created in the location you specified
Once the iso file, it'll just burn with your favorite burning software.
You must be logged in to post a comment