- Others
- TrueNAS CE
- 17 August 2012 at 15:27 UTC
-

FreeNAS is an open-source operating system designed to turn a regular computer into a Network Attached Storage (NAS), allowing you to centrally manage and share files. Based on FreeBSD, FreeNAS offers a user-friendly interface and uses the ZFS file system, which ensures data integrity and protection against corruption.
1. Installation
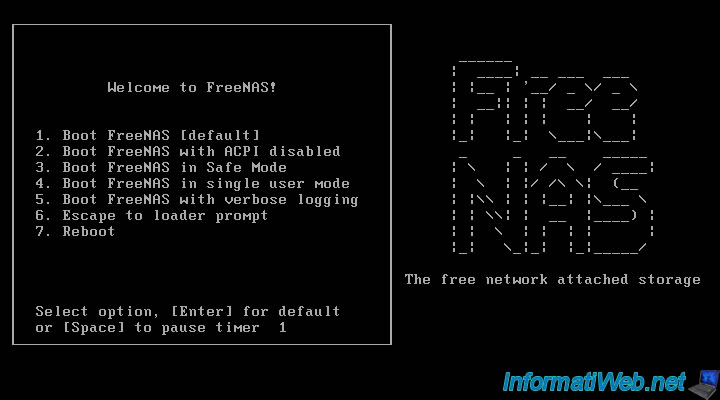
Download FreeNAS, then insert the CD into your CD drive and boot on it. You should get something like this :
Note : FreeNAS is available in 32 and 64 bits.
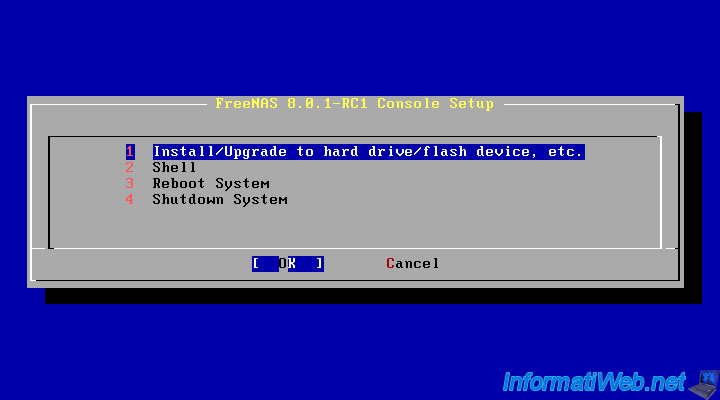
Select "Install / Upgrade to hard drive / flash device, etc.." and press "ENTER".
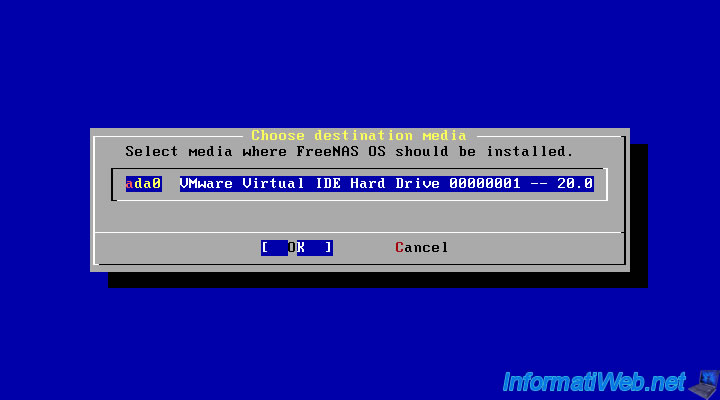
Select the hard drive on which to install "FreeNAS". Then the computer will restart. You will do the same thing until this screen. Select the same disk.
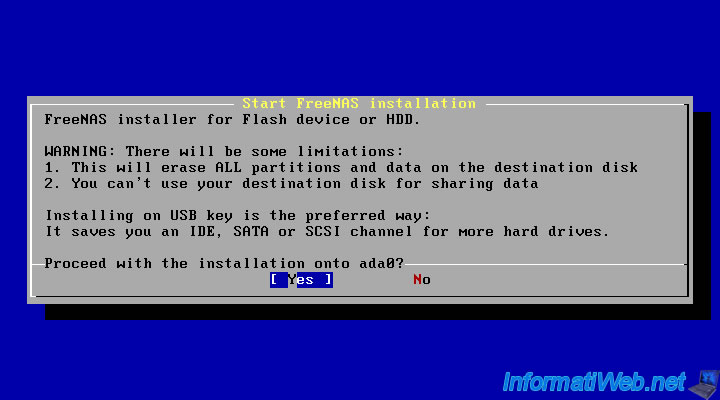
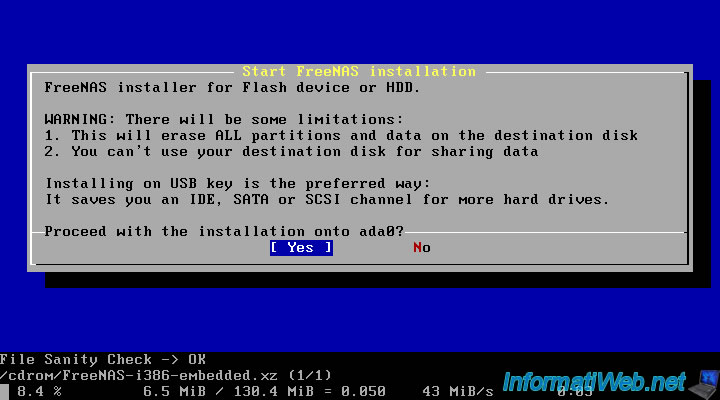
Select "Yes" and press "ENTER".
The wizard recommends that you install FreeNAS on a USB drive because the drive used to install FreeNAS can not be used for sharing, storage, ... You can very well use an old hard drive of 20-30 GB eg to avoid losing too much disk space.
FreeNAS installing. The progress is displayed at the bottom of the screen.
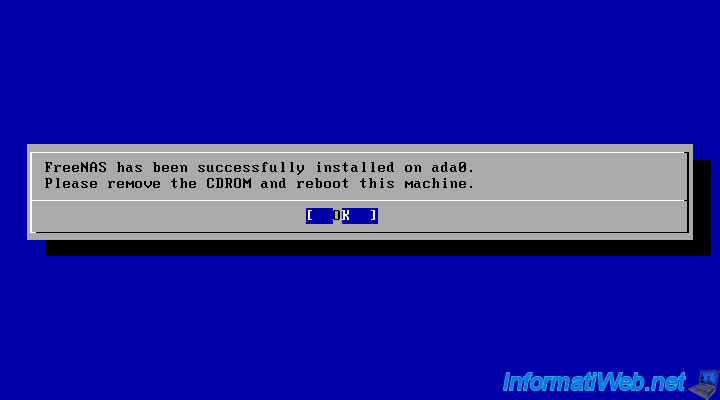
Once installed, you must remove the installation CD before restarting.
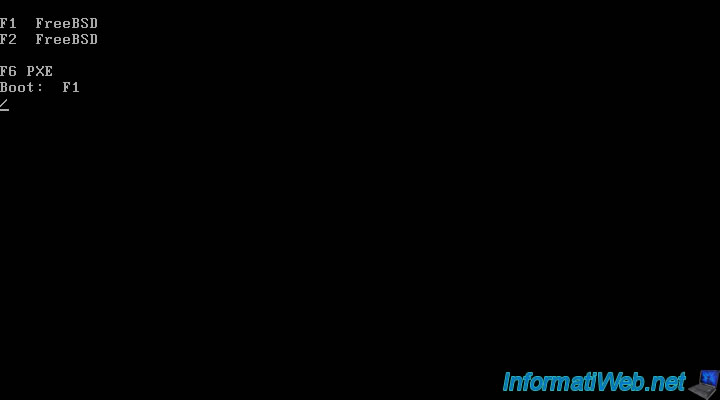
Wait a few seconds, start will happen automatically.
Press "ENTER" or wait until the timer expires.
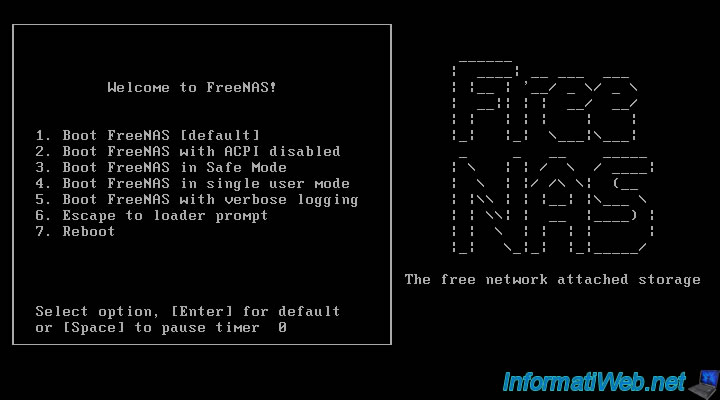
By default, FreeNAS obtain an IP address from the DHCP that is on your network. The DHCP server can be found in your router (Box) or on a computer running Windows Server or on a computer with a DHCP server software.
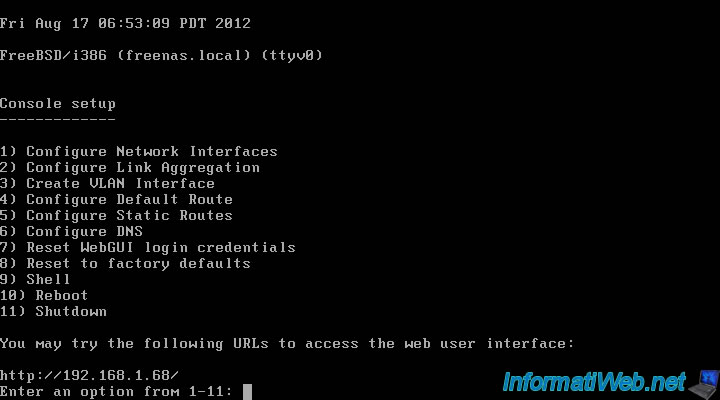
2. Administrator Password
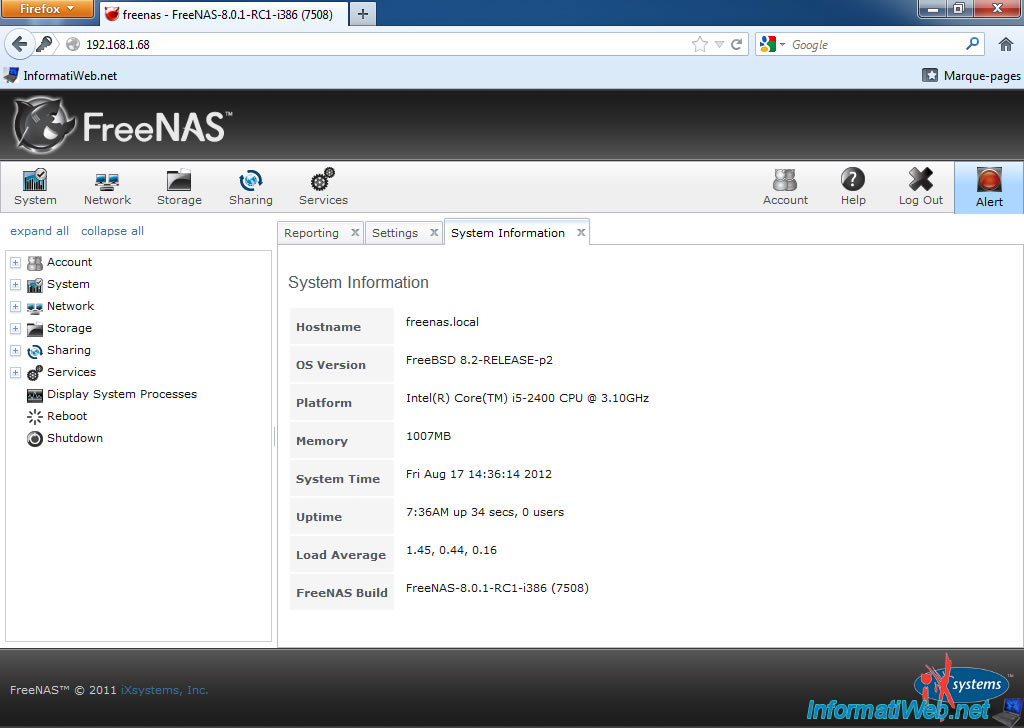
By default, the password of the administrator is empty or is set to "admin / freenas". By accessing FreeNAS by your favorite browser, you will notice that the "Alert" icon flashes red.
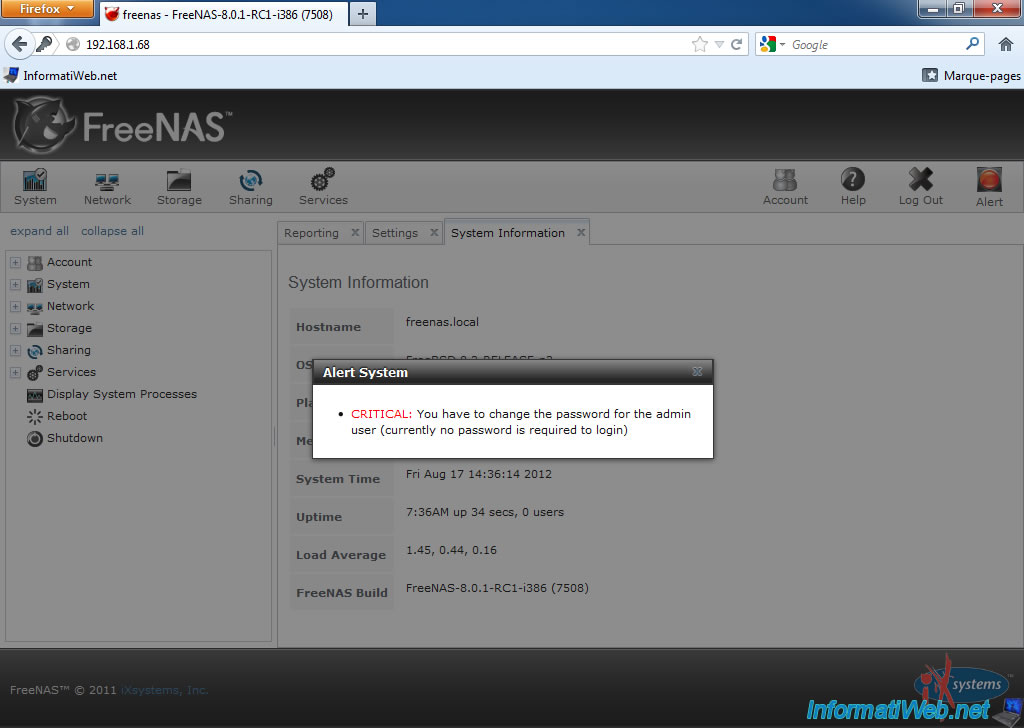
If you click on it, FreeNAS will alert you that the administrator password must be changed.
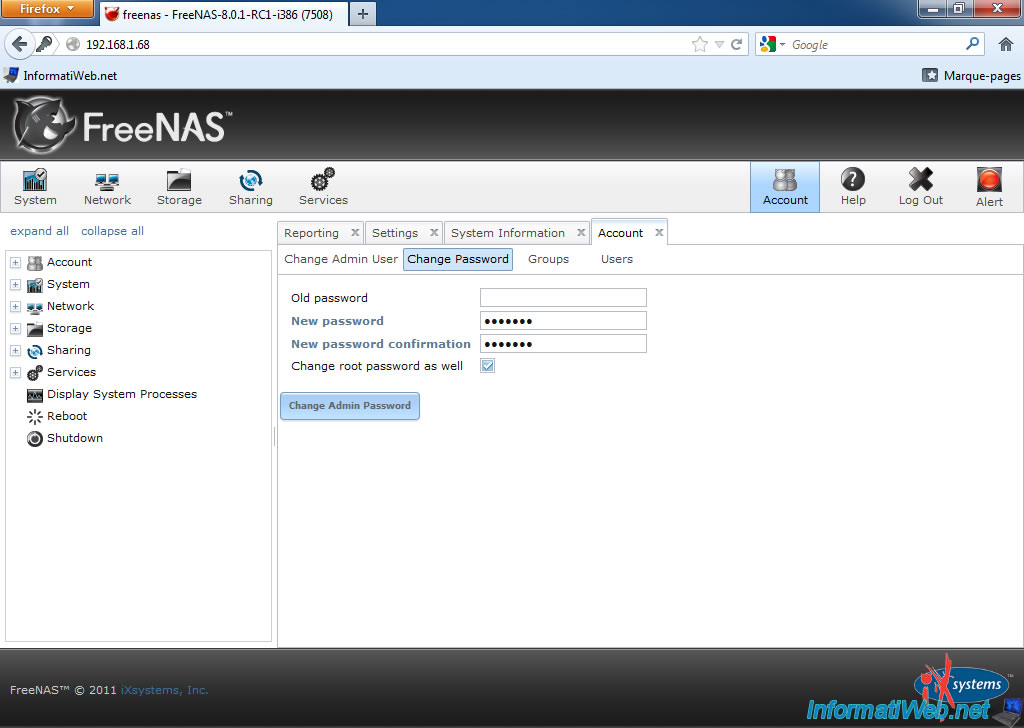
Click on "Account" at the top right and then click "Change Password". Enter the old password if there was one and enter the new password.
3. Hard drive configuration
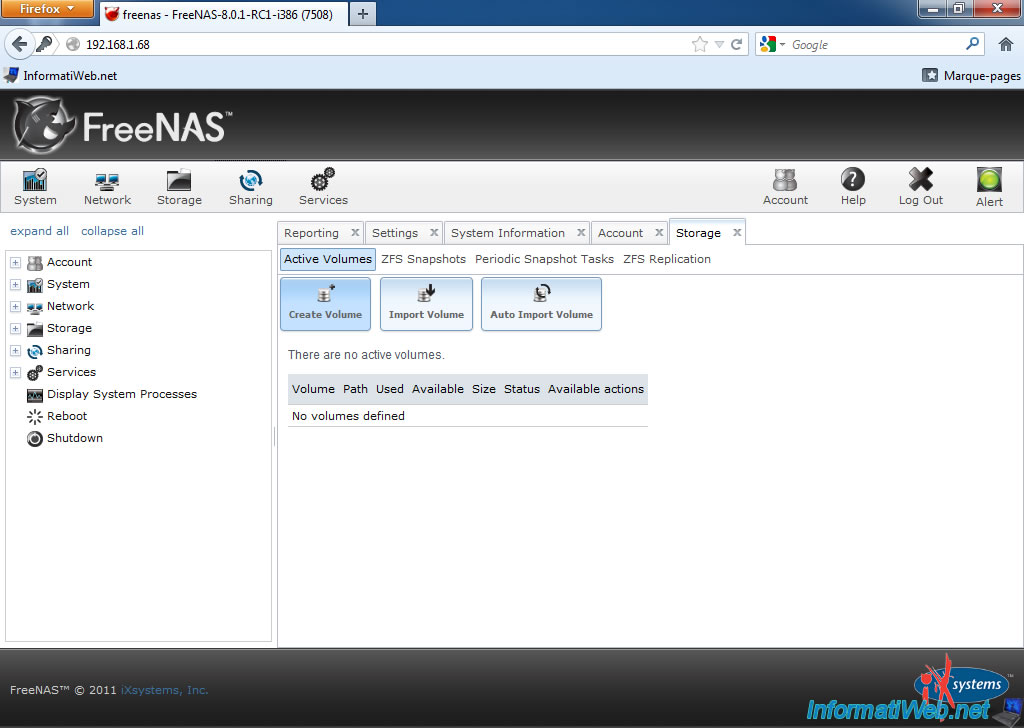
To create an NFS share, click on "Storage" then "Create Volume".
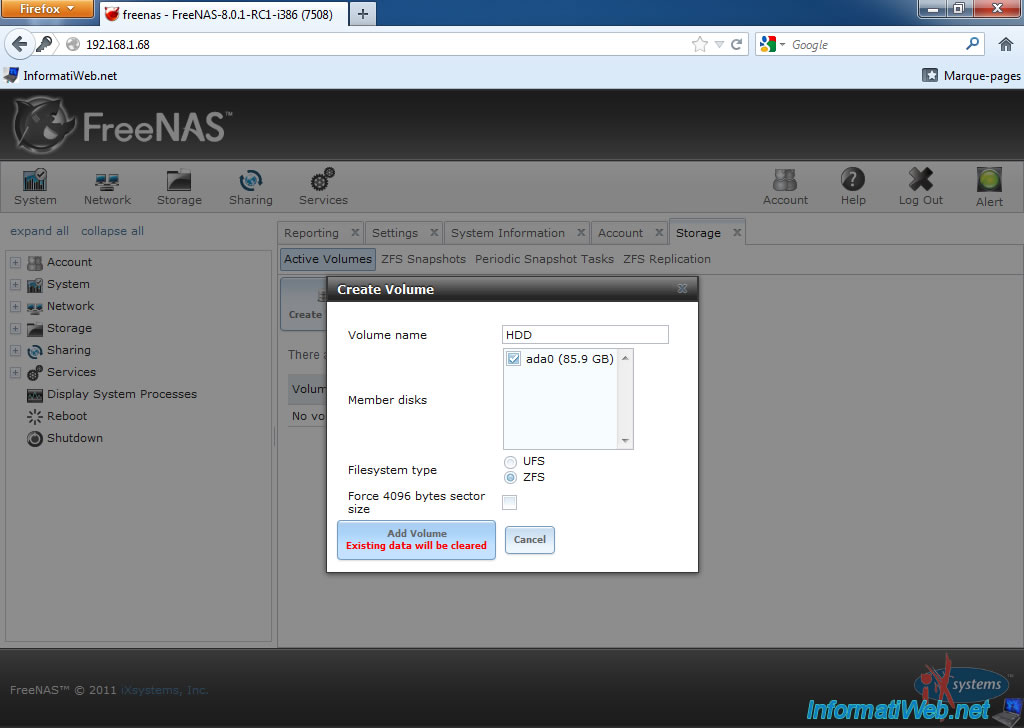
Enter a name for the selected hard drive (As noted before installation, the hard drive where you installed FreeNAS is unusable and therefore invisible), select "Filesystem Type : ZFS" and click "Add Volume". Beware the selected disk drive will be erased.
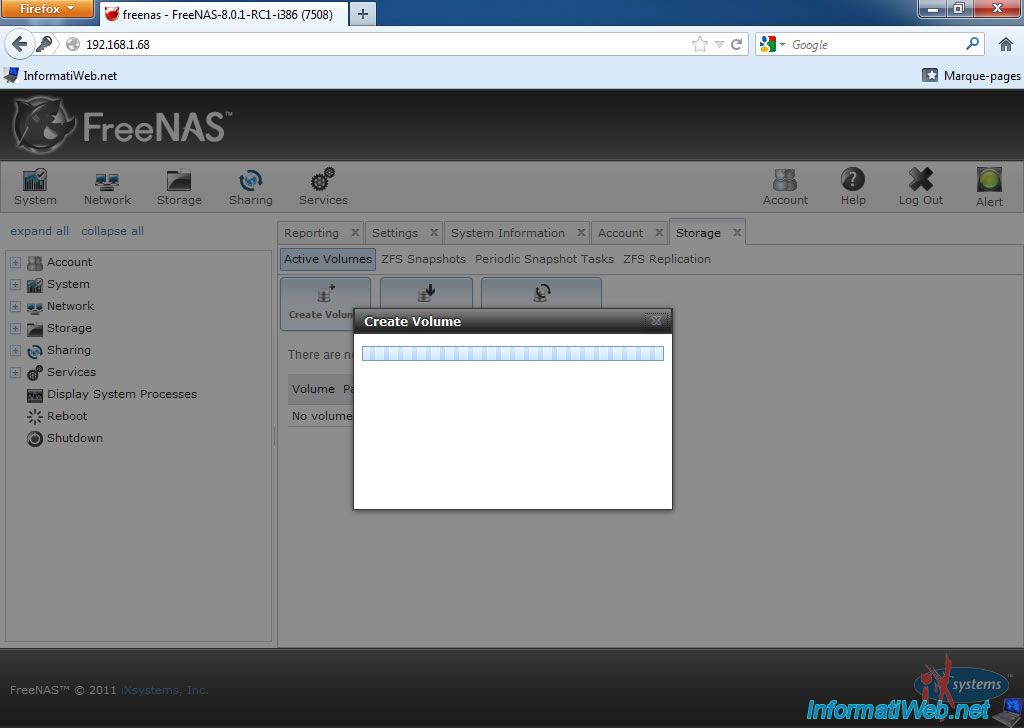
The volume is created.
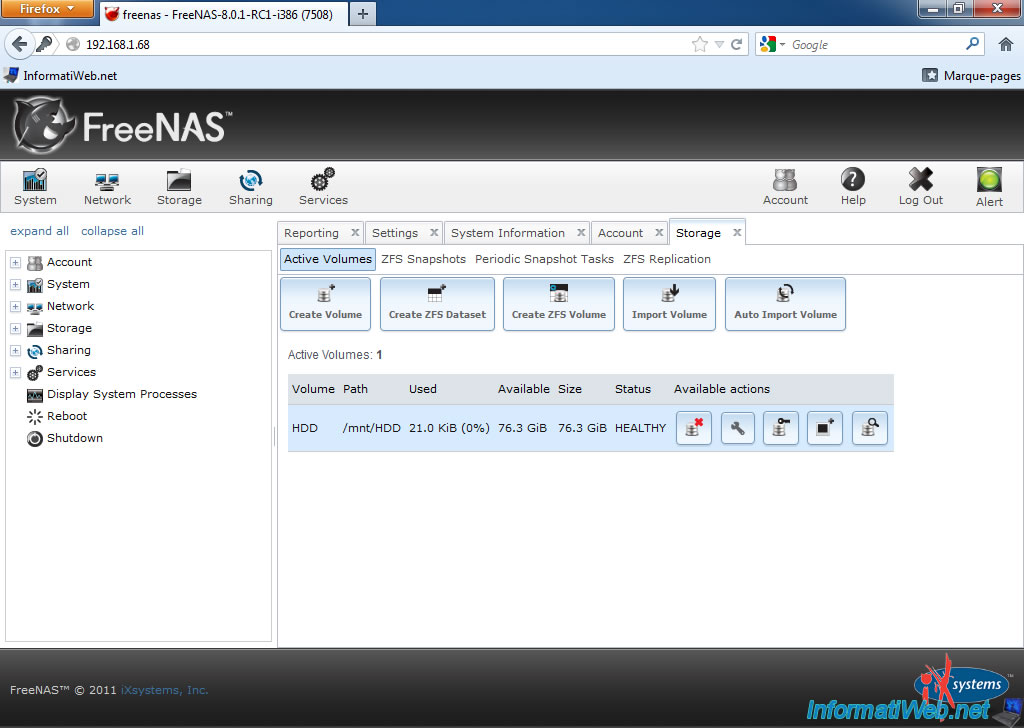
Once the volume is added, it appears in the list.

You must be logged in to post a comment