Malwarebytes Anti-Malware - The best anti-malware
- Security
- Malwarebytes
- 29 February 2016 at 12:24 UTC
-

- 2/2
4. Settings
In the "Settings" tab of Malwarebytes Anti-Malware you will find :
- General Settings
- Malware Exclusions
- Web Exclusions
- Detection and Protection
- Update Settings
- Histyory Settings
- Access Policies
- Advanced settings
- Automated Scheduling
- About
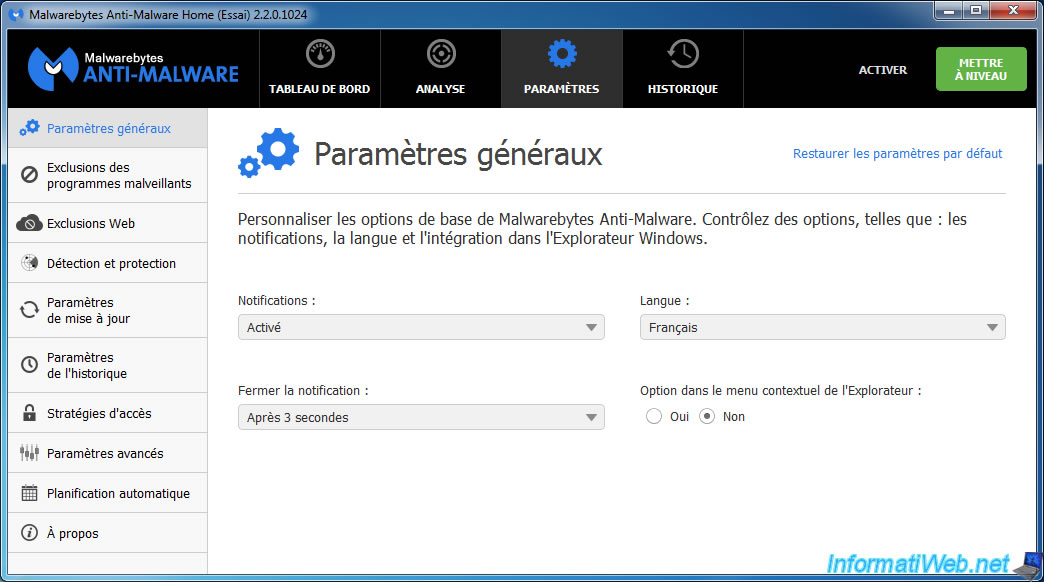
4.1. General Settings
In general settings, you can :
- enable or disable notifications (displayed at the bottom right of the screen)
- change the language of the program
- change the closing delay of the notification
- add or remove the "Scan with Malwarebytes Anti-Malware" option in the context menu of the file explorer. This allows you to scan a folder with a simple right click ->Scan with Malwarebytes Anti-Malware.
If you want to restore the default configuration of these settings, simply click on the "Restore Default Settings" link.
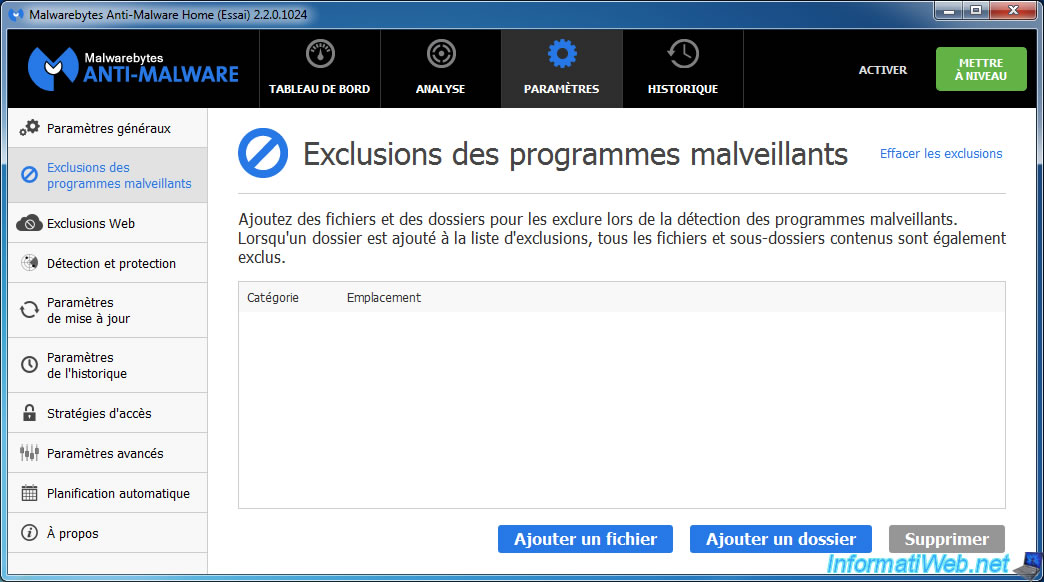
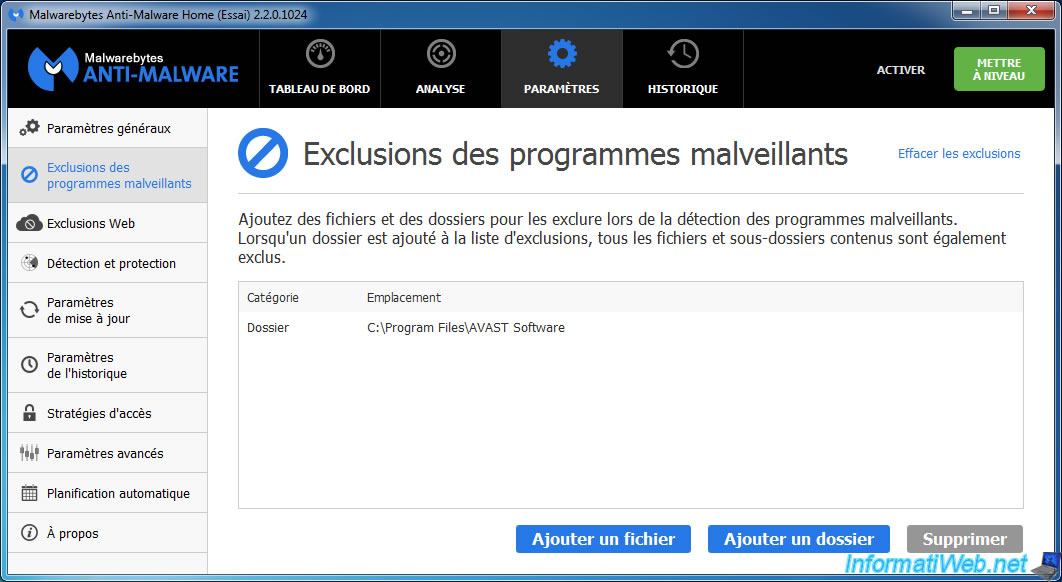
4.2. Malware Exclusions
This option is to be used carefully, but it can be interesting in some cases.
Indeed, when you install the paid version of Malwarebytes Anti-Malware, it's recommended to add the folder of your antivirus to exclusions of Malwarebytes Anti-Malware. This will prevent that your antivirus and antimalware does analyze each other with their respective real-time protection.
As you can see, you can exclude one or more files or a specific folder.
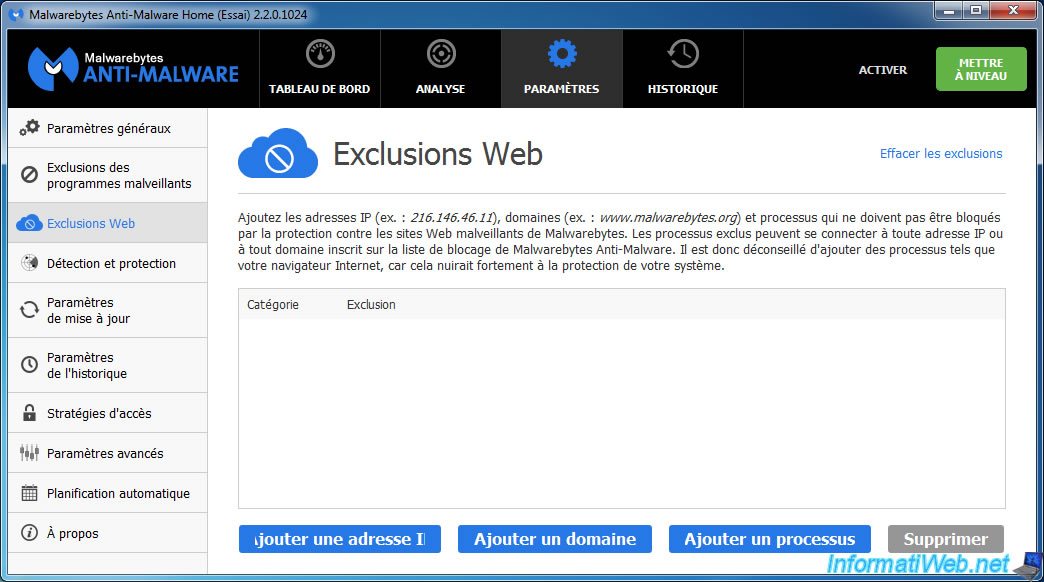
4.3. Web Exclusions
This option is similar to the previous one, except that it concerns the websites and IP addresses.
With this option, you can exclude a website (domain), an IP address or a process of the real-time protection against malicious websites.
However, use this option with caution because the excluded process can connect to any website or IP address. Which can be dangerous in some cases.
This option can be useful when your antivirus can no longer download the updates.
In this case, just add the "Updater" program of your antivirus or the domain from which it downloads its updates to fix the problem.
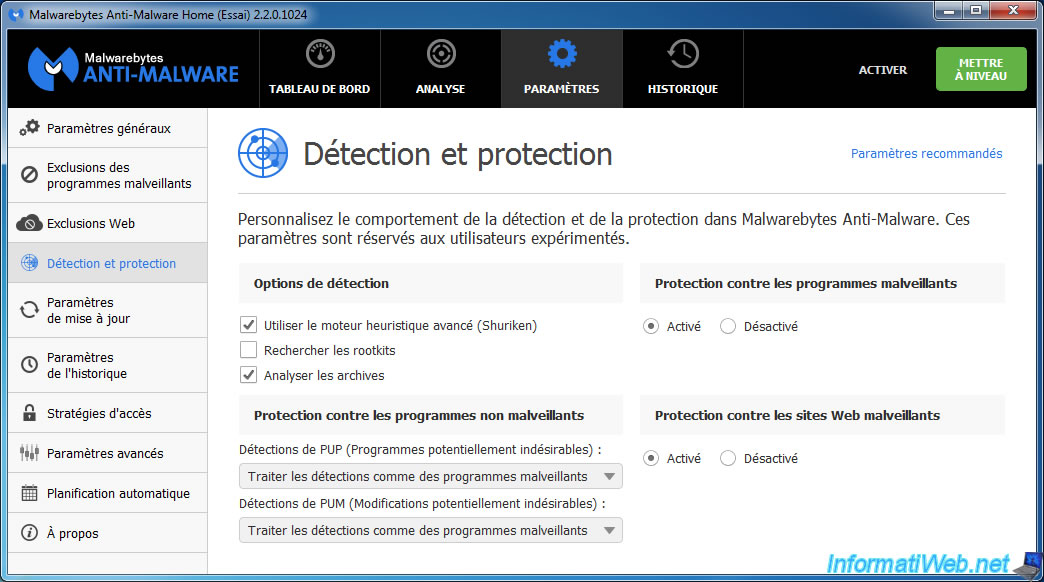
4.4. Detection and Protection
In the "Detection and Protection" tab, you can :
- enable or disable the advanced heuristics engine (Enabled for better security, but can be disabled in case of conflict or detection of a false positive)
- enable or disable the rootkits detection (we recommend that you enable this option to be better protected)
- enable or disable scanning of archives (zip files, rar ...)
- detect PUP or PUM as malware (which also block adware as toolbars and others)
- enable or disable the real-time protection against malware (real-time process analysis and open files)
- enable or disable the real-time protection against malicious websites (real-time analysis of sites and IP addresses to which your computer connects)
To use the recommended configuration, just click on the "Recommended settings" link.
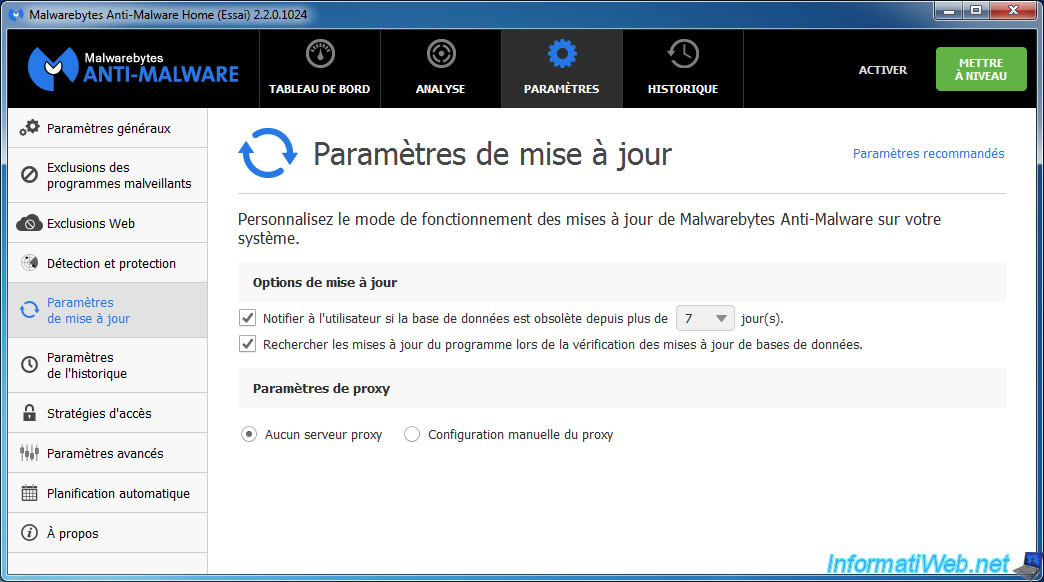
4.5. Update Settings
In the "Update Settings" tab, you can :
- the delay after which the program's database will be considered obsolete.
- choose if you want to search for updates of the program when searching for updates of the database
- specify a proxy if necessary
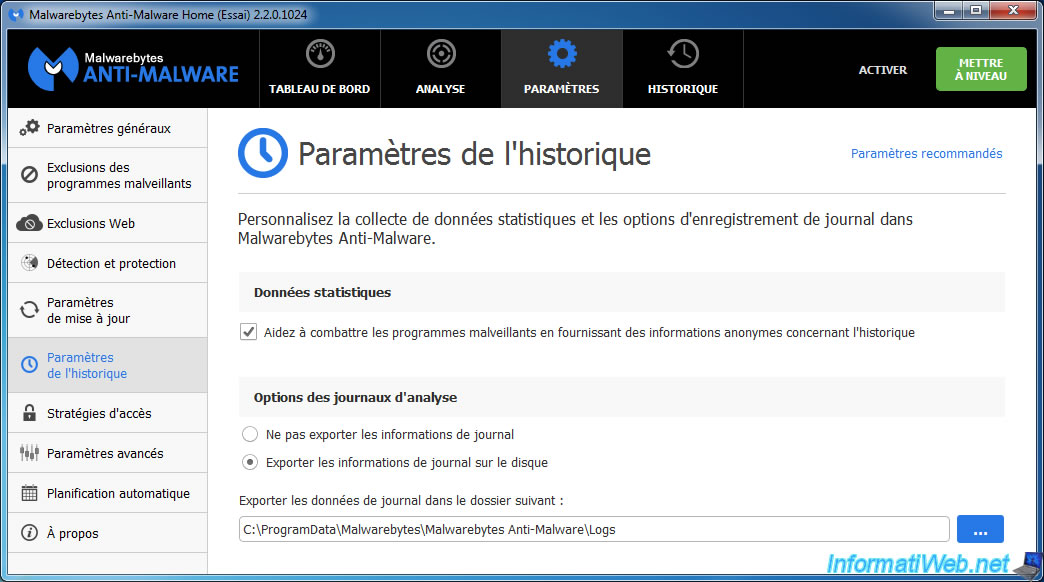
4.6. History Settings
For history settings, you can :
- choose if you want to help Malwarebytes to fight malware. (This will allow them to more quickly detect new threats)
- choose if you want to save the program scan logs or not.
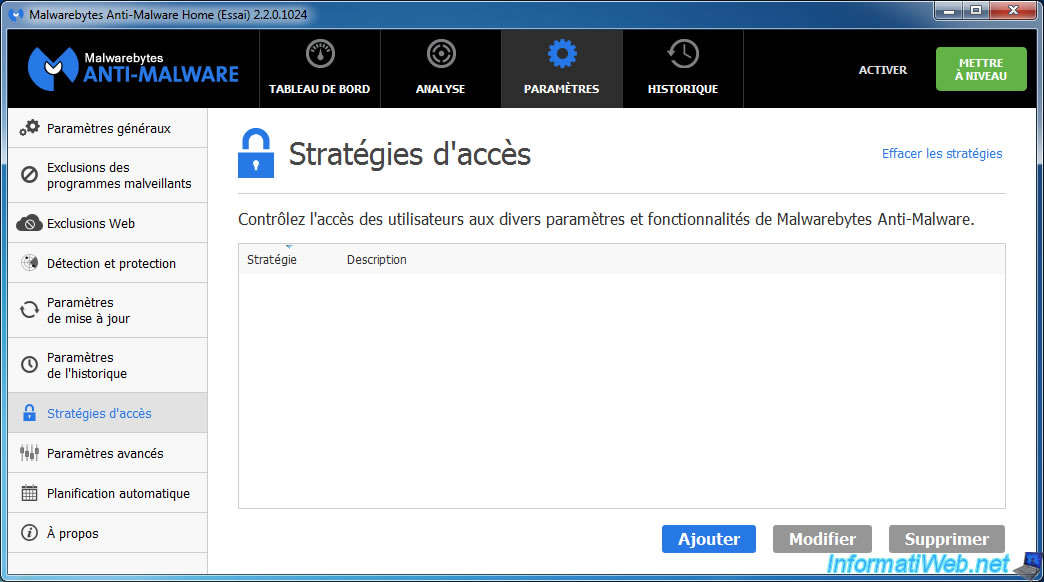
4.7. Access Policices
Access policies allow you to restrict access to certain features of Malwarebytes with different passwords.
This is especially useful on home computers to prevent your child turns off the antimalware, although the virus has been detected.
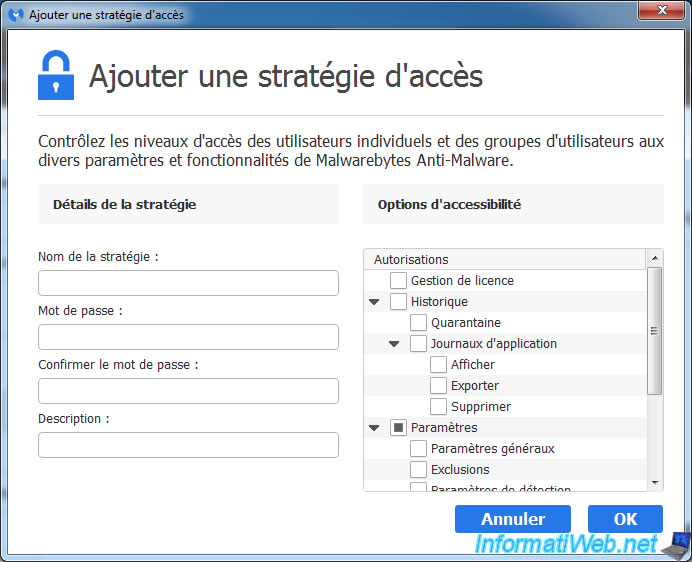
For each policy, you can :
- specify a name
- protect it with a password
- specify a description
- choose the features that will be available with this password
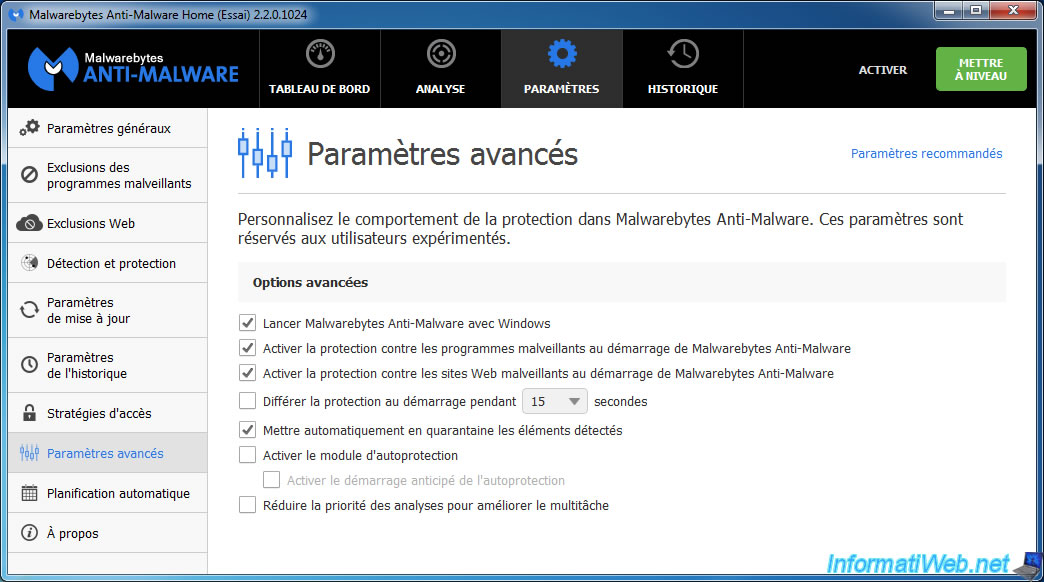
4.8. Advanced Settings
In the advanced settings, you can :
- choose if Malwarebytes Anti-Malware should be run at Windows startup. (Highly recommended if you purchase the premium version for the real-time protection is activated when Windows starts)
- choose if you want to enable or disable, the real-time protection against malware
- choose if you want to enable or disable, the real-time protection against malicious websites
- defer the start-up protection for a few seconds to resolve a conflict or a problem which arises when Windows starts due to Malwarebytes
- choose if you want to automatically quarantine detected items
- enable or disable the self-protection module to avoid that a virus disables or uninstalls Malwarebytes Anti-Malware without your permission.
- reduce the priority of analyzes to improve multitasking. In other words, slow down the analysis to least slow down the computer
4.9. Automated Scheduling
As you can see, by default, two tasks are already planned :
- a threat scan (full analysis) is performed daily
- Search updates every hour

4.10. About
In about, you will find information about Malwarebytes Anti-Malware, copyright, ...

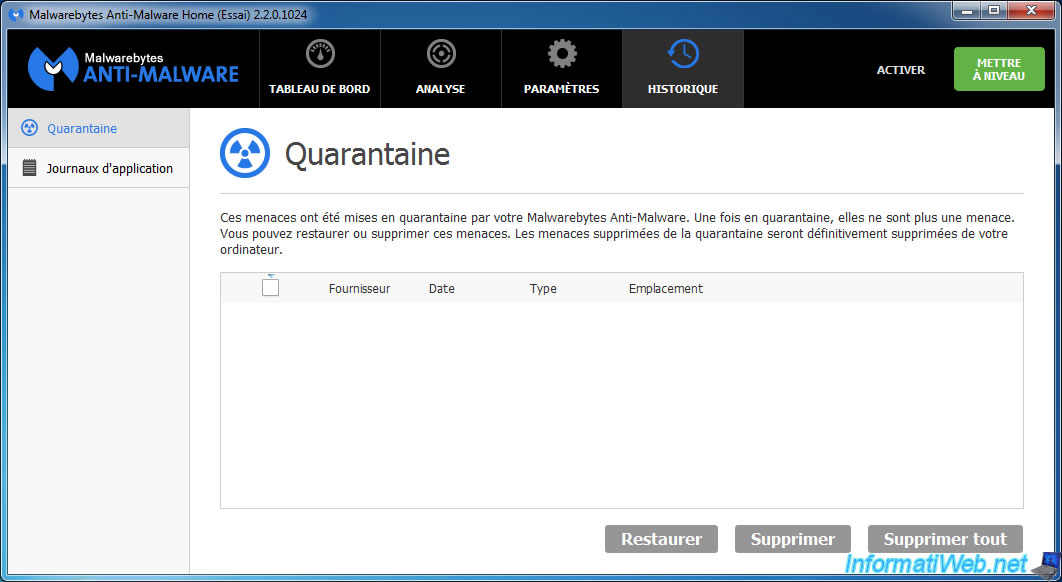
5. Quarantine
In the "History" tab, you'll find the quarantine.
This is where you will find files blocked by Malwarebytes Anti-Malware. So, if a false positive is detected by the program, simply go into the quarantine area to restore it.
Note : don't forget to add the concerned file in the exclusions of the program to prevent it is again sent to quarantine.
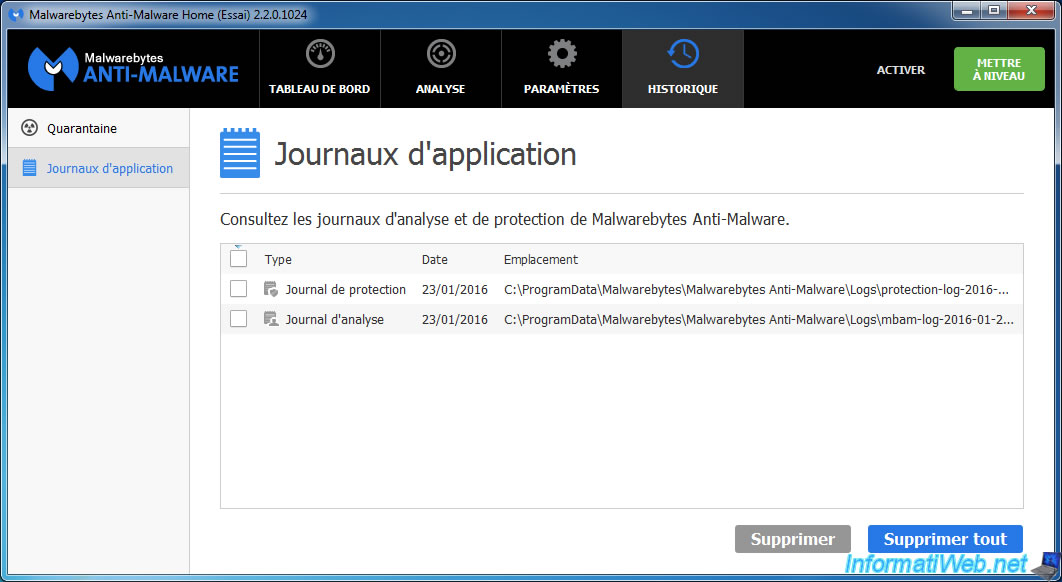
6. Application Logs
And finally, you will also find the application logs in the "History" tab.
As you can see from the picture below, Malwarebytes Anti-Malware creates two types of logs :
- Protection Log
- Scan Log
7. Exclude your antivirus of Malwarebytes Anti-Malware Premium (and vice versa)
As explained by the support of Malwarebytes, it's recommended to exclude your antivirus of Malwarebytes Anti-Malware Premium for performance reasons.
Indeed, given that they have a real-time protection, they are likely to scan the other. Which is unnecessary and which can cause a detection of a false positive.
That said, Malwarebytes Anti-Malware Premium is not an antivirus and it is not intended to replace it.
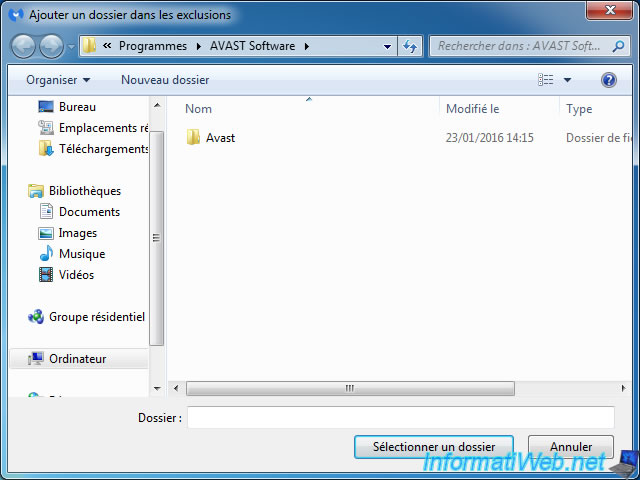
To do this, go to "Settings -> Malware Exclusions" and click on the "Add Folder" button.
Then, select the folder of your antivirus.
In our case, it's the folder : C:\Program Files\AVAST Software
Now, Malwarebytes Anti-Malware Premium will stop scan your antivirus.
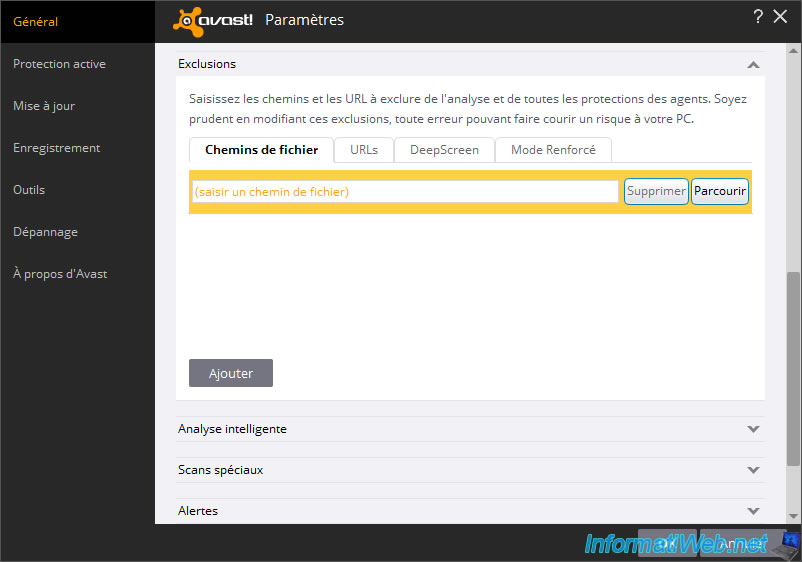
Finally, we must also exclude Malwarebytes Anti-malware of your antivirus to prevent your antivirus scans Malwarebytes Anti-Malware Premium.
In the case of Avast, go into the settings and go down to the "Exclusions" section.
In this section, click the "Add" button, then click the "Browse" button.
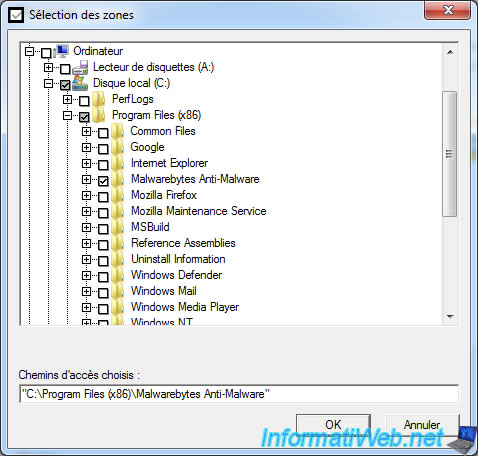
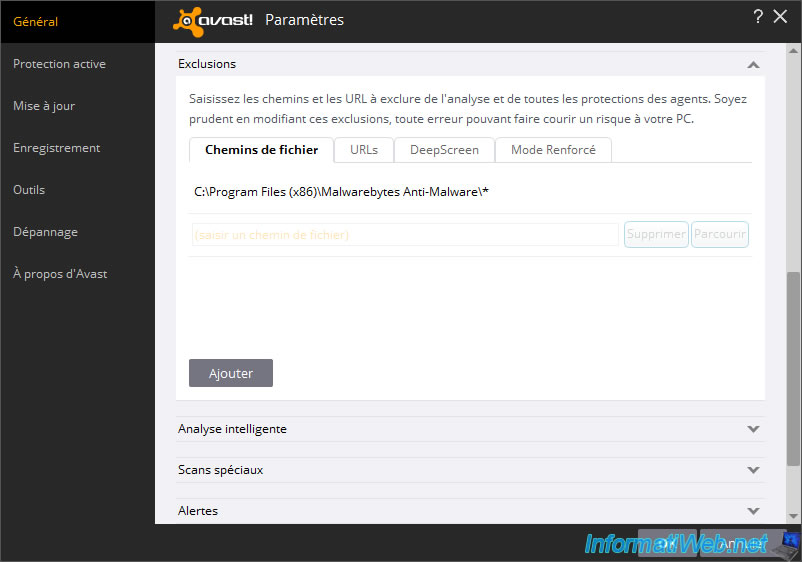
Select the folder of Malwarebytes Anti-Malware, then click OK.
The path looks like this : C:\Program Files (x86)\Malwarebytes Anti-Malware
With these exclusions, Malwarebytes and your antivirus will never conflict.
No comment