- Web
- Web servers
- 03 March 2013 at 11:25 UTC
-

Here is a tutorial to install "Apache, PHP, MySQL" server simply. The solution used is called "WAMP" (Windows Apache MySQL PHP).
This tutorial allows you to install the "2.0" version of this program.
Warning : If you have already tried to install a web server or PHP before, this tutorial may not work. In this case, it will attempt to delete the remaining files, services and registry keys created by them to avoid conflict with WAMP.
Important :
- If you want to make a server accessible from the Internet for commercial or professional use, it is advisable to install PHP, Apache and MySQL separately from the Official sites. To do this, read our tutorial "[Apache / PHP / MySQL] simultaneous Installing PHP 5 and PHP 4 on Windows". (If you wish to only install PHP 4 ignore the PHP 5 installation steps and vice versa)
- This version of WAMP is out of date, thank you to read the new tutorial to install the new version : "[Apache / PHP / MySQL] WAMP - Installing WAMP 2.2, 2.4 or 2.5 and its add-ons".
- It's recommended to install the latest versions of programs you use because maybe they have flaws and bugs that will be fixed over time as versions
- Installing WAMP
- Configuring WAMP
- Installing Add-ons (Optional)
- Configuring "Virtual Host" (If you want to host more websites)
- Configure the hosts file
1. Installing WAMP
To download it, go to "sourceforge.net" then run the downloaded file.
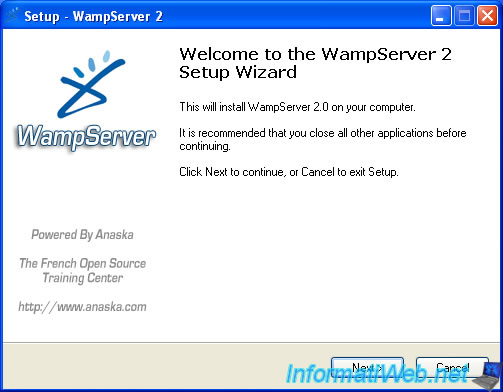
It's recommended to install WAMP on a partition other than the "c" to avoid problems in case of crash or formatting.
Note : In case, it's always possible to access files on a computer using a Live CD like Hiren Boot CD (by the Mini-XP), even if Windows will not boot.
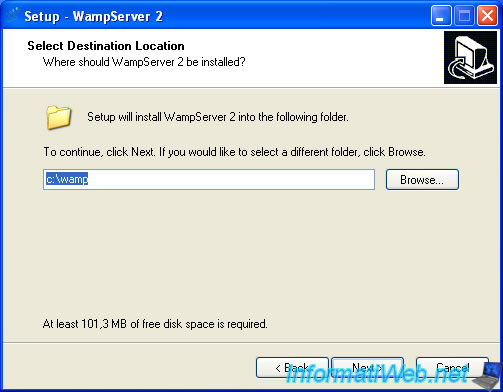
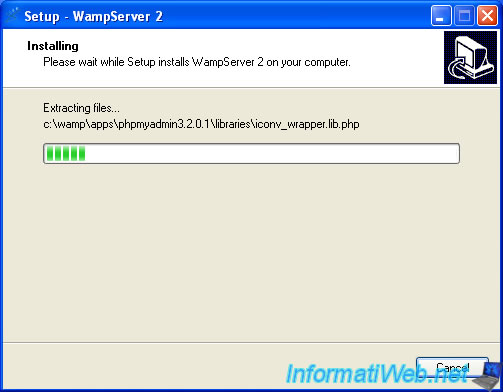
The wizard installs WAMP (to manage your web server, PHP and MySQL database server) as well as Apache, PHP and MySQL.
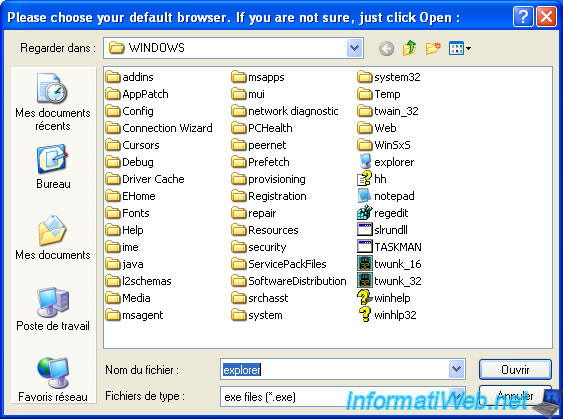
By default, the program used to access your local website by the menu of WAMP is Internet Explorer. To leave this default setting, just click "Open".
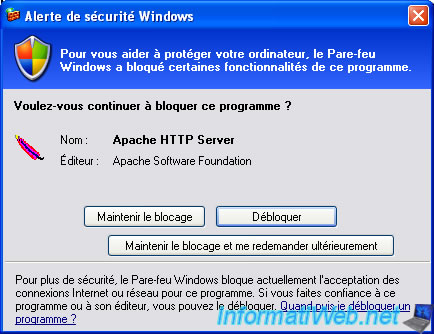
Your firewall detects that Apache normally tries to act as a server and that therefore need to be allowed in your firewall (either the Windows or the solution Internet Security).
Click "Unblock".
Note : If you have some problems with your firewall, read our tutorial "Configure the Windows Firewall and the Firewall of Internet Security solutions".
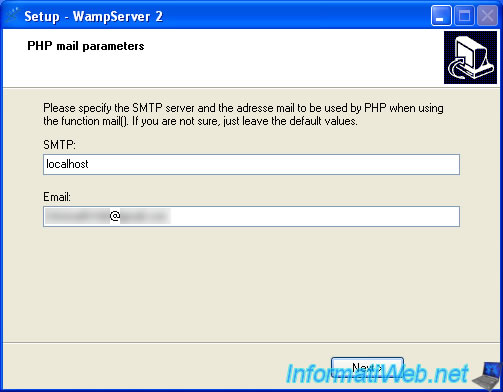
Enter the address of an SMTP server (such as your ISP for example) and your email address. These parameters are used in the "mail()" function in PHP used to sent mail from a Web server.
Note : Under Windows XP, it's possible to install an SMTP server through IIS. Be careful though to install the SMTP and not the IIS Web server functionality because it will create a conflict with WAMP in the sense that the Web server uses the same port that we install (Apache).
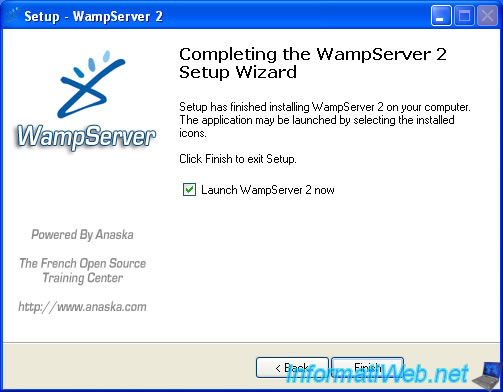
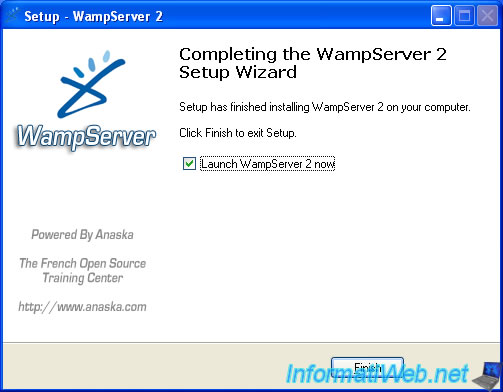
Once installation is complete, leave the box checked and click "Finish".
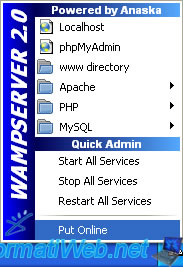
Then, if you want your Web server is accessible on your local network and / or from the Internet, click the Apache icon and click "Put Online".
2. Configuring WAMP
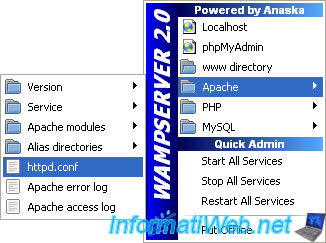
To configure the Apache server, click the WAMP icon and then go to the Apache menu. Then click "httpd.conf" to open the Apache configuration file.
The appearance of the Apache configuration file may differ depending on the version thereof.
Le fichier de configuration s'ouvre via l'éditeur de texte par défaut. Par défaut, il s'agit du bloc-notes, excepté si vous avez installez "Notepad ++" ou un autre logiciel du même genre.
The configuration file is opened by the text editor by default. By default, this is the notepad, unless you install Notepad ++ or other similar software.
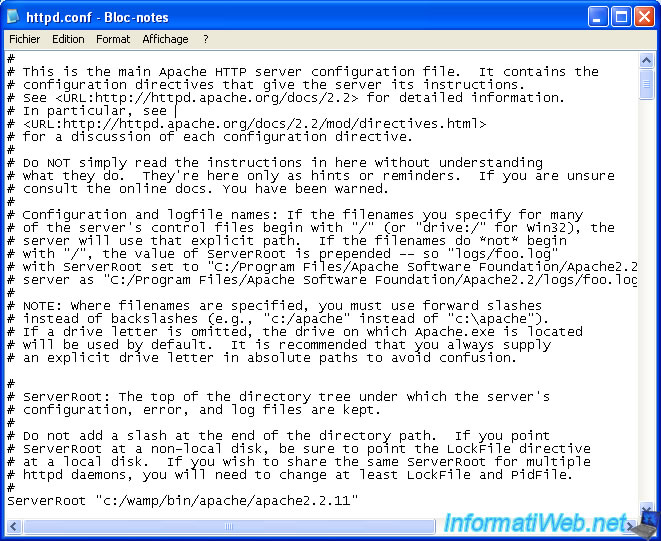
Some practical options that you can change in this Apache configuration file:
Change the server port. By default, Web servers listen on port 80 which corresponds to the HTTP protocol.
WARNING : If you change the port No. you must also change the line "ServerName ...: 80"
Apache
Listen 80
Change the E-mail address of the WebMaster
Apache
ServerAdmin vous@gmail.com
Change the server name (Not recommended to change locally unless you have a DNS server installed on your local network)
Used in the case where you have a registered domain name on the Internet (as a Registrar in OVH, LWS.fr, ...).
Apache
ServerName localhost:80
Apache
# (Optionally) Change the path to the folder of your site (not recommanded if you want to use Virtual Host (multiple sites) and they are already configured)
 DocumentRoot "c:/wamp/www/"
 # And this line "<Directory "c:/wamp/www/">" after the block <Directory /></Directory>
 <Directory "c:/wamp/www/">
 # Note that "/" are in the opposite direction compared to Windows "\". This is because Apache come from the Linux world.
 # Warning :
 # - Do not delete the "/" at the end of the path !
Edit the index files for files (may be useful in some cases).
Apache
DirectoryIndex index.php index.php3 index.html index.htm
3. Installing Add-ons (Optional)
WAMP easy to install older versions of Apache (web server), PHP (module linked with Apache, which allows to create dynamic websites such as blogs, forums or other custom websites) and MySQL (the database server). This allows, for example, to reproduce as faithfully as possible your online host or be compatible with older PHP scripts ...
To install, nothing more simple. Just download the version of Apache, PHP or MySQL that you want from sourceforge and run the file you just downloaded.
Warning : for Apache and PHP, some Apache versions are not compatible with some versions of PHP and vice versa.
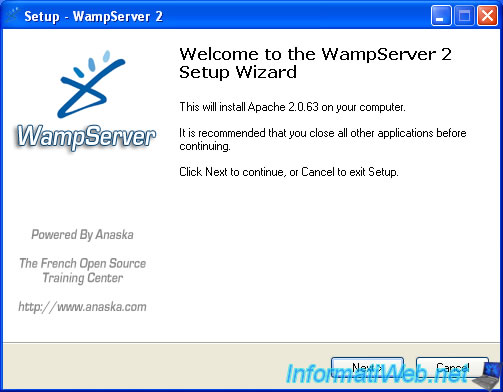
In this tutorial, we will show you how to install an older version of Apache and configure WAMP to use it.
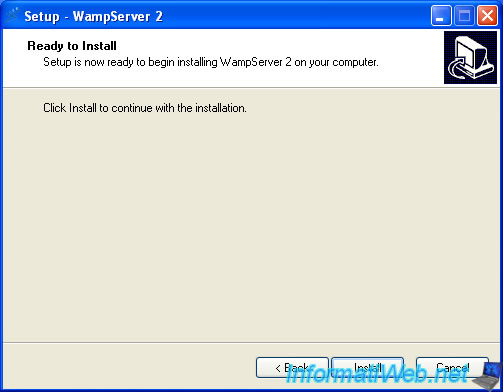
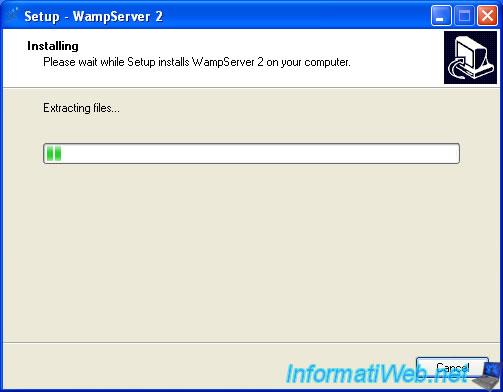
The installation folder of WAMP is automatically detected by the wizard and you just remains to click on the "Install" button wizard.
Leave the box checked.
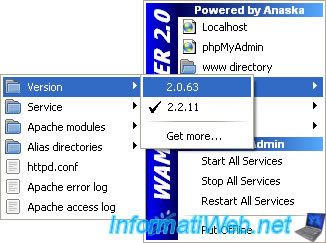
Then click on the WAMP icon and go to Apache -> Version -> (Installed version. In our case, the 2.0.63 version).
The WAMP icon will then go through the red, yellow and if all goes well, this icon will return completely white.
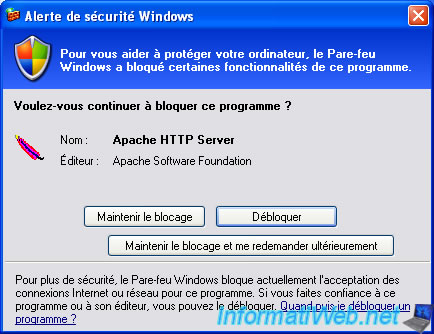
Next Add-on that you just installed, it's possible that your firewall asks you the permission. This is simply because it's not the same file and that it's in a different folder.
Click "Unblock".
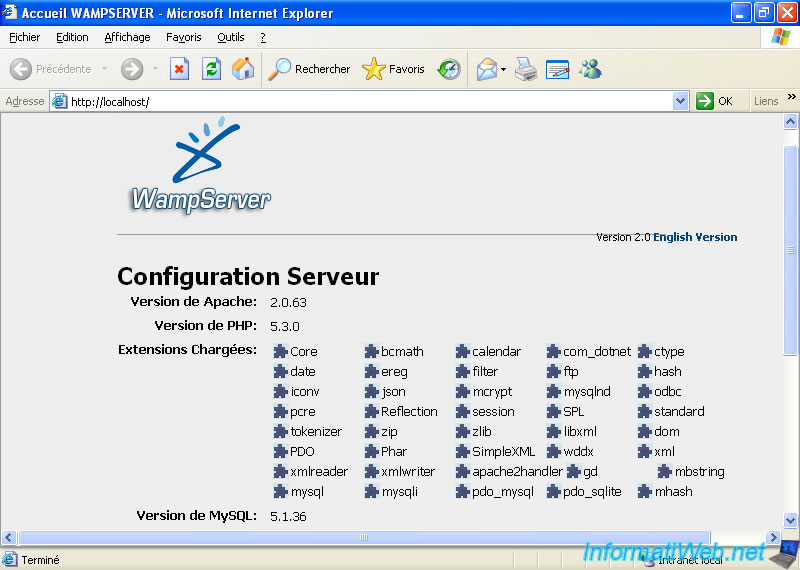
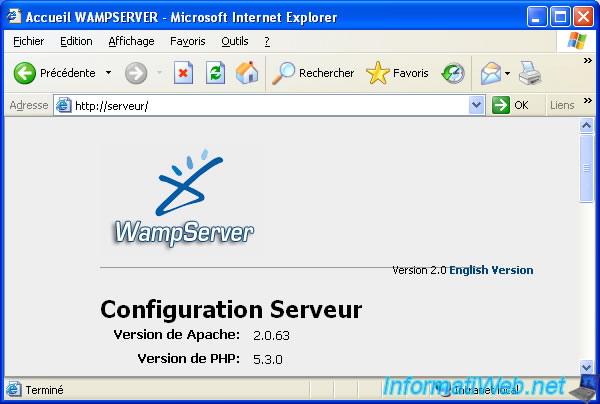
Just to show you that it works, here is a screen printing (print-screen) of the home page of WAMP that tells you that the version of Apache is passed to "2.0.63".
4. Configuring "Virtual Host" (If you want to host more websites)
To configure the "Virtual Host", go to the end "httpd.conf" file of that we opened in the previous step. The number of "Virtual Host" is unlimited and each "Virtual Host" refers to a website.
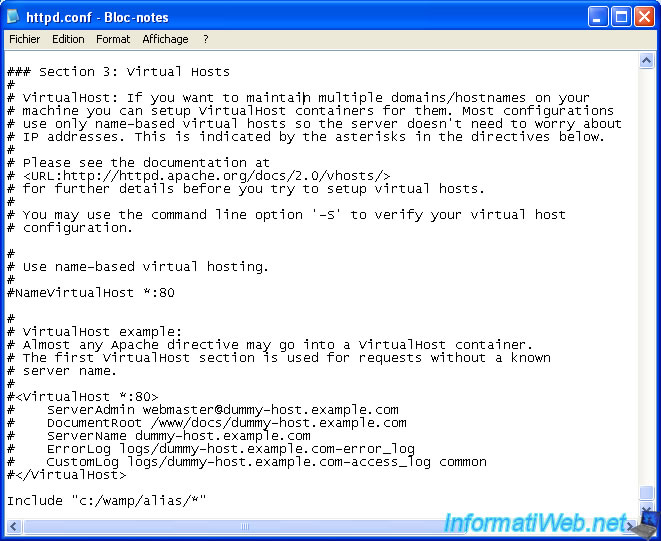
First, uncomment the line "NameVirtualHost *:80" by removing the # in front of this line.
Warning :
- Don't remove the Virtual Host called "server", because it corresponds to the site root folder. If no Virtual Host is associated with the root folder, the VirtualHost will not work.
- Change the port if needed and the path of the root folder configured in the previous step if it doesn't correspond
The "DocumentRoot" of each Virtual Host must be a subfolder of the root folder configured in the "httpd.conf" file
Example :
Apache
DocumentRoot c:/Wamp/www
...

<VirtualHost name_of_the_website_1:80>
DocumentRoot c:/Wamp/www/name_of_the_website_1
...

<VirtualHost name_of_the_website_2:80>
DocumentRoot c:/Wamp/www/name_of_the_website_2
...
Here is the part of the file on the Virtual Host with the values ​​to change :
Apache
### Section 3: Virtual Hosts
#
# ....
#
# Use name-based virtual hosting.
#
NameVirtualHost serveur:80

#
# VirtualHost example:
# Almost any Apache directive may go into a VirtualHost container.
# The first VirtualHost section is used for requests without a known
# server name.
#
<VirtualHost server:80>
DocumentRoot c:/Wamp/www
ServerName server
DirectoryIndex index.html index.php
</VirtualHost>

NameVirtualHost name_of_the_website_1:80

<VirtualHost name_of_the_website_1:80>
DocumentRoot c:/Wamp/www/Name_of_the_website_1_folder
ServerName name_of_the_website_1
DirectoryIndex index.html index.php
ServerAdmin admin_website1@gmail.com
</VirtualHost>

NameVirtualHost name_of_the_website_2:80

<VirtualHost name_of_the_website_2:80>
DocumentRoot c:/Wamp/www/Name_of_the_website_2_folder
ServerName name_of_the_website_2
DirectoryIndex index.html index.php
ServerAdmin admin_website2@gmail.com
</VirtualHost>
Note : Do not add "/" at the end of the line "DocumentRoot ..."
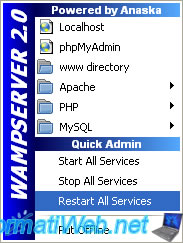
Then, restart the Apache server (or all services if you wish), by going to the menu of WAMP. Click "Restart All Services".
This will effectively take changes.
5. Configure the hosts file
So you can access your Virtual Host from your computer (only), you must modify your hosts file. This will allow you to point the nameservers we just configure to the IP address where your Web server is. The IP to access locally is "127.0.0.1".
This file is in the folder "C:\Windows\System32\drivers\etc" and is called "hosts" with no extension.
Note : On Windows Vista, Seven and 8, you need to run Notepad as an Administrator to modify this file. Otherwise you will not have the right to save the changes you have made.
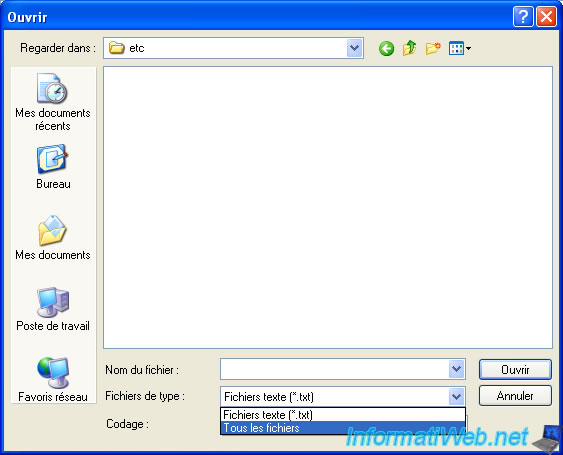
The file to edit doesn't have an extension, so you have to select "Files of type : All Files" for this file is displayed. Then click the "hosts" file and click the "Open" button.
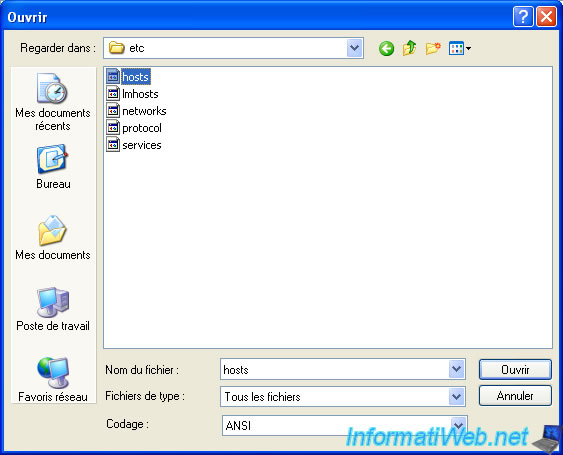
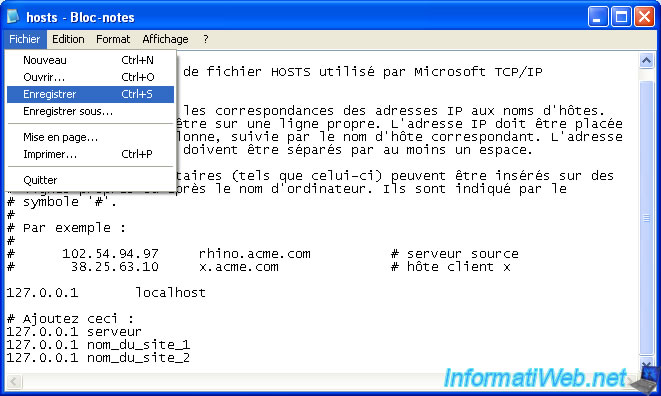
So you can simply uncomment the line "# 127.0.0.1 localhost" by removing the "#" (if needed).
Then specify the list of servers at the end of the file :
Plain Text
127.0.0.1 server
127.0.0.1 name_of_the_website_1
127.0.0.1 name_of_the_website_2
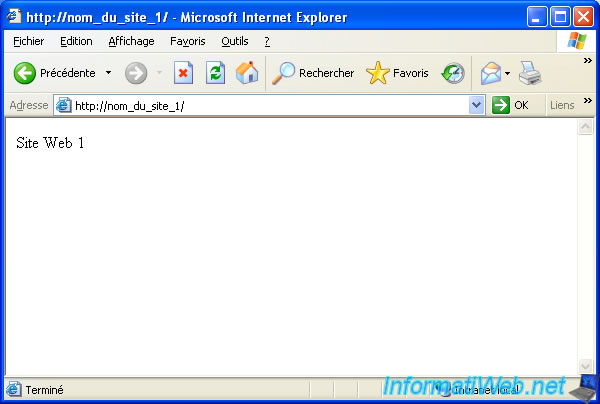
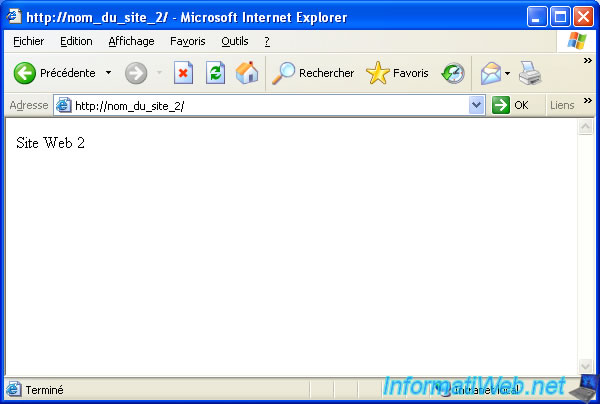
Once setup is complete, here's a preview of what you will have :
Notes :
- The Virtual Hosts will not be accessible from the local network except in the case where you have configured a DNS server on your local network.
- If you want them to be accessiblent from the local network without configuring DNS server, you must use the port filters. To do this, read our tutorial "[Apache / PHP / MySQL] How create VirtualHost accessible from the local network ?".
Share this tutorial
To see also
-
Web 12/17/2011
Create VirtualHost accessible from the local area network
-

Web 3/2/2013
WAMP - Installing WAMP 2.2, 2.4 or 2.5 and its add-ons
-

Web 9/17/2010
Web servers - Install PHP 4 and 5 on the same server
You must be logged in to post a comment