- Web
- Web servers
- 02 March 2013 at 19:36 UTC
-

- 1/2

Here is a tutorial to install "Apache, PHP, MySQL" server simply. The solution used is called "WAMP" (Windows Apache MySQL PHP).
This tutorial allows you to install new versions of "2.2" and "2.4" WAMP. For those looking for the old tutorial on the "2.0" version, click here.
Warning : If you have already tried to install a web server or PHP before, this tutorial may not work. In this case, it will attempt to delete the remaining files, services and registry keys created by them to avoid conflict with WAMP.
- Installing C++ Libraries required by Apache
- Installing WAMP
- Configuring WAMP
- Installing Add-ons (Optional)
- Configuring "Virtual Host" (If you want more sites)
- Configure the hosts file
1. Installing C++ Libraries required by Apache
If you want to install WAMP 2.2 or 2.4, you must install the C++ libraries 2010 needed by Apache to prevent the error "msvcr100.dll is missing" occurs.
You can download these C++ libraries 2010 from the official website of Microsoft :
- The 32-Bit version (for 32-bit programs)
- The 64-bit version (for 64-bit programs)
If you want to install WAMP 2.5, you must install the C++ libraries 2012 needed by Apache to prevent the error "Unable to start the program because msvcr110.dll is missing" occurs.
You can download these C++ libraries 2012 from the official website of Microsoft :
Visual C++ Redistributable for Visual Studio 2012 Update 4 (programs for 32 and 64 Bit)
When you click on the "Download" button, you can choose between 3 files :
- vcredist_arm.exe (ARM processor)
- vcredist_x86.exe (for 32-bit programs)
- vcredist_x64.exe (for 64-bit programs)
Notes :
- If your Windows is 32-bit, you must install the 32-bit version, for against a Windows 64 bits, it is recommended to install 2 versions.
- The installation is very fast.
Important : WAMP includes Apache 2.4 that is no longer compatible with Windows XP and Win. Server 2003. You will need at least : Windows 7 SP1, Windows 8 / 8.1, Windows Vista SP2, Windows Server 2008 R2 SP1, Windows Server 2012 / R2.
2. Installing WAMP
Once these libraries installed, you can then install WAMP carefree.
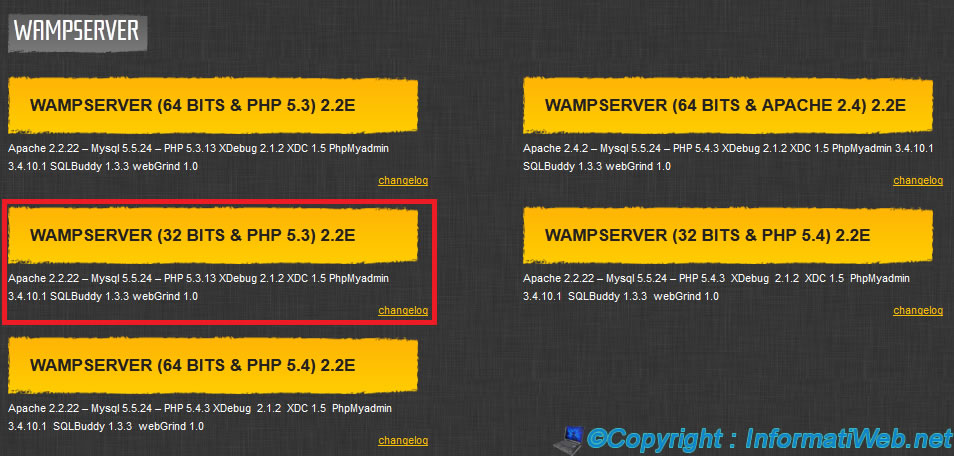
To download, go to the official website of this program and click the second download of the first column.
Note: If you want to download the same version of WAMP in this tutorial, then download the Version 2.2E (Apache 2.2.22, MySQL 5.5.24 and PHP 5.3.13). But know any time it is recommended to use the latest versions of programs you use because maybe they have flaws and bugs that will be fixed over time as versions.
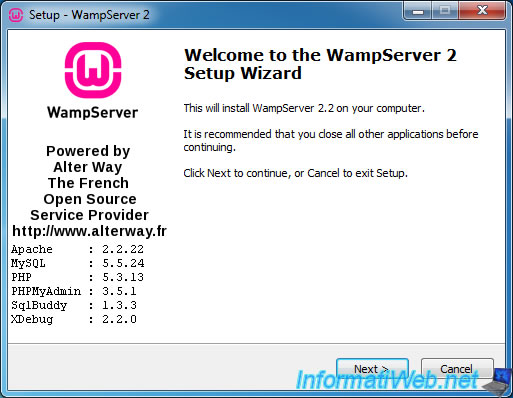
Then then run the downloaded file.
It is recommended to install WAMP on a partition other than the "c" to avoid problems in case of crash or formatting.
Note : In case, it is always possible to access files on a computer using a Live CD like Hiren Boot CD (by the Mini-XP), even if Windows will not boot.

The wizard installs WAMP (to manage your web server PHP and MySQL database server) as well as Apache, PHP and MySQL.
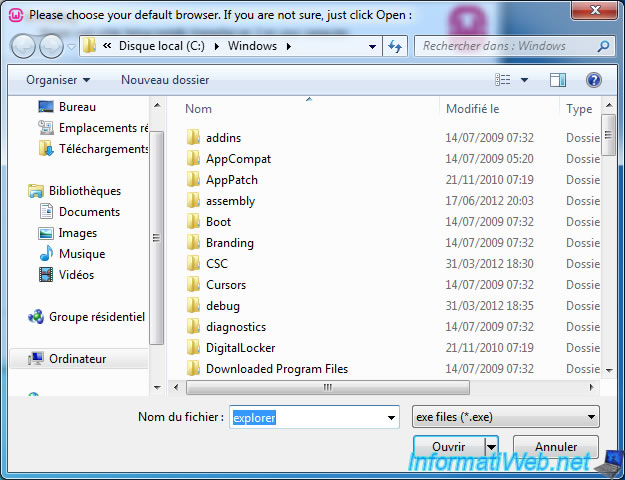
By default, the program used to access your site via the menu of WAMP is Internet Explorer. To leave this default setting, just click "Open".
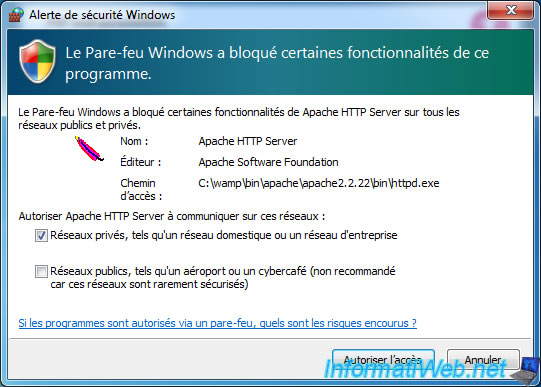
Your firewall detects normally that Apache tries to act as a server and that therefore need to be allowed in your firewall (either the Windows or the solution Internet Security).
Click "Allow Access".
Enter the address of an SMTP server (such as your ISP for example) and your email address. These parameters are used in the "mail()" function in PHP used to sent mail from a Web server.
Note : Under Windows XP, it is possible to install an SMTP server through IIS. Be careful though not to install the SMTP and not the IIS Web server functionality because it will create a conflict with WAMP in the sense that the Web server uses the same port that we install (ie Apache).

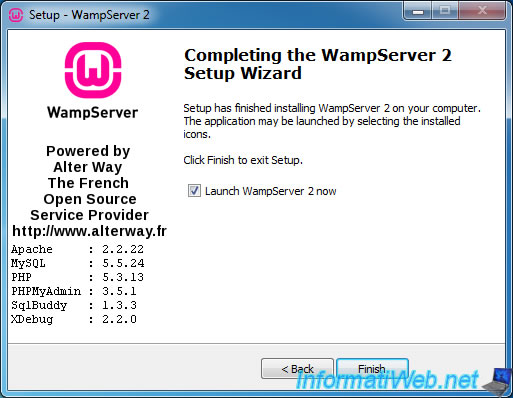
Once installation is complete, leave the box checked and click "Finish".
Then, if you want your Web server is accessible on your local network and / or from the Internet, click the Apache icon and click "Put Online".
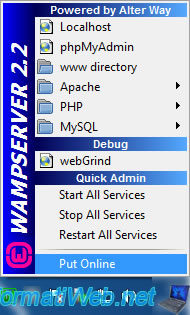
If all goes well, the WAMP icon will become green : ![]() .
.
3. Configuring WAMP
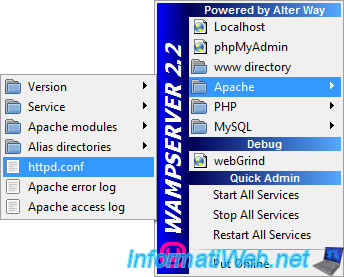
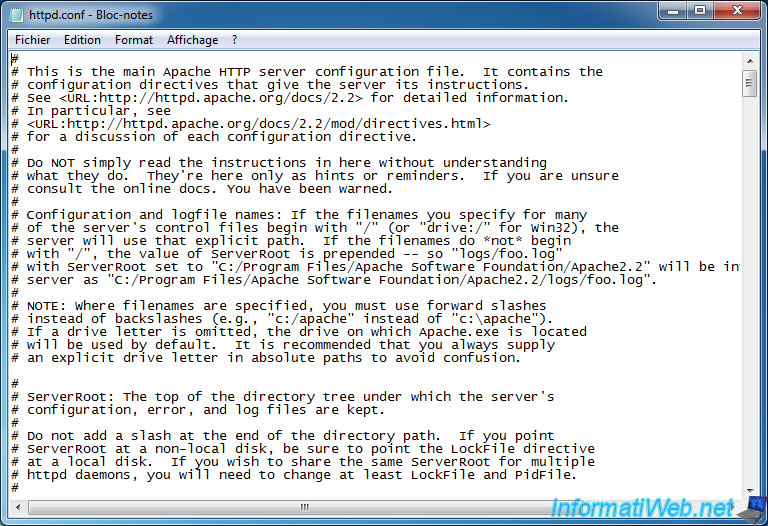
To configure the Apache server, click the WAMP icon and then go to the Apache menu. Then click "httpd.conf" file to open the Apache configuration.
The appearance of the Apache configuration file may differ depending on the version thereof.
The configuration file is opened via the text editor by default. By default, this is the notebook, unless you install "Notepad ++" or other similar software.
Some practical options that you can change in this Apache configuration file :
Apache
# Change the server port. By default, Web servers listen on port 80 which corresponds to the HTTP protocol.
# WARNING : If you change the port No. you must also change the line "ServerName ... : 80"
Listen 80

# Change E-mail address of WebMaster
ServerAdmin vous@gmail.com

# Change the server name (Not recommended to change it locally unless you have a field on a network installed on your local DNS server)
# To install a DNS server on Windows Server, follow the following tutorial : http://www.informatiweb.net/tutoriels/78--windows-server-2008-dns.html
# Use this if you have a registered domain name on the Internet (as a Registrar at OVH, LWS.fr ...).
Apache
ServerName localhost:80

# (Optionally) Change the path to the folder of your site (not suitable if you want to use Virtual Host (multiple sites) and they are already configured)
  DocumentRoot "c:/wamp/www/"
  # And this line "<Directory "c:/wamp/www/">" after the block <Directory /></Directory>
  <Directory "c:/wamp/www/">
  # Note that "/" are in the opposite direction compared to Windows "\". This is because Apache is the Linux world.
  # CAUTION :
  # - Do not delete the "/" at the end of the path!

  # Edit the index files for folders (No be useful in some cases).
  # Note : With Apache 2.2, this line is now between the following tags "<IfModule dir_module>" and "</IfModule>".
  DirectoryIndex index.php index.php3 index.html index.htm
Share this tutorial
To see also
-
Web 12/17/2011
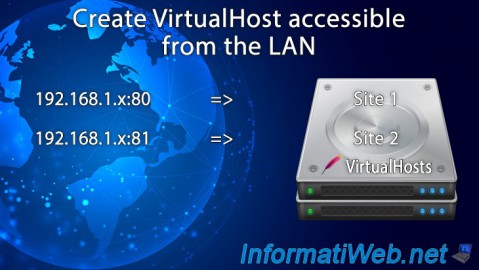
Create VirtualHost accessible from the local area network
-
Web 1/11/2011
WAMP - Install a complete web server with WAMP 2.0
-

Web 9/17/2010
Web servers - Install PHP 4 and 5 on the same server
You must be logged in to post a comment