Installing WAMP 2.2, 2.4 or 2.5 and its add-ons
- Web
- Web servers
- 02 March 2013 at 19:36 UTC
-

- 2/2
4. Installing Add-ons (Optional)
WAMP easy to install older versions of Apache (web server), PHP (module linked with Apache, which allows to create dynamic sites such as blogs, forums or other custom sites) and MySQL (the database server). This allows for example to reproduce as faithfully as possible your accommodation online or be compatible with older PHP scripts ...
To install, nothing more simple. Just download the version of Apache, PHP or MySQL from sourceforge and want to run the file you just downloaded.
Warning : some Apache versions are not compatible with some versions of PHP and vice versa.
In this tutorial we will show you how to install an older version of Apache and configure WAMP to use it.
Note : If you want to download the same version of this add-on in this tutorial, then click here. But know any time it is recommended to use the latest versions of programs you use because maybe they have flaws and bugs that will be fixed over time as versions.
Warning :
When we realized this tutorial, we went accounts that some add-ons created at the time of the "2.0" version of WAMP were no longer compatible with the "2.2" version. This warning is not present on their official website but know that our tests are always done on new machines installed for a specific tutorial and that it therefore can not come from another program that created a conflict with it.
For example, the Add-on Apache 2.0.63 does not work with WAMP 2.2, for against the Apache 2.2.10 (OpenSSL) works well with this new version.
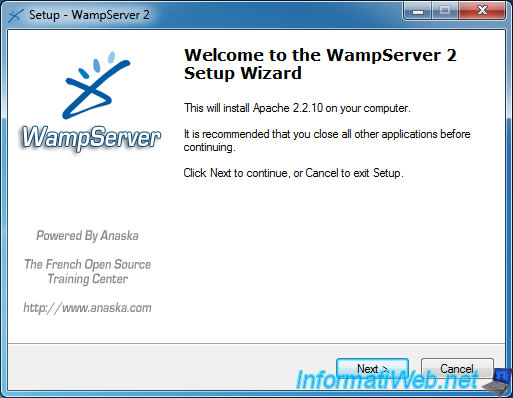
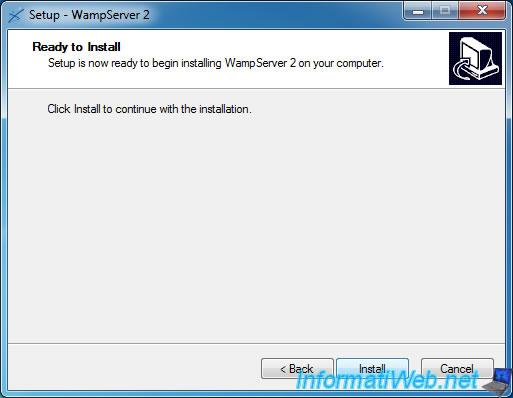
The installation folder of WAMP is automatically detected by the system and you just remains to click on the "Install" button wizard.
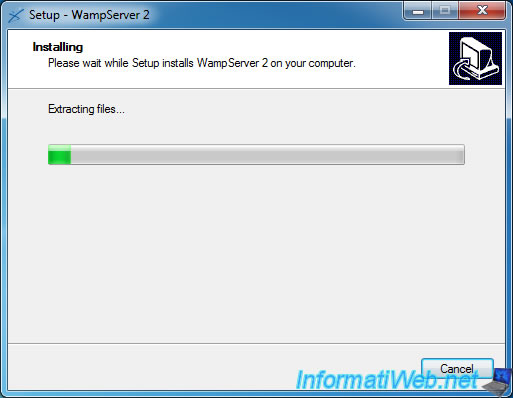
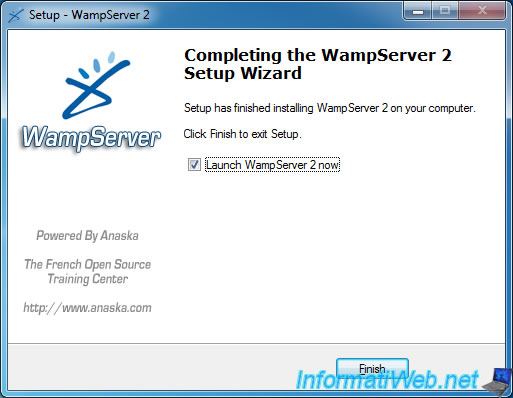
Leave the box checked.
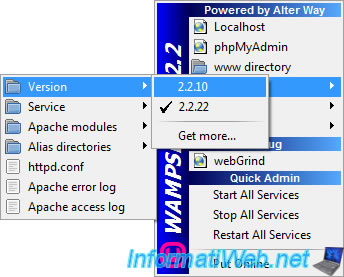
Then click on the WAMP icon and go to Apache -> Version -> (Installed version. In our case, 2.2.10).
The WAMP icon is then passed through the red, orange and if all goes well, this icon back to green ![]() .
.
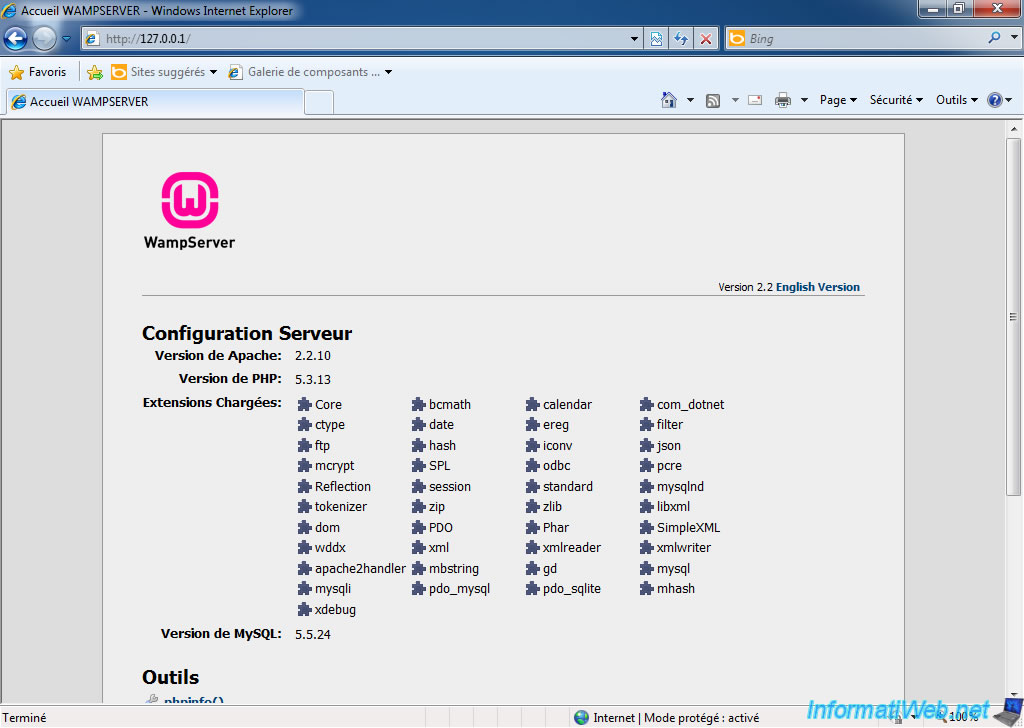
Just to show you that it works, here is a screen printing (print-screen) to the home page of WAMP that tells you that the version of Apache is passed to "2.2.10".
5. Configuring "Virtual Host" (If you want more sites)
Since Apache 2.2 Virtual Hosts configuration is now done in a separate, named "httpd-vhosts.conf" file.
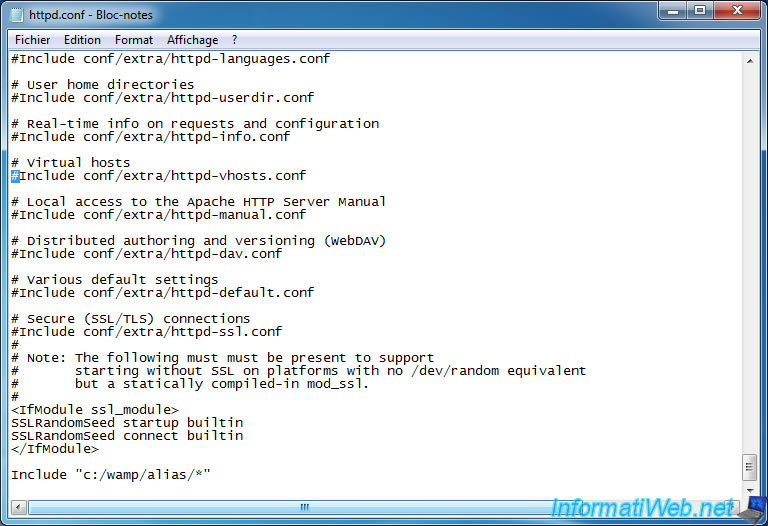
To enable them, you must uncomment the line "Include conf/extra/httpd-vhosts.conf" (remove the #) which is towards the end of "httpd.conf" file.
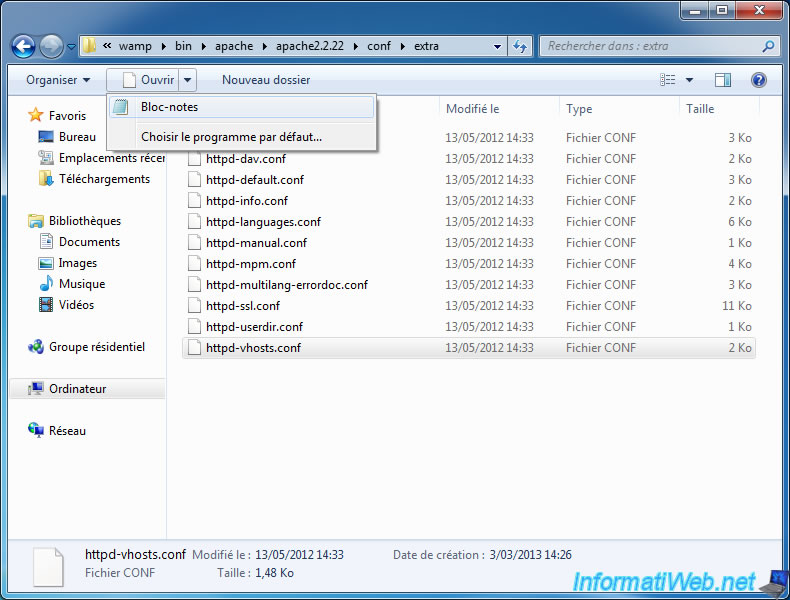
Then go to the "C:\wamp\bin\apache\apache2.2.22\conf\extra" folder and select the "httpd-vhosts.conf" file. Then click "Open" (in the top bar) and click on "Notepad" (or your preferred as NotePad ++ text editor for example).
The configuration file Virtual Hosts appears.
The number of "Virtual Host" is unlimited and each "Virtual Host" refers to a site.
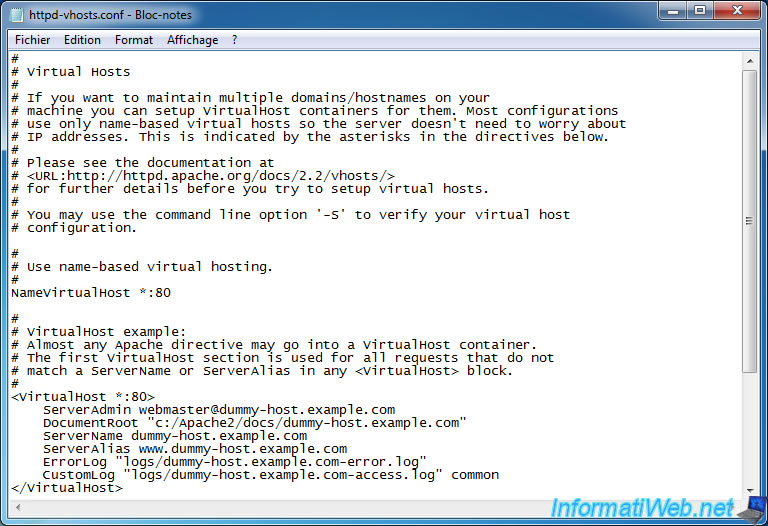
Since Apache 2.2 Virtual Hosts are not commented by default because this file is not included by default.
Warning :
- Do not change the characters in Red
- Do not remove the Virtual Host called "server, because it corresponds to the site root folder If no Virtual Host is associated with the root folder, the VirtualHost will not work.
- Change the port if needed and the path of the root folder configured in the previous step does not correspond
The "DocumentRoot" each Virtual Host must be a subfolder of the root folder configured in the "httpd.conf" file.
Example :
DocumentRoot c:/Wamp/www
...
<VirtualHost nom_du_site_1:80>
DocumentRoot c:/Wamp/www/nom_du_site_1
...
<VirtualHost nom_du_site_2:80>
DocumentRoot c:/Wamp/www/nom_du_site_1
...
Here is the part of the file on the Virtual Host with the values to change :
### Section 3: Virtual Hosts
#
# VirtualHost: If you want to maintain multiple domains/hostnames on your
# machine you can setup VirtualHost containers for them. Most configurations
# use only name-based virtual hosts so the server doesn't need to worry about
# IP addresses. This is indicated by the asterisks in the directives below.
#
# Please see the documentation at
# <URL:https://httpd.apache.org/docs/2.0/vhosts/>
# for further details before you try to setup virtual hosts.
#
# You may use the command line option '-S' to verify your virtual host
# configuration.
#
# Use name-based virtual hosting.
#
NameVirtualHost serveur:80
#
# VirtualHost example:
# Almost any Apache directive may go into a VirtualHost container.
# The first VirtualHost section is used for requests without a known
# server name.
#
<VirtualHost serveur:80>
DocumentRoot c:/Wamp/www
ServerName serveur
DirectoryIndex index.html index.php
</VirtualHost>
NameVirtualHost site_name_1:80
<VirtualHost site_name_1:80>
DocumentRoot c:/Wamp/www/Name of the root folder of the site 1
ServerName site_name_1
DirectoryIndex index.html index.php
ServerAdmin admin_site1@gmail.com
</VirtualHost>
NameVirtualHost site_name_2:80
<VirtualHost site_name_2:80>
DocumentRoot c:/Wamp/www/Name of the root folder of the site 2
ServerName site_name_2
DirectoryIndex index.html index.php
ServerAdmin admin_site2@gmail.com
</VirtualHost>
Note : Don't add "/" at the end of the line "DocumentRoot ..."
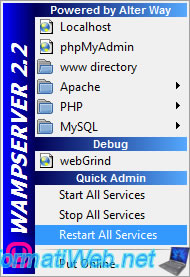
Then restart the Apache server (or all services if you wish), by going to the menu of WAMP. Click "Restart All Services".
This will effectively take into account changes.
6. Configure the hosts file
So you can access your Virtual Host from your computer (only), you must modify your hosts file. This will allow you to point the nameservers we just configure the IP address where your Web server. The IP to access locally is "127.0.0.1".
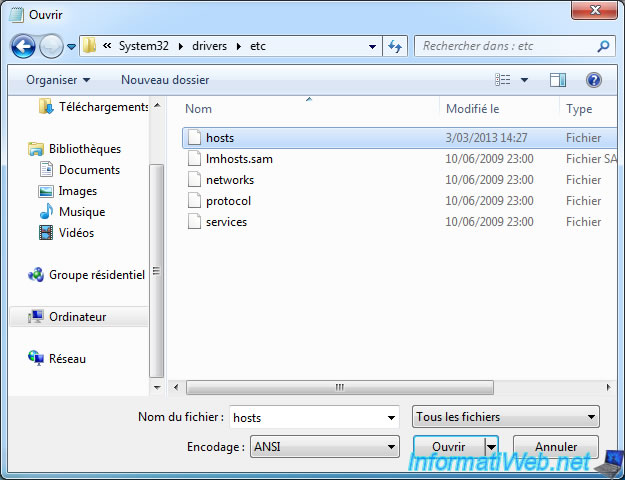
This file is in the folder "C:\Windows\System32\drivers\etc" and is called "hosts" with no extension.
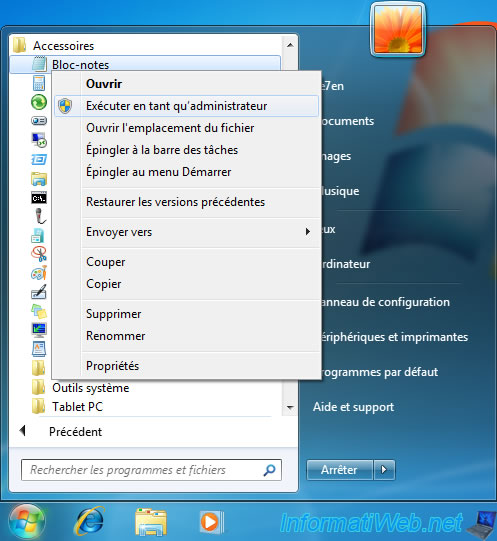
Note : On Windows Vista, Seven and 8, you need to run Notepad as an Administrator to modify this file. Otherwise you will not have the right to save the changes you have made.
The file to edit does not have an extension, so you have to select "Files of type : All Files" for this file is displayed.
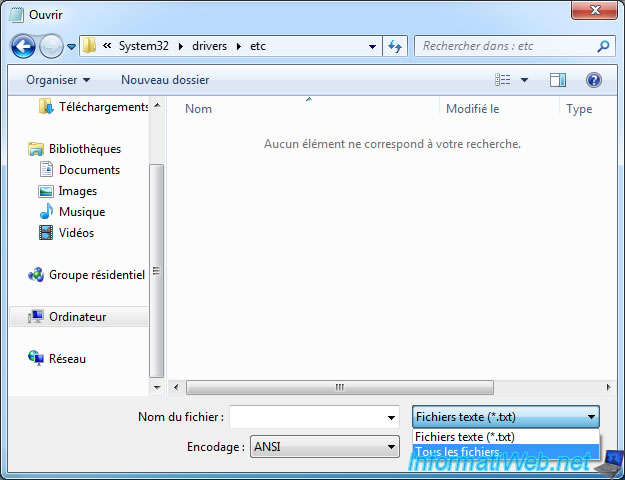
Then click the "hosts" file and click the "Open" button.
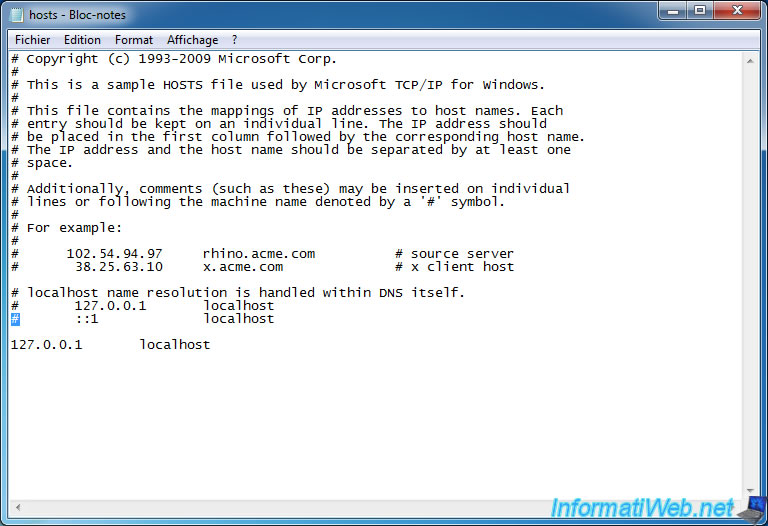
If the line "127.0.0.1 localhost" is not present after starting with a "#" lines, you must uncomment the line "# 127.0.0.1 localhost" by removing the "#".
If you have a line "# ::1 localhost", uncomment also. This is actually the IPv6 version of the previous line.
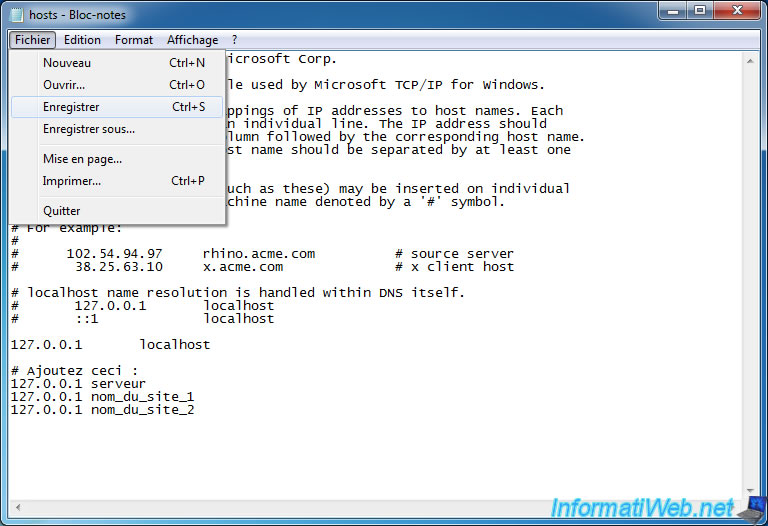
Then add the list of your servers following file :
127.0.0.1 serveur
127.0.0.1 site_name_1
127.0.0.1 site_name_2
Note :
- If you are unable to save the changes is that you have not run Notepad as Administrator. You do not have permission to edit this file.
- It is possible that your anti-virus or firewall detects the attempt to modify this file. Authorize the modification, if your Virtual Hosts will not work.
Avira Anti-virus, Zone Alarm Firewall and probably other attempt to detect this change.
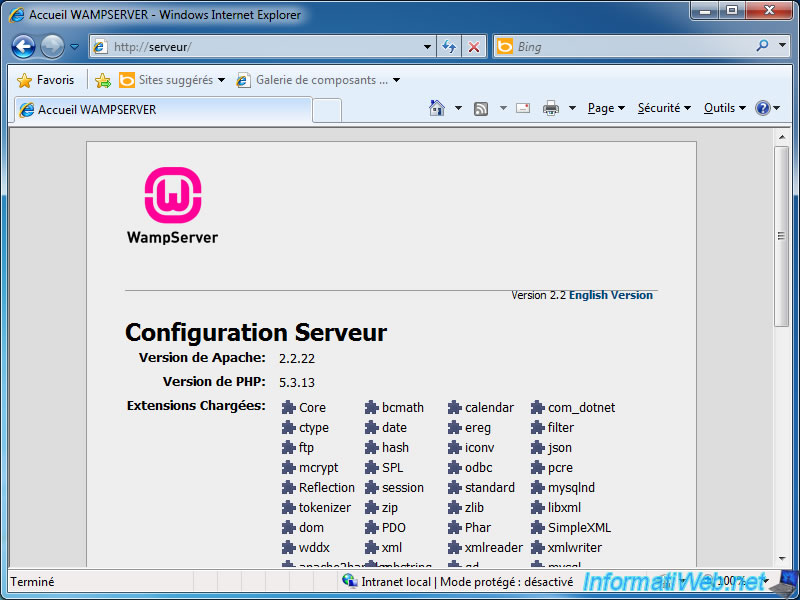
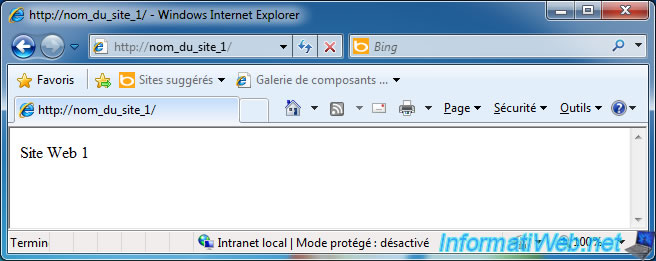
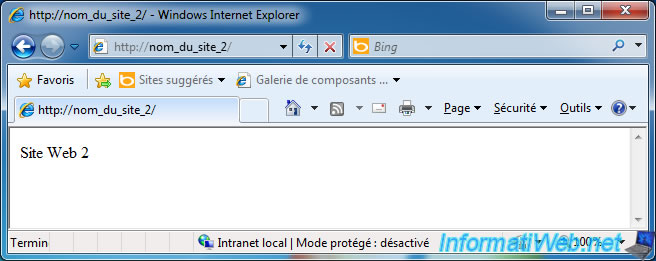
Once setup is complete, here's a preview of what you will :
Share this tutorial
To see also
-
Web 12/17/2011
Create VirtualHost accessible from the local area network
-

Web 1/11/2011
WAMP - Install a complete web server with WAMP 2.0
-

Web 9/17/2010
Web servers - Install PHP 4 and 5 on the same server
No comment