Create skins for TrackMania Forever (TM Forever) cars
- TrackMania
- 03 December 2012 at 15:57 UTC
-

- 2/6
Part I: The departure:
We will group in a folder and extract what interests us:
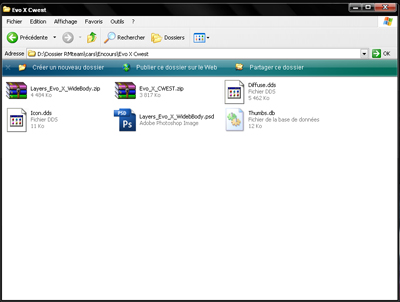
We will open the template.psd. Here we are in front of a file with two layers, one named wire and one named prelight.
First thing, we will resize the template because it is in 4096 * 4096.
Quote:
Press CTRL + ALT + i to open the resize menu and set it to 2048 * 2048 pixels.
Using the icons, we will create three empty folders and a layer.
We will place and name them as follows:
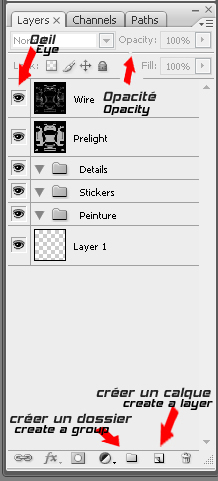
Quote:
Photoshop reflected by superimposed layers. the one above is therefore displayed as a priority.
Now we will reduce the opacity of the wire to 50%. For the prelight we will click on the eye to hide it for now. Now select your layer at the bottom of the layer list. We are going to apply a color.
Quote:
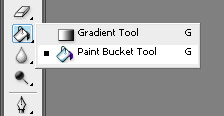
To fill a layer quickly, you can use the paint bucket:
Here is the result on the screen:
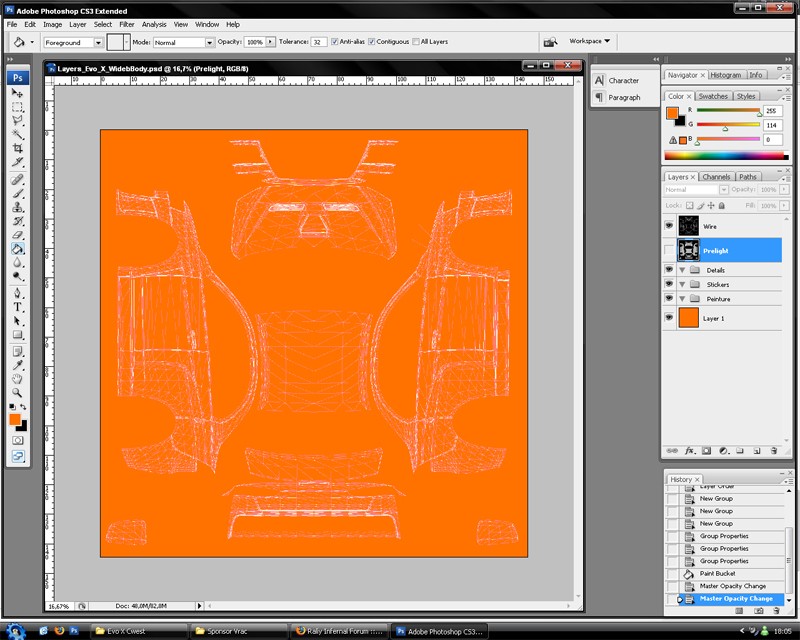
We will re-display the prelight (with the eye). Double click on the "prelight" layer in the list of layers; this menu will open.
This menu is also available in "Layer / Layer style
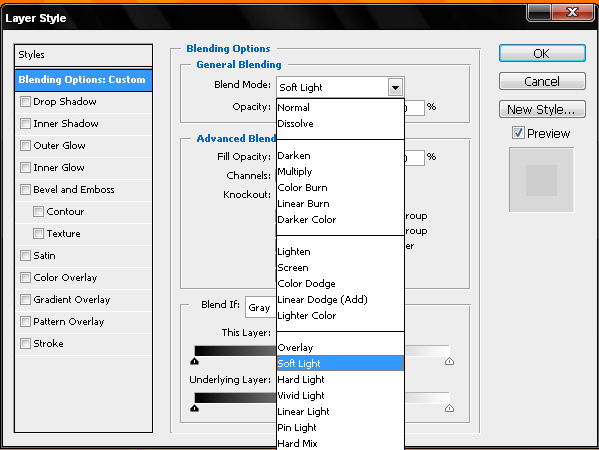
It is a question of modifying the fusion mode of the prelight. In this case it is "soft-light (English version)" which sticks well, because the color is clear. But depending on the background color, you have to test the other types of fusion and find the most suitable.
Here is the result:
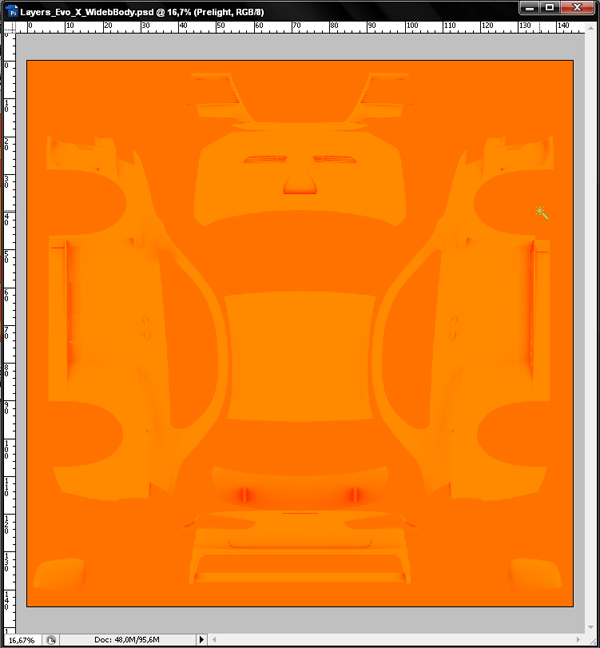
Quote:
If you are really stuck, or curious Mr. Green, you can download my .psd files at different stages of the tutorial.
: IG rendering at this step :
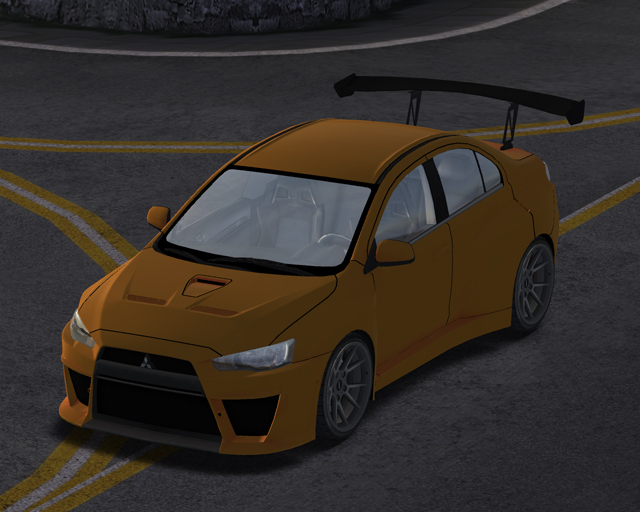
Quote:
Click to download the psd file at this point by Peper
It's not so bad.

No comment