Create skins for TrackMania Forever (TM Forever) cars
- TrackMania
- 03 December 2012 at 15:57 UTC
-

- 3/6
Part II: Painting :
We will now create the details of the painting. Open the "Paint" folder in the list of layers.
First, we will do the Carbon hood.
To do this, open the carbon file in Photoshop. Select the layer in the list of layers, and drag it into your skin window.
There is now a carbon layer in the paint folder.
Here is your layer list:
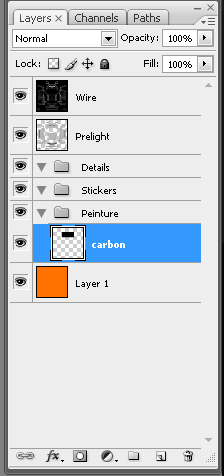
To move the layer to the desired location, i.e. on the cover, you must select it in the list of layers.
Quote:
Keep CTRL pressed to move the selected layer
Press CTRL + t to manually modify the shape of the layer and its size
Place your carbon, thanks to the wire, on the hood:
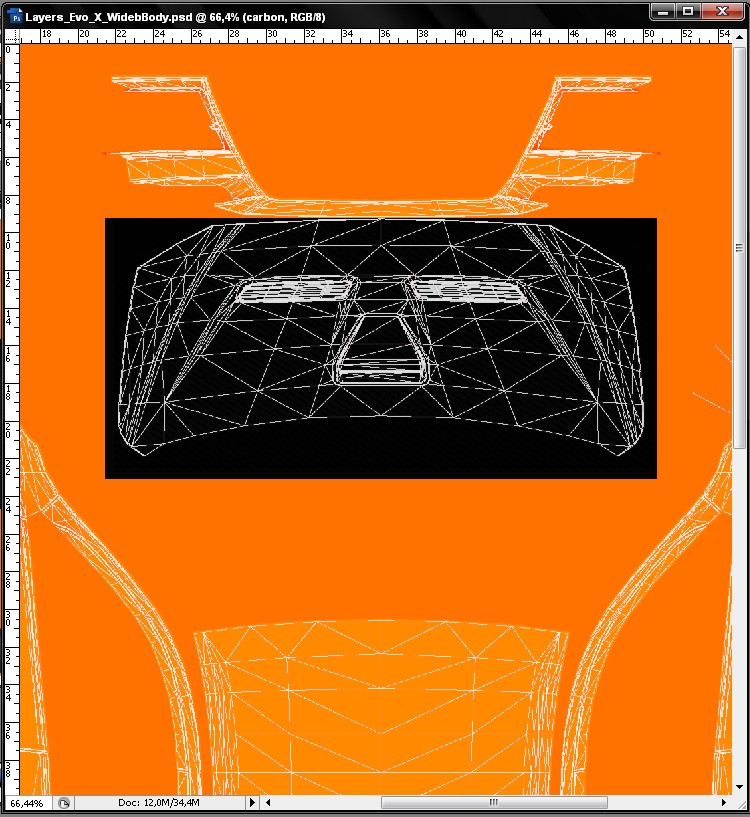
Quote:
To zoom in on your file, hold down Alt and zoom in with the mouse wheel
The carbon you downloaded in my example is too light to be applied as well. We are going to apply a dark gray color to it. To do this, double-click on the carbon layer in the list of layers to open the layer menu.
Adjust as follows:
Inlay a dark gray and set the opacity to 85%
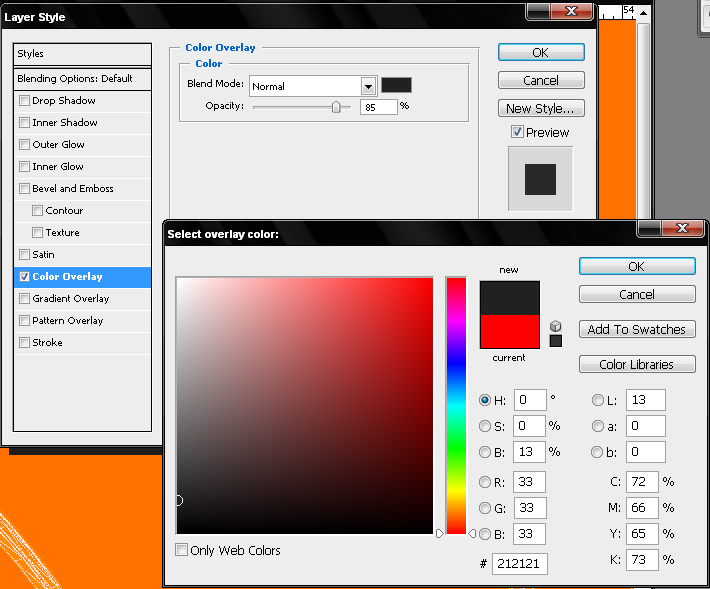
The texture will be much more realistic. ;-)
Quote:
It should be understood that only the areas defined by the wire will actually be displayed on the 3D model. So you can display anything on the empty areas (the black one on the prelight).
However, on some older carpark models, the junctions are not perfect. So do not hesitate to go over the edge a little to be sure.
: IG rendering at this step :
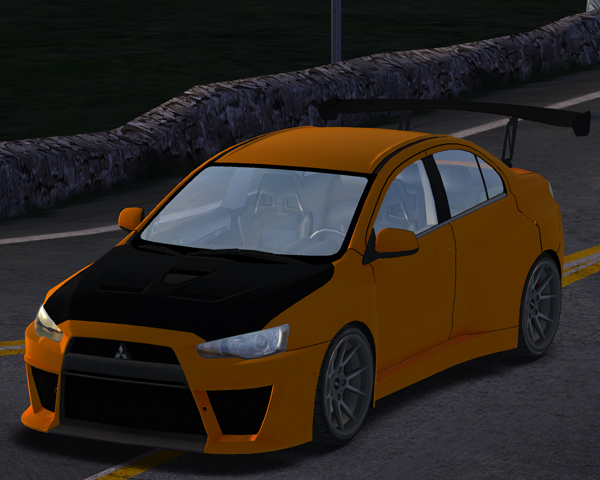
Quote:
It is important to understand the deployment of your 2D skin on a 3D model.
We will now tackle the carbon sills too.
In the folder "Painting" created a new blank layer.
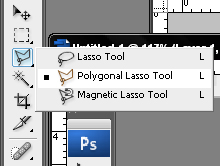
Thanks to the polygonal lasso tool, we will cut the area on which we will apply the same carbon texture as on the hood.
So we start by duplicating the cover layer:
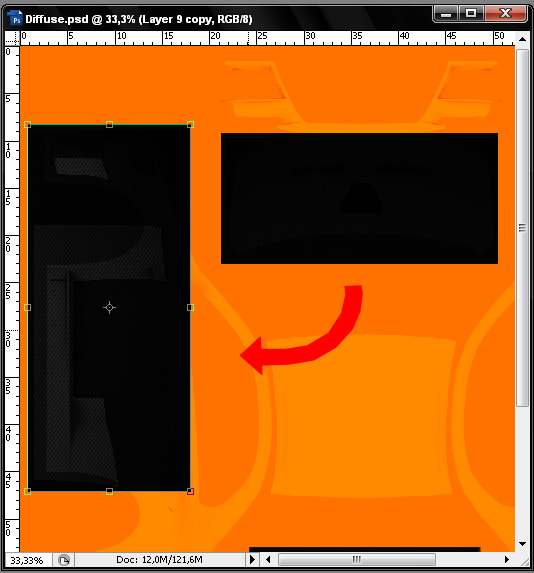
We select the polygonal lasso:
Here is the area to select:
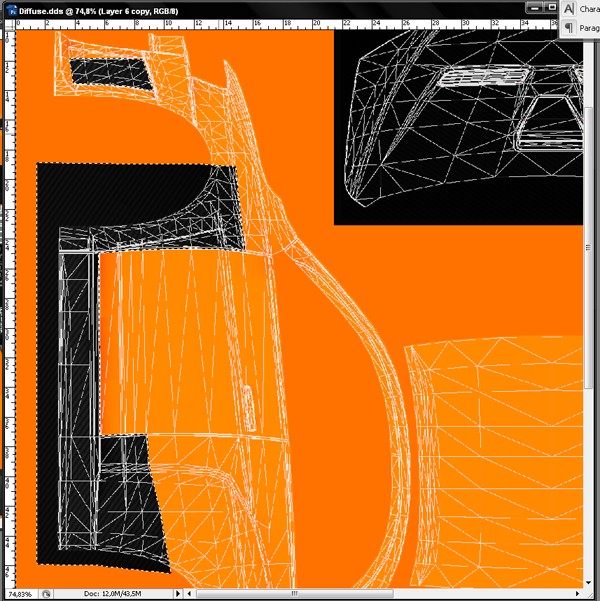
Once this zone has been defined, we will delete the zone outside of this selection using the Delete key.
Quote:
To reverse a selection do CTRL + Shift + i
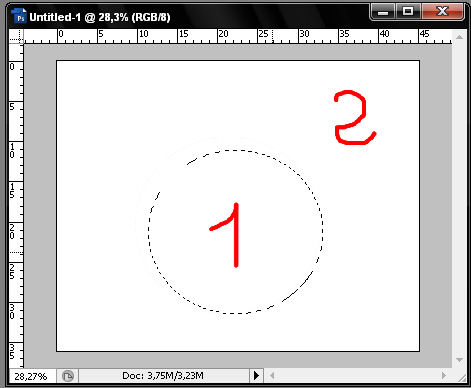
We will thus go from zone 1 to zone 2
Quote:
: sm6: To duplicate a layer on the other side of the car:
1 - Duplicate the layer
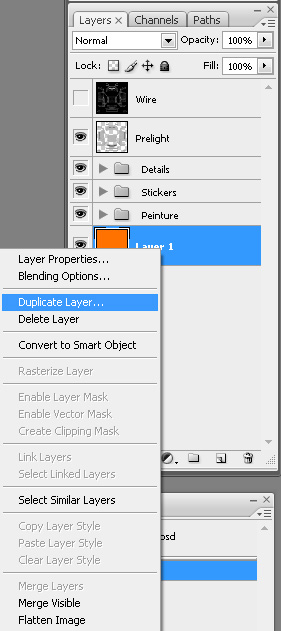
2 - Do CTRL + t (for manual transformation) then right click in the layer area to open the menu and rotate on its axis to put it in the right direction
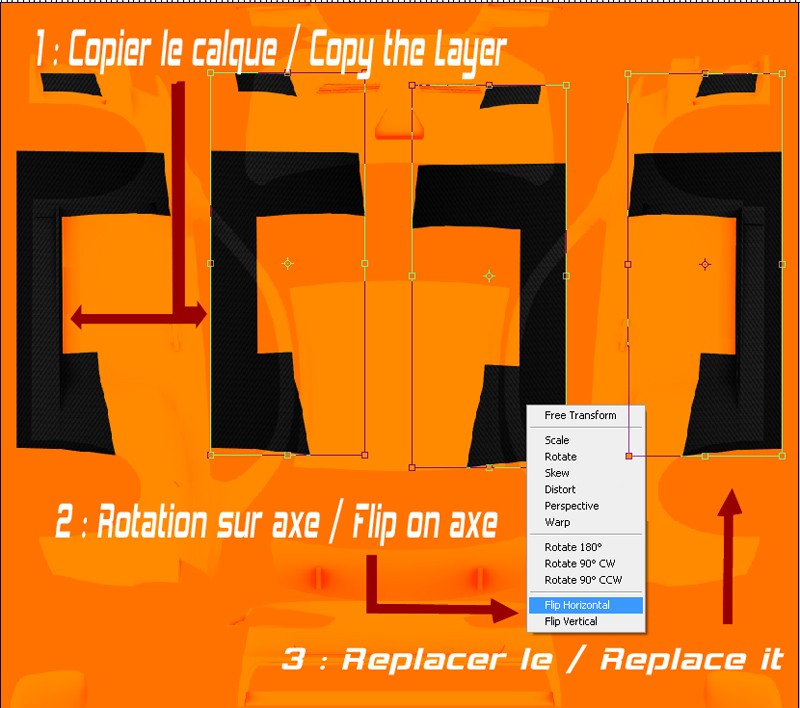
However, the two side faces (the right side and the left side) are not necessarily placed symmetrically. Sometimes you need to print a small rotation to obtain perfect symmetry Right / Left
Quote:
To move a layer on a fixed horizontal or vertical axis (basically to stay in a straight line), keep Shift pressed while moving the layer.
If necessary, you can combine CTRL + Shift to move a layer vertically or horizontally.
We take this opportunity to make the mirrors at the bottom left and right and the trunk. In short, we must have something like this:
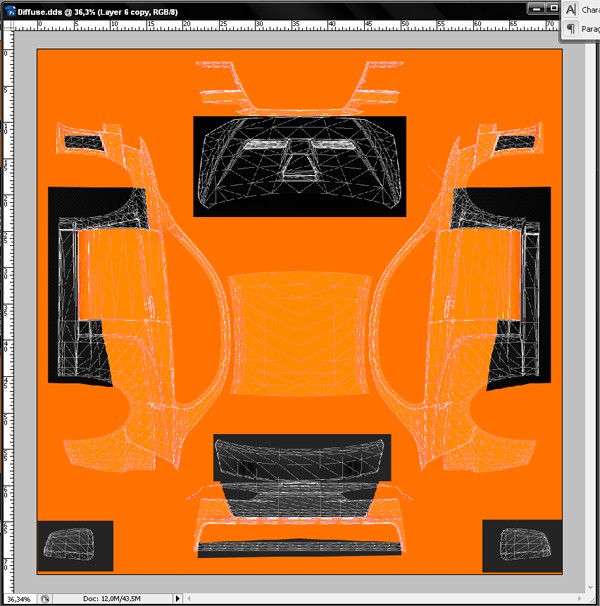
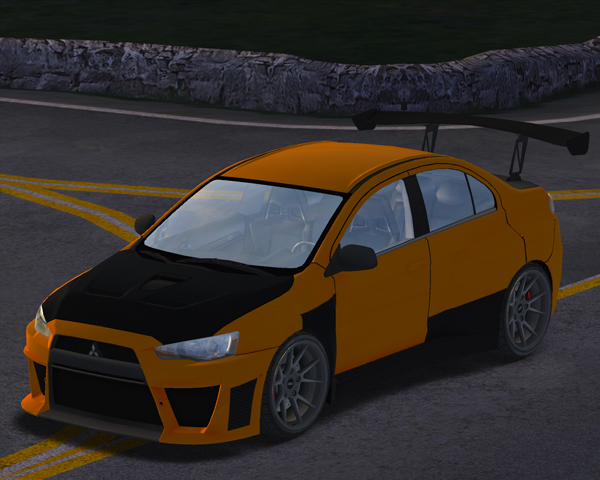
: IG rendering at this step :
Now let's take care of the gray areas. We create a new layer in the "Painting" folder. This time we will place this layer below the previous layer (carbon underbody).
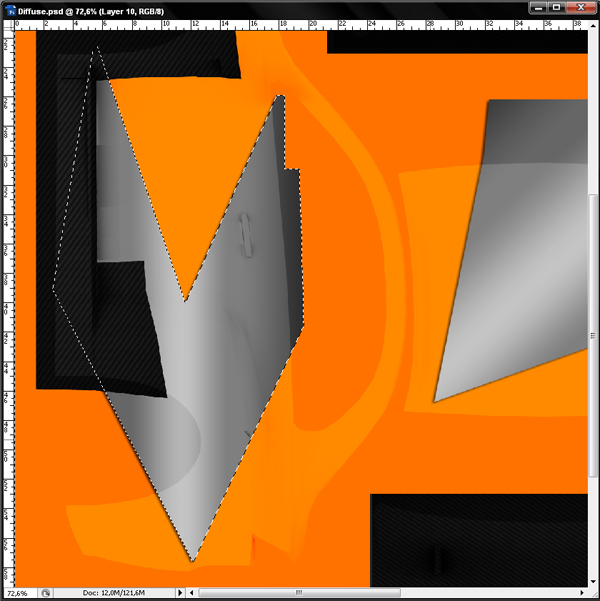
Still with the polygonal lasso, we are going to make a shape (a kind of letter V crooked) as follows and paint it in gray.
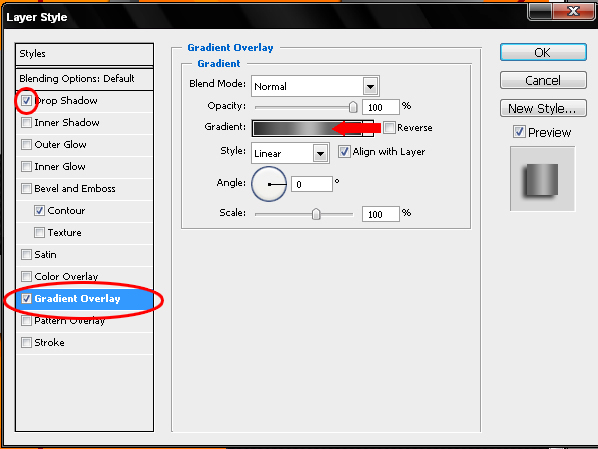
We will add shading effects, as well as a gradient color via the "Layer style" menu by double clicking on the layer in the list of layers.
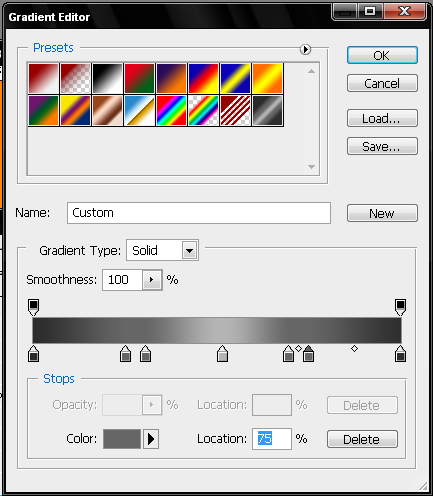
Double click in the rectangle to define the parameters of the gradient.
Now we just need to duplicate this gray layer on the roof and on the other side.
Quote:
Your layer on the roof will not be in the same axis as those on the sides. Remember to change the angle of the gradient in the "gradient overlay" options in the layer style menu.
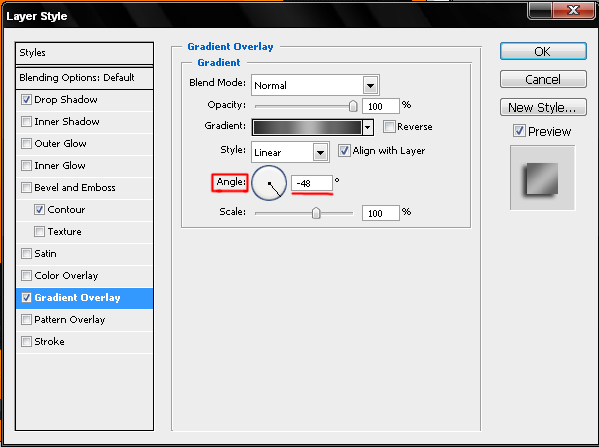
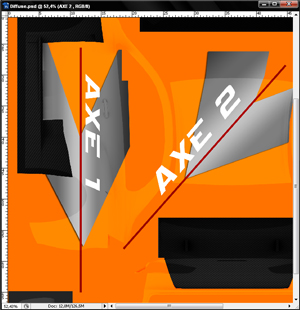
On this gray area, we will insert small Cwest logos:
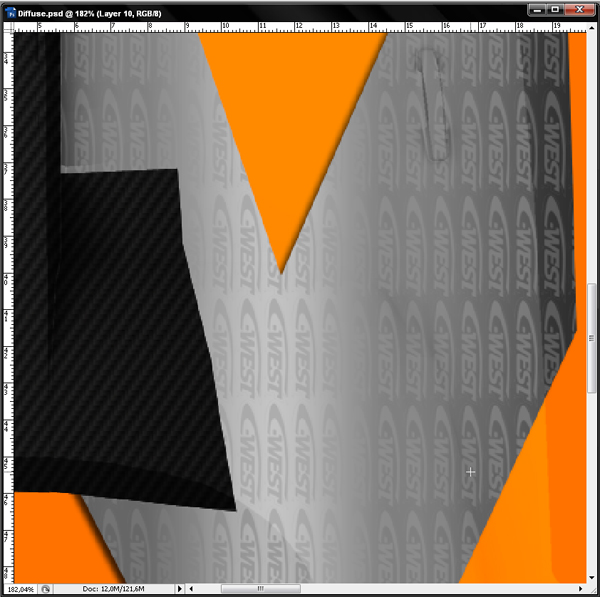
For this, we will download a Cwest logo.
Quote:
For the logo search, Google Image is your friend.
Do a suitable search, such as: "marqueX", "marqueX logo", "marqueX stickers", "marqueX decal" ...
Be careful about the size and quality of the image, however. A 120x50 pixel logo cannot be enlarged without losing quality and being very pixelated.
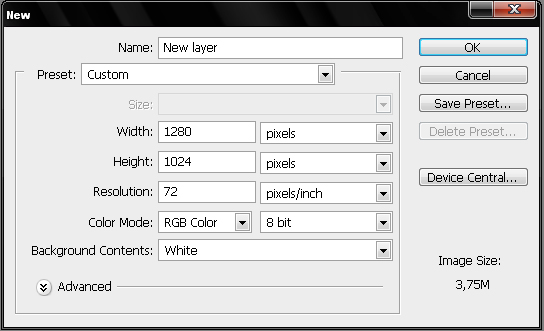
Open the downloaded logo with photoshop. Create a new file (1280 * 1024 pixels) and, as for carbon, drag it into the freshly created blank file.
Quote:
: sm6: To create a new file, press CTRL + n.
Select as follows:
Quote:
: sm6: Some images on the internet are indexed (notably a lot of Gifs) so to drag the image, first do: CTRL + a to select everything then CTRL + drag the image
On the new file, hide the background with the eye.
Select the Magic Wand tool:

Quote:
In the menu bar there is a setting called Tolerance.
![]()
This tool selects a group of pixels with a similar color.
tolerance 0 (min): Select only the parts having strictly the same colors
tolerance 100: Selects a wider color range, therefore the same area plus the outlines whose colors are close
tolerance 255 (max): Select all the color ranges and therefore your entire layer
Select the white outline of the stickers (tolerance 30):
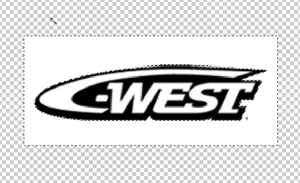
Then do Delete:
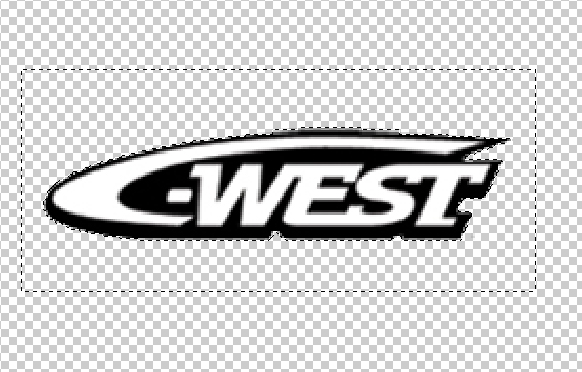
Quote:
To select multiple zones with the magic wand, keep Shift pressed.
To delete zones with the magic wand, keep Alt pressed
Now we are going to duplicate this layer on the whole page.
Quote:
To merge multiple layers together, keep CTRL pressed and select the layers from the layer list. Right-click on one of the layers selected in this list and choose "merge layers".
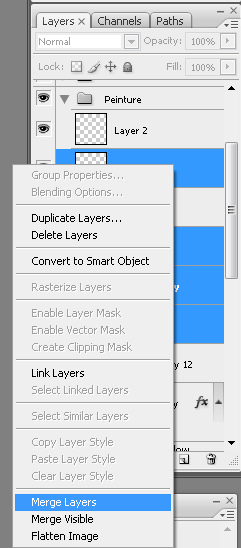
Quote:
Duplicate once the layer and shift the new layer, then with CTRL select the two layers containing the stickers. Merge them, with right click on the layers in the list of layers. Repeat the operation with twice as many duplicated logos. (this sentence probably doesn't make sense ...)
In short, here is the result:
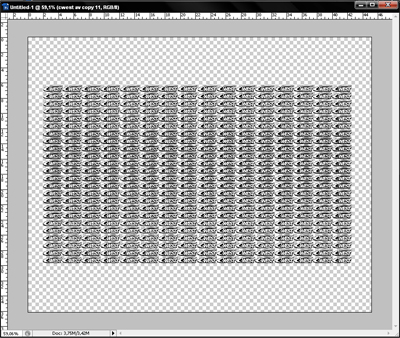
We drag this layer 3 times on the file of our skin. We reposition them with CTRL + t.
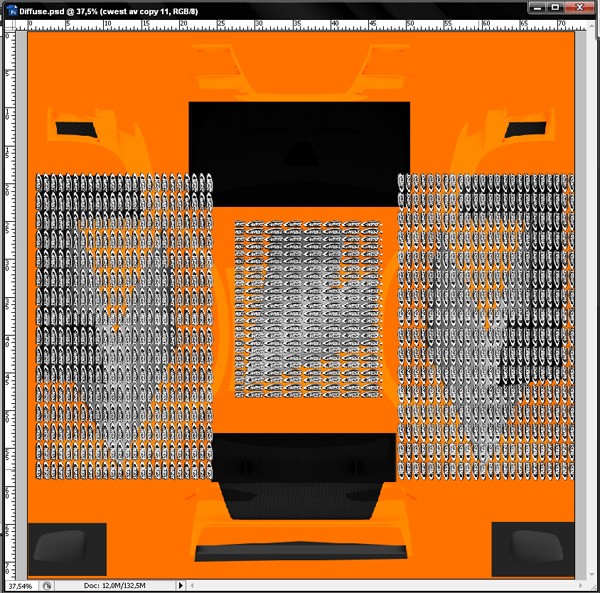
Now we will cut these layers with the Cwest logos so that they only appear on the gray parts. Attention it is sporty
Select a layer with the gray parts (sides and roof) from the layer list. With the "Magic Wand" tool, select the empty area around the gray shape. A selection will then surround the part that interests us.
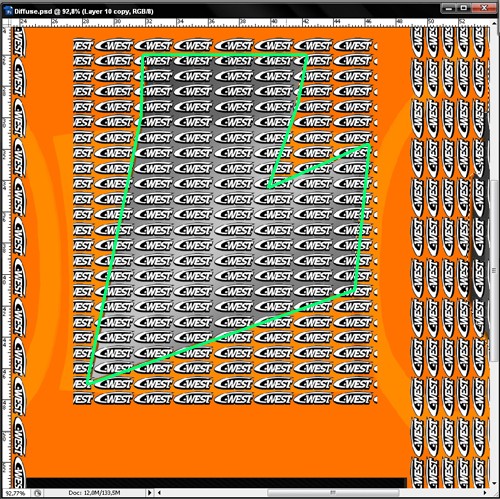
Now while keeping this selection we will select the layer with the Cwest stickers which is above this area and press Delete.
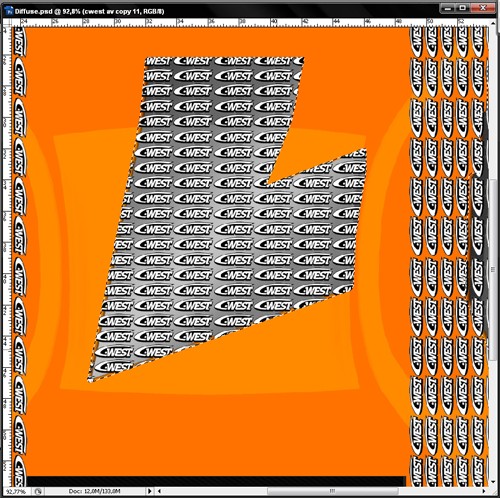
Repeat the operation on each gray part.
Result:
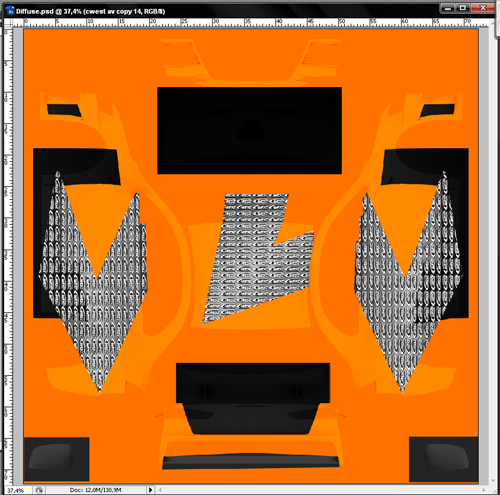
Merge the 3 layers with the Cwest logos. Now double click on it to open the menu. We are going to change the merge options to get something discreet.
Like this:
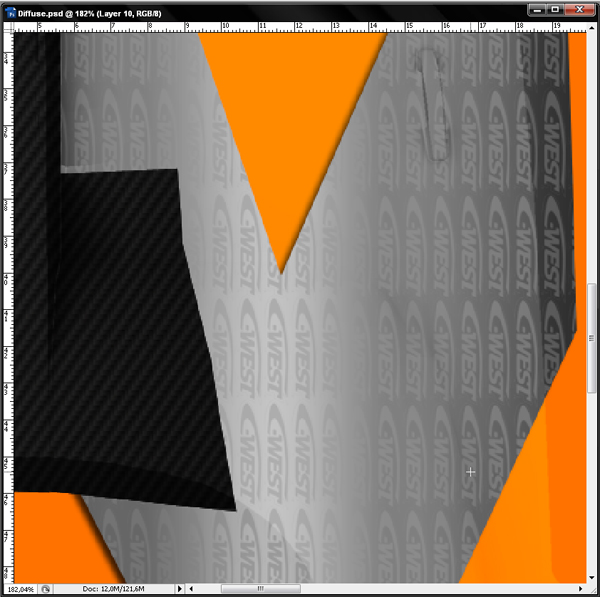
: IG rendering at this step :
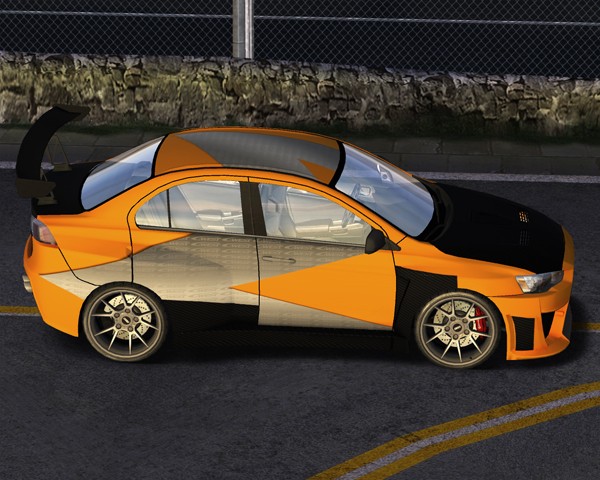
: Road safety :
Quote:
: sm6: Every two hours, a break is essential!
Ha! We have the right end.
No comment