Create skins for TrackMania Forever (TM Forever) cars
- TrackMania
- 03 December 2012 at 15:57 UTC
-

- 4/6
Part III: The Stickers :
Now what could be simpler for you than to come and affix your stickers on this base.
Again in the stickers folder, I make subfolders: Front, Side, Roof, Arr. (nothing compulsory of course but it is better to spend three seconds making a file than to waste three hours looking for a cursed sticker in the middle of a big list of layers not named ^^).
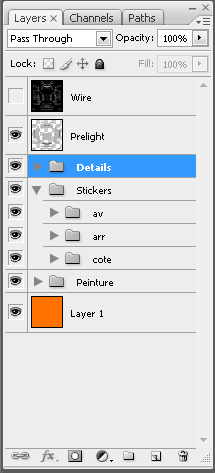
And now we are going to place our stickers. I let you search the stickers a bit on the net to start making a logo bank.
So with a little patience, we get that.
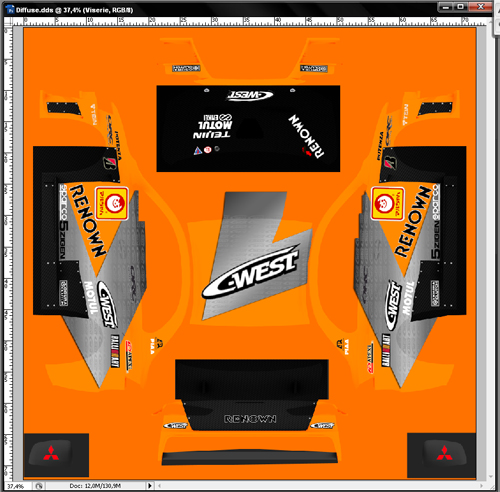
Quote:
For the last details, place screws to hold the carbon plates. You can use this one:
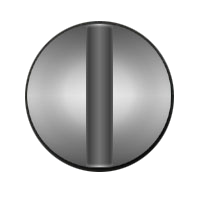
Quote:
Be careful with the volumes of the car. In our case, the mitsu bodykits are rounded on the rear wings.
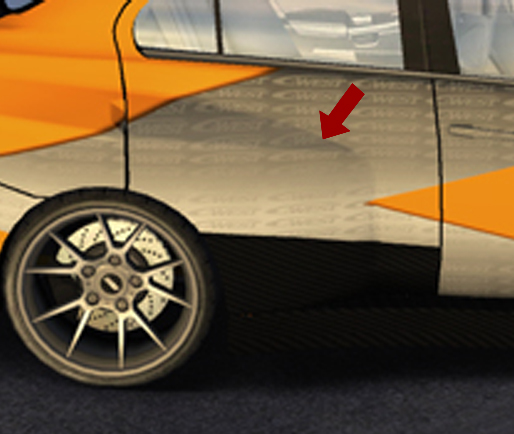
Only we work in 2D us. So always think that the stickers and paints overlapping the curved / flat areas will be distorted.
Quote:
The easiest way to write with effects is to get fonts for Windows in the style you want.
I advise you this free site to fill up on fonts.
To install a font in windows, you just need to download a font on a site, and copy/paste the file police.ttf in: C:\WINDOWS\Fonts
They will install automatically. On the other hand, Photoshop will have to be restarted for them to take them into account.
No comment