Create skins for TrackMania Forever (TM Forever) cars
- TrackMania
- 03 December 2012 at 15:57 UTC
-

- 5/6
Part IV: The alpha channel :
We will now compile all the layers that interest us. For that do not forget to hide the wire, at the risk that it overlaps your entire Creation ...
Right click on one of the layers in the list of layers and make "flatten the image".
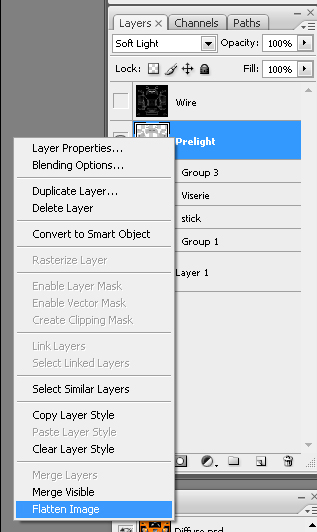
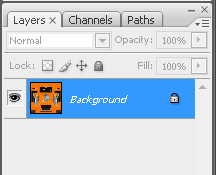
We are left with a single layer, and a small padlock is displayed. Use CTRL + Shift + s to save as.
Now let's go to the Layers / Channel tab
The alpha channel is not a layer itself. It can be found in the "layers" tab.
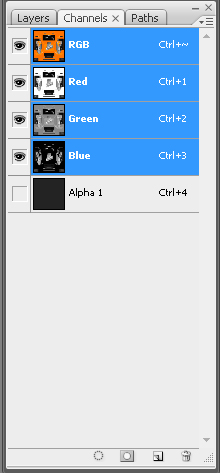
If there is no Alpha layer, create one with the small icon, in the same way as you create a layer. This layer will be named Alpha01 by default.
Quote:
The Alpha layer gives information about the brightness of the texture at a given location. It degrades from white (strong shine) to black (without reflection)
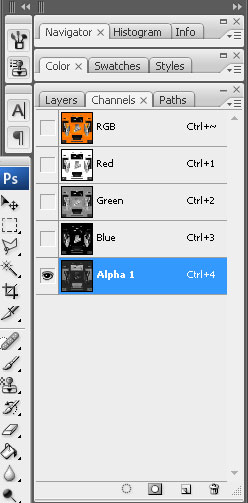
Place yourself on the RGB layer and select the whole area with Ctrl + a, then copy it with Ctrl + c.
Now go to the Alpha layer and press Ctrl + v to paste.
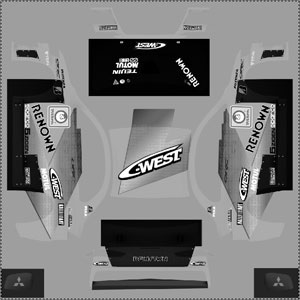
Here is your skin in black and white:
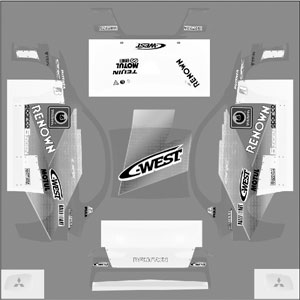
On this Alpha layer do Ctrl + i, to invert the colors:
Here is the result :
We go dark, otherwise the skin will shine a lot ...
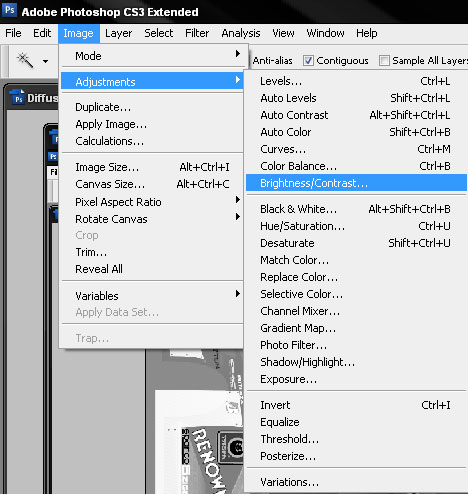
And here is the adjustment to be made:
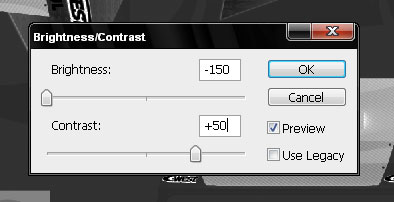
The ideal is to lower the Brightness by 50 again.
It's up to you to try to understand the mechanics of the alpha layer and use it to create texture on your painting ...
I tell you no more.

No comment