Menu
InformatiWeb
  • Index
  • Courses
  • Tutorials
  • InformatiWeb Pro

Login

Registration Password lost ?
FR
  • IT
    • Articles
    • Backup
    • BIOS
    • Live CD
    • MultiBoot
    • Security
    • Virtualization
    • Web
    • Windows
  • InformatiWeb
  • Tutorials
  • IT
  • Others
  • Create a UNIX share (NFS) on FreeNAS
  • Others
  • FreeNAS
  • 17 August 2012 at 15:31 UTC
  • Lionel

Create a UNIX share (NFS) on FreeNAS

Download FreeNAS if you do not have it then, once FreeNAS is installed, open the web interface through your favorite web browser.

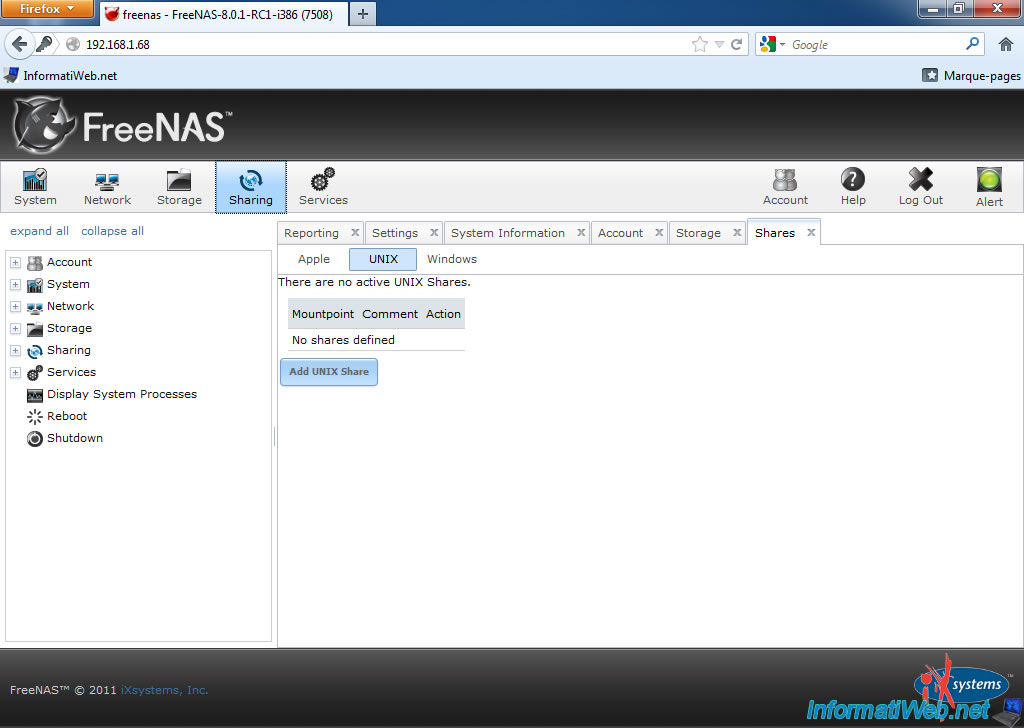
To share a folder with FreeNAS, click "Sharing -> UNIX" and click "Add UNIX Share".

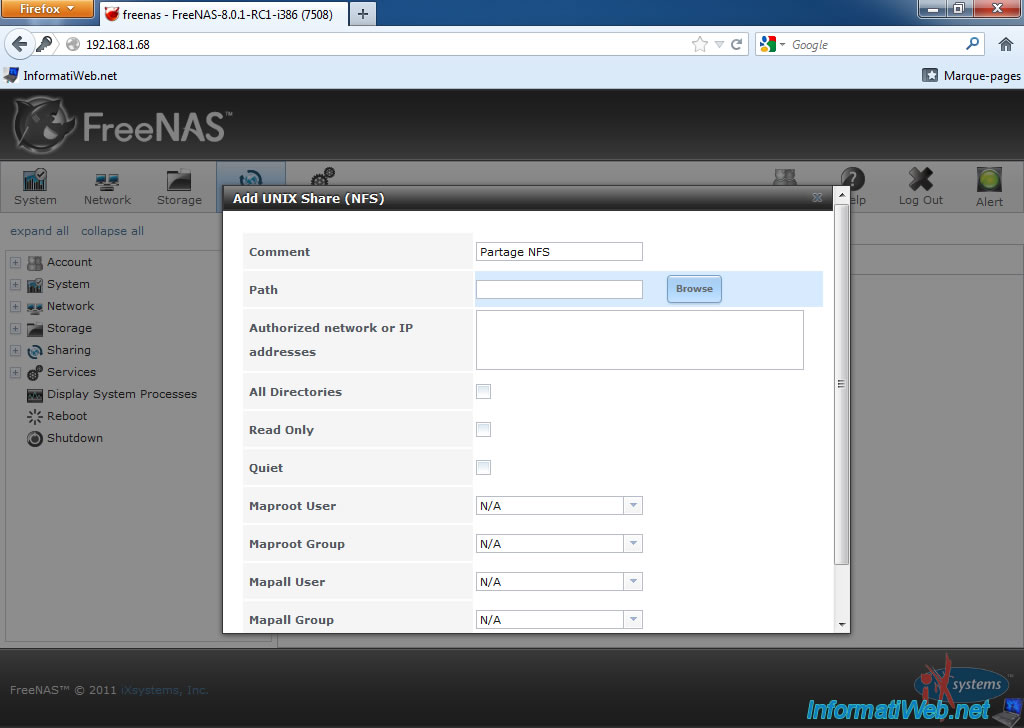
Enter a comment and select the folder to be shared by clicking "Browse".

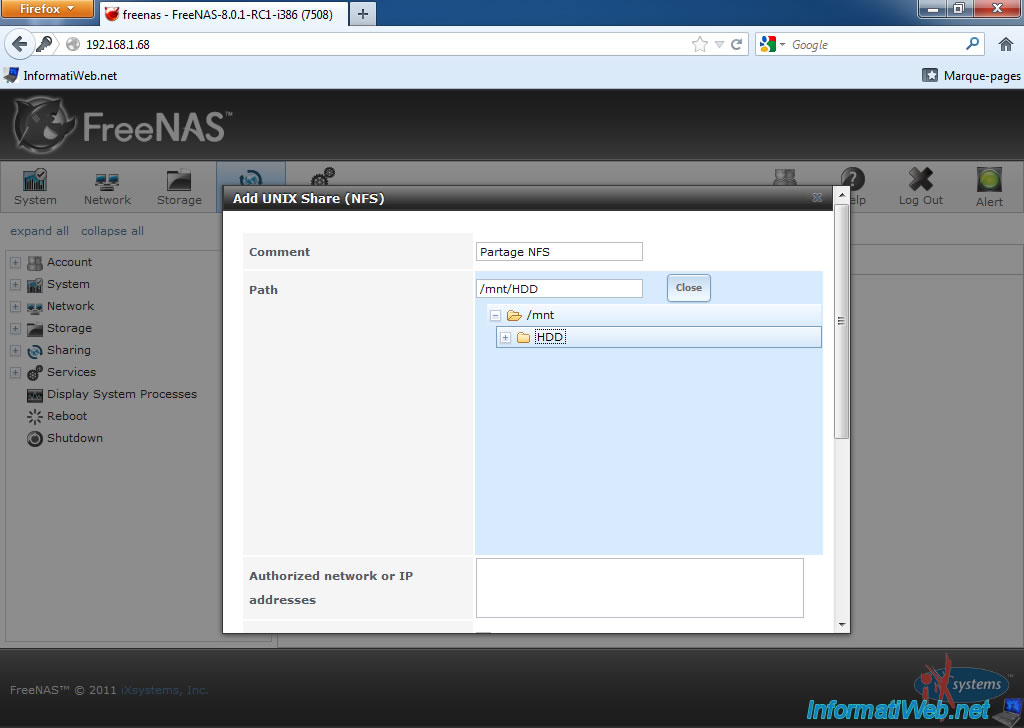
Select the folder to share.

Select "Mapall User : root" for users who have access to that share have the right of the "root" user. Know all rights. Then click OK.

The share access path is the "mountpoint" highlighted in blue in the image.

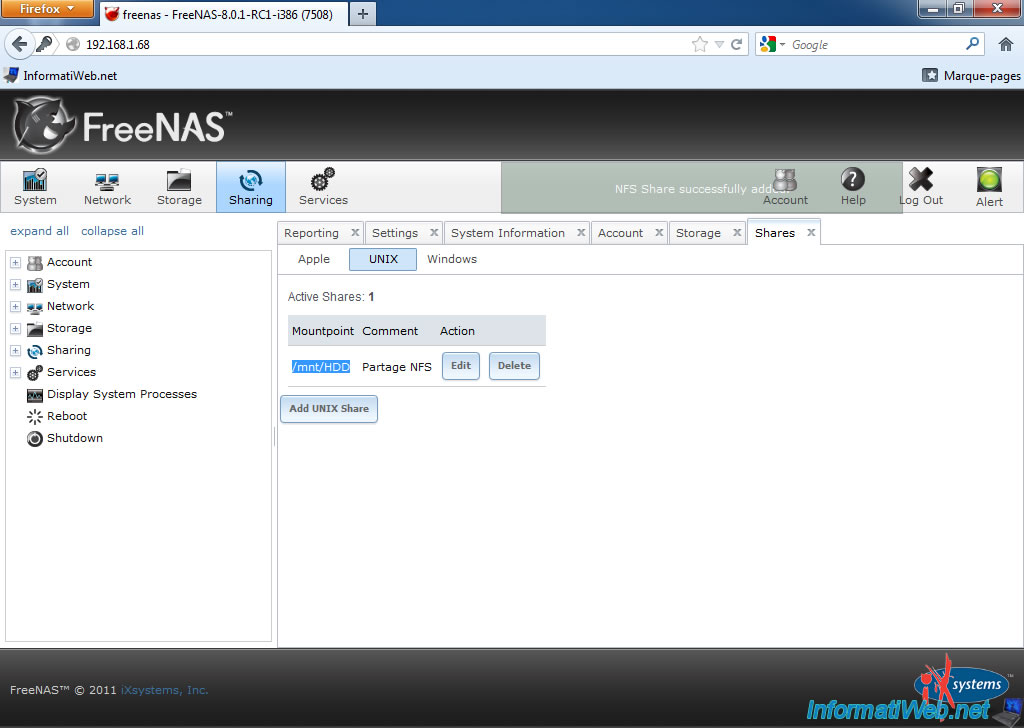
For NFS shares are accessible, you must enable the service. Oddly, FreeNAS does not warn the user that the sharing is not available because the service is not running yet.
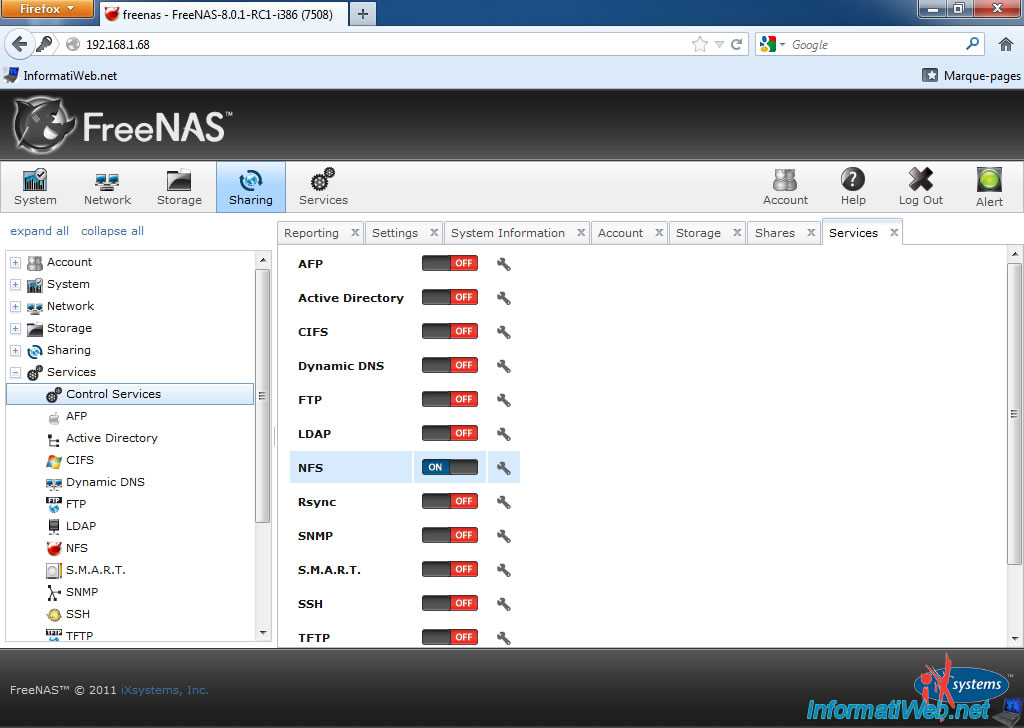
To start a service, you must go to the left menu and click on "Services -> Control Services". Then click the switch "ON | OFF".

Share this tutorial

Partager
Tweet

To see also

  • FreeNAS - Turn your old computer into a NAS

    Others 8/17/2012

    FreeNAS - Turn your old computer into a NAS

Comments

You must be logged in to post a comment

Share your opinion

Pinned content

  • Useful softwares
  • Our programs
  • Terms and conditions
  • Share your opinion

InformatiWeb Pro

  • Win. Server administration
  • Linux Administration
  • Virtualization

Contact

  • Guest book
  • Technical support
  • Contact

® InformatiWeb.net 2008-2022 - © Lionel Eppe - All rights reserved.

Total or partial reproduction of this site is prohibited and constitutes an infringement punishable by articles L.335-2 and following of the intellectual property Code.