- Articles
- 30 January 2023 at 14:21 UTC
-

- 1/2
More and more connected objects are appearing on the Internet and connected sockets are obviously one of them.
In our case, we needed to know what our IT installation was consuming to be able to protect it against power cuts (mainly) with an uninterruptible power supply (UPS).
Nevertheless, to know the total consumption of our computer installation (including the screen, our router and other computer peripherals necessary in our case), the easiest way was to use a connected socket.
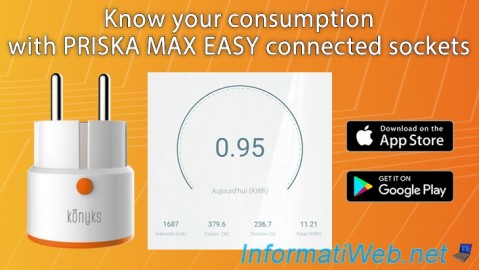
Indeed, thanks to some connected sockets, it's possible to know your electricity consumption in real time (voltage (in Volts), power (in Watts) and intensity (in Amps)).
In our case, we bought 2 Priska Max Easy connected sockets in FR standard to see the total consumption and the consumption of our server alone separately and in real time.
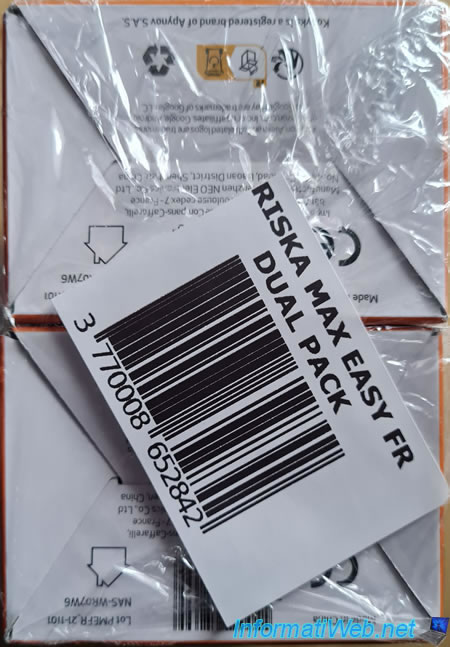
We therefore bought the pack of 2 connected sockets "PRISKA MAX EASY FR DUAL PACK" available in particular at Amazon.
- Unpacking the PRISKA MAX EASY FR DUAL PACK
- Configure the Konyks app to use your smart plug
- Consumption report with the Priska Max Easy connected sockets
- Delete data from your connected sockets
1. Unpacking the PRISKA MAX EASY FR DUAL PACK
This pack of 2 connected sockets is simply a package with 2 boxes of : PRISKA MAX EASY FR.
Note that the "FR" (= type E/F) is very important in our case, because it means that this socket has a hole for the ground present in particular in Belgium.
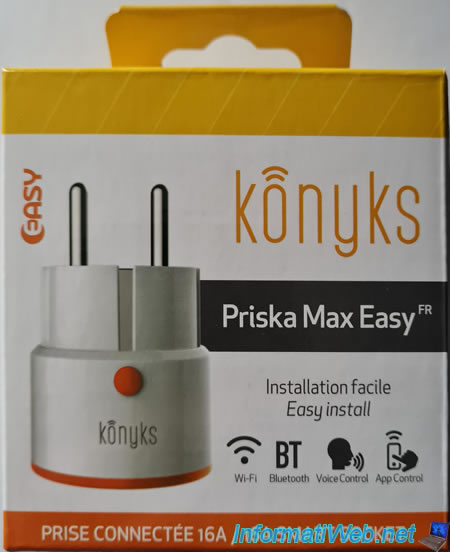
As you can see on the front of the "Priska Max Easy" box, it's a 16A connected socket.
This means that the intensity of the current that can pass through this socket must not exceed 16A.
However, as a general rule, your devices never exceed this value. You can also check it by checking the intensity (in Amps) indicated on your circuit breakers in the electrical panel of your house.
You will also see that the installation will be easy and that this connected socket can be controlled using Wi-Fi, Bluetooth, voice, as well as via the application.
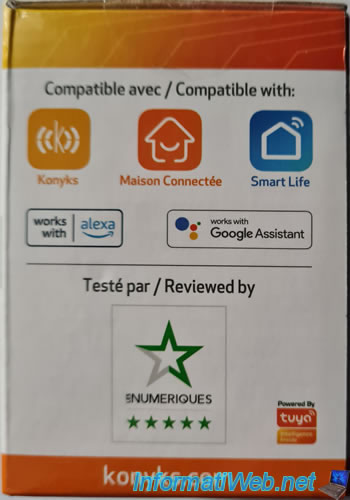
On one side, you can see that this smart plug is compatible with :
- applications : Konyks, Connected Home and Smart Life
- voice assistants : Alexa and Google Assistant
This allows you to control your connected socket from your smartphone or by voice by requesting your favorite compatible voice assistant to turn this socket on or off.
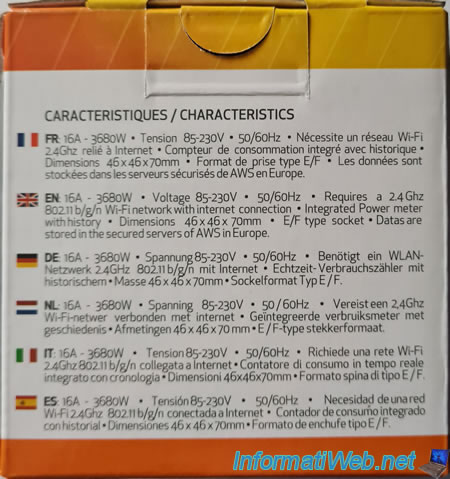
At the back, you will find technical characteristics about your smart plug :
- the maximum intensity supported : 16A
- the maximum power supported : 3680W
- the voltage supported : 85V to 230V
- the supported frequency : 50/60Hz
- the supported Wi-Fi frequency : 2.4 GHz only.
5 GHz Wi-Fi networks are not supported. - built-in consumption counter
- its size : 46x46x70 mm
- its format : type E/F for the "FR" version of this connected socket
- consumption data may be stored on AWS servers in Europe.
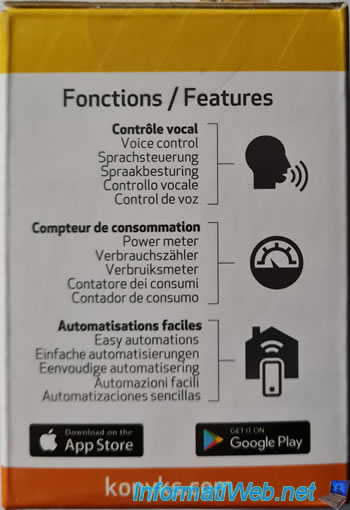
On the other side of the box, you will see the features it has :
- Voice control
- Power meter
- Easy automations
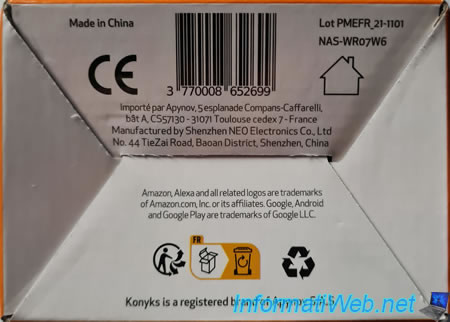
Below you will find the barcode and some legal information.
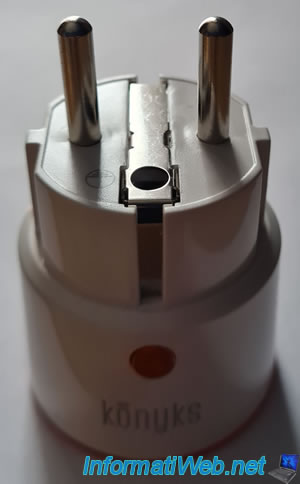
In the box, you will find a small manual (visible at the bottom of this image), as well as the plug connected with :
- its name : Konyks Priska Max Easy FR
- its technical characteristics : 85-230V, 50/60Hz, 16A, ...
- its Bluetooth compatibility : Bluetooth LE (Bluetooth Low Energy)
As you can see, the FR version has a ground connection.
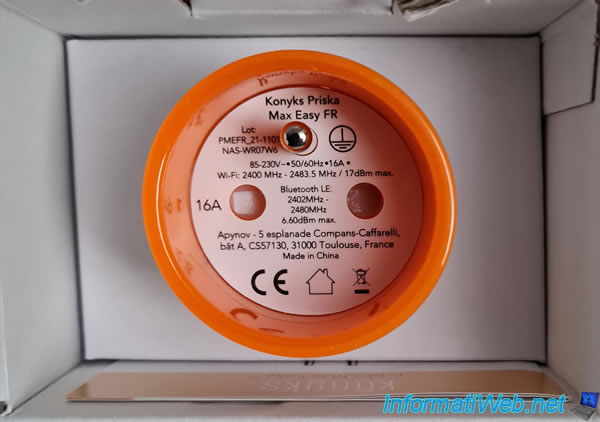
As well as the hole so that the one in your home can fit in.
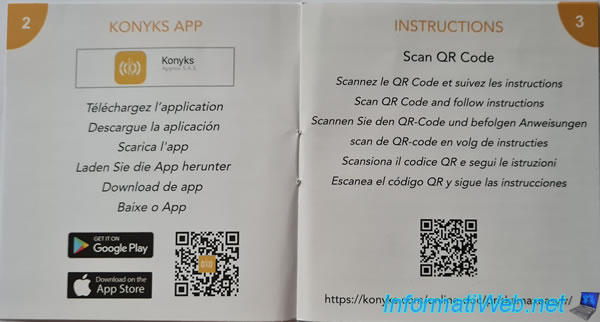
In the box, you will find a small quick user manual.
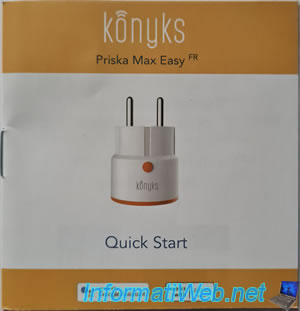
This will allow you to easily download the Konyks application on your smartphone.
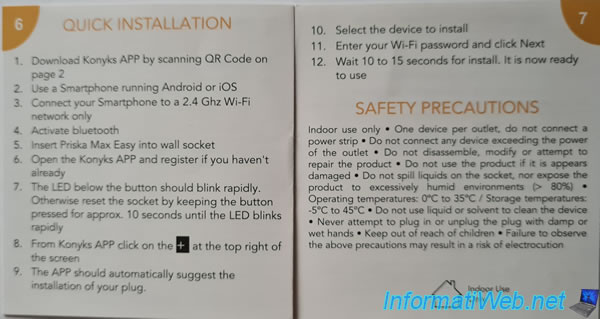
Then, you will find a "Quick installation" section.
2. Configure the Konyks app to use your smart plug
To start, on your smartphone, install the Konyks application from the Play Store (on Android) or from the AppStore (on iOS).
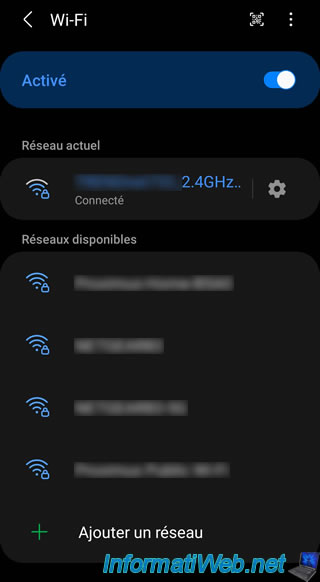
Once the application is installed, make sure you are connected to a 2.4 GHz Wi-Fi network (which is normally the case).
So, just avoid 5 GHz Wi-Fi networks, as these are not supported by this smart plug.
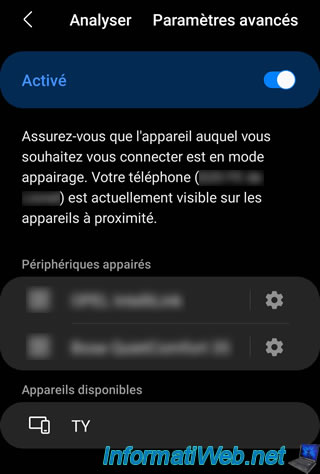
Also activate your smartphone's Bluetooth so that your smartphone can temporarily access your connected socket via Bluetooth and thus configure your connected socket to connect to your Wi-Fi network.
Note : in the Bluetooth settings of your smartphone, you will see your connected socket appear under the name "TY".
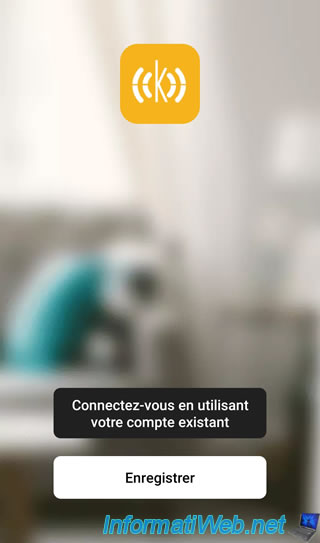
Open the Konyks app and it will ask you to create a Konyks account or sign in if you already have one.
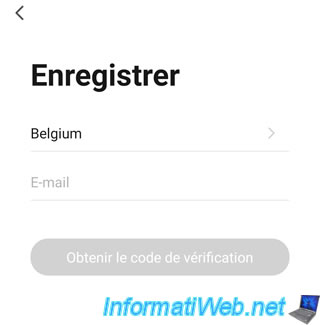
Click "Register" to create a Konyks account.
Choose your country (if the one displayed by default is not the right one) and enter your e-mail address.
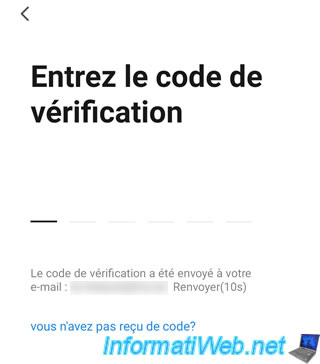
Then, you will need to enter the verification code that you have just received by email.
If necessary, check your junk mail (SPAM).
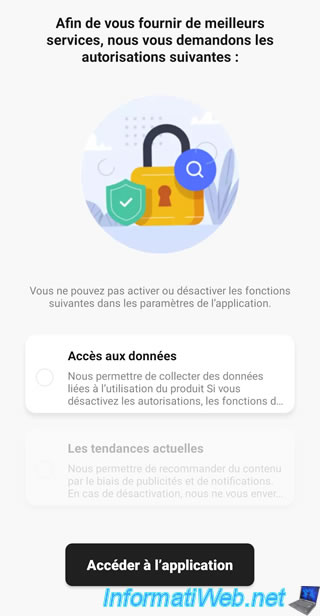
Allow or deny data access (optional).
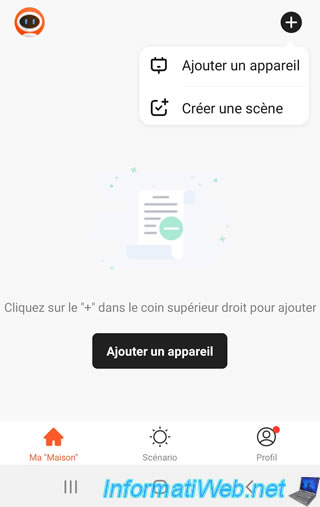
To add your smart plug in the Konyks mobile application, click on the "+" icon (top right of the screen).
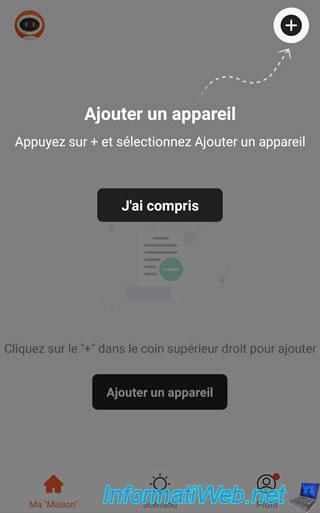
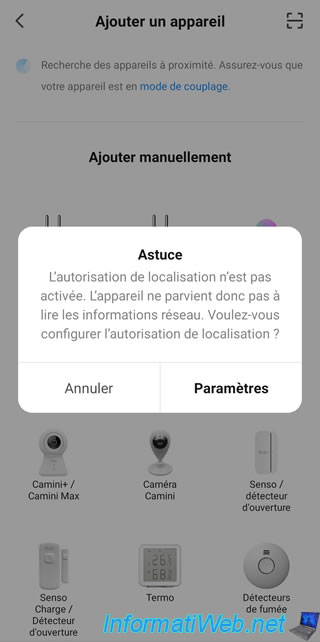
Then, click on : Add device.
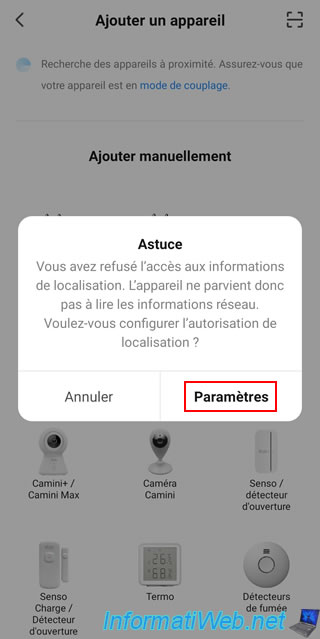
If the tip asking you to enable location permission appears, click on : Settings.
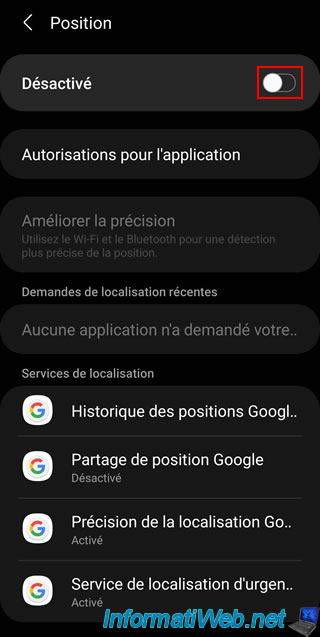
You will arrive in the "Position" settings of your smartphone.
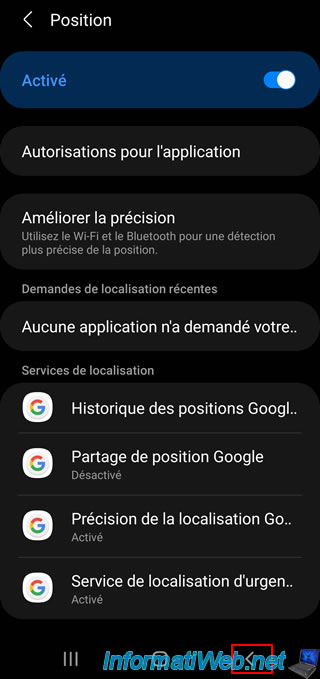
Enable the setting by clicking the switch next to "Disabled".
Once access to the position is enabled, use the "Back" key of your smartphone to return to the Konyks application open in the background.
If the Konyks app warns you that you have denied access to location information, then location permission is not granted to the Konyks app.
Click on : Settings.
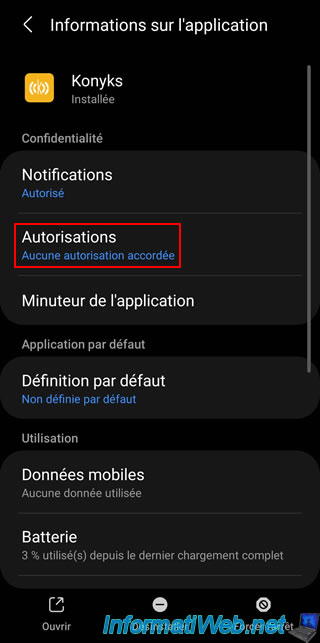
Go to : Permissions.
Note : this interface may change from one version of Android to another and also from one smartphone to another.
The main purpose is to give "Location" permission for the Konyks app.
Share this tutorial
To see also
-

Articles 3/27/2017
Intel NUC Skull Canyon - Install Windows 7 (with USB 3.0)
-

Articles 10/19/2013
Need a web hosting ?
-
Articles 11/2/2014
Some practical infos about USB storage devices
-

Articles 8/6/2014
Zalman ZM-VE300 - Virtual CD drive
You must be logged in to post a comment