Know your consumption with PRISKA MAX EASY connected sockets
- Articles
- 30 January 2023 at 14:21 UTC
-

- 2/2
Then, go to : Location.
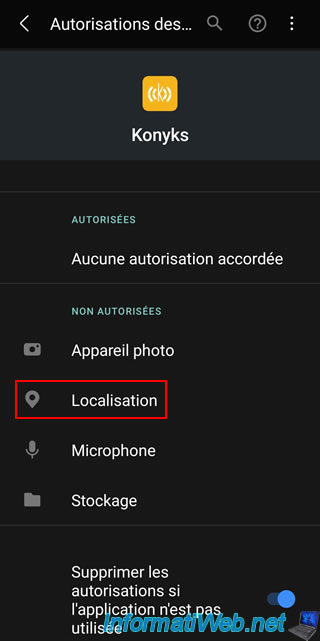
Then, choose if you want :
- Always allow Konyks to access device location
- Allow only if the app is in use.
Once the "Location" permission has been granted to the "Konyks" application, press the "Back" key on your smartphone several times to return to the Konyks application.
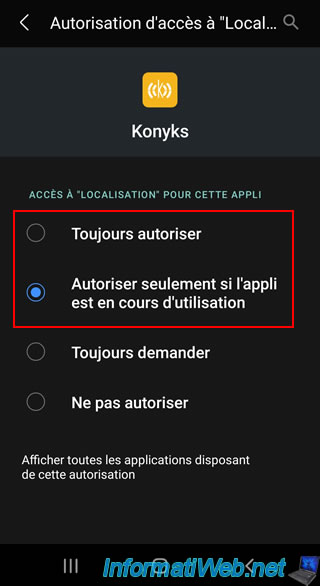
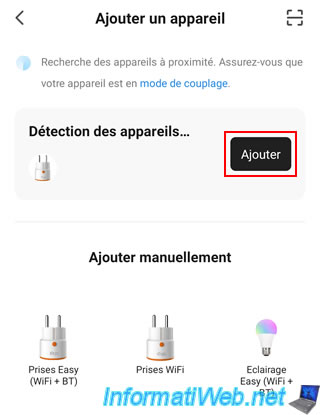
The Konyks app will search for your smart plug.
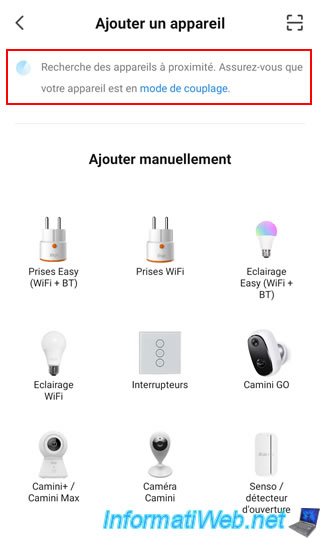
If the Konyks app doesn't detect your smart plug, check that it's switched on and that it's in pairing mode.
When your smart plug is in pairing mode, its orange light flashes.
If this is not the case, you will have to turn it off (if necessary) by pressing the orange button for 10 seconds.
Then, activate the pairing mode of your connected plug by pressing and holding the orange button for 5 seconds.
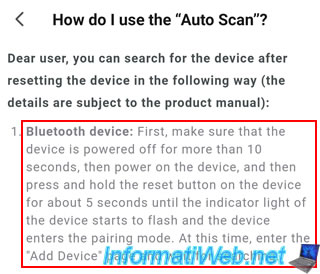
Note : this explanation is accessible by clicking on the "pairing mode" link (visible in the image above).
If your smart plug is in pairing mode, it will appear and all you have to do is click on : Add.
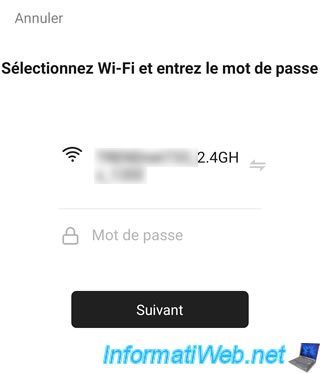
Specify the information of the Wi-Fi network to which you want to connect your smart plug.
Important : use a 2.4 GHz Wi-Fi network (given that the 5 GHz frequency is not supported by this product).
If your Wi-Fi network connection information is correct, adding your smart plug in the Konyks app will start.
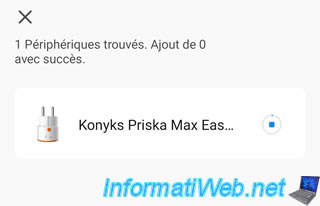
Once the connected socket has been added, a blue "v" will appear to its right.
Click Next.
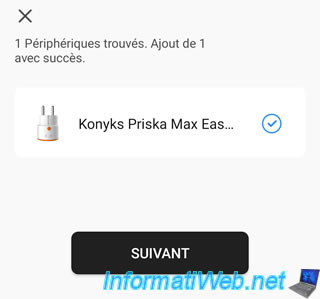
By default, your connected plug will appear under the name "Konyks Priska Max Easy FR" in the Konyks app.
To change its name, click on the small icon representing a pencil (to the right of its name).

In our case, this smart plug is plugged into the wall outlet.
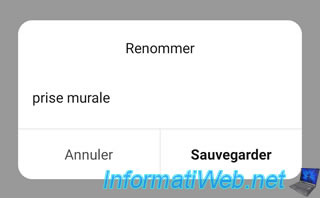
Your connected plug will appear under its new name.

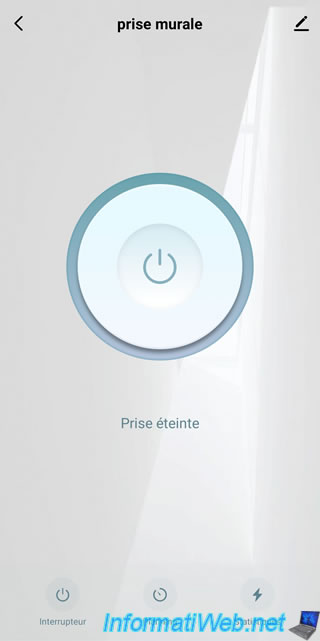
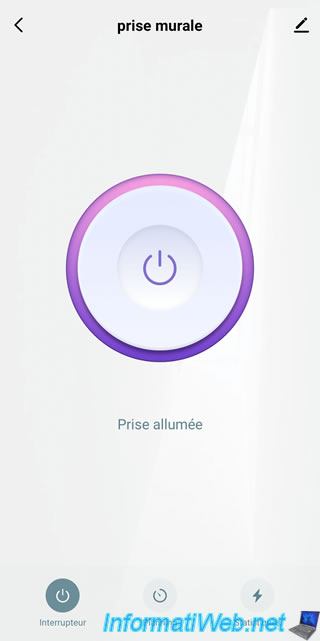
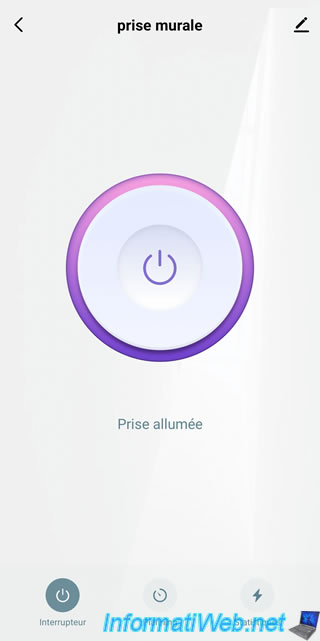
When the smart plug is turned off, the power button in the app appears gray.
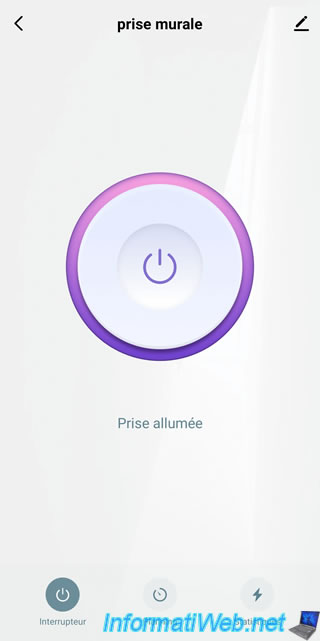
To turn it on, press that big power button.
Once the connected socket is on, the button appears in purple.
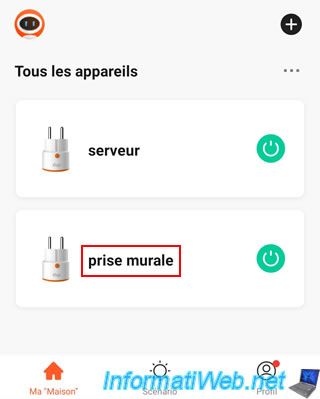
Your connected socket appears in the list of your devices.
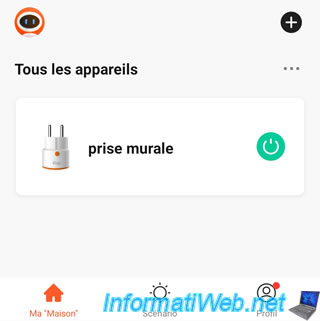
In our case, we have 2 connected sockets :
- 1 plugged into the wall to know the electricity consumption of our entire IT installation (PC, server, screen, ...).
- 1 where only our server is connected
To add this 2nd connected socket, click on the "+" icon, then on : Add a device.
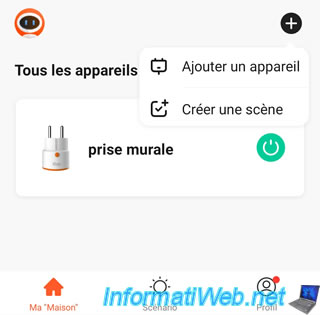
The Konyks application detects our 2nd connected socket that we have just plugged in.
We click on : Add.
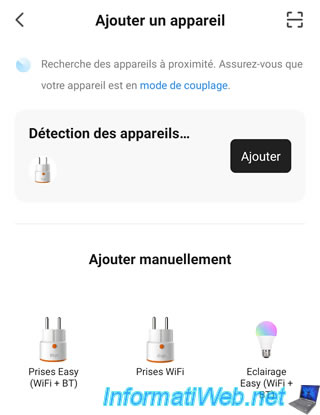
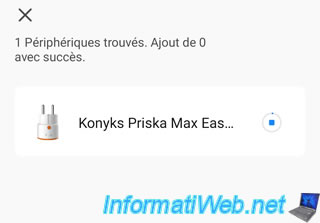
We are waiting while adding this 2nd connected plug.
This 2nd connected socket has been added.
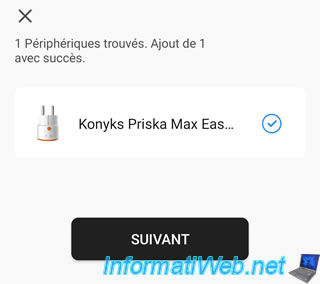
By default, the Konyks application names this 2nd connected socket : Konyks Priska Max Easy FR 2.

We rename this 2nd connected socket : server.
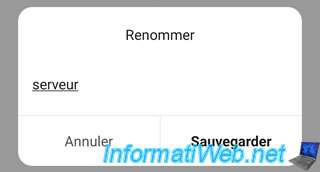
We click Done.

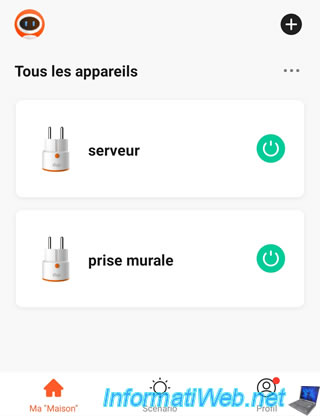
Our 2 connected sockets appear.
Note : the power buttons visible here are green if the connected sockets are on and will turn gray if you press them to turn them off.
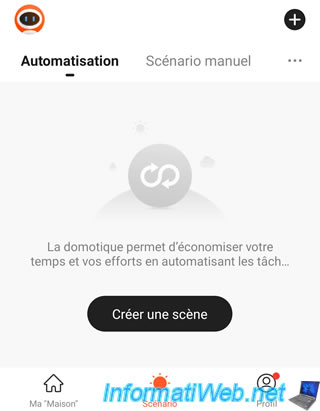
In the "Scenario" section of the Konyks application, you can automate the management of your connected sockets if you wish.
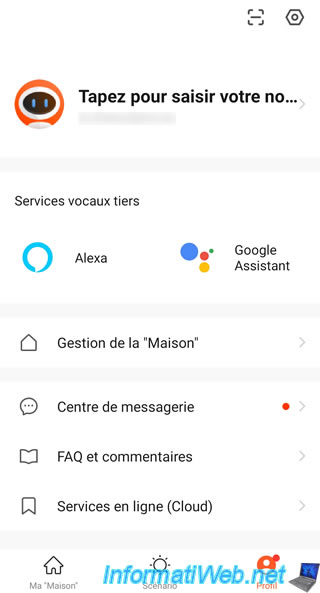
In the "Profile" tab, you can manage your privacy settings, as well as data related to your Konyks account.
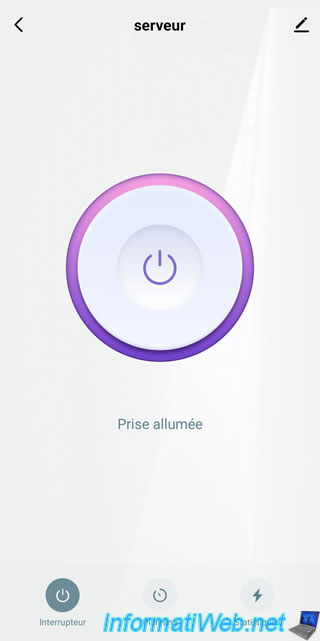
If you tap on the name of a smart plug, you'll see its name with a big power button allowing you to turn it on or off.
Or in other words whether or not to power what is plugged into your connected socket.
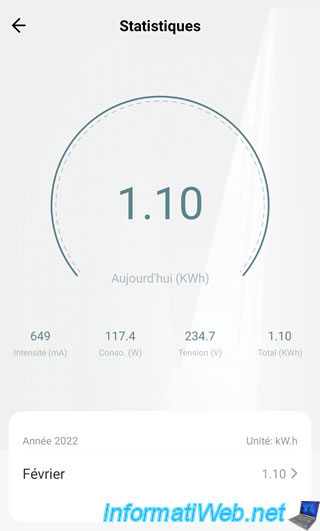
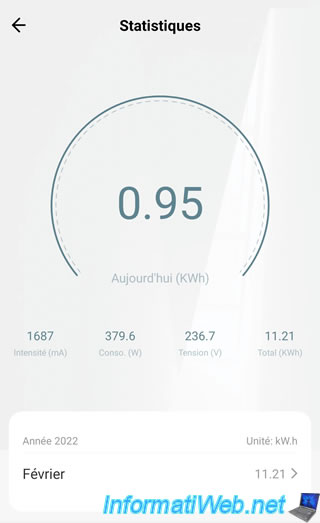
If you press "Statistics" (bottom right of the screen), you will be able to know your electricity consumption in real time :
- Intensity (mA)
- Power / Consumption (in W)
- Voltage (in V)
- Your total consumption (in KWh)
Note that the history is kept in the connected socket or your Konyks account.
The data will therefore not be lost if you disconnect it temporarily.

3. Consumption report with the Priska Max Easy connected sockets
As explained at the beginning of this article, in our case, the goal is to know the maximum consumption that our IT installation could consume at a time "t" to be able to choose a power inverter (UPS) adapted to it.
Let's start with our server.
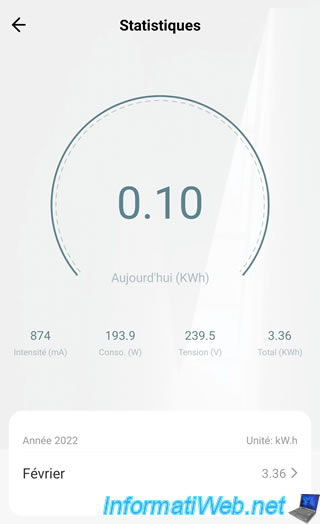
In our case, our server consumes a maximum of 194W.
Of course, we have carried out various tests to find out that it could be the maximum consumption in real time so that the inverter is suitable even in the case of high consumption (in our case).
The other plug is the one plugged into our wall outlet.
In the case of this wall socket (which therefore also includes the consumption of our server), the maximum consumption was 380W.
Thanks to this information, we were able to choose a power inverter supporting the maximum power (in Watts) consumed.
Knowing the maximum power consumed is also useful for choosing a UPS that can last the time (in minutes) necessary for you to continue working properly or shut down your server or computer properly.
This avoids crashes (especially for servers).
4. Delete data from your connected sockets
As explained above, even if you electrically unplug your connected sockets, their data (and your consumption history) will be retained.
If you want to delete all data, tap the name of the smart plug you want to reset.
Warning : deleting this connected socket from the application, as well as deleting its data, will cause a power cut on this connected socket.
This means that what is connected to this connected socket will no longer have any current when it's reset.
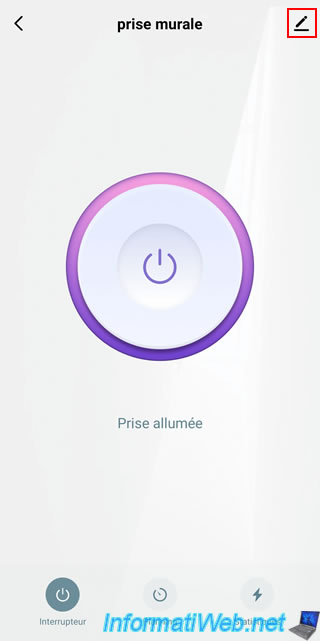
Tap the pencil icon (top right of the screen).
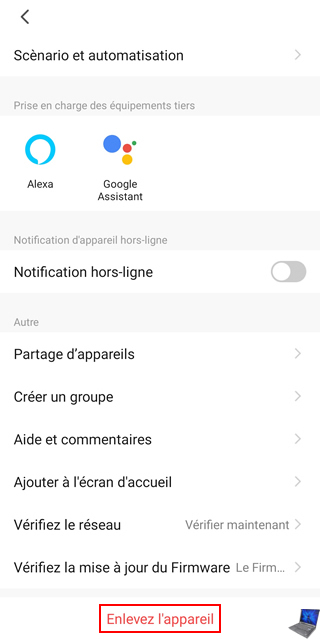
At the very bottom, press : Remove the device.
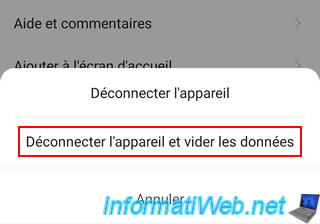
Tap : Disconnect device and clear data.
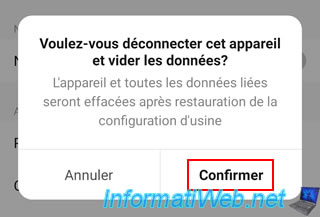
As you can see, the Konyks app warns you that the device and all related data will be erased after restoring factory settings.
Tap Confirm.
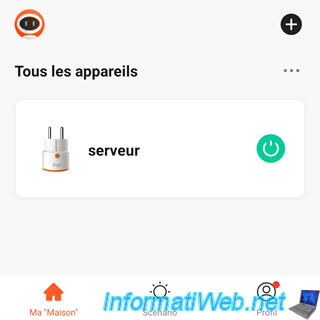
The deletion of the data is carried out and the connected socket is temporarily disconnected.
Your smart plug has disappeared from the Konyks app.
Share this tutorial
To see also
-
Articles 12/16/2024
Easily unplug Molex connectors
-
Articles 1/16/2023
Hirschmann INCA 1G - Pass the Ethernet network through the Coaxial cabling
-

Articles 3/27/2017
Intel NUC Skull Canyon - Install Windows 7 (with USB 3.0)
-
Articles 2/8/2017
Kingston DataTraveler Locker+ G3 - Secure USB key
No comment