- Articles
- Intel NUC
- 07 March 2017 at 16:12 UTC
-

- 1/2
Intel is the first to have created mini PCs that they called NUC for Next Unit of Computing.
In this unboxing article, we will introduce you the Intel NUC NUC6i7KYK (Skull Canyon).
It's currently the most powerful mini PC from Intel.
1. Unboxing
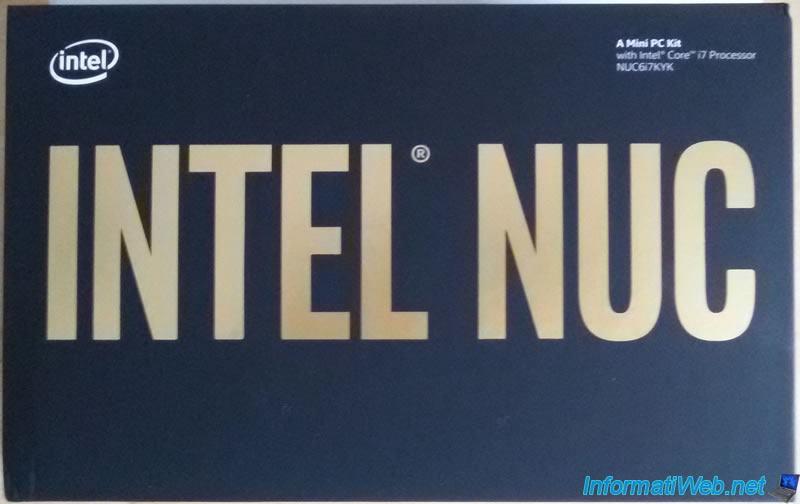
To begin, when you will receive your Intel NUC at home, you will have this.
One box with "INTEL NUC" in gold.
On the top of this box, you see that this mini PC NUC6i7KYK comes with an Intel Core i7 processor.
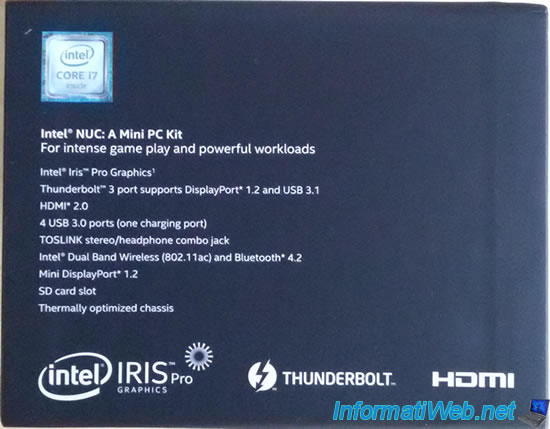
On the side of this box, you will see that this NUC will also allow you to play games (For intense game play) and work with complex tools like Adobe Photoshop (powerful workloads).
Then, you will also see that this NUC includes :
- a graphics chipset : Intel Iris Pro Graphics
- a Thunderbolt 3 port supports DisplayPort 1.2 and USB 3.1
- an HDMI 2.0 port to connect your display.
- 4 USB 3.0 ports including one for charging your smartphone. This charging port is yellow on the NUC.
- a TOSLINK stereo/headphone combo jack
- an Intel Dual Band Wireless network card (Wifi 802.11ac + Bluetooth 4.2)
- a Mini DisplayPort 1.2
- a slot for SD memory cards
- a thermally optimized chassis
* The Thunderbolt port is not compatible with Windows Server 2012 R2, because no Thunderbolt drivers are provided for this OS.
On the back side of the box, you will find a full-sized photo of the product.
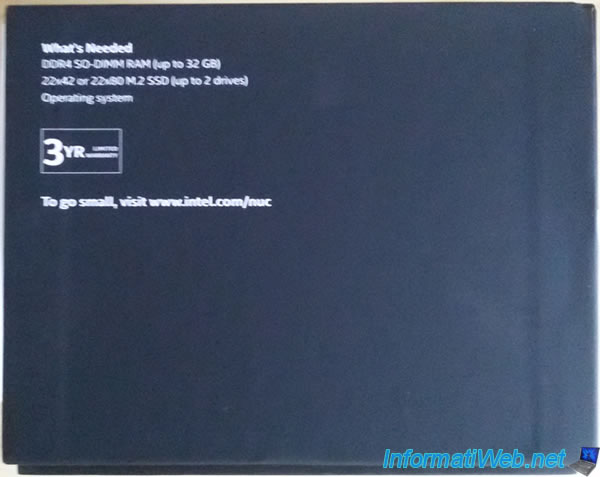
On the other side of the box, you will see that this NUC needs :
- RAM in SO-DIMM DDR4 format. This NUC accepts up to 32 GB of RAM.
- at least one SSD for storage in 22x42 or 22x80 format. The SSD to be purchased separately must be in M.2 format. You can add up to 2 SSDs in this NUC.
- a compatible operating system. You will need to install the desired operating system yourself and purchase a license for it in the case of Windows.
As indicated on the box, this NUC is guaranteed 3 years.
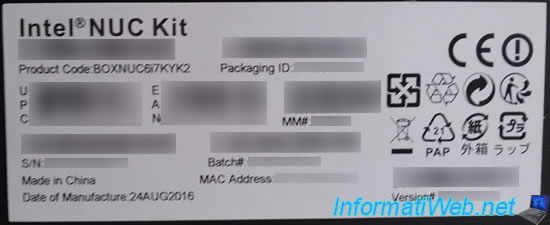
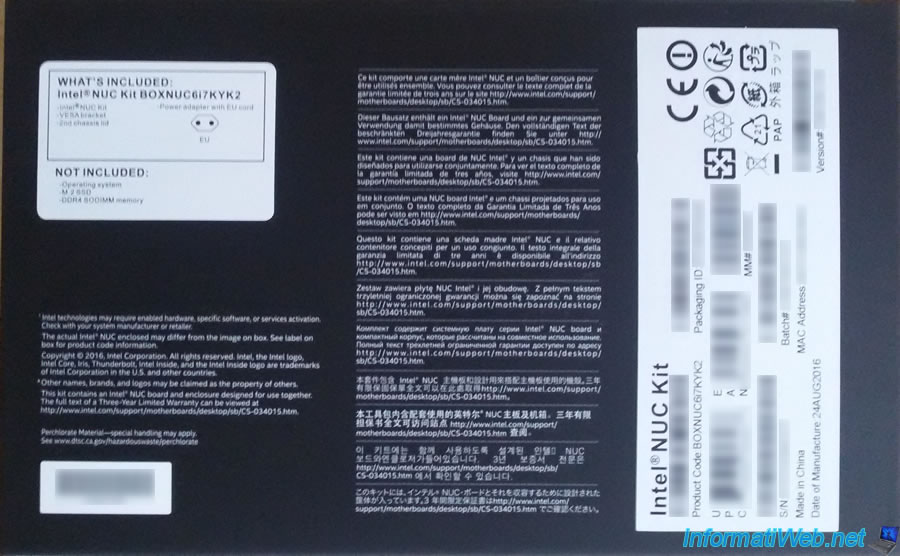
Below the box, you will find a sticker with several unique codes including :
- the NUC serial number
- tts model (Product Code)
- its MAC address
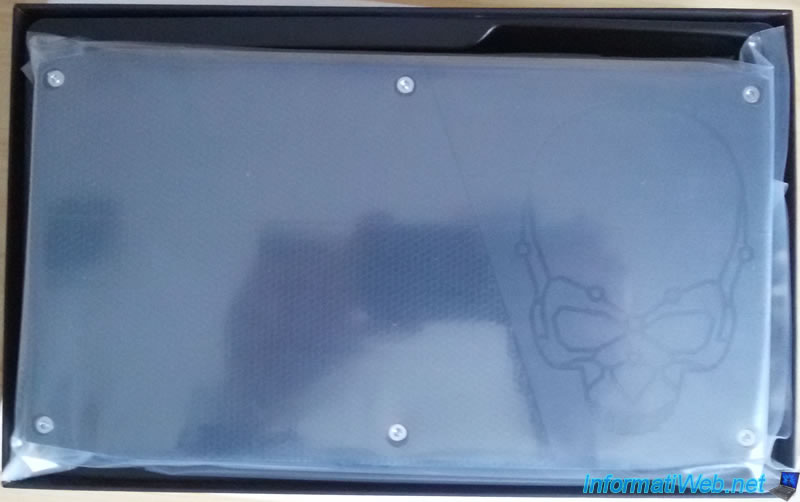
Inside the box, you will first find the NUC Skull Canyon in a plastic packaging.
You will also find an "Intel Core i7 inside" sticker.
2 notices.
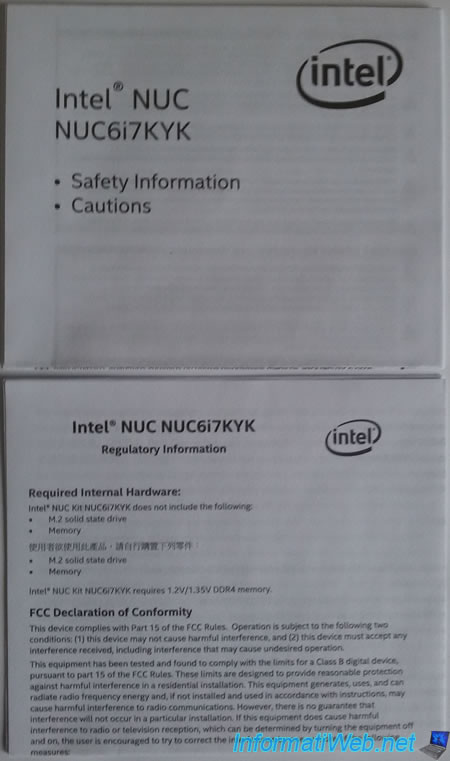
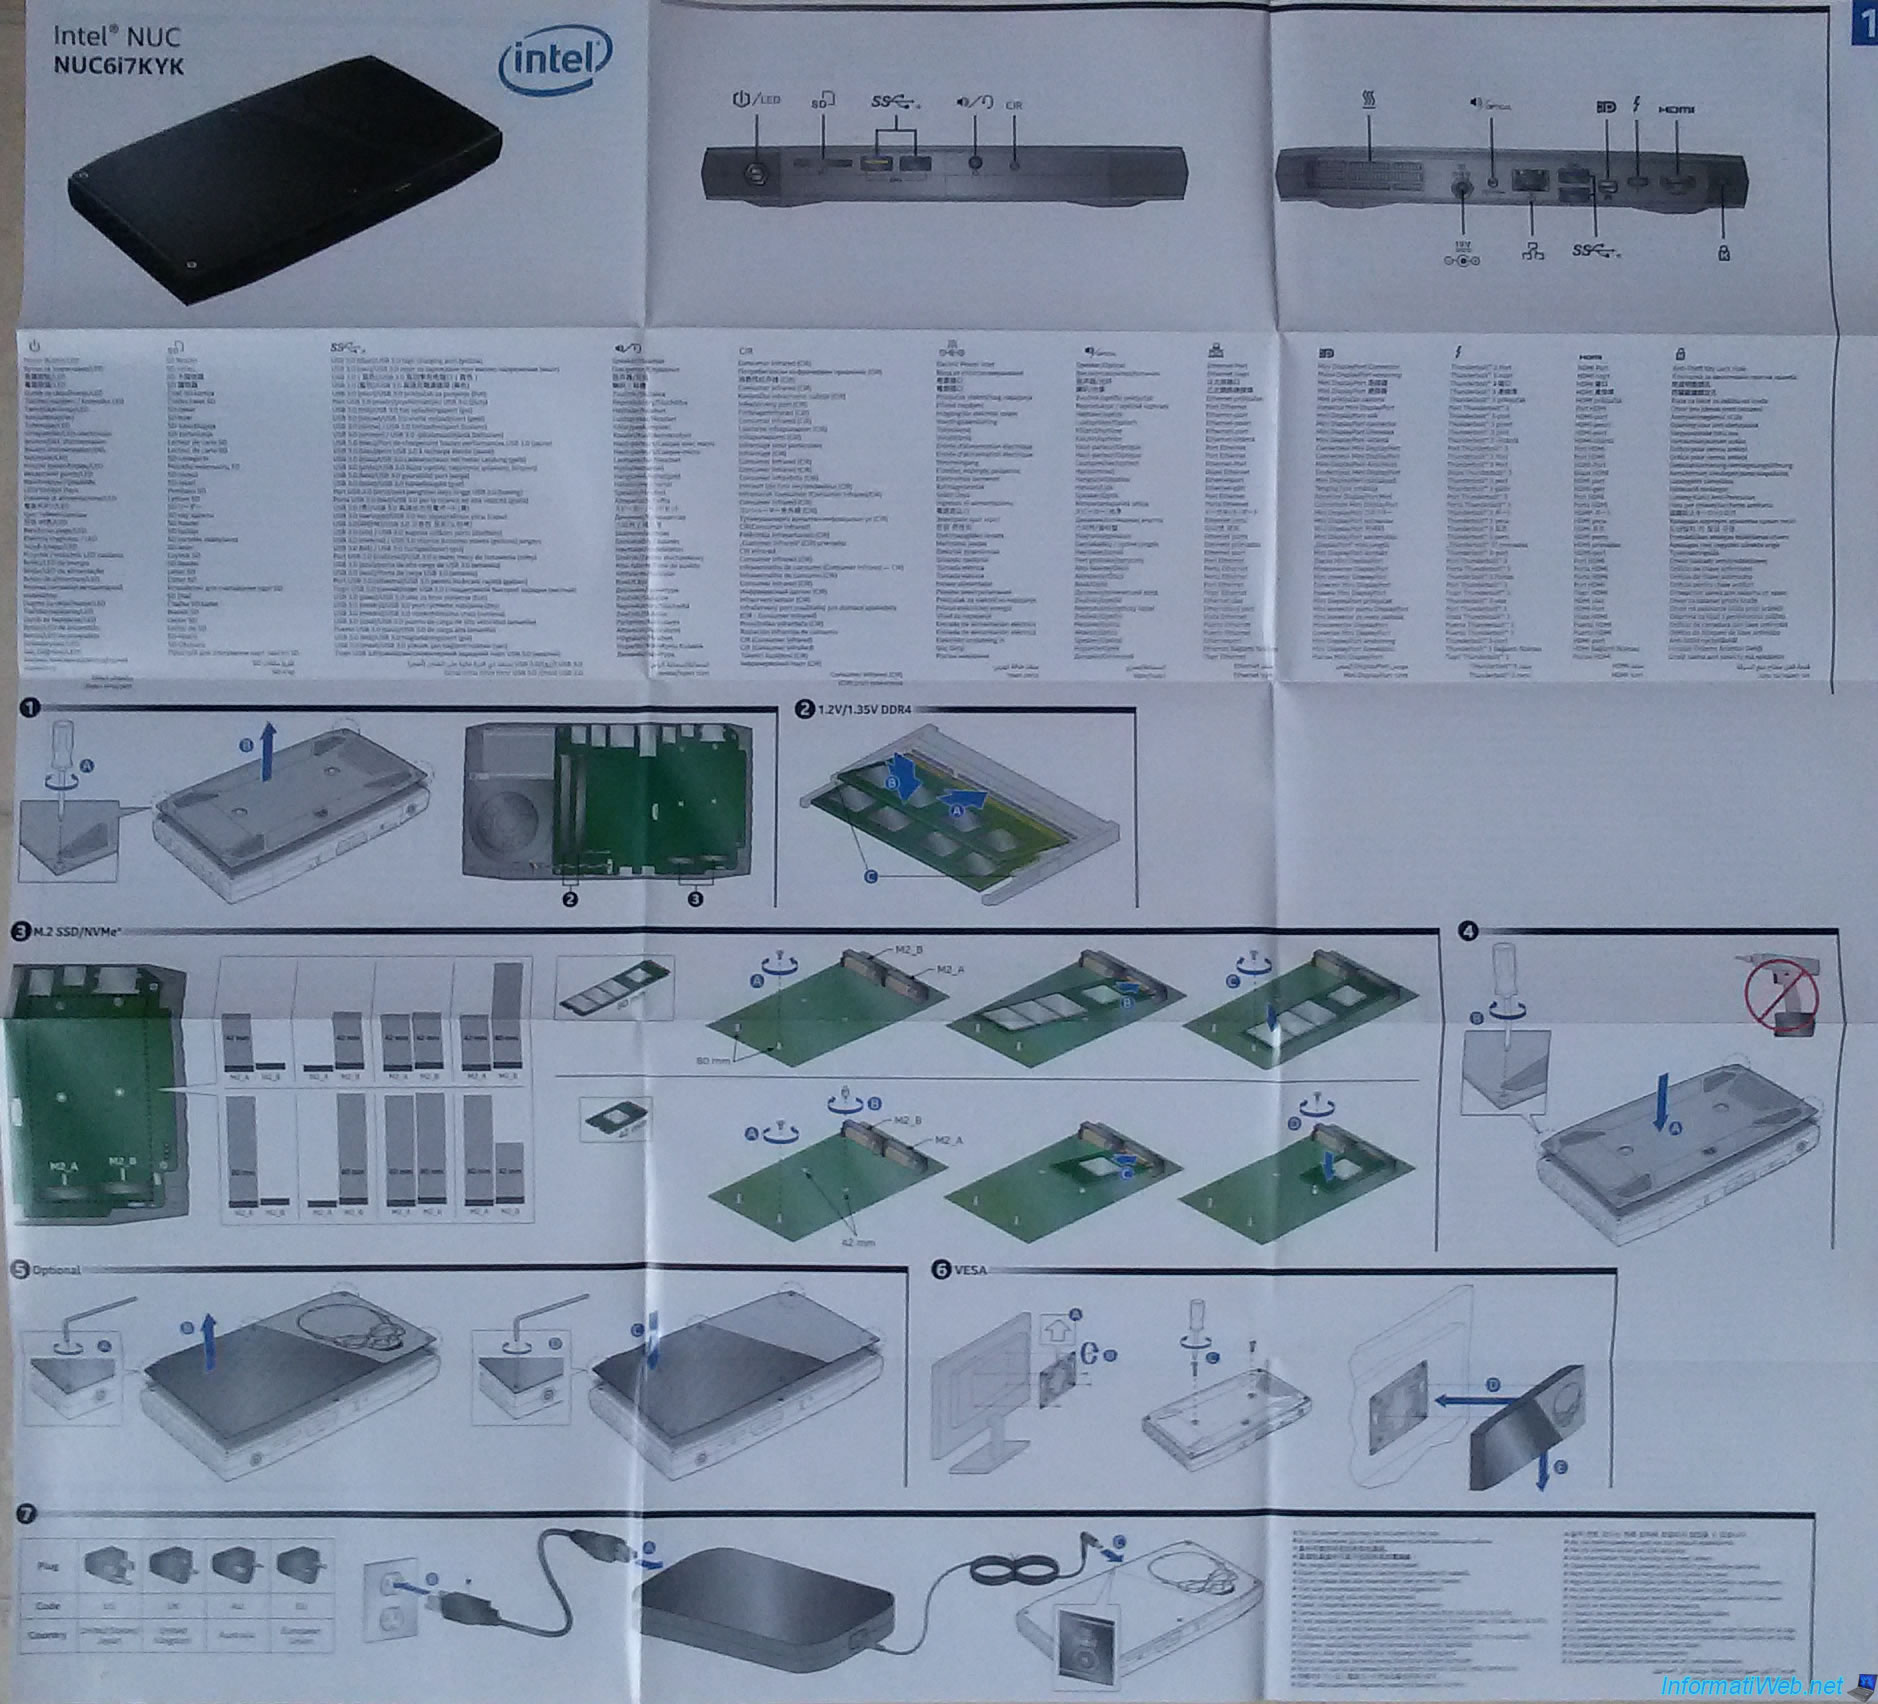
A user manual that allows you to easily assemble your Intel NUC NUC6i7KYK.

Once unfolded, here's what it gives.
This manual will allow you to :
- unscrew bottom plate
- add your RAM sticks
- add 1 or 2 SSD in M.2 format
- screw the bottom plate
- optional : unscrew the top face to replace it with the completely black face.
- fix your NUC behind your screen with the VESA mounting bracket
- connect your NUC with the power supply unit and cable
Note : click on the image below to enlarge it.
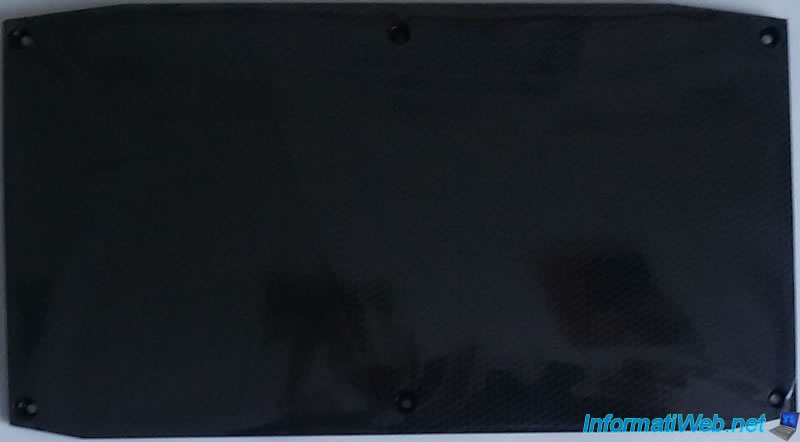
For those who do not like the face with the skull, Intel also provides a black face that you can use instead of the original one.

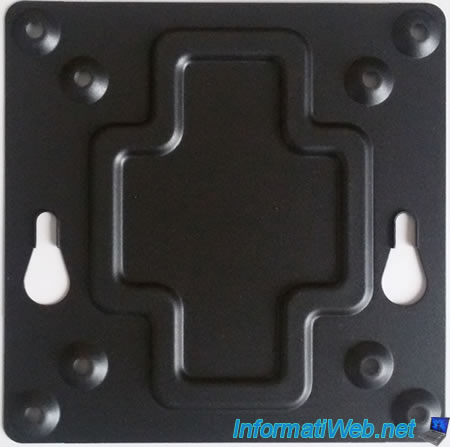
A VESA mounting bracket to fix the NUC behind a screen.
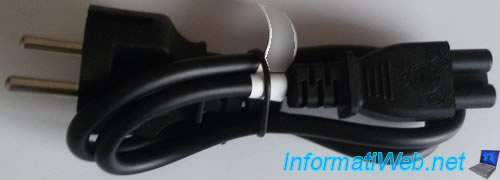
The power supply also acts as a transformer.

The power cable that differs depending on your country (Europe, USA, ...).
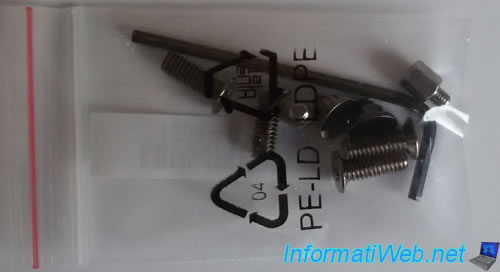
Additional screws and an allen wrench to change the front panel if you wish.
Below the box you will find the sticker presented earlier, as well as what is included or not included in this box.
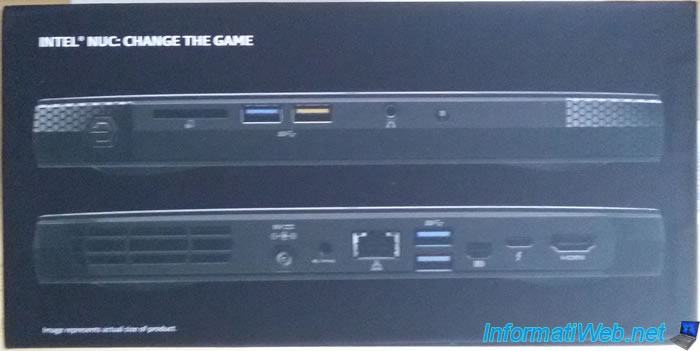
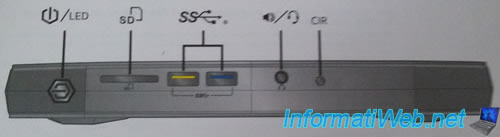
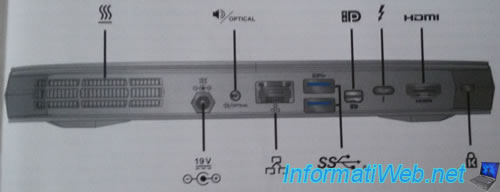
On the instructions for assembling your NUC, you will also find 2 pictures with indications :
- power button to turn on the NUC
- a memory card reader (SD format)
- an USB charging port
- an USB 3.0 port
- a jack to connect a headset or a speaker
- an infrared port
- an aeration bay
- the power connector that accepts a 19V DC voltage
- an optical audio port
- an Ethernet jack for wired network
- 2 USB 3.0 ports at the back
- a Mini DisplayPort port
- a Thunderbolt port
- an HDMI port to connect the screen*
*If you still have a monitor with a VGA jack, be aware that it's possible to purchase an HDMI to VGA adapter for less than 20 €.
On the top of the NUC, you will find a black face with a skull.
At the back, you will find the 2 MAC addresses of the NUC (one for the LAN and the other for the Wireless) and its serial number (S/N).
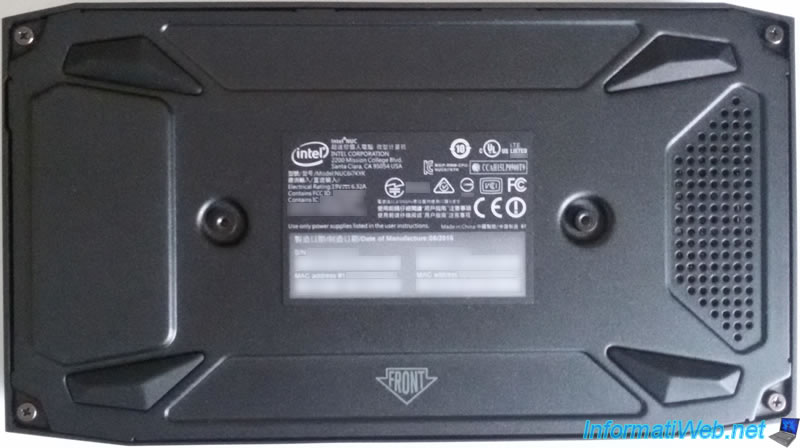
Finally, here are 2 pictures of the front and back of the NUC.


Share this tutorial
To see also
-
BIOS 6/10/2018
Flash the BIOS of your Intel NUC Skull Canyon
-

Articles 9/16/2024
Intel NUC Skull Canyon - Install Windows 10
-
Articles 9/23/2024
Intel NUC Skull Canyon - Install Windows 11
-
Articles 3/14/2017
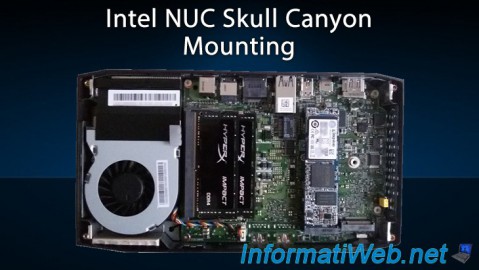
Intel NUC Skull Canyon - Mounting
You must be logged in to post a comment