- BIOS
- Intel NUC
- 10 June 2018 at 14:47 UTC
-


Updating (or flashing) the BIOS of a computer or a NUC is risky, because if a problem occur during the update, the motherboard may become unusable (in most cases).
In short, you should update the BIOS only as a last resort.
In our case, our NUC suddenly stopped working properly by displaying us some glitches (or graphic bugs).
The only possible software solution was the update (flash) of the BIOS of our NUC (since these glitches also occurred outside of Windows).
1. BIOS download
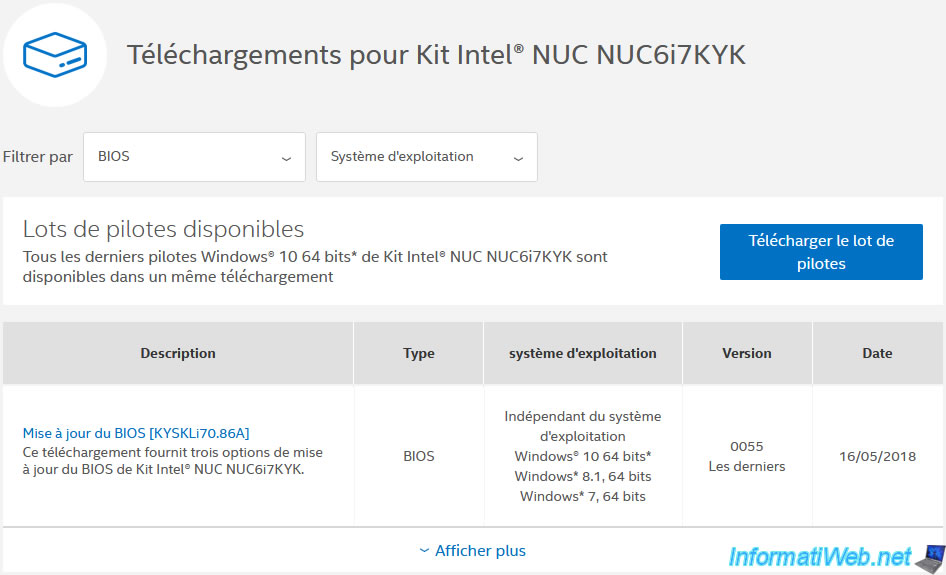
To update the BIOS of your Intel NUC NUC6i7KYK (Skull Canyon), go to the download page of its drivers and select "BIOS" in the list on the left.
The line displayed is the latest version available for the BIOS of your NUC.
Click on "BIOS Update [KYSKLi70.86A]".
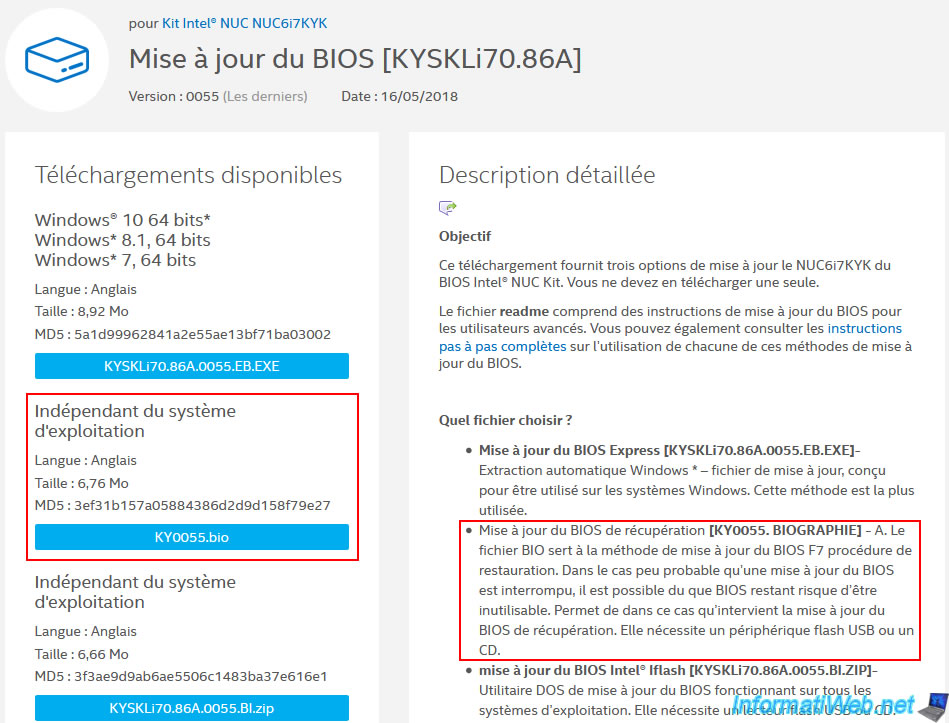
Download the file whose extension is ".bio" (in our case it's the KY0055.bio file).
Indeed, this file will allow you to update it directly from the BIOS (which is recommended).
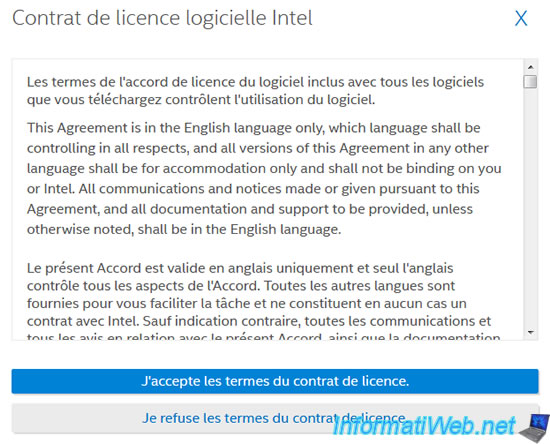
Click on "I agree...".
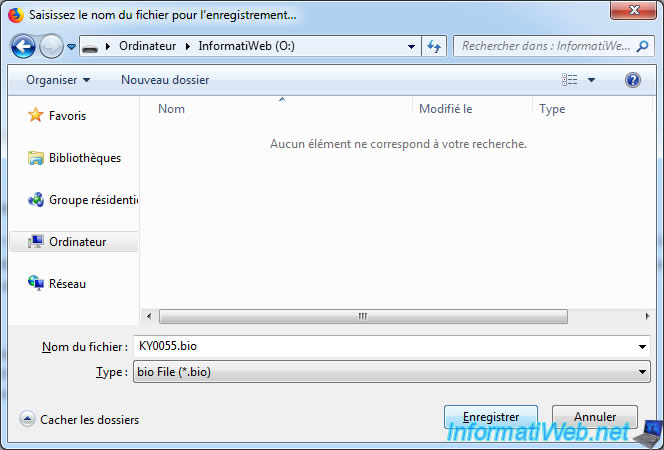
Save the downloaded file to an USB flash drive.
2. BIOS update
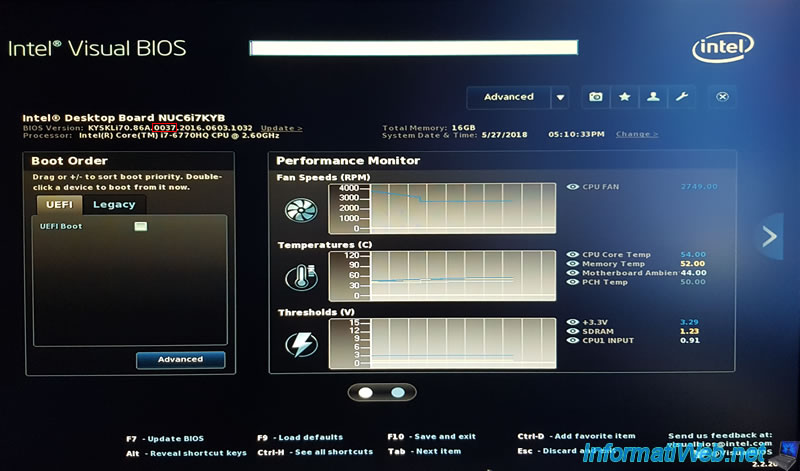
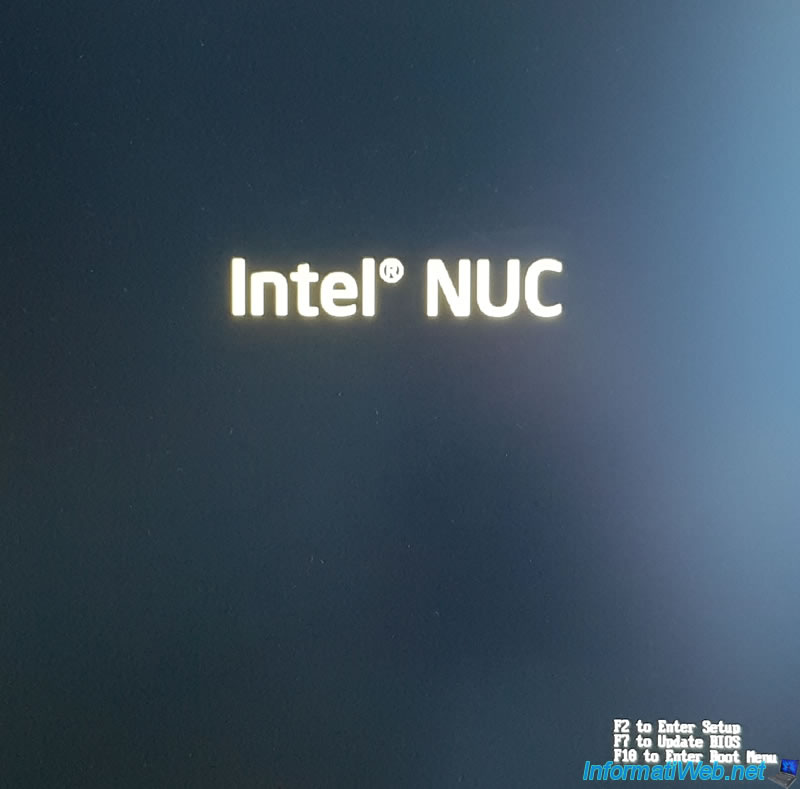
Connect this USB key to your Intel NUC and enter in the BIOS by pressing F2.
As you can see, the BIOS of our NUC is currently in version : 0037 (which dates from 03/06/2016).
Press F7 (Update BIOS) to update it.
Note : notice that the publication date is shown in reverse after the BIOS version (2016.0603 = 3 June 2016).
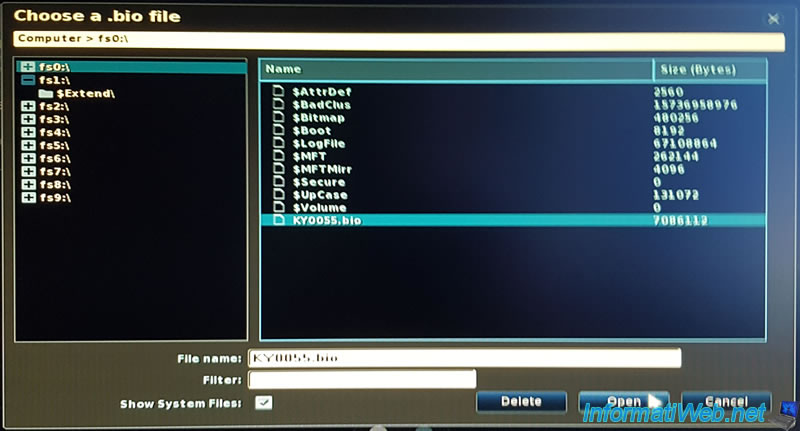
Browse through the different "fsx" items on the left to find your USB drive, and select the KY0055.bio file that you have stored on your USB drive.
Then, click Open.
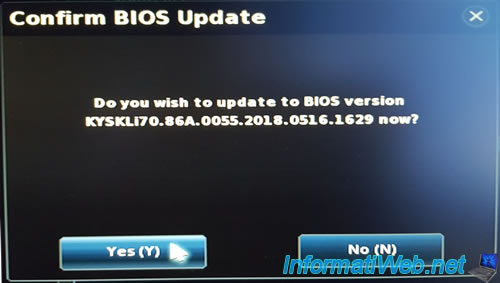
Click Yes to start the BIOS update.
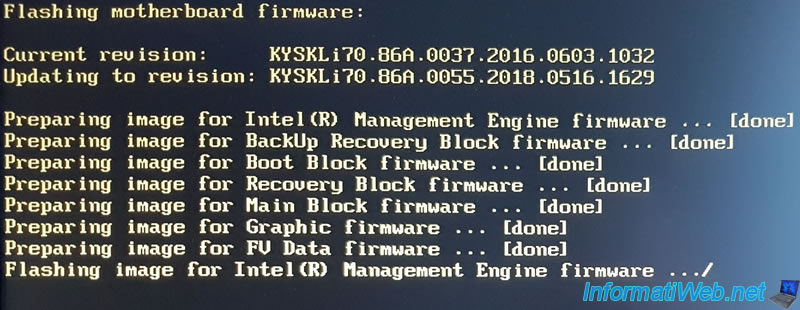
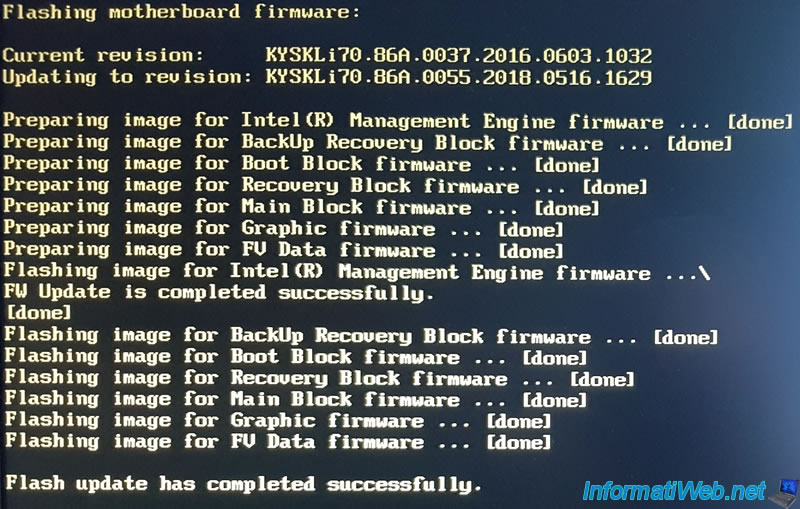
The update starts.
IMPORTANT : don't touch anything and wait patiently during the update.
Note that it's possible that your NUC restart at this step : Flashing image for Intel(R) Management Engine firmware ...
The NUC may restart during the flash (as previously indicated).
Then, the BIOS update will continue.

When the update is complete, the "Flash update has completed successfully" message will be displayed.
Again, don't touch anything and wait for the NUC to restart automatically.
The NUC restarts.

And it restarts as expected under Windows (or the operating system you have installed).

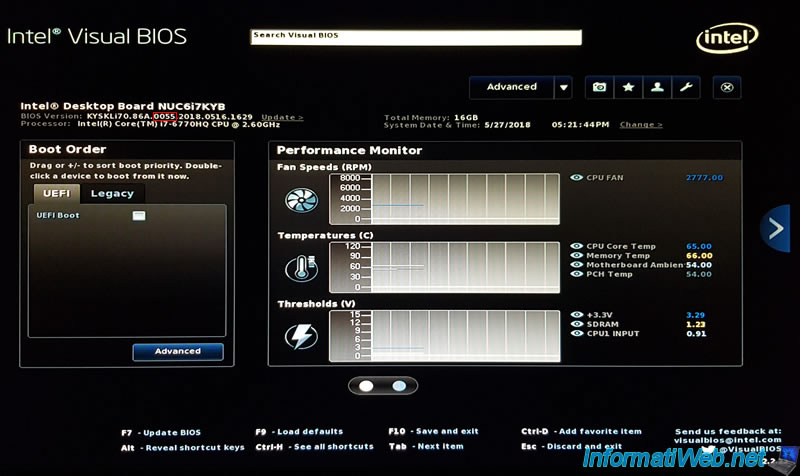
If needed, return to your NUC BIOS and restore the settings you changed before updating (if so).
For example : re-enable or disable UEFI boot depending on how you installed Windows.
Note : as you can see, the BIOS of our NUC is now in version 0055.
Share this tutorial
To see also
-

Articles 9/16/2024
Intel NUC Skull Canyon - Install Windows 10
-
Articles 9/23/2024
Intel NUC Skull Canyon - Install Windows 11
-
Articles 3/27/2017
Intel NUC Skull Canyon - Install Windows 7 (with USB 3.0)
-

Articles 3/7/2017
Intel NUC Skull Canyon - Unboxing
You must be logged in to post a comment