- Articles
- Intel NUC
- 23 September 2024 at 13:10 UTC
-

- 1/2
Although Windows 11 is supported by the Intel NUC Skull Canyon (NUC6i7KYK), it requires some manipulation before and after installing Windows.
- Configure Intel NUC BIOS
- Installing Windows 11
- Download the drivers for Windows 11 of your Intel NUC
- Install the drivers for Windows 11 of your Intel NUC
- Driver missing on Windows 11 for the Intel NUC Skull Canyon (NUC6i7KYK)
- Download missing Nuvoton SIO CIR driver from Microsoft server (via Windows Update)
- Download missing Nuvoton SIO CIR driver from Microsoft Update Catalog
1. Configure Intel NUC BIOS
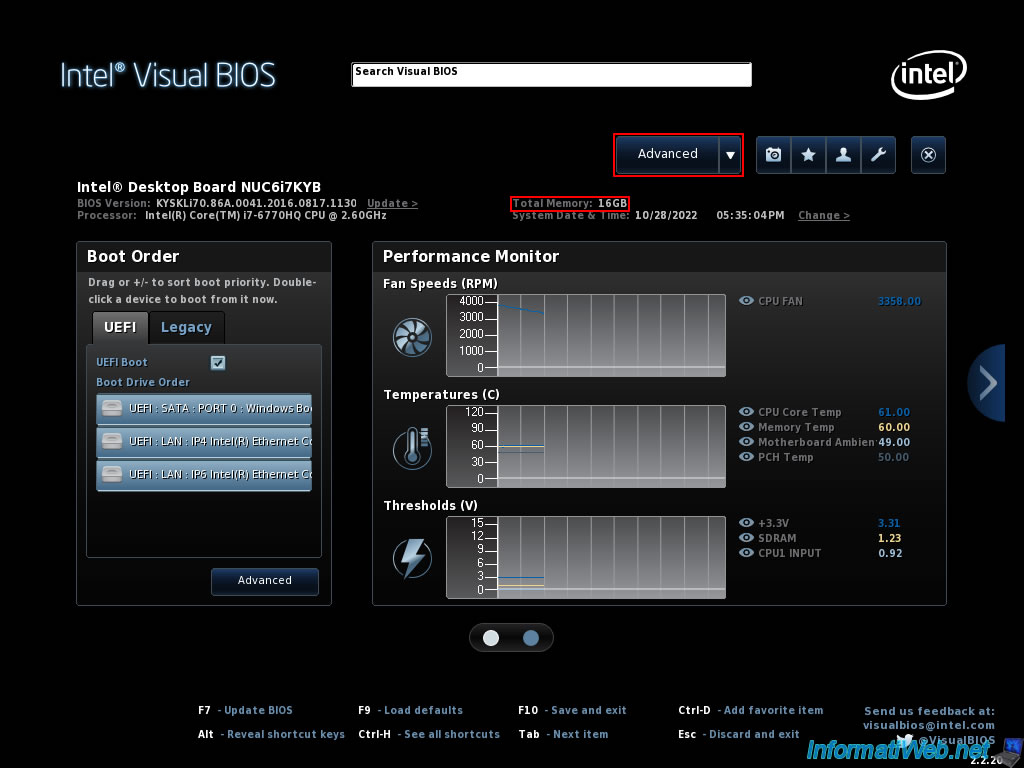
When the Intel NUC starts, press the F2 key to enter its BIOS: Intel Visual BIOS.
To start, check that you have at least 4 GB of RAM thanks to the "Total Memory" value visible on the BIOS home page.
Then, click on the "Advanced" button.
In our case, we have 16 GB of RAM.
In the "Main" section, you will again see the amount of random access memory (RAM) present in your Intel NUC, as well as information regarding the RAM sticks in it.

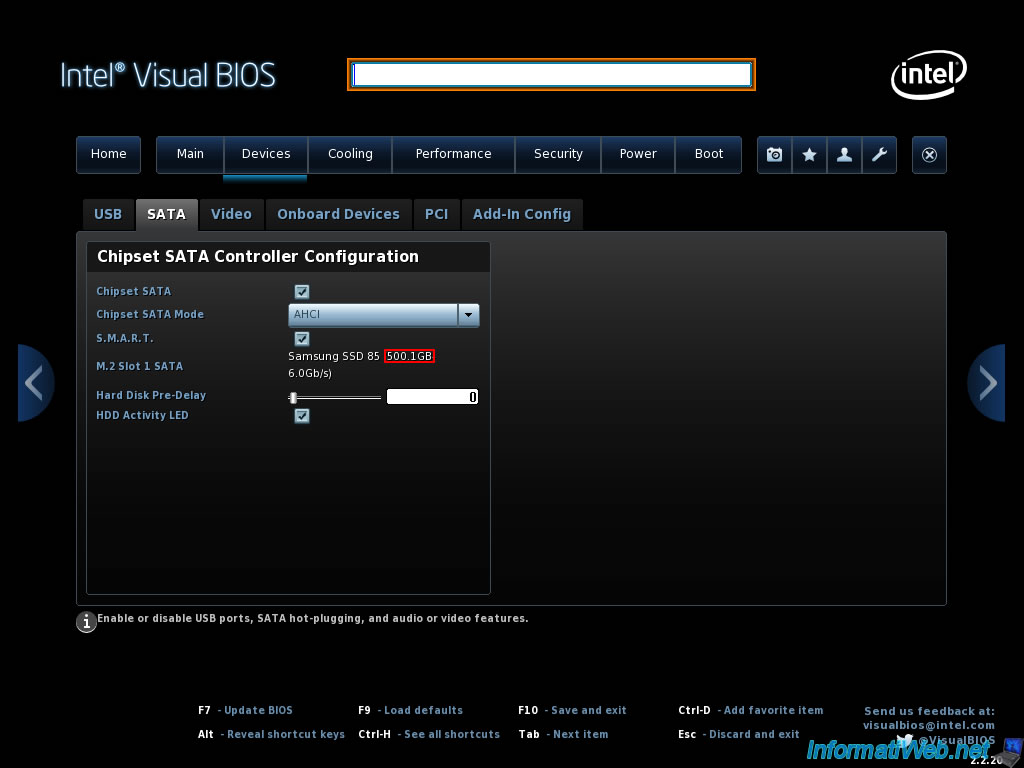
In the "Devices -> SATA" section, check that your SSD has a capacity (size) of at least 64 GB.
In our case, we have a 500 GB SSD.
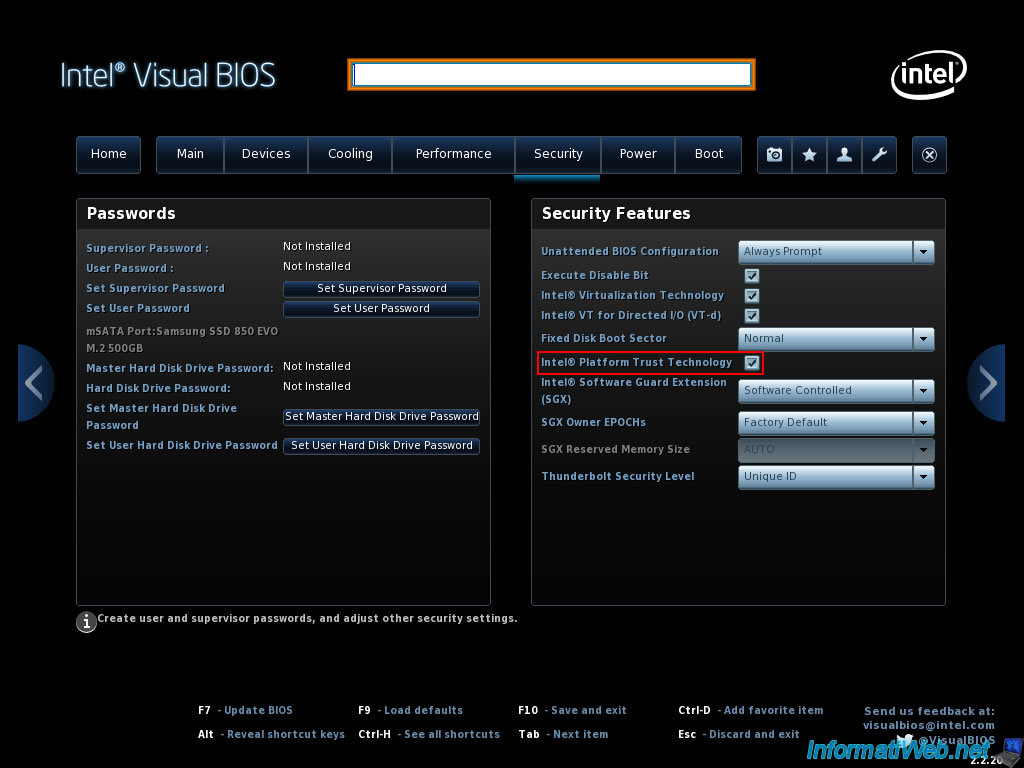
In the "Security" section, make sure to check the "Intel® Platform Trust Technology" box to benefit from a TPM 2.0 module (required by Windows 11).
Source : Informations sur le module TPM (Trusted Platform Module) pour produits Intel® NUC.
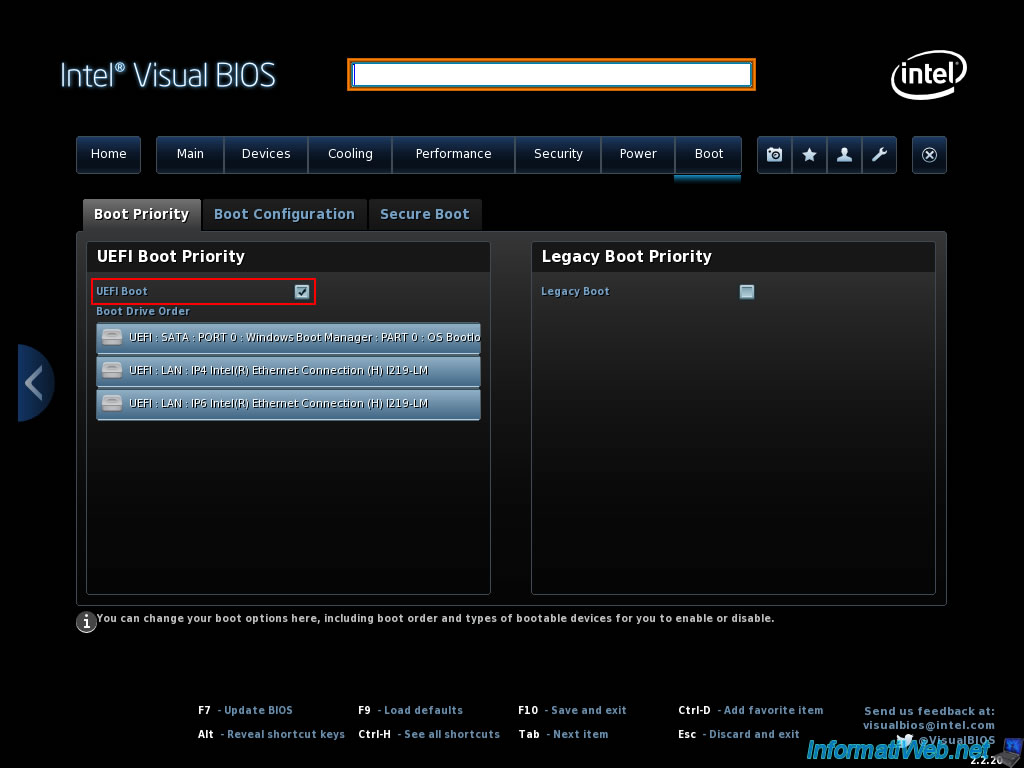
In the "Boot -> Boot Priority" section, check the "UEFI Boot" box to make your Intel NUC boot in UEFI mode (which is necessary for Windows 11 to benefit from Secure Boot).
In the "Boot -> Secure Boot" section, check the "Secure Boot" box to enable the secure boot required by Windows 11.
Finally, click on the cross at the top right.
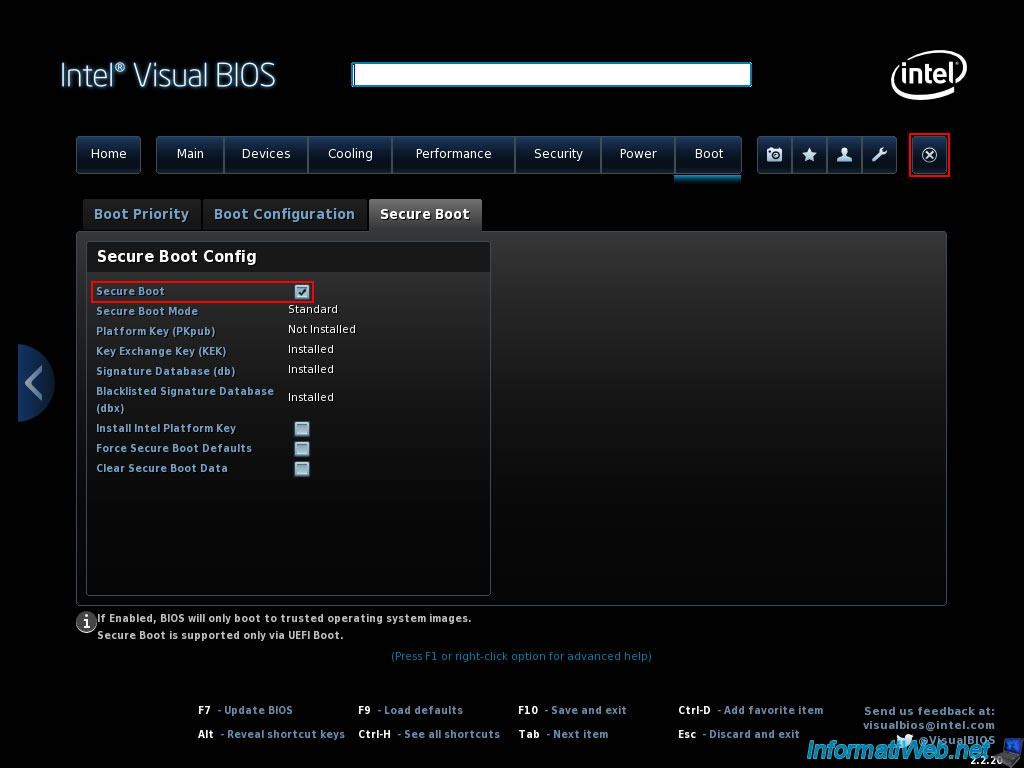
Click "Yes (Y)" to save the changes.

2. Installing Windows 11
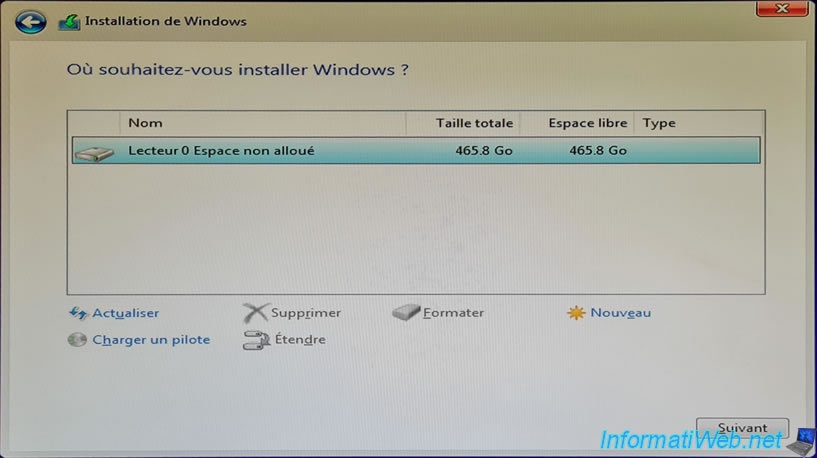
As you can see, we are going to install Windows 11 on our 500 GB SSD.
The installation of Windows 11 is carried out without problems.
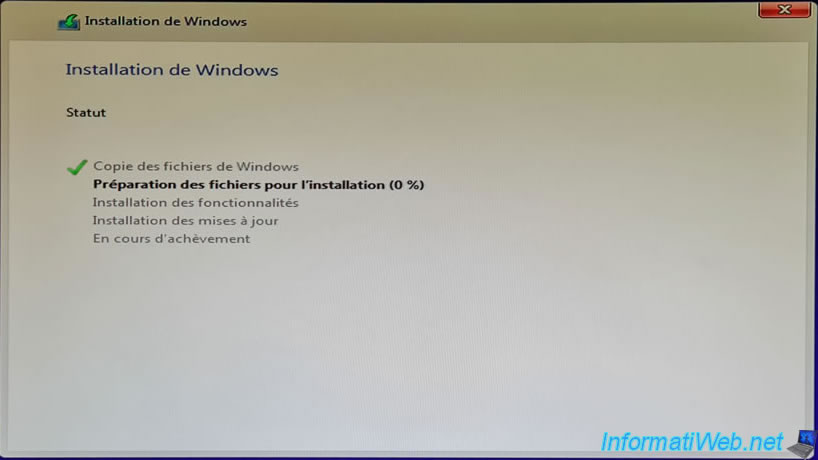
Windows 11 is installed.

3. Download the drivers for Windows 11 of your Intel NUC
To get started, download some drivers for your Intel NUC Skull Canyon (NUC6i7KYK) for Windows 11.
Download each driver by clicking the "View Details" button.
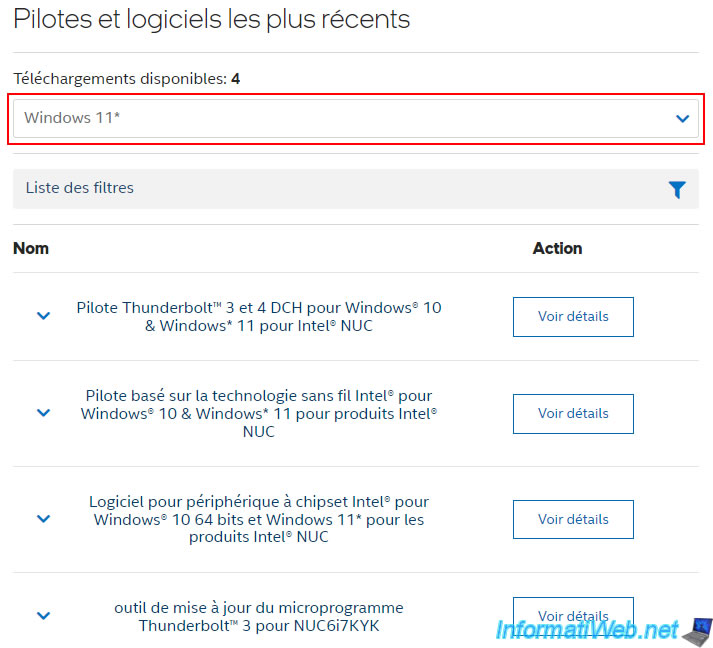
For each driver, click the blue "Download..." button.
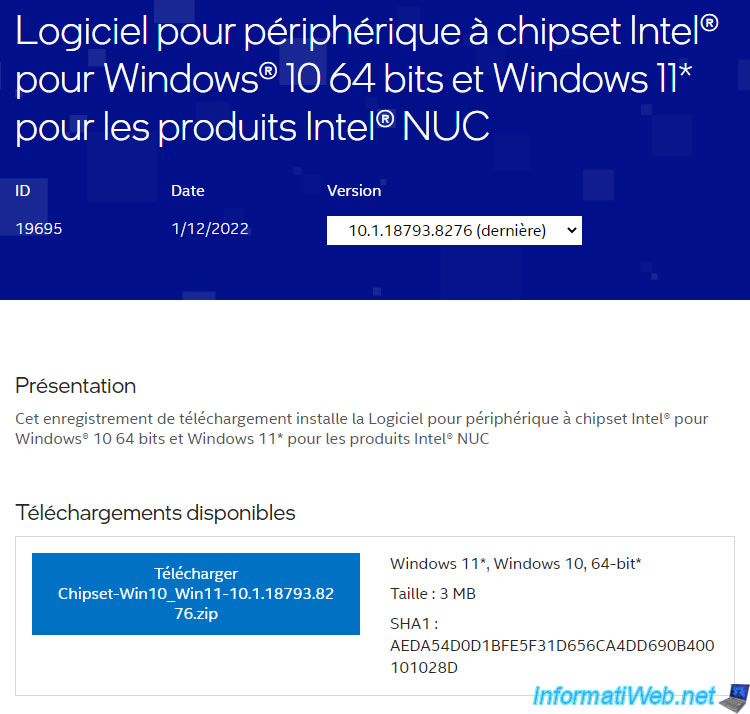
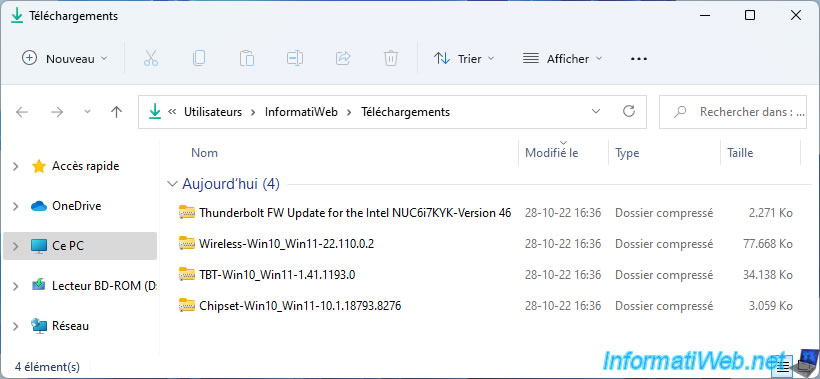
For Windows 11, here are the downloaded drivers.
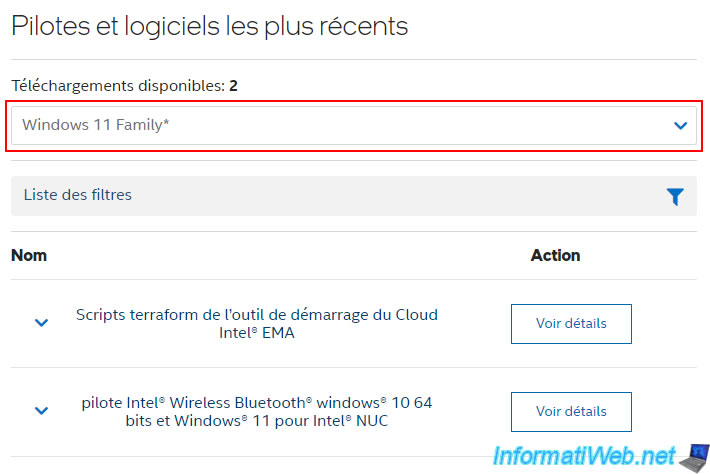
To download the latest driver available for your NUC for Windows 11, you will need to select "Windows 11 Family" from the list instead of "Windows 11".
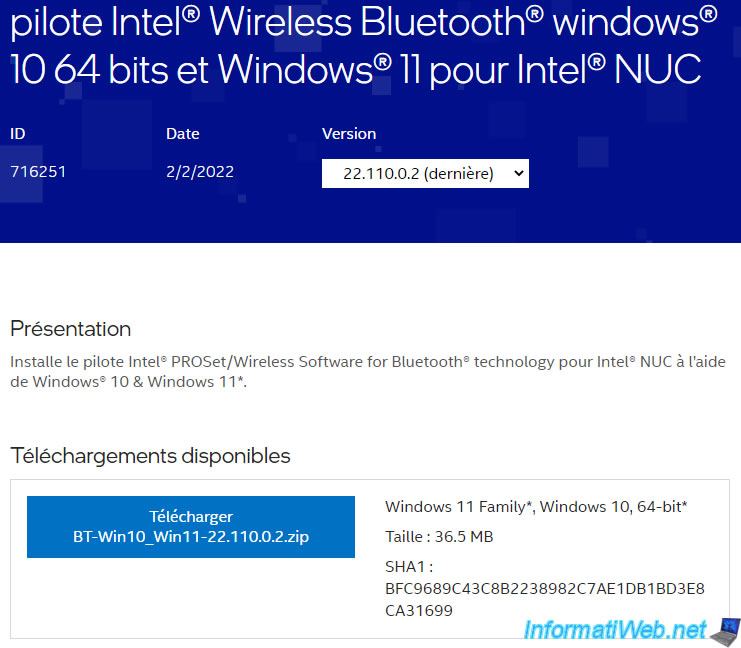
Click the "View Details" button for this Intel Wireless Bluetooth driver.
Attention: since the update of the Intel site, you must select "Windows 10, 64-bit*" and type "Bluetooth" in the box on the right (filter) to find this driver.
Then, click on the "Download BT-Win10_Win11-22.110.0.2.zip" button.
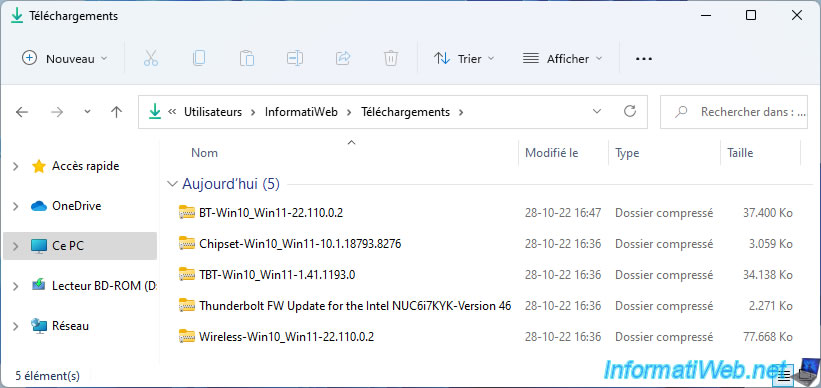
Here are the drivers you will have downloaded for Windows 11.
Note: the file "Thunderbolt FW Update..." is not necessary. This is a tool for updating the Thunderbolt firmware in your NUC hardware.
So only use it if you really need it since it is not reversible, even by formatting the SSD.
4. Install the drivers for Windows 11 of your Intel NUC
To get started, right click "Extract All" on "Chipset-Win10_Win11-10.1.18793.8276.zip".
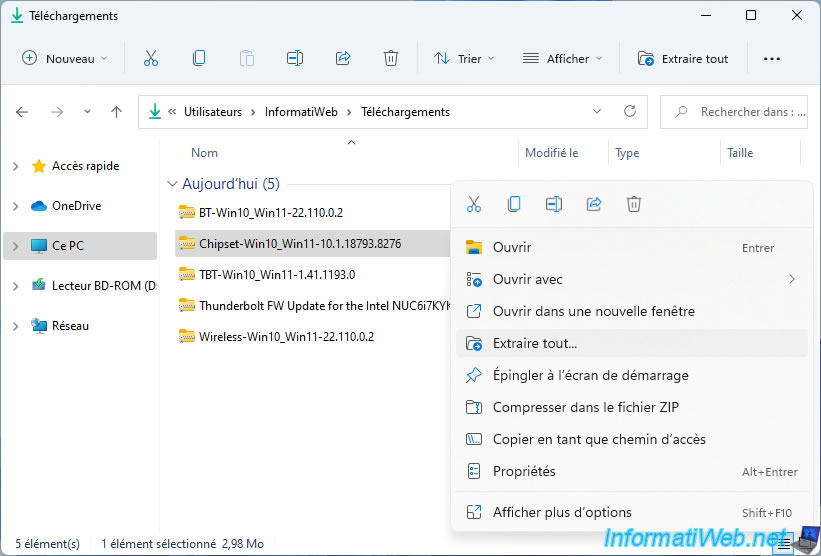
Click on: Extract.

In the folder that appears, run the "SetupChipset.exe" file.
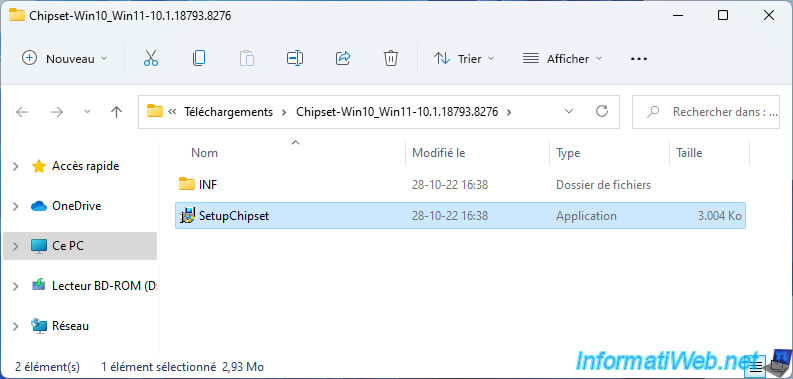
The "Intel Chipset Device Software" installer appears.
Click on: Next.
Once the Intel chipset is installed, click: Restart now.

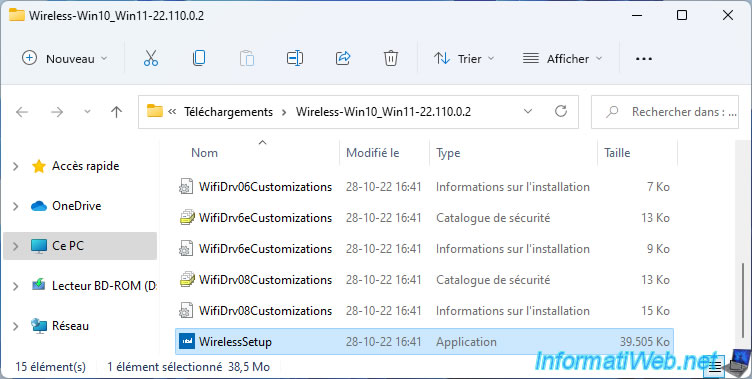
Unzip the "Wireless-...zip" file and run the "WirelessSetup.exe" file found there.
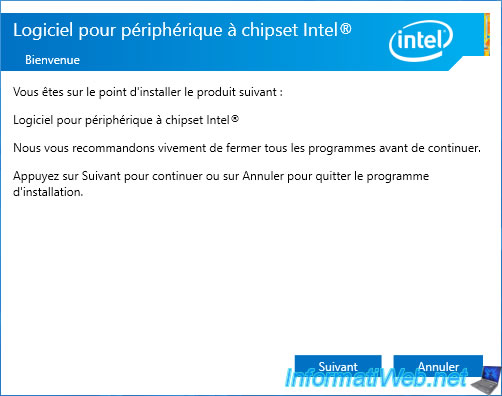
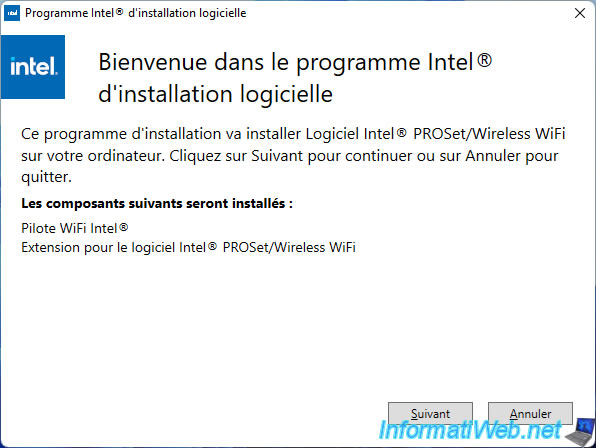
The Intel Software Installer appears.
Click Next to install the WiFi driver.
Then unzip the "TBT-...zip" file and launch the "ThunderBolt(TM) Software Installer.exe" file.
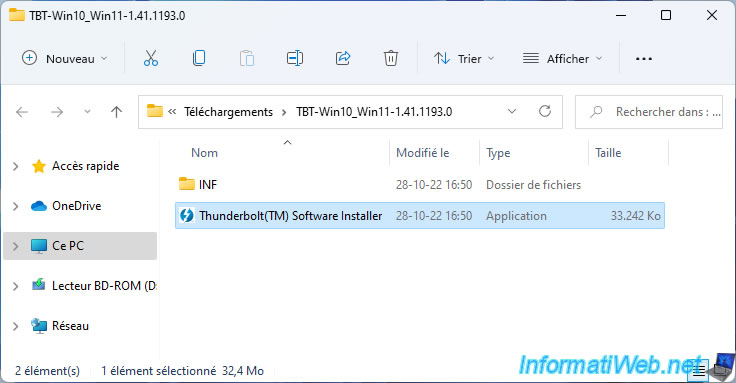
The Thunderbolt Software installer appears.
Accept the Terms of Service and click Install.

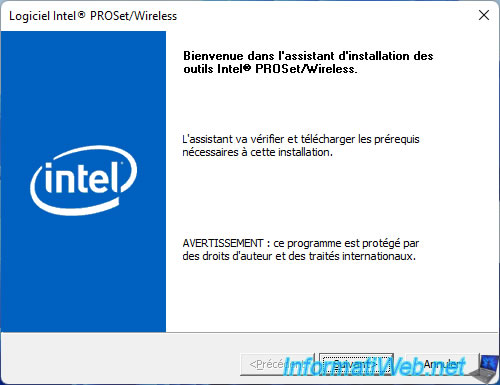
Finally, unzip the "BT-...zip" file and run the "WirelessSetup.exe" file found there.
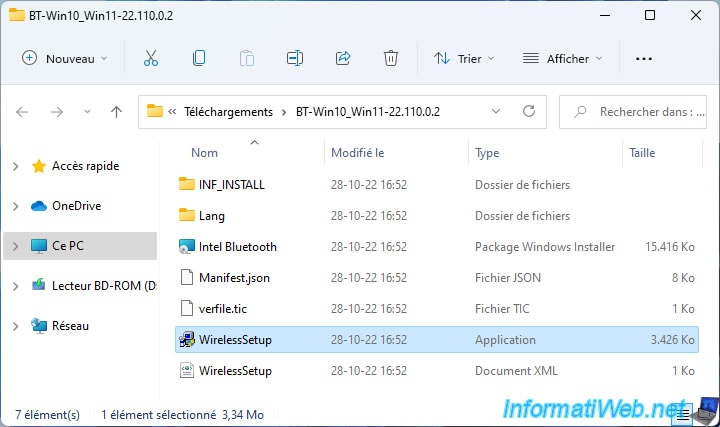
The Bluetooth driver installer will appear.
Click Next.
Right-click on "This PC" and click on "Show more options -> Manage".
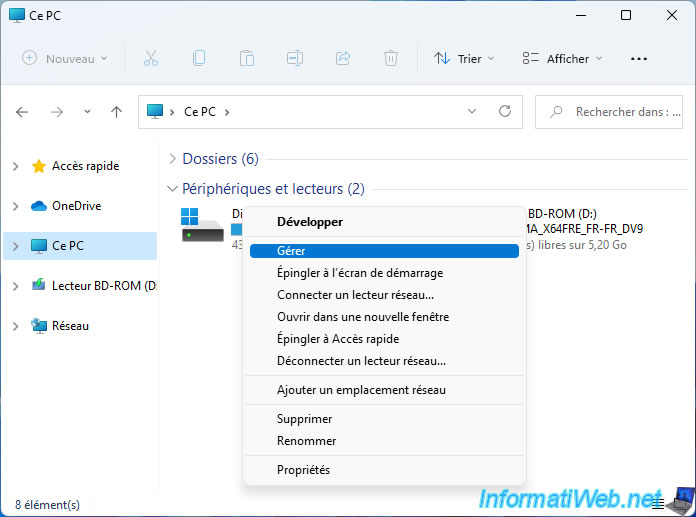
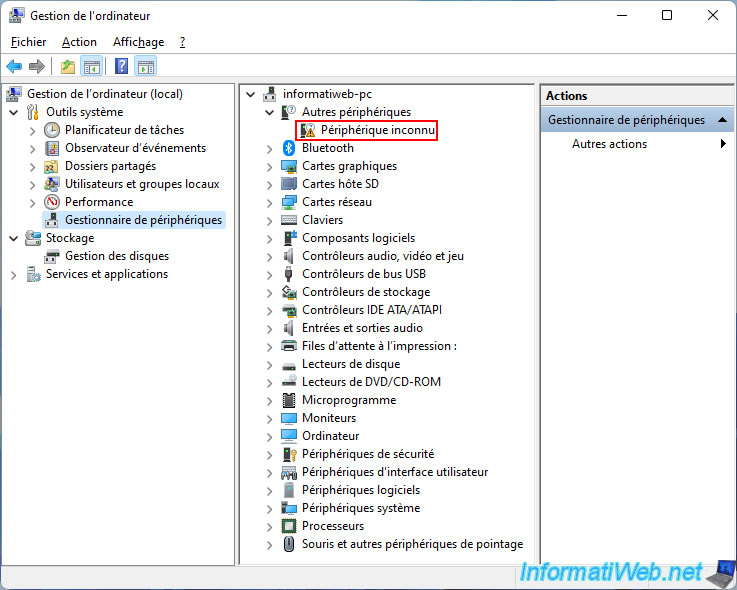
In the "Computer Management" console that appears, go to the "Device Manager" section.
As you can see, despite having installed all the drivers provided by Intel for your NUC on Windows 11, there is still an unknown device.
Share this tutorial
To see also
-
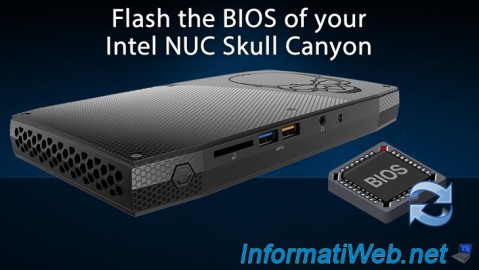
BIOS 6/10/2018
Flash the BIOS of your Intel NUC Skull Canyon
-
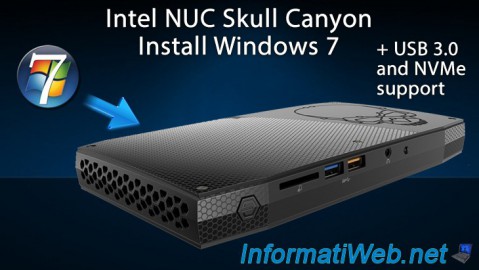
Articles 3/27/2017
Intel NUC Skull Canyon - Install Windows 7 (with USB 3.0)
-
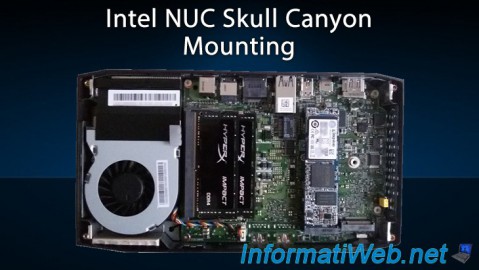
Articles 3/14/2017
Intel NUC Skull Canyon - Mounting
-
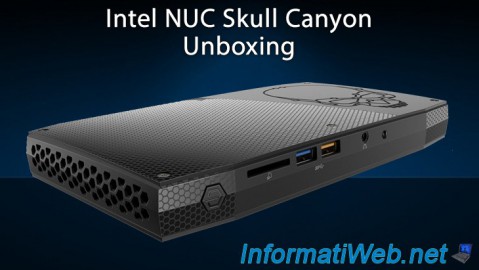
Articles 3/7/2017
Intel NUC Skull Canyon - Unboxing
You must be logged in to post a comment