- Articles
- Intel NUC
- 14 March 2017 at 15:46 UTC
-

When you buy a mini PC and especially an Intel NUC, you have to add the SSD and compatible RAM.
For the choice of the RAM and the SSD, we recommend you to consult the Intel's official site and more particularly these pages :
- for RAM : System Memory for Intel® NUC Kit NUC6i7KYK
- for the SSD : Tested Peripherals for Intel® NUC Kit NUC6i7KYK et Vendor-Tested and Customer-Reported Peripherals for Intel® NUC Products
1. Configuration used
1.1. NUC
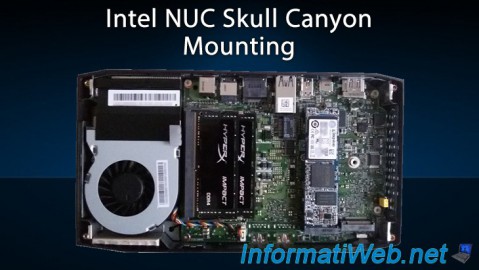
In this article, we will use the NUC : Intel NUC NUC6i7KYK (Skull Canyon).
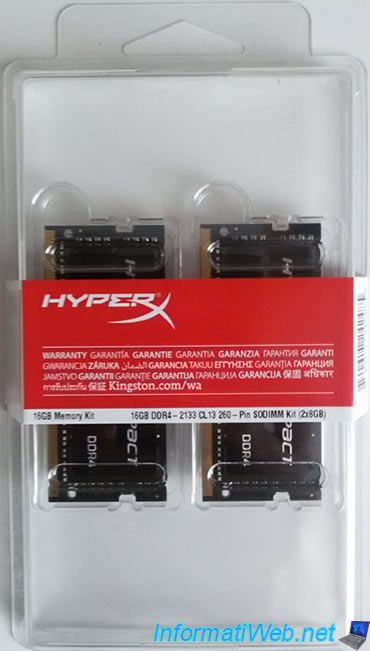
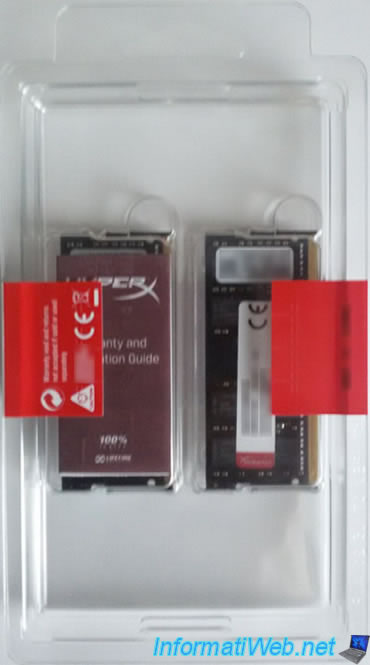
1.2. RAM
For RAM, we chose the Kingston Technology HyperX Impact 16GB RAM DDR4 2133 HX421S13IBK2/16 referenced on the Intel compatibility page.
1.3. SSD (storage)
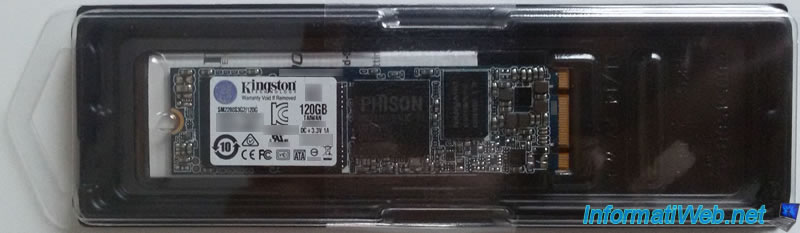
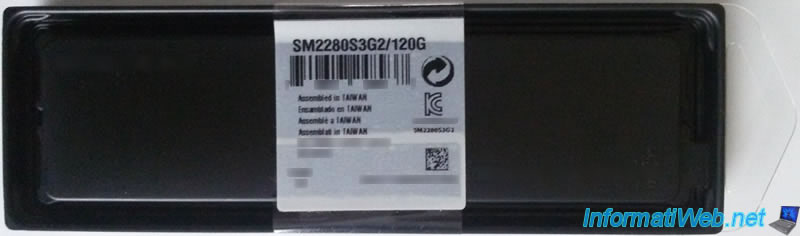
For the SSD, we chose the "Kingston Digital 120GB SSDNow M.2 SATA 6Gbps (Single Side) SM2280S3G2/120G" SSD which is also referenced on the compatibility page of Intel.
2. Mount the NUC
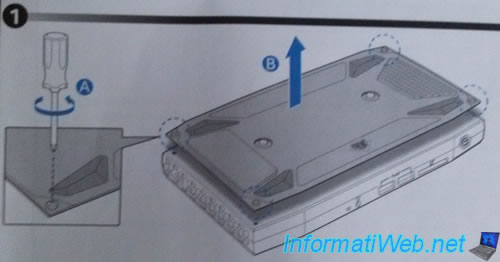
To add RAM and SSD to your NUC, please take note of the explanatory note :

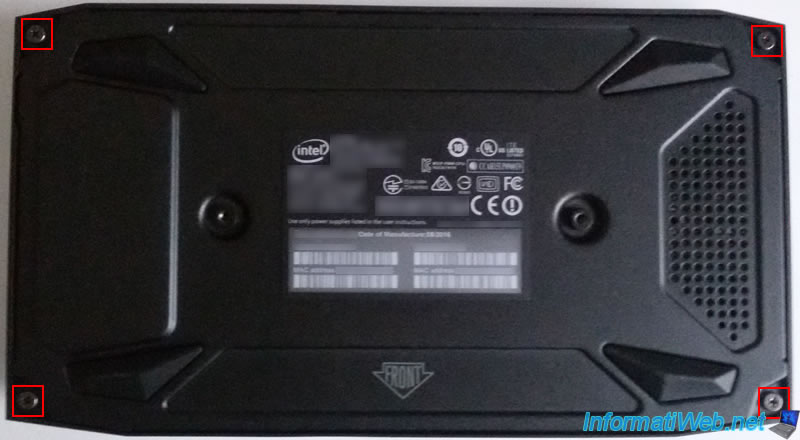
As shown in the instruction manual, the first step is to unscrew the 4 screws below the NUC to remove the bottom plate.
For this, you will need a small screwdriver NOT supplied.
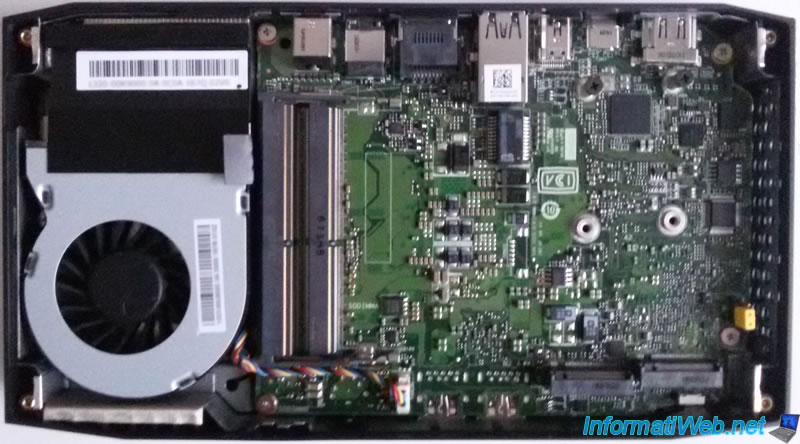
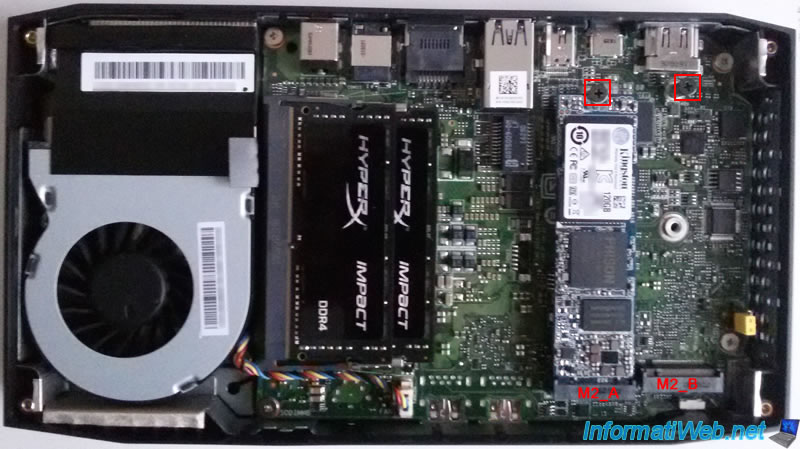
Once the plate is removed, you will see this :
- the fan on the left
- the slots for the RAM next to the fan
- the slots for the SSD on the right
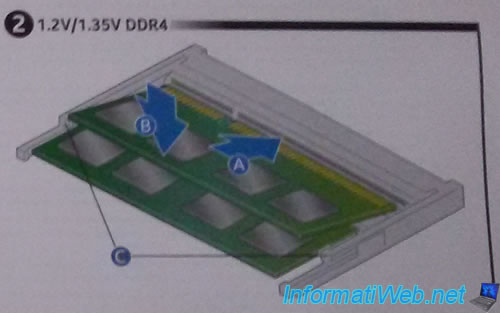
2.1. Add RAM
To add the RAM, you must insert the RAM in the slot and press to place it horizontally.
Once you hear the "click", the RAM is added correctly.
Warning : if you have only one RAM module, you should place it in the bottom slot. As reported on the Intel website.
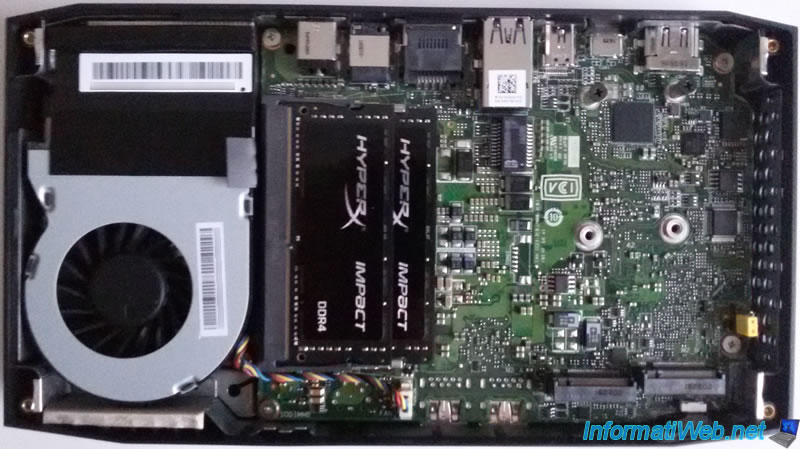
Once clipped, here is what it gives.
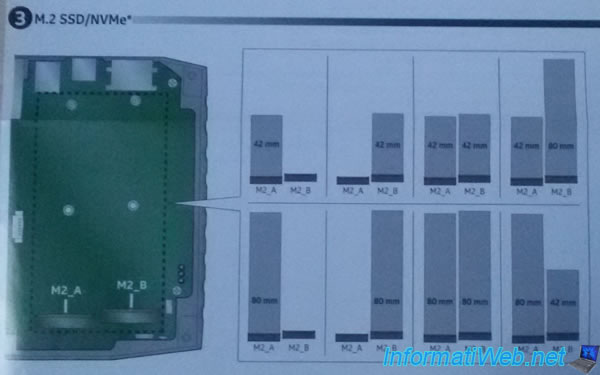
2.2. Add the SSD
To add the SSD, there are 2 possibilities :
- either you have a SSD M.2 80 mm (as in our case)
- either you have a SSD M.2 42 mm (this requires the spacer provided in the screw pack)
As you can see, the M2_A connector is on the left. In other words, if you only have one M.2 SSD, it's best to connect it to this location.
To add a SSD with a size of 22 mm x 80 mm, you must :
- unscrew the black screw present by default in the NUC
- put the SSD M.2 obliquely into the connector (no worries, it only goes in one sense)
- press the SSD on the screw side to revise it correctly. Warning : don't force the screw towards the end as this could damage the SSD.
To add a SSD with a size of 22 mm x 42 mm (so that is half the length), you must :
- unscrew the black screw that will not serve you
- screw the spacer present in the screw pack supplied with the NUC
- put the SSD M.2 obliquely into the connector
- press the SSD on the side of the spacer to screw in the screw
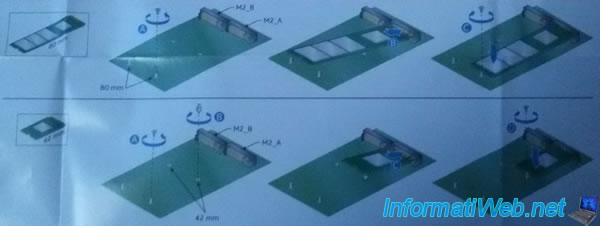
In our case, we added a SSD with a size of 22 mm x 80 mm.
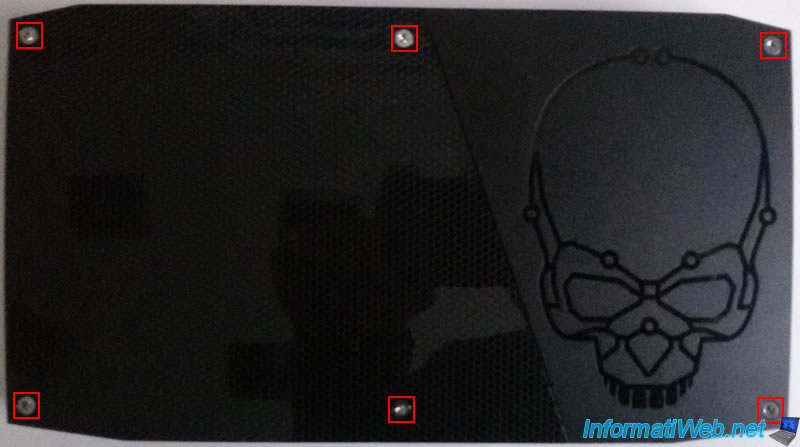
2.3. Optional : change the upper side
For those who don't like the upper face present by default, be aware that it is possible to replace it with the black side provided with the NUC.

To do this, you will need the Allen key located in the screw pack.

With this Allen key, you can unscrew the 6 screws from the top.
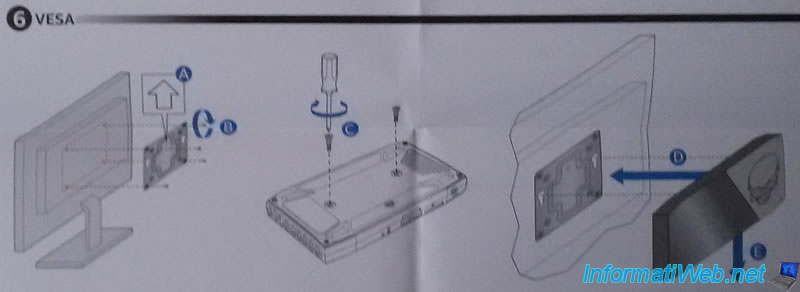
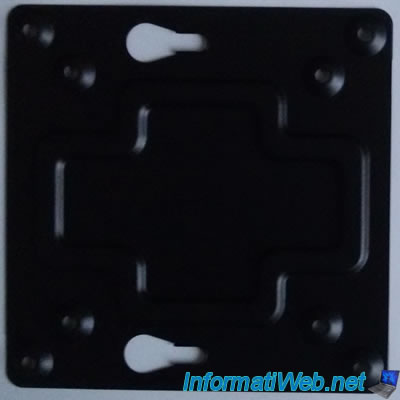
2.4. Optional : fix the NUC behind the screen (VESA support)
Finally, if you wish, know that it's possible to fix your NUC behind your computer screen thanks to the VESA mounting bracket.
Share this tutorial
To see also
-

BIOS 6/10/2018
Flash the BIOS of your Intel NUC Skull Canyon
-
Articles 9/23/2024
Intel NUC Skull Canyon - Install Windows 11
-
Articles 3/27/2017
Intel NUC Skull Canyon - Install Windows 7 (with USB 3.0)
-

Articles 3/7/2017
Intel NUC Skull Canyon - Unboxing
You must be logged in to post a comment