- BIOS
- 09 November 2021 at 15:20 UTC
-

When you want to show a BIOS procedure or ask for help on an IT forum about a setting present in your motherboard BIOS, the only option you had was to take a photo of your screen with a camera or a smartphone.
With recent BIOS, including those of Asus motherboards, this is no longer necessary.
Indeed, by plugging an USB key formatted in FAT 32 on your computer, you can take a screenshot directly from the BIOS and save it on your USB key.
- NTFS and exFAT not supported
- Format your USB key in FAT32
- Take a screenshot with an Asus BIOS (blue)
- Take a screenshot with an Asus BIOS (yellow/gray)
- Convert images to jpeg format instead of BMP
1. NTFS and exFAT not supported
For this tutorial, we took one of our USB keys which is currently formatted in NTFS.
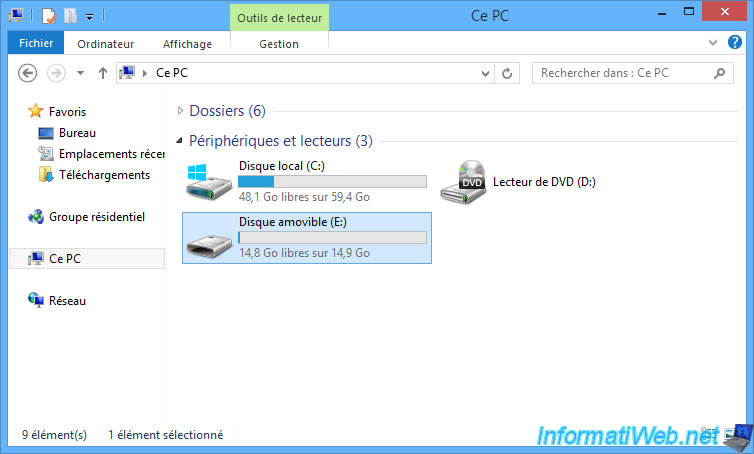
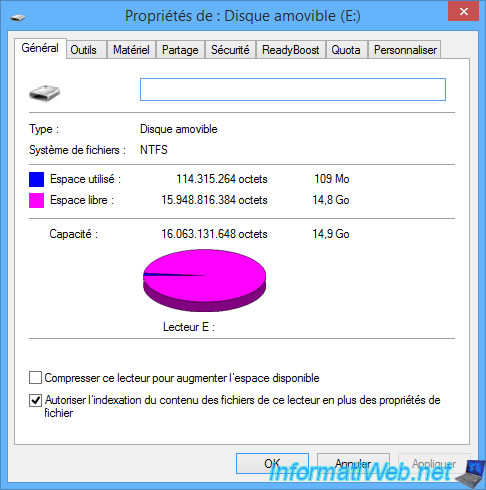
By right-clicking "Properties", Windows tells us that our removable disk (our USB key) has a NTFS file system.
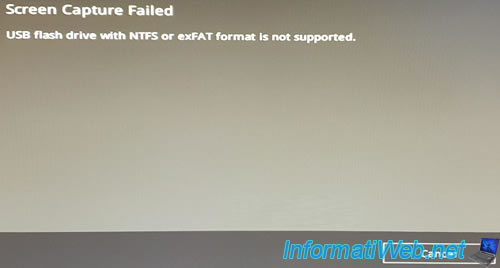
If we try to take a screenshot from the BIOS of our Asus motherboard, this error will be displayed :
Plain Text
Screen Capture Failed.
USB flash drive with NTFS or exFAT format is not supported.
2. Format your USB key in FAT32
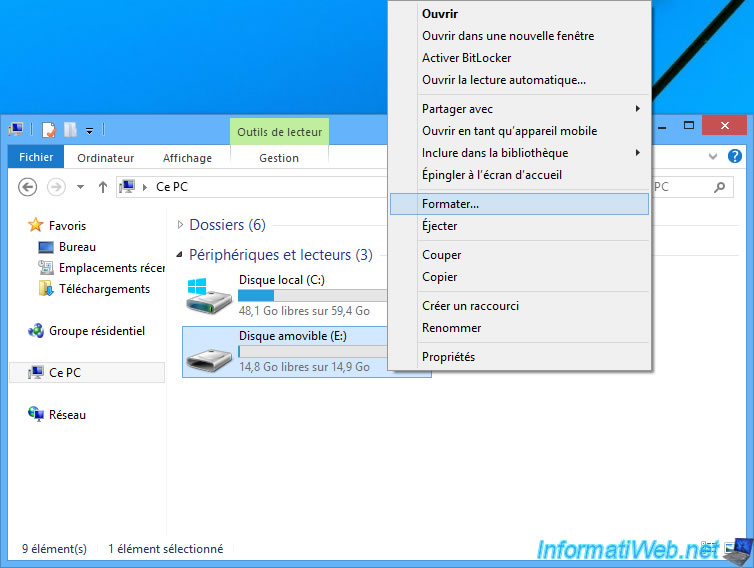
To solve this compatibility problem, you will have to erase the contents of your USB key by right-clicking "Format" on it.
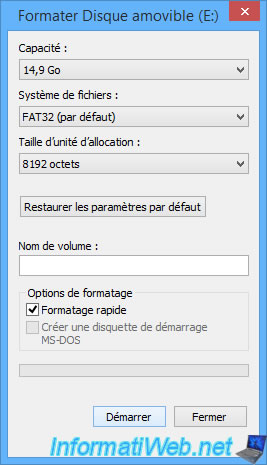
Select "File system : FAT32 (Default)".
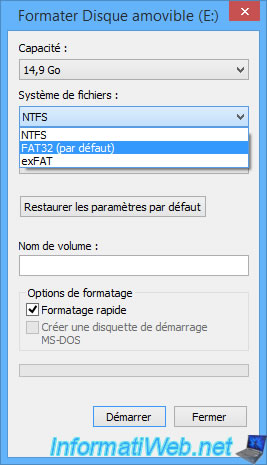
Then, click on the "Start" button.
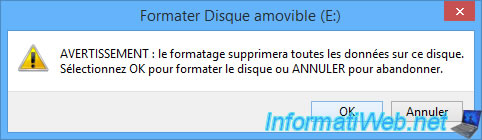
Windows will display a warning telling you that formatting will erase all data on this disk.
Validate by clicking on OK.
A few seconds later, the "Format complete" message will be displayed.
Click on OK.
3. Take a screenshot with an Asus BIOS (blue)
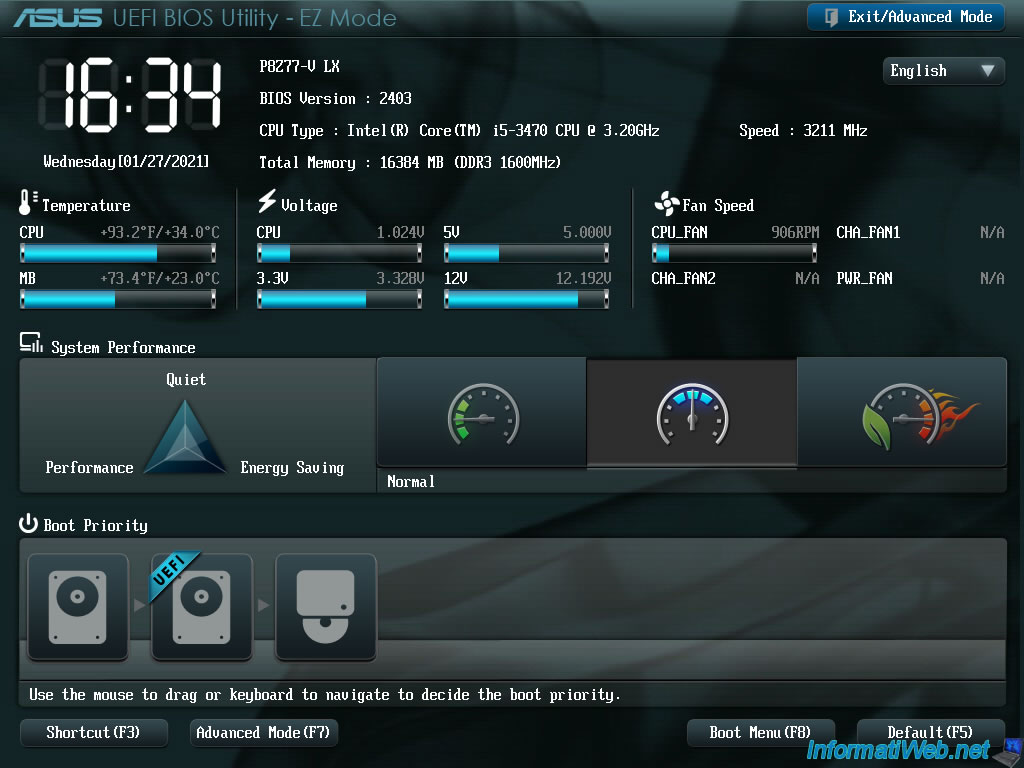
If you have an Asus P8Z77-V LX motherboard or any other Asus motherboard with a blue/green BIOS similar to this one, you will find the shortcut key to use (surely : F12) in the advanced mode of it.
First, press the "Delete" or "Del" key on your keyboard when the computer starts up to enter the BIOS of your Asus motherboard.
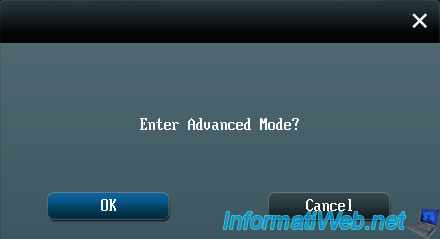
Then, click on the "Exit/Advanced Mode" button at the top right or on "Advanced Mode (F7)" at the bottom.
Confirm by clicking on OK.
Once in the advanced mode of this Asus BIOS, you will find the "F12: Print Screen" keyboard shortcut at the bottom right.
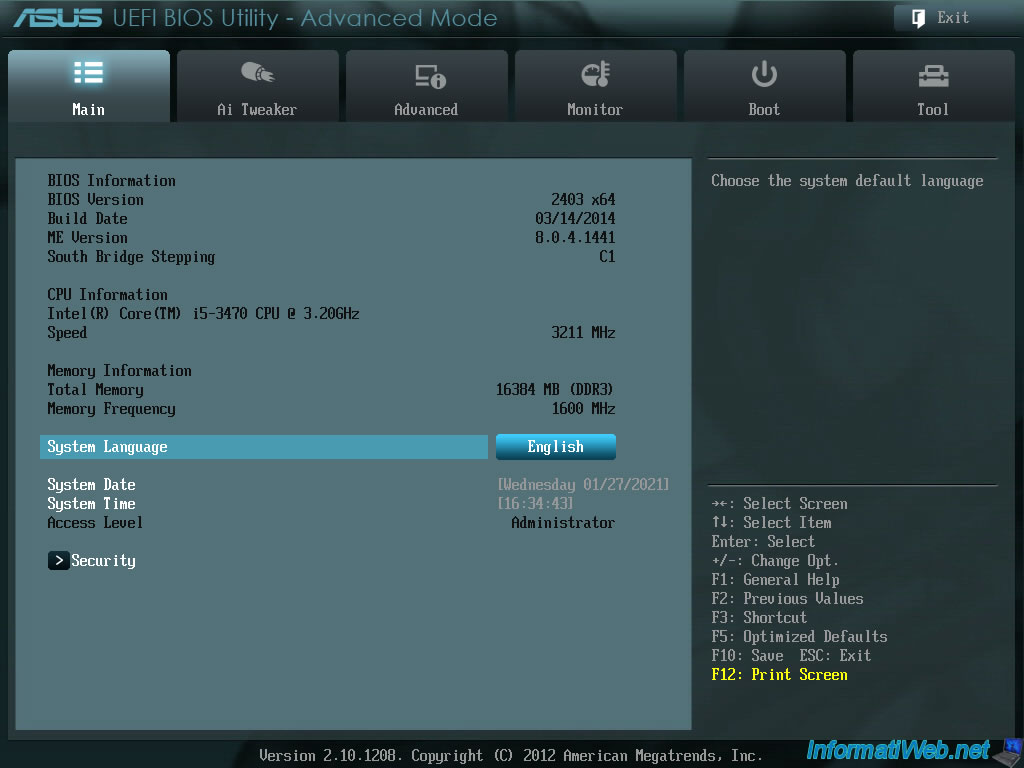
To take a screenshot in this BIOS (including outside of its advanced mode), simply press the "F12" key on your keyboard.
A small "Please select the USB flash drive" window will appear.
Select your USB key from the list and press Enter.
Note : the easiest way is to plug only one USB key into your computer to take screenshots in the BIOS.

If your USB key is correctly formatted in FAT32, this message will be displayed :
Plain Text
Screen Capture Successfully.
Image saved in fs0:\xxxxxxxxxxxx.BMP

4. Take a screenshot with an Asus BIOS (yellow/gray)
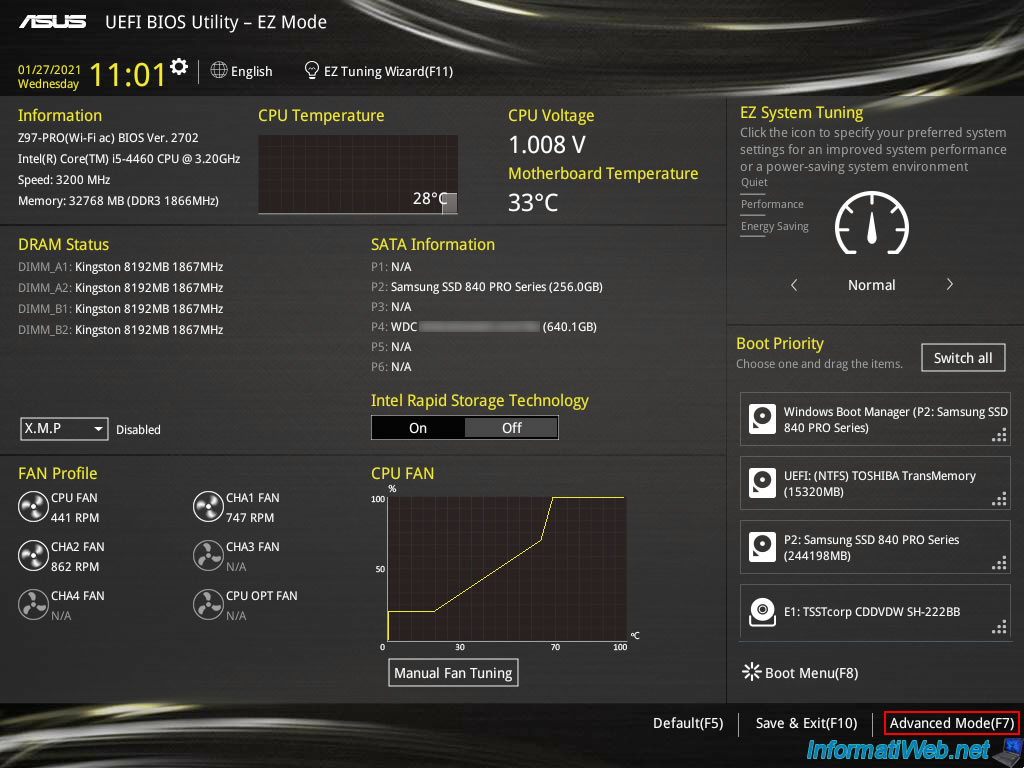
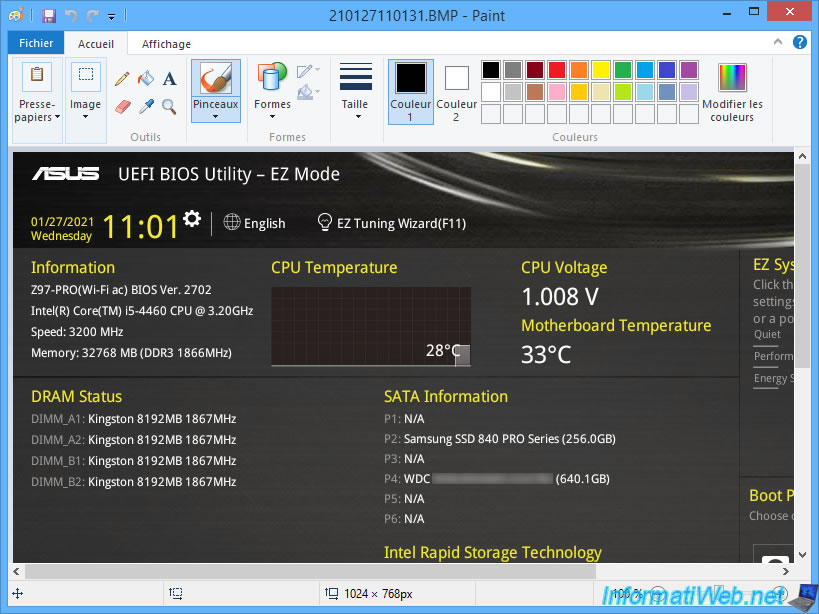
If you have a newer Asus motherboard (such as an "Asus Z97 Pro Wi-Fi ac", for example), then you will have a yellow and gray BIOS like the one below.
The hotkey remains the same (F12), but here's how to find it if needed.
First, press the "Delete" or "Del" key on your keyboard when the computer starts up to enter the BIOS of your Asus motherboard.
Then, click on "Advanced Mode (F7)" at the bottom right of the screen.
Once in advanced mode, click on the "Hot Keys" shortcut located at the top right of the BIOS.
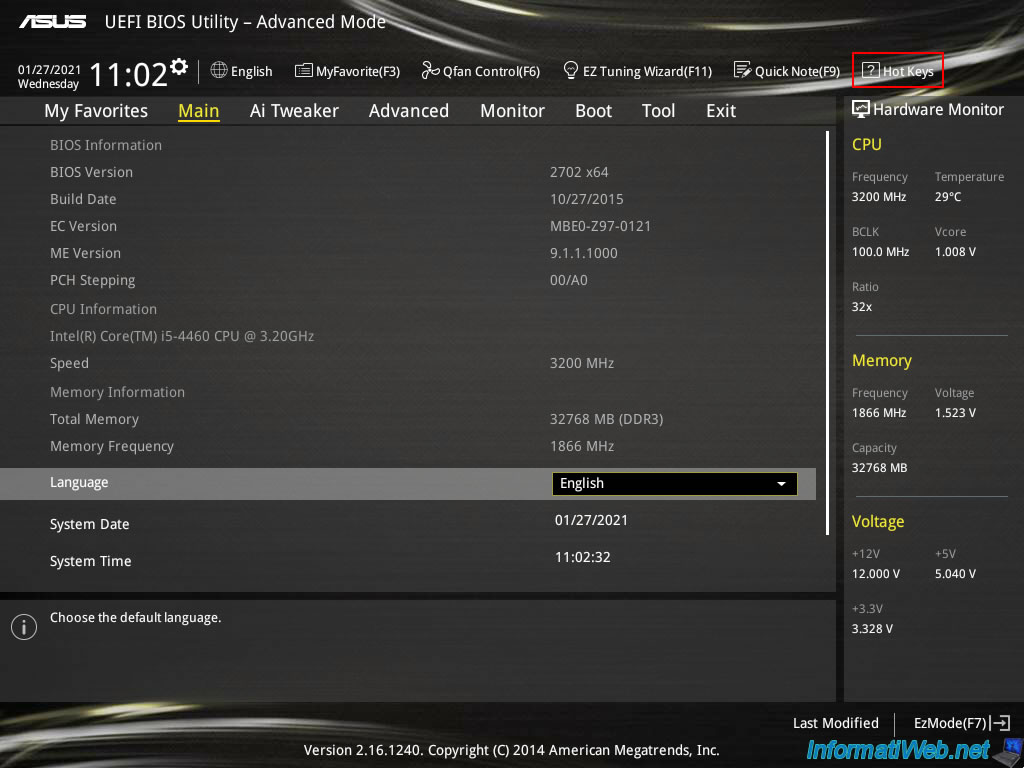
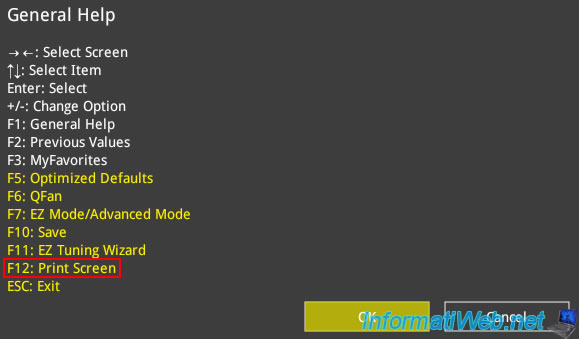
A gray rectangle will appear in the middle of the screen with the list of shortcut keys available for your BIOS.
In this list, you will find the "F12: Print Screen" keyboard shortcut allowing you to take a screenshot in the BIOS of your Asus motherboard.
The rest is the same as with the other version of the Asus BIOS.
You press the F12 key on the keyboard (anywhere in the BIOS) to take a screenshot of your screen, then a "Please select the USB flash drive" window will appear.
Select your USB key from this list and press Enter.

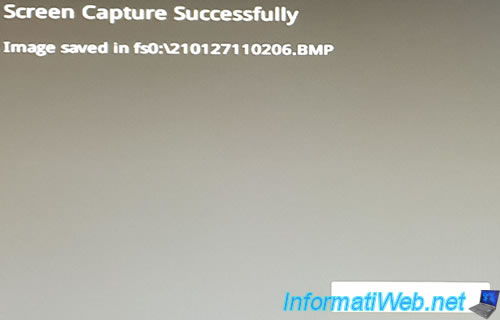
If your USB drive is formatted as FAT32, it will work and this message will be displayed :
Plain Text
Screen Capture Successfully.
Image saved in fs0:\xxxxxxxxxxxx.BMP
5. Convert images to jpeg format instead of BMP
Since the BIOS (or firmware in the case of its successor : EFI) is a very small program, it's very "minimalist".
This means that the BIOS is not able to handle the compression of the images that it creates for you.
Hence the fact that your Asus BIOS saves screenshots in BMP format which is a raw (uncompressed) format.
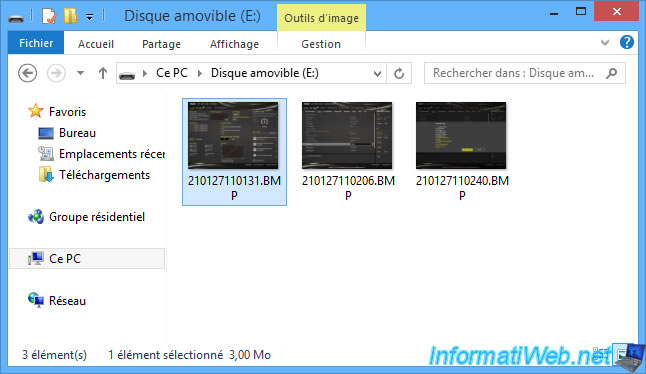
It also means that each screenshot will take several megabytes (MB) on your USB key.
In our case, these screenshots are saved with a resolution of 1024x768 and each screenshot weighs 3MB.
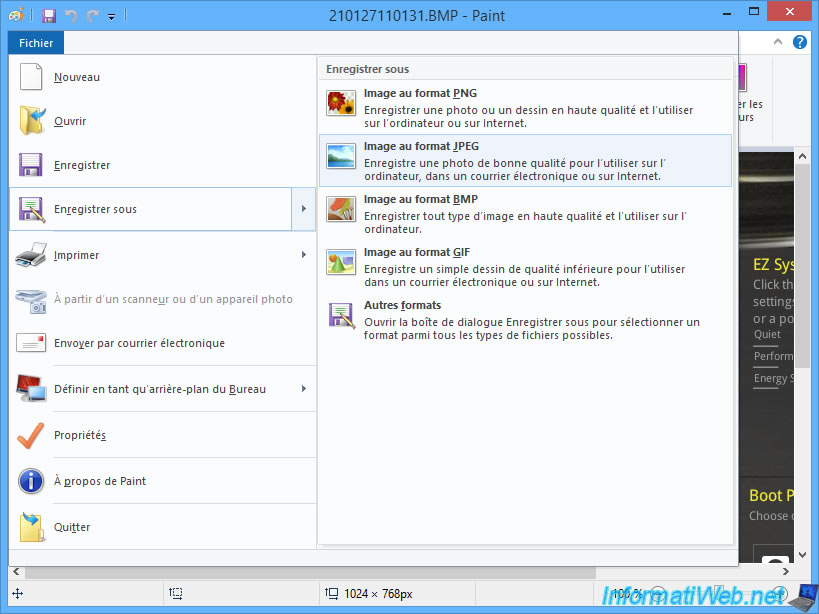
To compress these images, open them with Paint (for example) which comes with Windows and which supports BMP format.
Then, click on : File -> Save as -> JPEG picture.
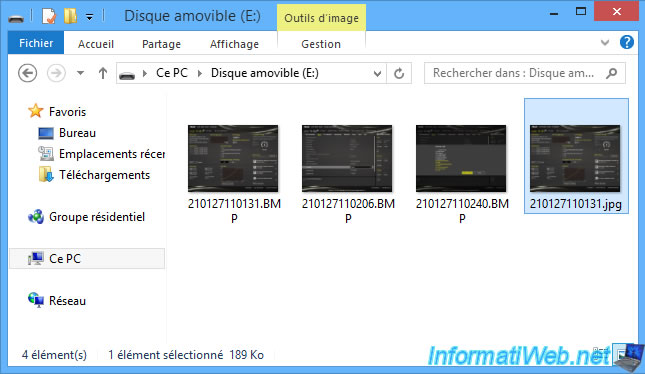
A "Save As" window appears with the same file name as the original file, except the extension which has been changed from ".bmp" to ".jpg".
Click on "Save".
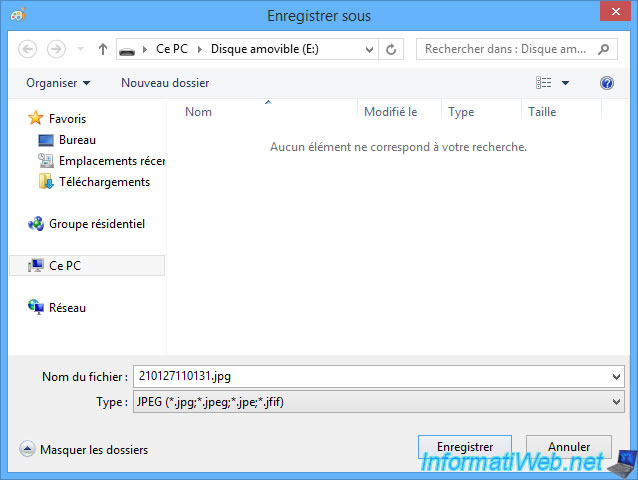
As you can see, the same image in JPEG format is only 189KB = 0.18MB instead of 3MB.
Share this tutorial
To see also
-

BIOS 3/19/2016
Asus - The computer doesn't boot - DRAM_LED on
-
BIOS 2/27/2013
Enable and configure the network boot (PXE)
-
BIOS 6/10/2018
Flash the BIOS of your Intel NUC Skull Canyon
-
BIOS 12/28/2021
Limit a server's exposure to attacks with the Intel XD / AMD NX
You must be logged in to post a comment