- BIOS
- 03 November 2021 at 11:06 UTC
-


When your computer is not working properly, sometimes a hard drive or SSD (or sometimes its partitions) disappear or don't appear in File Explorer.
However, it's possible that the problem is due to Windows or a hardware problem.
- Why check if my hard drive or SSD is detected in BIOS ?
- Asus UEFI BIOS (blue)
- MSI BIOS (American Megatrends)
1. Why check if my hard drive or SSD is detected in BIOS ?
To check for sure if your computer is no longer detecting your hard drive, it's better to go into the BIOS.
Thus, you will quickly turn aside the possibility of a software problem :
- a problem with your Windows installation that might be damaged
- a Windows update causing problems in some cases with specific hardware
- a software problem on your hard drive, such as an accidentally deleted partition, a corrupted partition (recognized as RAW), a damaged partition table, a file system not supported by Windows (like the Ext used by Linux) , ...
- a conflict with a program (ex : an anti-virus, anti-malware or any other utility)
- and more
In short, the BIOS is a firmware located in your computer's motherboard and it's loaded first by your computer.
And if the BIOS doesn't detect your hard drive, there is a hardware problem in your computer.
Some of the possible hardware problems include :
- the hard drive may be broken or sick (which causes the hard drive to appear and disappear randomly, but in general, this does not happen suddenly from one day to the next)
- the hard drive may be plugged in incorrectly, so that it sometimes appears and other times it doesn't. In this case, check the 2 cables : the SATA cable for data and the other cable for power.
- one of your other components may have failed. Which causes weird and random issues and maybe this one.
- the motherboard may be getting old
- the power supply may be aging or being used to its limits. If all of its power cables are plugged in, its performance is poor and the problem may be there.
In short, to come back to the BIOS, here is how you can check that your hard disks and/or SSDs are detected there.
2. Asus UEFI BIOS (blue)
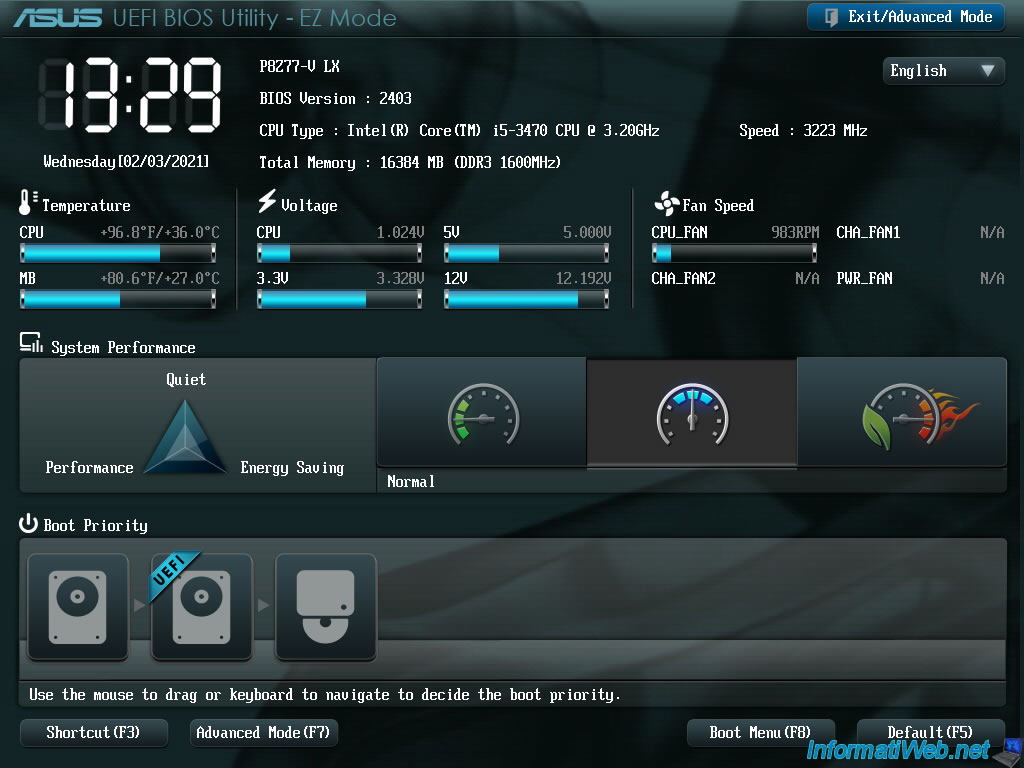
If you have an Asus motherboard (model : Asus P8Z77-V LX), you might have a blue and green BIOS like the one below.
If you have an Asus BIOS similar to this one, press the "Delete" or "Del" key several times on your keyboard when starting your computer to enter it.
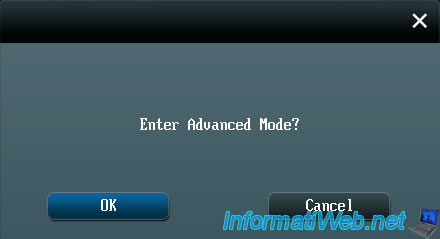
Then, go to advanced mode by clicking on the "Advanced Mode (F7)" button located at the bottom or on "Exit/Advanced Mode" located at the top right.
Confirm by clicking on OK.
Once in the advanced mode of your Asus BIOS, go to the "Advanced" tab and click on : SATA Configuration.
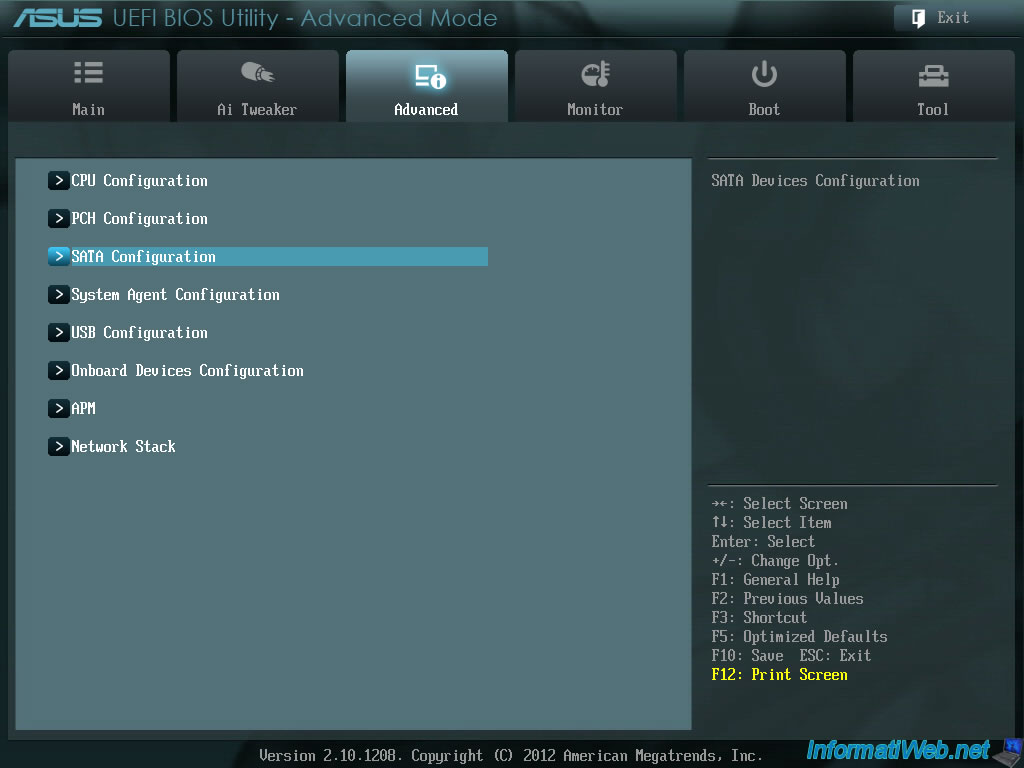
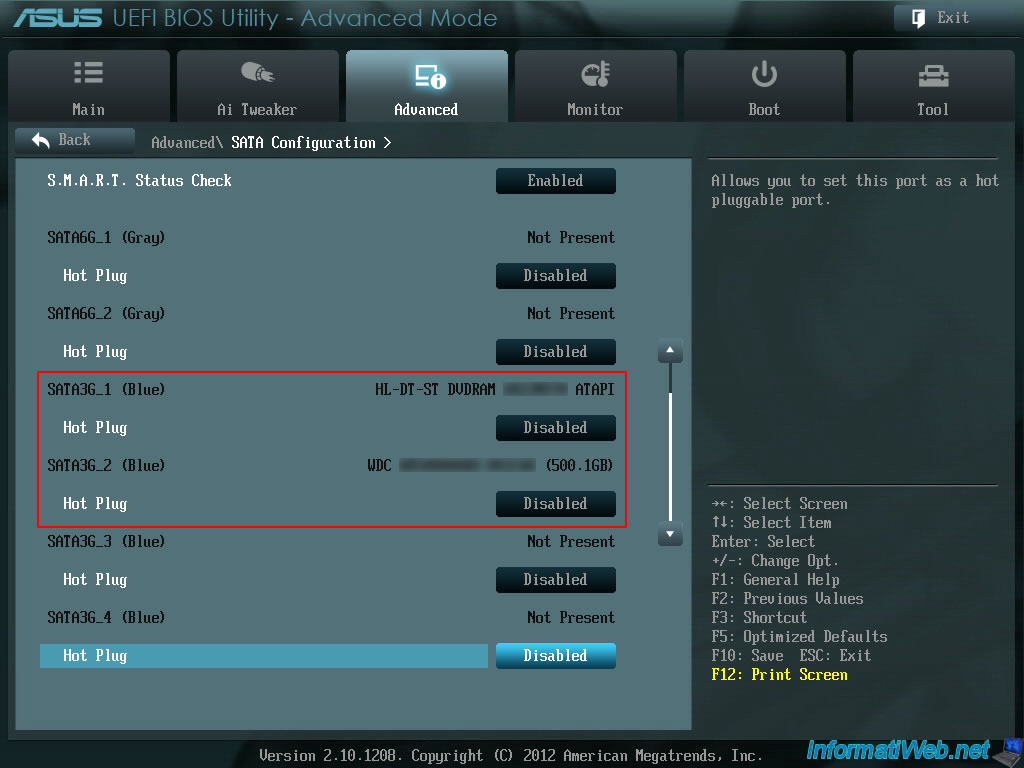
In this "SATA Configuration" section, you will find a list of the SATA ports available on your motherboard, as well as the hard disks and CD/DVD drives connected to them.
As you can see, in our case, we have :
- a CD/DVD drive connected to the "SATA3G_1 (Blue)" port
- a Western Digital (WDC) hard drive connected to the "SATA3G_2 (Blue)" port
If your hard drives are detected here, they are working.
3. Asus UEFI BIOS (yellow/grey)
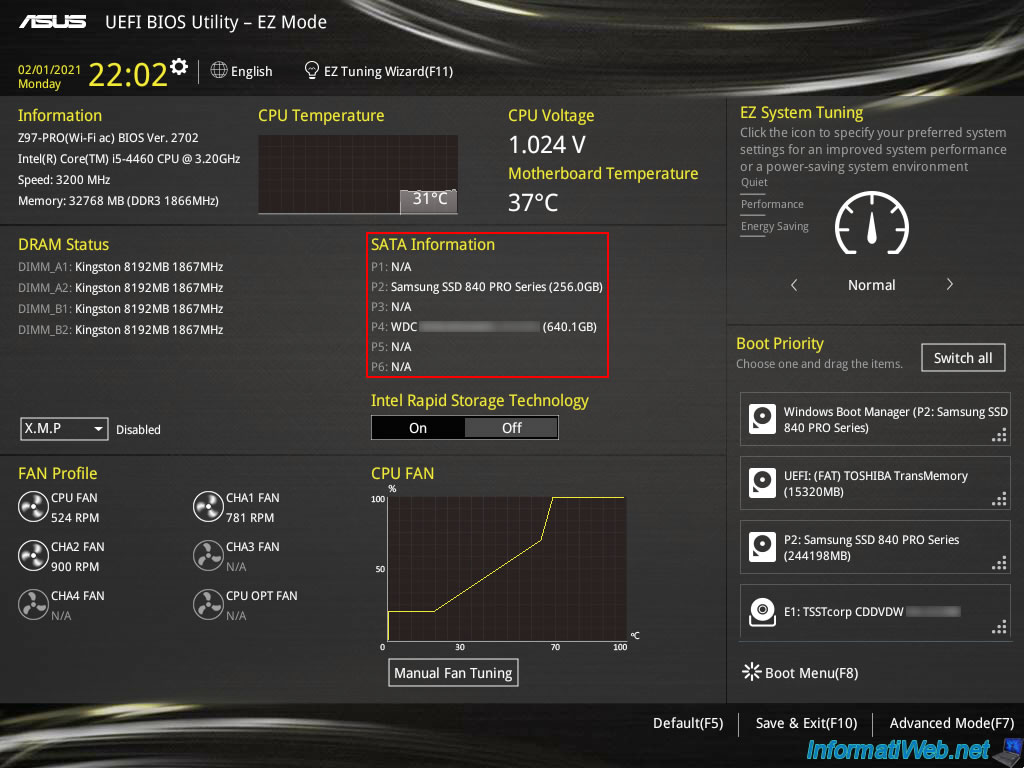
If you have a newer Asus motherboard (like our "Asus Z97 Pro Wi-Fi ac" motherboard), then you probably have an yellow and gray Asus BIOS like the one below.
In this case, it's even simpler, because the hard disks and the CD drives connected in SATA are displayed in the middle of the screen on the home screen of this BIOS.
To enter this BIOS, the key is the same as on older Asus motherboards : Del or Delete (depending on your keyboard).
If you wish, you can also go to the advanced mode of this BIOS to find the same information, as well as to see the M2 / NVMe SSDs that you would have plugged into your computer.
To do this, click on "Advanced Mode (F7)" at the bottom right to access advanced mode, then go to : Advanced -> PCH Storage Configuration.
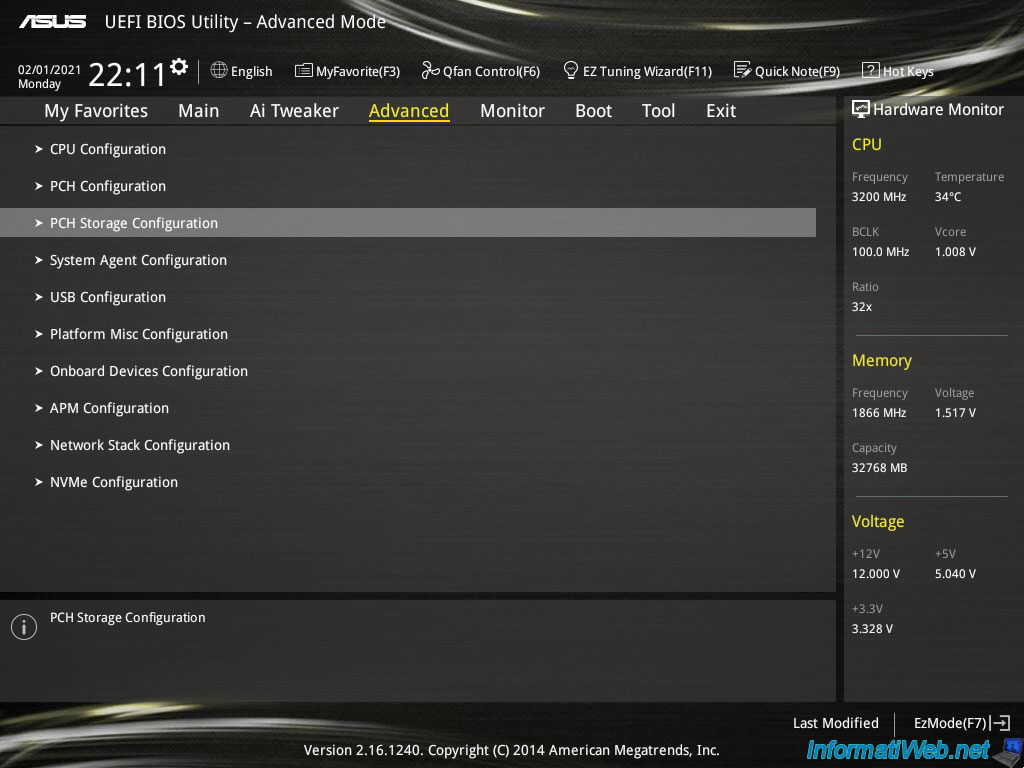
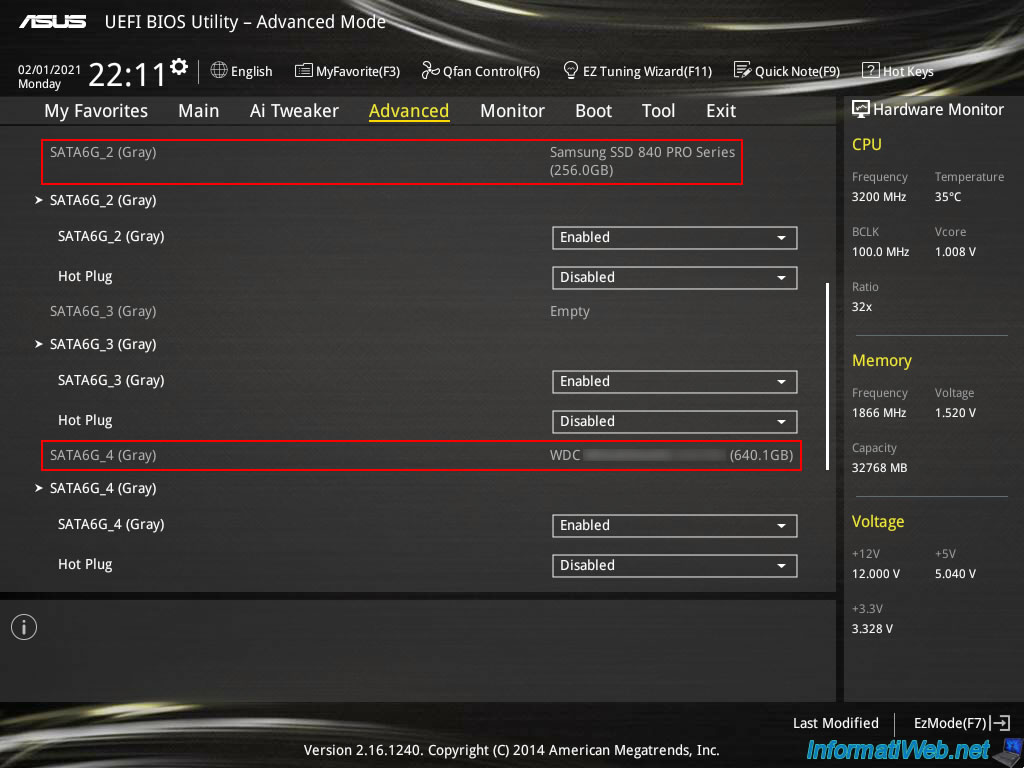
In this "PCH Storage Configuration" menu, you will find the list of SATA ports available on your motherboard with hard disks and CD/DVD drives connected to them.
In our case : a 256 GB "Samsung SSD 840 PRO Series" SSD (connected via SATA) and a 640 GB Western Digital (WDC) hard drive.
If your hard drives are detected here, they are working.
If they are not detected by your operating system (eg Windows), check that the relevant SATA ports are enabled.
For example : SATA6G_2 (Gray) : Enabled.
By default, all SATA ports are obviously enabled.
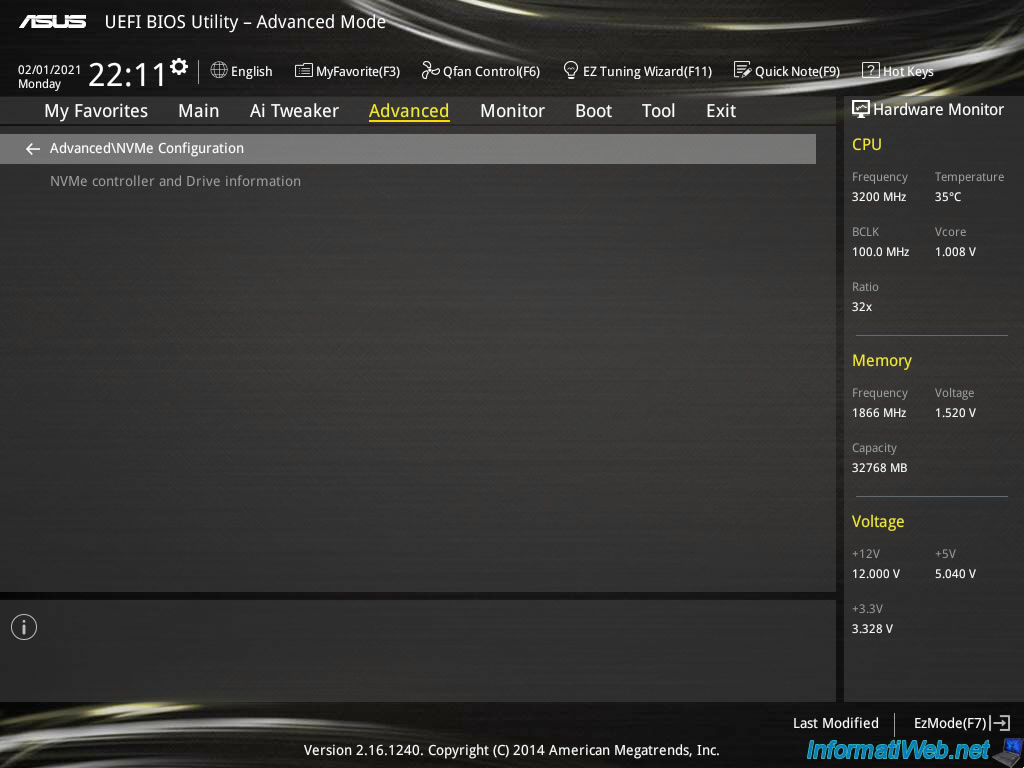
If you have M2 or NVMe format SSDs, you should find them in : Advanced -> NVMe Configuration.
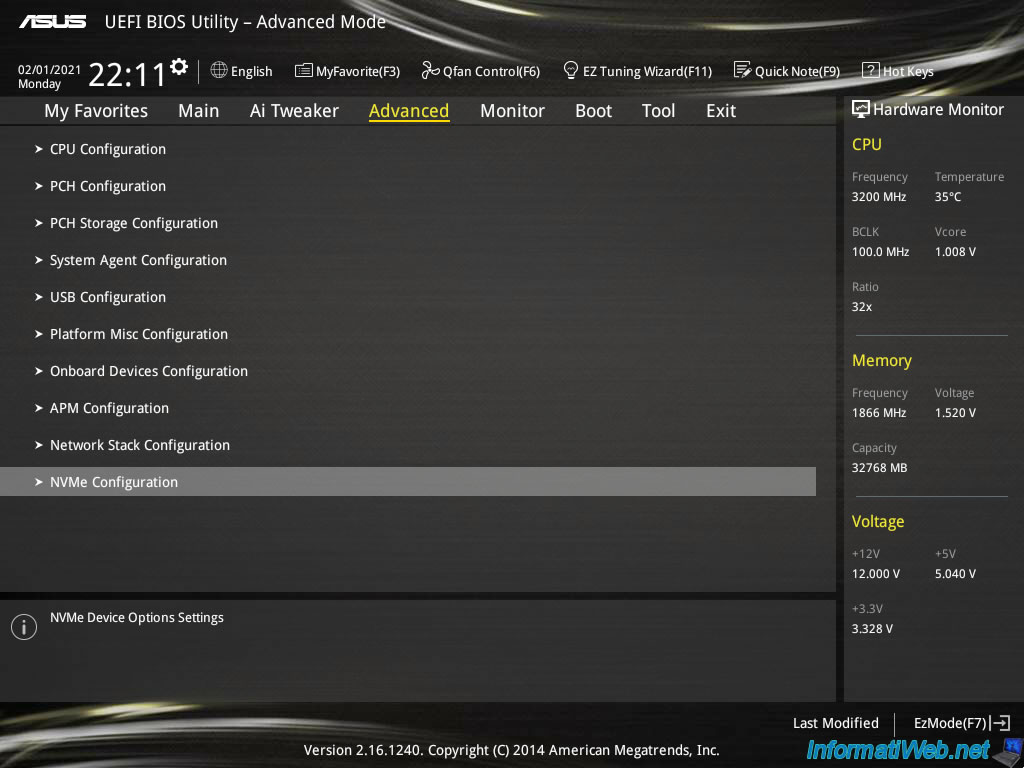
As this BIOS tells you, information about your NVMe controller and its SSD is supposed to be displayed here.
Since we don't have an NVMe format SSD in this computer, nothing is shown in the image below.
3. MSI BIOS (American Megatrends)
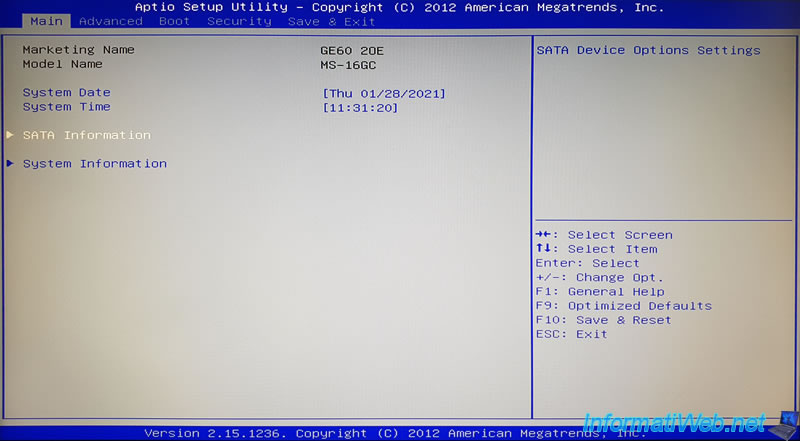
If you have an MSI laptop, chances are you have an American Megatrends BIOS like this.
To enter it, simply press the "Delete" key several times when starting it.
Then, in the "Main" tab (selected by default), select "SATA Information" and press Enter.
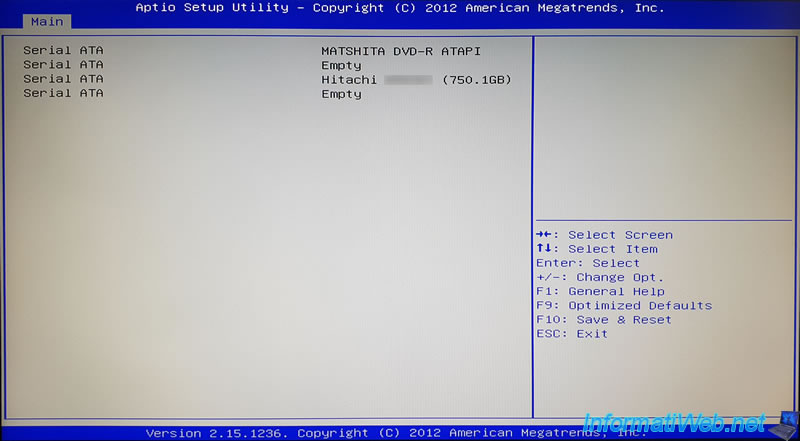
This BIOS shows you the SATA (Serial ATA) ports present in your MSI laptop PC with hard disks, SSDs and/or CD/DVD drives connected to these SATA ports.
In this case : an integrated CD/DVD drive (MATSHITA DVD-R ATAPI).
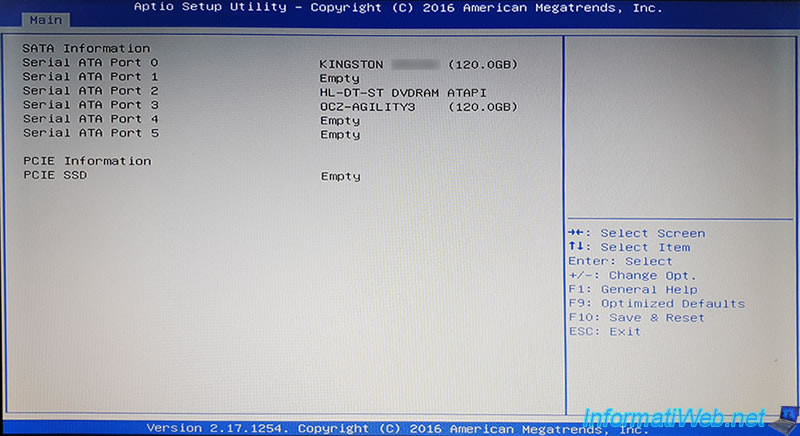
On newer MSI laptops, the BIOS will also show you a "PCIE Information / PCIE SSD" section regarding the PCIE slots used to connect NVMe format SSDs.
In this case, no SSD is connected on this port, but the BIOS is able to show it to you here if you have one.
Share this tutorial
To see also
-
BIOS 10/27/2021
Automatically enable the numeric lock (num lock) when your computer starts up
-
BIOS 1/26/2013
Change the BIOS boot priority
-
BIOS 12/25/2012
Change the hard disk controller mode
-

BIOS 3/18/2014
Gigabyte - Configure the BIOS from Windows
You must be logged in to post a comment