- Others
- 04 December 2020 at 10:18 UTC
-

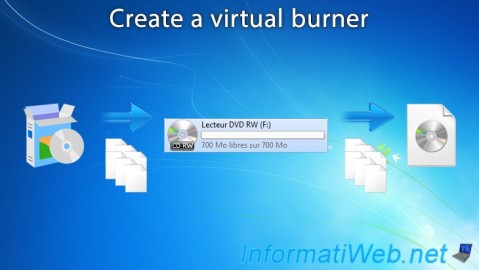
Generally, programs for creating a CD or DVD allow you to choose between : burn the data directly to a physical CD/DVD or create an ISO image. ISO image that you can burn later or use with a virtualization solution or with a physical virtual CD drive like the Zalman ZM-VE300.
However, in some cases, the possibility of creating an ISO image is not present.
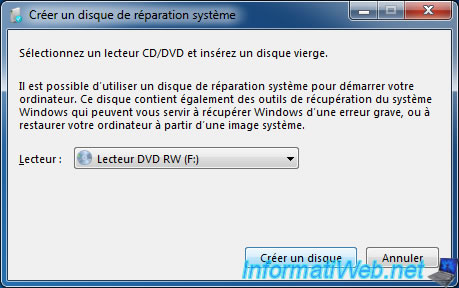
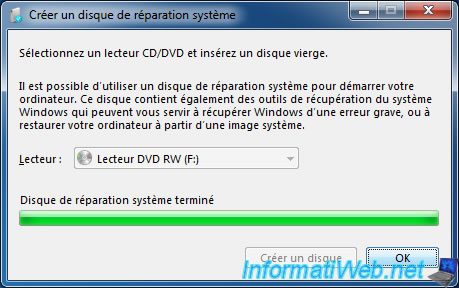
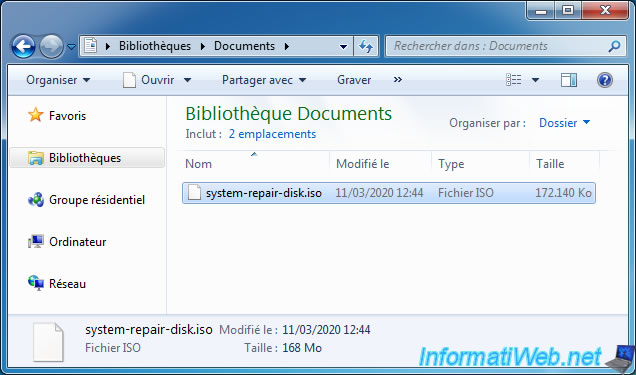
For example, on Windows 7, you can create a system repair disc only on a physical CD/DVD.
Except using a little trick : install a virtual burner.
If you are looking for a virtual burner on the Internet, you will find only one free : TotalMounter.
Note that the download button for this program on the official website has the "Trial" mention. However, the normal version of TotalMounter is free and not limited (unlike its Pro version).
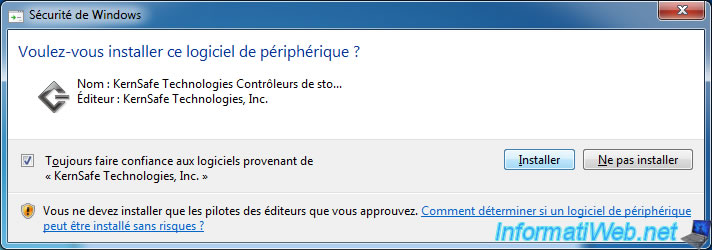
In short, launch the installation of TotalMounter.

During installation, Windows will ask you if you want to install device software created by : KernSafe Technologies, Inc.
Check the "Always trust software from KernSafe Technologies" box and click Install.
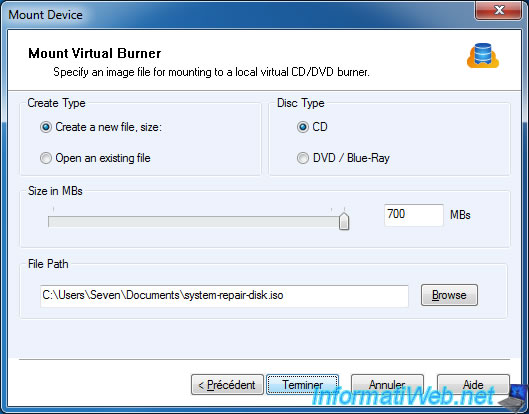
Once TotalMounter is installed, click on : Device -> Mount -> Virtual CD/DVD-RW.
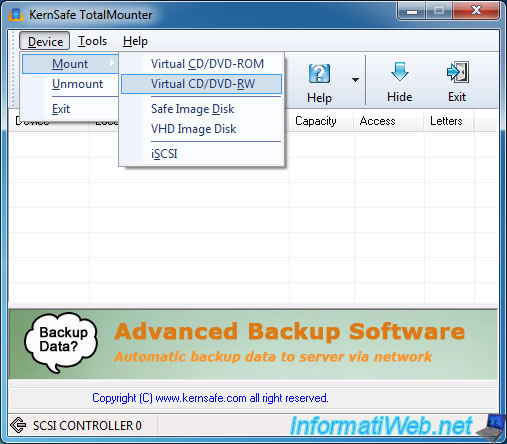
Then, select :
- Create Type : Create a new file, size ...
- Disc Type : CD
- Size in MBs : 700 MBs
- File Path : click on Browse to choose under which file the engraved data will be saved
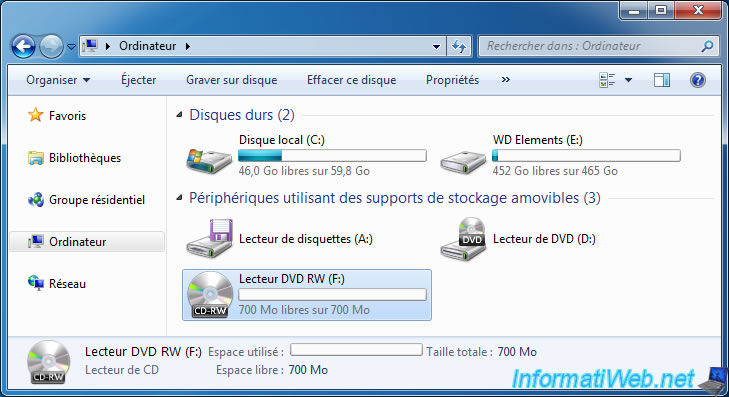
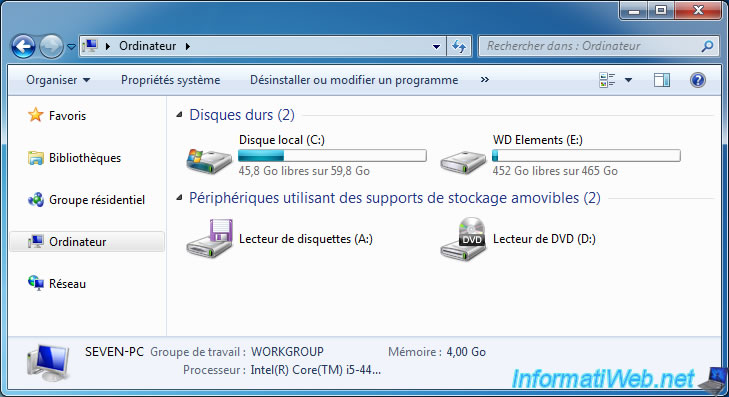
As expected, a DVD drive appears in Windows Explorer with a rewritable 700 MB CD.
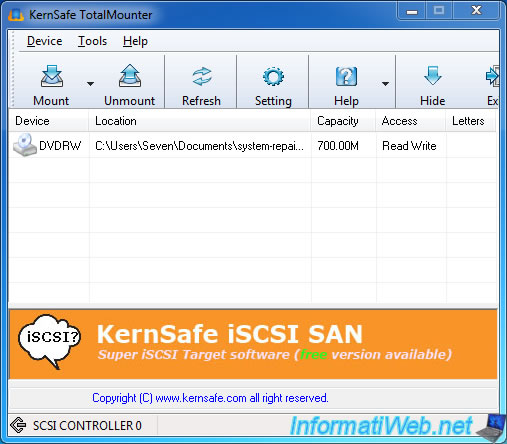
As indicated by TotalMounter, you have a DVDRW drive with a 700 MB CD which is read/write accessible.
Now, select the virtual burner from the list of drives offered by the program of your choice and start burning the disc.
The disc has been burned.
As you can see, the destination iso file has grown and therefore contains the data burned on the virtual CD.
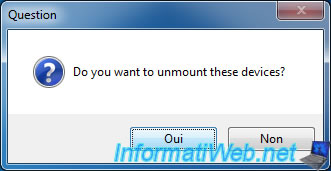
To remove the virtual burner, select it in TotalMounter and click on Unmount.

Confirm the unmount of the virtual burner by clicking Yes.
The virtual burner has disappeared.
Share this tutorial
To see also
-
Others 7/17/2008
Extract a video from a DVD
-

Others 12/21/2013
Facebook - Limit invitations to be friends
-

Others 10/16/2014
Split big files with 7-Zip or WinRAR
-

Others 1/26/2014
Twitter - Delete your account
You must be logged in to post a comment