- Others
- 26 September 2014 at 13:53 UTC
-

By default, a router has two IP addresses: the LAN (internal) address and the WAN (external) address.
By default, the external IP address of the Netgear router is automatically assigned by your modem / router (or box) or by the router on which you plug it .
The internal IP address of the router is defined in the concerned router. When you first use your Netgear router, his internal IP will be changed if it is in conflict with the IP address of another router on the network.
Here's a little schema that will explain the concept of internal and external IP address :

1. Change the WAN IP address of the router
Important : This is only possible when you connect the router on a router. If you connect it to a modem, the external IP address is the Internet IP address assigned by the ISP.
To change the WAN IP (external IP) address of the router, you have 2 options :
- Go into the parent router (for exemple : the box) to set a static IP address for your router. So your router will always receive the same IP address.
- Go into the Netgear router to set the IP address to use. The possibility that we will use.
For this, use a computer connected to the Netgear router and go to the address "http://routerlogin.com/."
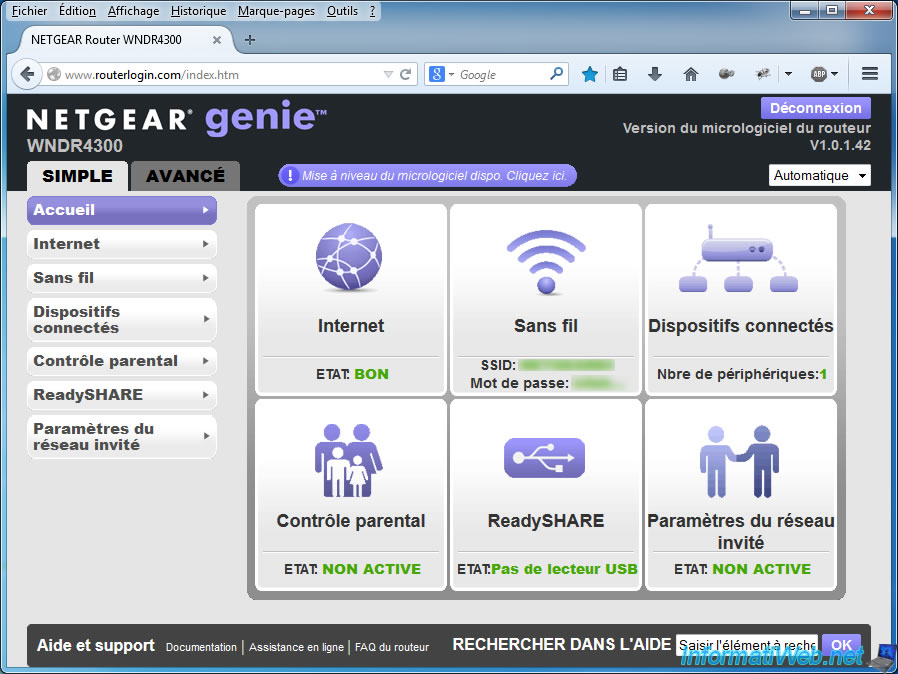
Then, go to "Simple -> Internet".
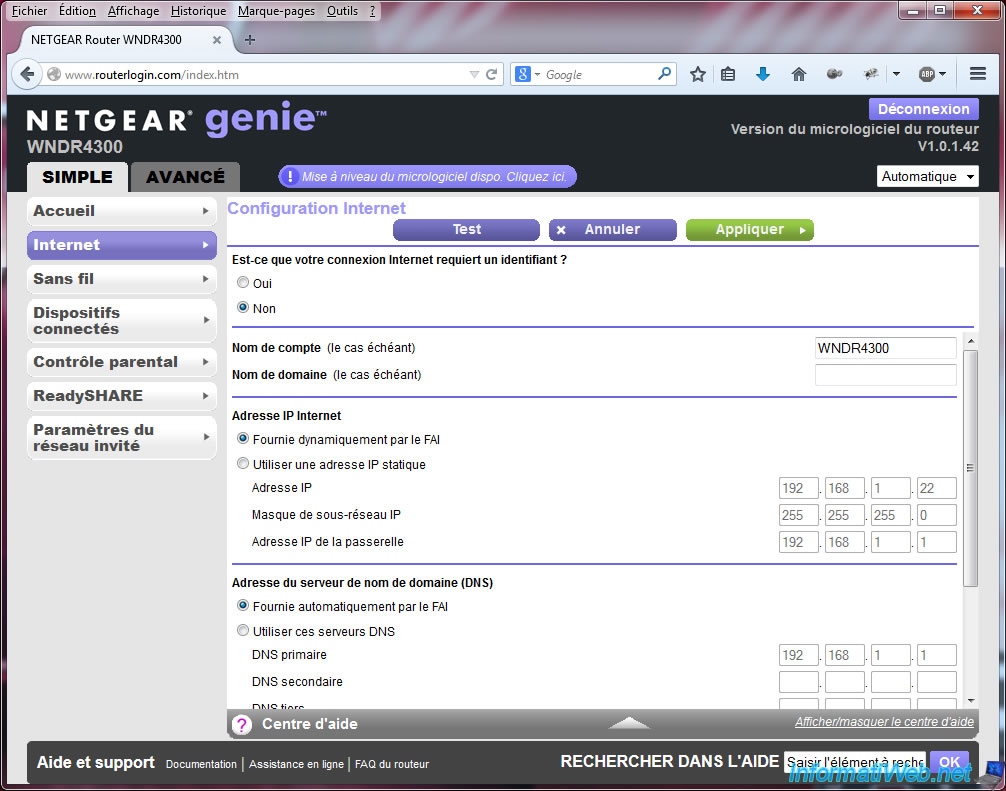
In "Internet IP Address", select "Use static IP address" and enter the following information :
- Static IP address to give to your Netgear router (the IP address must be in the same class as the IP address of the gateway)
- The subnet mask varies depending on the IP address class (IP class C : 192.168.x.x / Mask : 255.255.255.0, IP class A : 10.x.x.x / Mask : 255.0.0.0)
- The IP address of the gateway is the IP address of the parent router (for exemple : the box). In our case, the LAN IP address of the box, is 192.168.1.1
If you want, in the "Domain name server address (DNS)", you can specify the addresses of the DNS servers that will be send to the network devices (computers, smartphones, ...) that will be connected to your router.
Primary DNS: The IP address of your parent router (where are the addresses of the DNS servers of your ISP, for example).
Secondary DNS and third: those of Google (for example). 8.8.8.8 and 8.8.4.4
Finally, click "Apply".
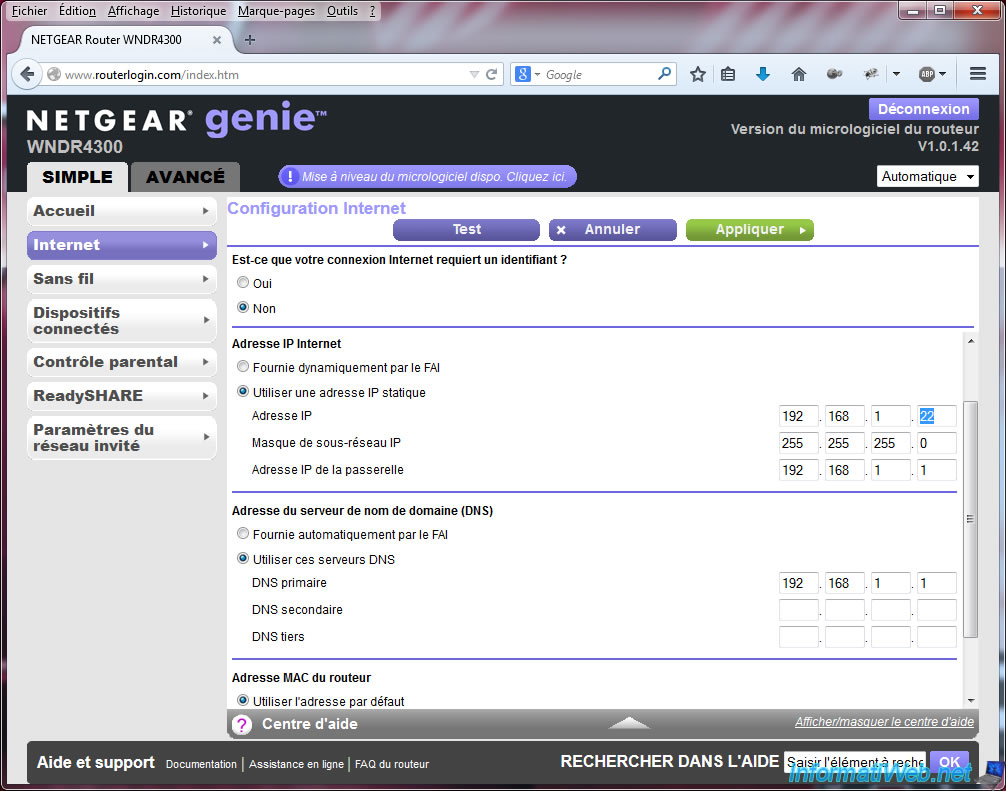
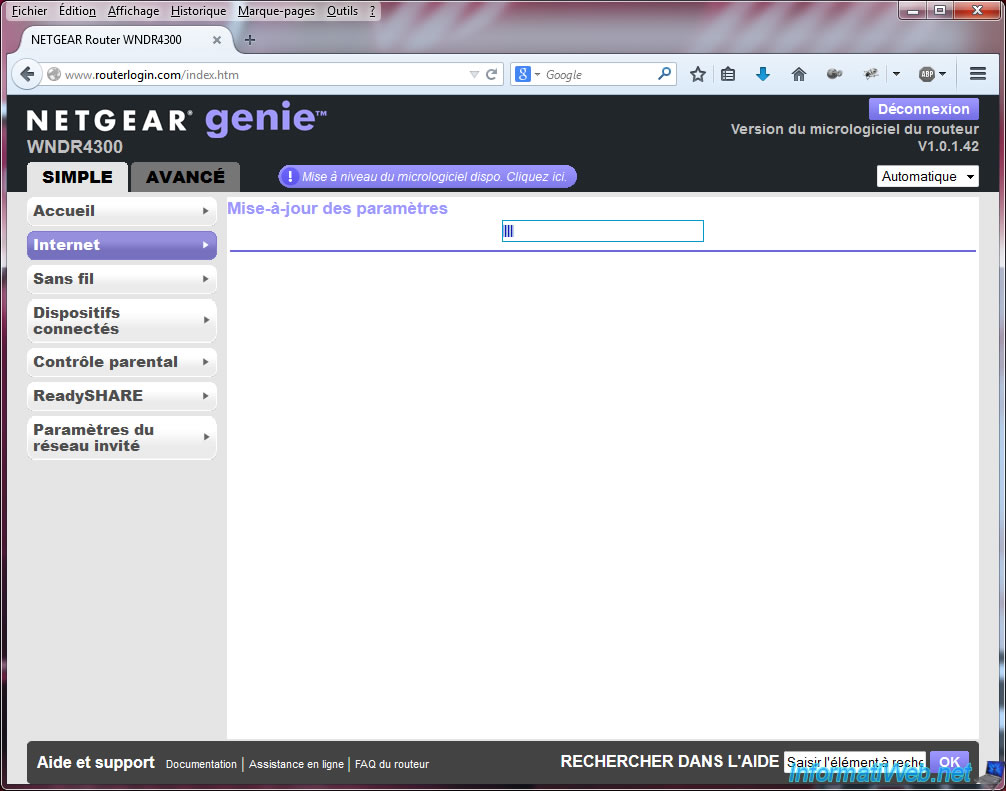
Wait during the settings update. A small network interruption occurs during the update.
2. Change the LAN IP address of the router
To begin, use a computer connected to the Netgear router and go to the address "http://routerlogin.com/".
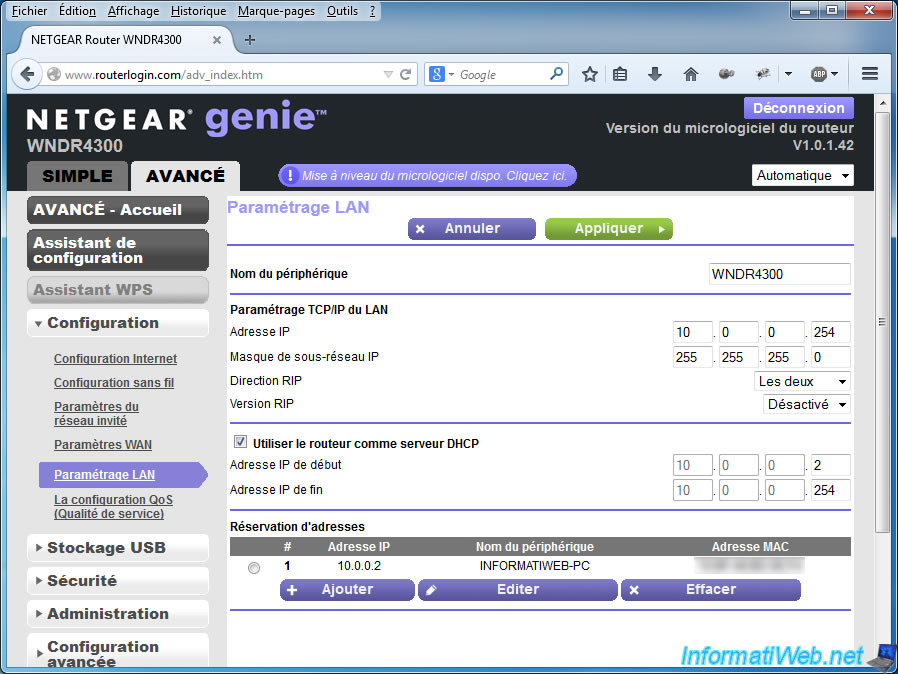
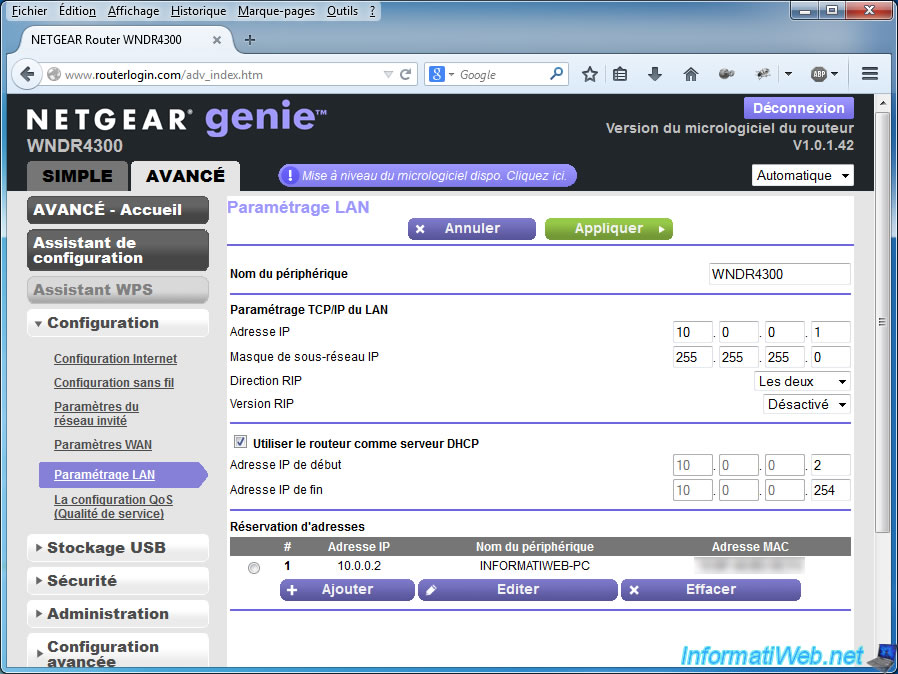
Enter the default password, then go to : Advanced -> Configuration -> LAN Settings.
Finally, change the IP address by the desired IP adress (for exemple : 10.0.0.1) and click "Apply."
This message will be displayed.
As stated, if the subnet mask (and therefore the IP address class) changes, you need to run a command prompt (cmd) and type the commands "ipconfig /release" then "ipconfig /renew" to, again, access the network.

Wait a few moments and if all goes well, you will have access to the network and to the Internet (if applicable).
If you return to the LAN setting, you will see that the settings have been saved.
Share this tutorial
To see also
-

Others 1/17/2013
Adobe After Effect - Export a big animation in SWF
-

Others 1/7/2015
Facebook - Promote your Facebook page
-

Others 12/23/2013
MSI - Install Windows 7 on your laptop
-

Others 3/22/2014
Scan a document with any scanner

You must be logged in to post a comment