- Backup
- Data recovery
- 01 October 2012 at 19:04 UTC
-

File Scavenger ® Version 4 is a file "undelete" and data recovery utility for Windows® 8, 7, Vista, Server 2003, XP and 2000. File Scavenger® can recover files that have been accidentally deleted (including files removed from the Recycle Bin, in a DOS window, from a network drive, from Windows Explorer with the SHIFT key held down) provided that recovery is attempted before the files are permanently overwritten by new data. File Scavenger® supports both basic and dynamic disks, NTFS compression, alternate data streams, sparse files, Unicode filenames, etc. Except in severe cases, both the file and the folder path leading to the file can be recovered.
With File Scavenger ®, files can be restored from a reformatted or corrupted volume. This is possible even if the volume has been deleted and its position and original size are unknown. File Scavenger ® can scan an entire physical hard drive to look for traces of defunct volumes.
File Scavenger ® uses advanced algorithms to process seamlessly disks with bad sectors and badly corrupted partitions. The software can be installed on a hard drive or run from a portable storage device such as a memory card, a removable disk, a CD or a floppy disk. To run File Scavenger ®, you must log in as a system administrator on the computer where data recovery is to occur.
Source of description : website of the publisher.
License information for this software:
- File Scavenger is a "fee" program, so you need a license to retrieve data greater than 64K.
Nevertheless, it's very efficient and very helpful. That is why we decided to make a tutorial on it.
To summarize, File Scavenger can do 3 things :
- Recover deleted files. Either by having deleted files or having deleted a partition with data on it, ...
- Recover corrupted files on failed hard drives.
- Rebuilding a RAID when a volume is missing. Make sure you have a license for this function before attempting the RAID reconstruction.
1. Accidental deletion of data
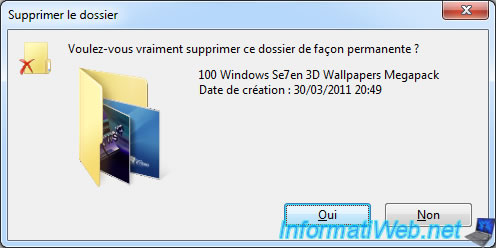
So you can see that the retrieved data are data that had been "permanently" deleted, we will permanently delete a folder containing images without going through the trash.
If you're wondering how does a data recovery software can recover data deleted, it is simply because Windows does not erase the contents of the file but it just says that the file does not exist more. In reality, each file is written to the hard disk sectors. Once you delete a file, Windows simply marks the areas corresponding to the file as empty without rewriting 0 over to save time. This allow recovery data softwares to retrieve erased data that the person wanted to permanently delete.
All this for you first explain how it works in a simple way and also recommend you to break your hard drive into small pieces if you want to throw it because it no longer works.
As you can see, this file contains a package of wallpaper for Windows 7.
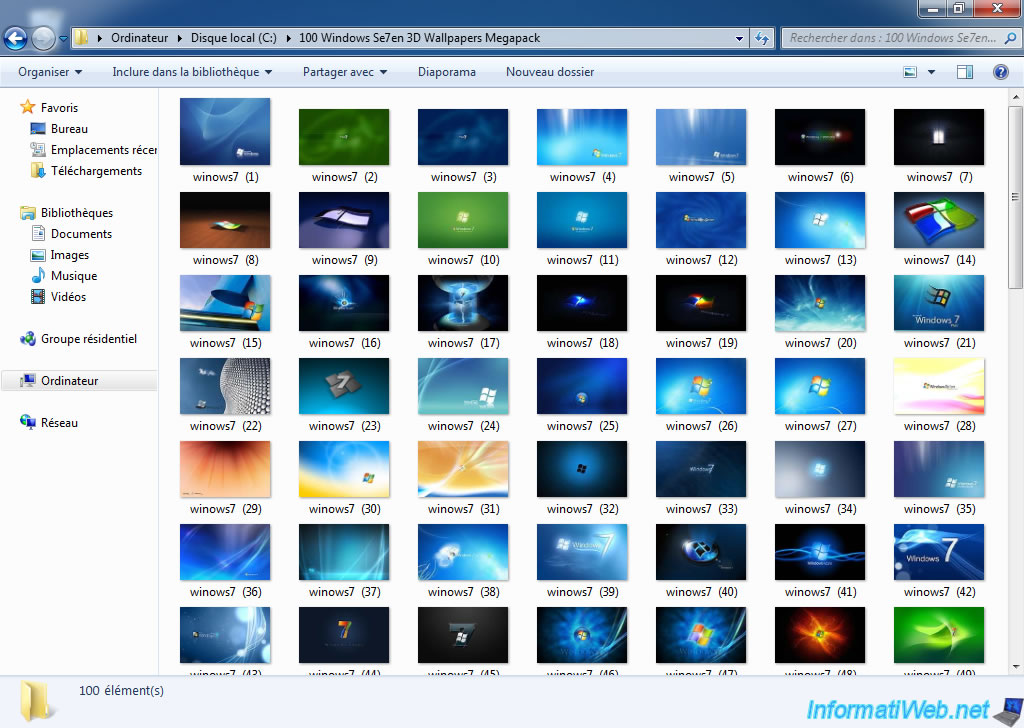
Imagine that you accidentally delete this folder and the Recycle Bin is emptied. For a normal person, these data don't exist any more. Yet this is false, as explained above, these data are still there, but Windows just wrote in the file system that the files no longer exists and therefore there more posters.
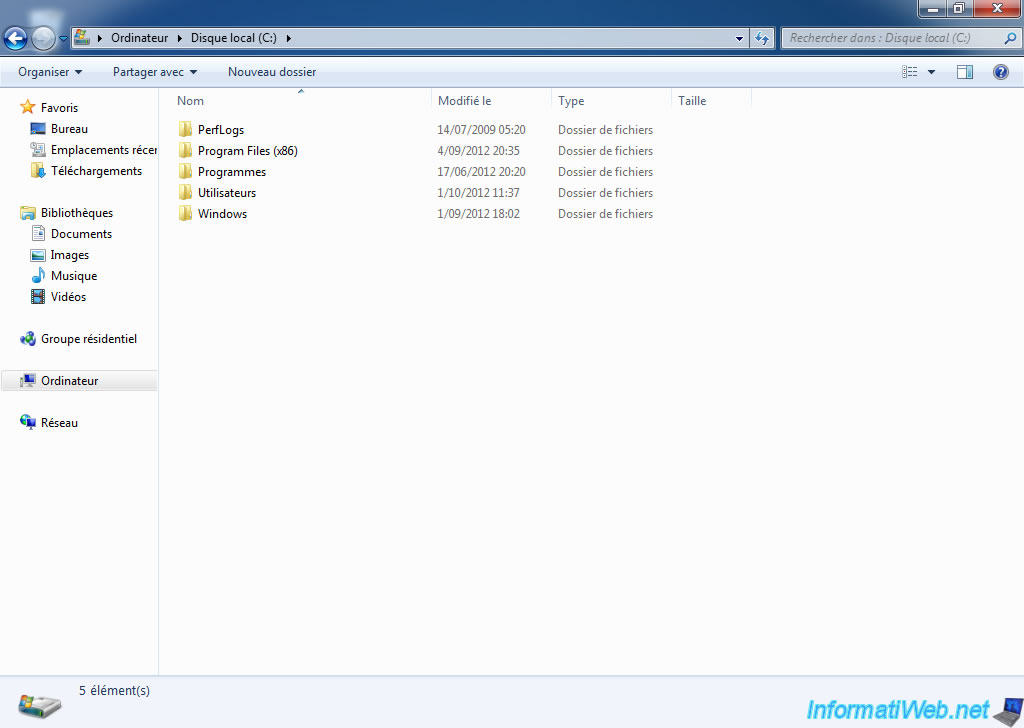
As you can see the folder has disappeared.
2. Corrupt files
Corrupt files are due to a faulty hard drive or scratches on a CD / DVD, ... for example.
To test your hard drive, read our tutorial "UBCD - Test your hardware".
3. Rebuilding a RAID
In terms of rebuilding a RAID, you need a license that supports this feature. Rebuilding a RAID is possible only when a lack volume. Otherwise, it is generally not possible to rebuild it. However, this depends on the type of array you created.
Different RAID exists, the most common RAID 0, RAID 1 and RAID 5.
The following describes the various RAID :
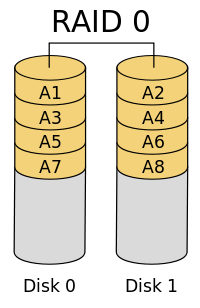
- RAID 0 : Improves the performance of the computer by writing half of the data on the first disk and the other half on the second hard drive. In this type of RAID if one of the two hard drives fails, all data are lost because we are left with only half of each file.
- RAID 1 : Improves safety by copying identically the data to 2 drives simultaneously.
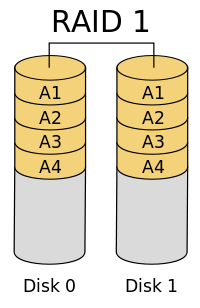
- RAID 5 : The most used because it combines RAID 0 and RAID 1. This type of RAID therefore improves performance while securing the data therein. In this type of RAID, if a hard drive fails, you can rebuild it with File Scavenger (for example).
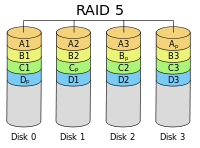
RAID is only possible if the motherboard supports it, or if you have a PCI adapter to do so. RAID can be either "software" or "Hardware". Hardware RAID is faster than software RAID because in the software RAID, it's the processor that handles operations that the RAID controller is supposed to do, which reduces the performance of the computer.
Images source : Wikipedia.org
4. Using a Live CD (Hiren Boot CD - Mini XP)
When you accidentally delete data, the most important is to avoid unintentional rewriting on the hard disk or the files were. To do this, turn off the computer as quickly as possible. To do this pull the plug without even turning off Windows first.
Then start your computer on a Live CD and not on the physical Windows that could overwrite deleted data. These involuntary rewrites are due to the fact that the sectors are marked as free and thus the data contained therein are not supposed to exist. Using a Live CD, the only changes that occur automatically can only do this in RAM rather than on the hard drive (unless you create files manually ... on the hard drive partitions in question using Live CD.
Warning : Recovered files with file recovery software can't be restored to the same "hard disk". This is to avoid, again, involuntary rewrites on accidentally deleted files.
Download and burn the ISO image "Hiren Boot CD". Then boot from the CD you just burned and select "Mini Windows XP" at startup. Read our article on "Mini Windows XP" for more informations.
Note : It's advisable to use this Live CD because with the Bart PE Live CD, the list of folders to select the destination disk may not be displayed.
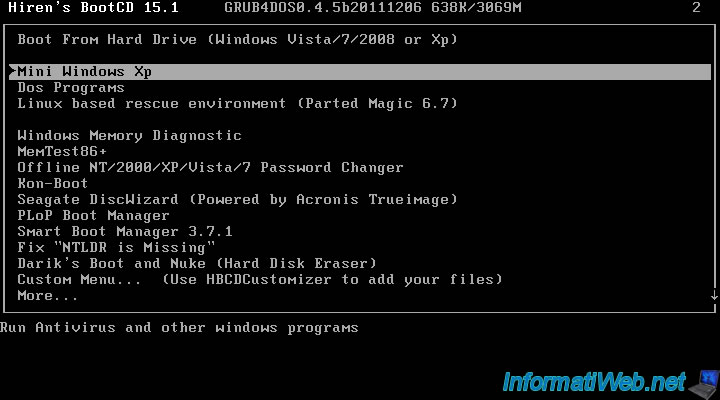
Mini Windows Xp loads into RAM (random access memory).
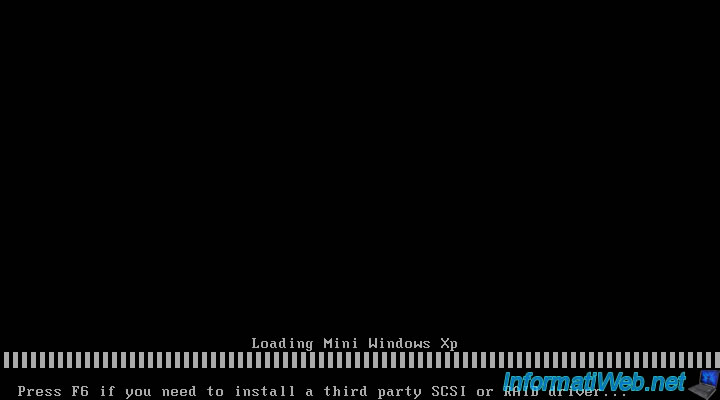
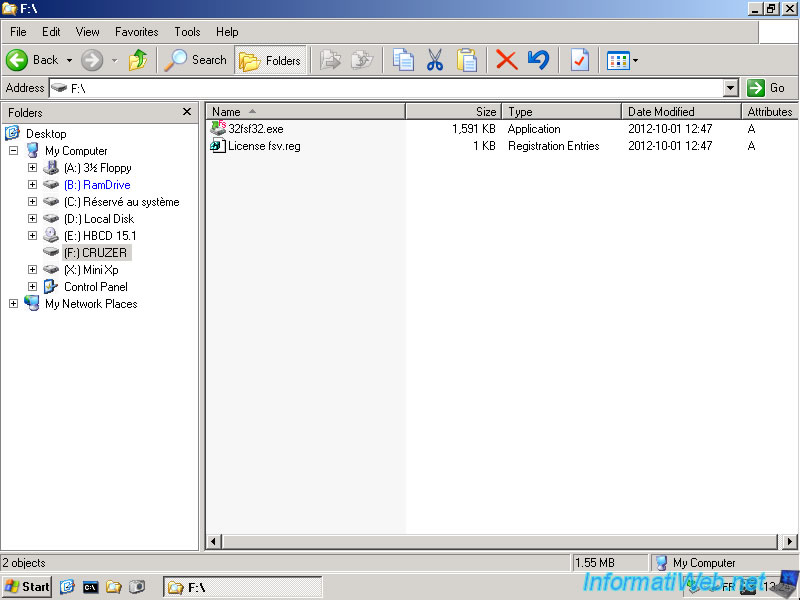
Download the program on the Internet and / or copy it to removable media as well as its license if you bought it to retrieve all files regardless of their size either. Then, run the "32fsf32.exe" file.
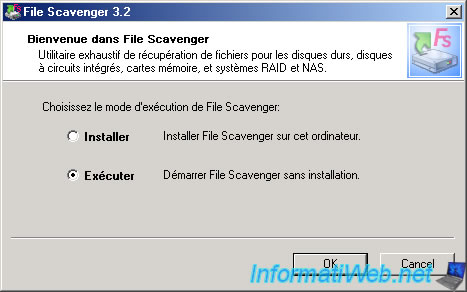
The program offers two choices :
- Installation
- Execution
Choose "Run" and click "OK".
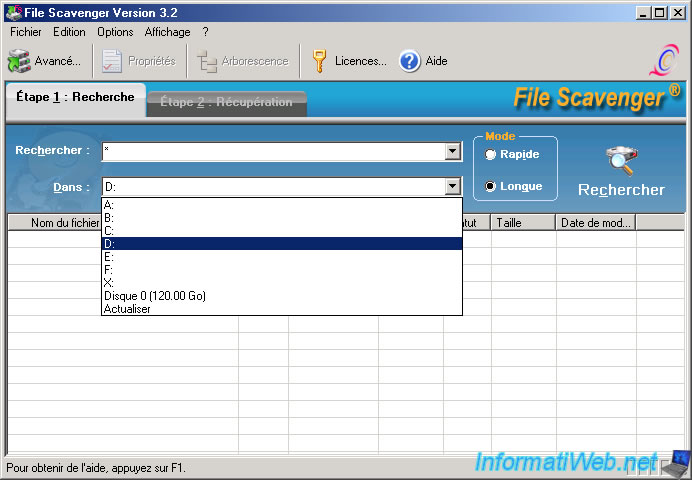
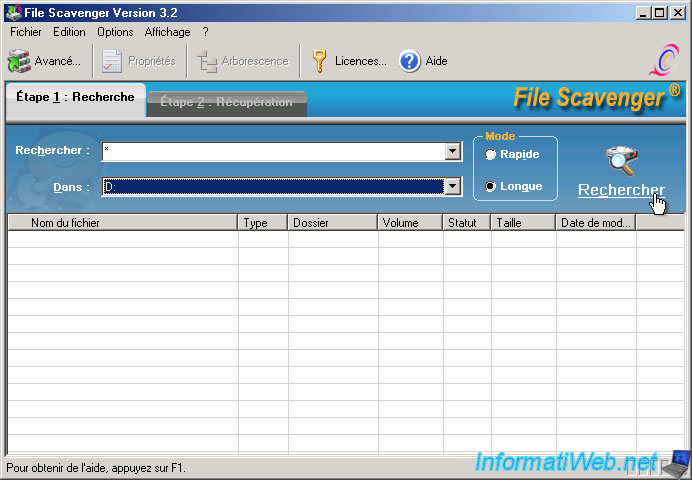
Select the partition or disk where the data to be retrieved, select "Mode : Long" and then click "Search".
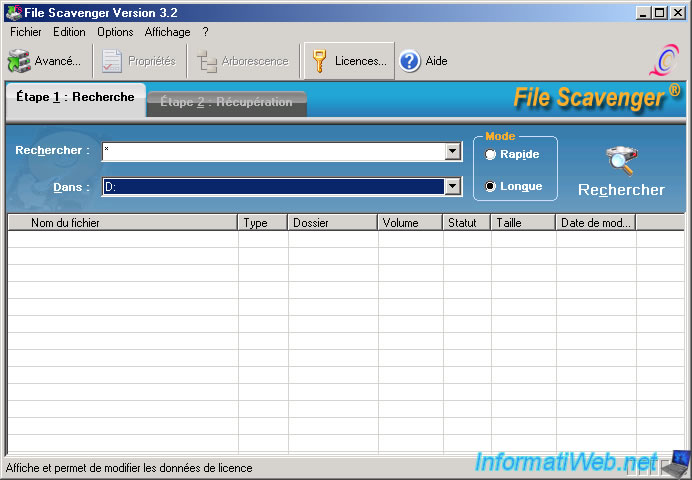
If you have a paid license, click on "Licenses".
As indicated at the beginning of this tutorial, you can't recover files that contain up to 64K in demo version. Select "License for personal use" or "Commercial License" following the license you have purchased. If you have purchased a license for professional use, click the button "Open the license file".
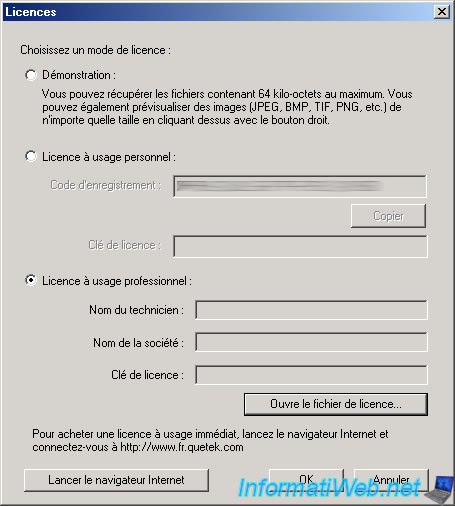
Select your license file and click "Open".
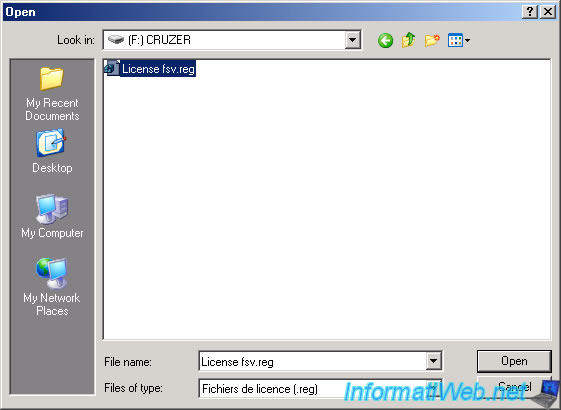
If the license appears valid, informations about the selected license will be displayed. Click OK to register the program.
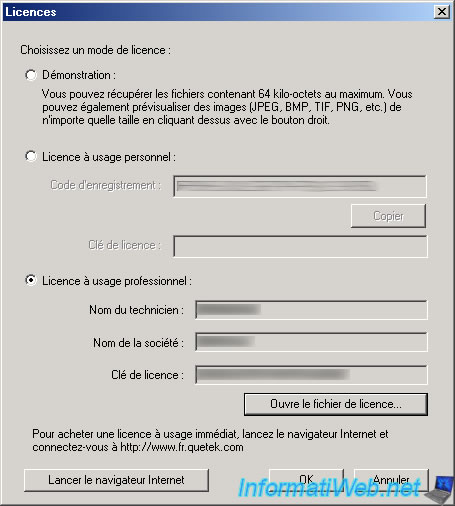
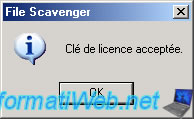
Once the license is accepted, click "Search".
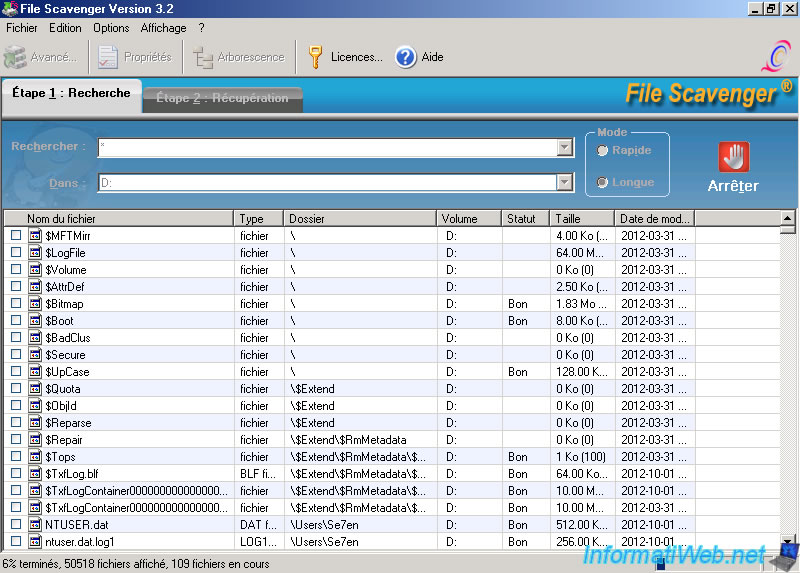
At this point, File Scavenger asks if it should display or not the deleted files. Either you use File Scavenger to recover deleted files, select "No Show Deleted Files" or you use it to recover data from a failed hard drive and you select "Yes. Omit deleted files".

File Scavenger begins to scan your hard drive to find all files and files that have been deleted if you choose to display them.
For this tutorial, we used this software in a virtual machine with a small amount of data to not let it run for hours but with a physical hard drive the research process and then recovery may take several hours depending on the number of files on the hard drive.
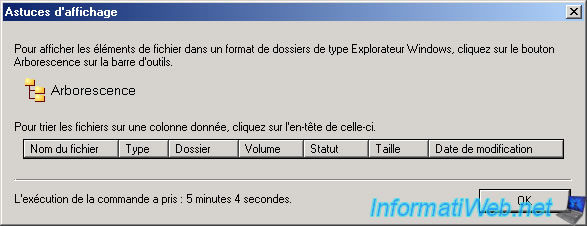
Once the file search is complete, a small window will appear to tell you that we can sort the files in the list by file name, type, size, modified date, ...
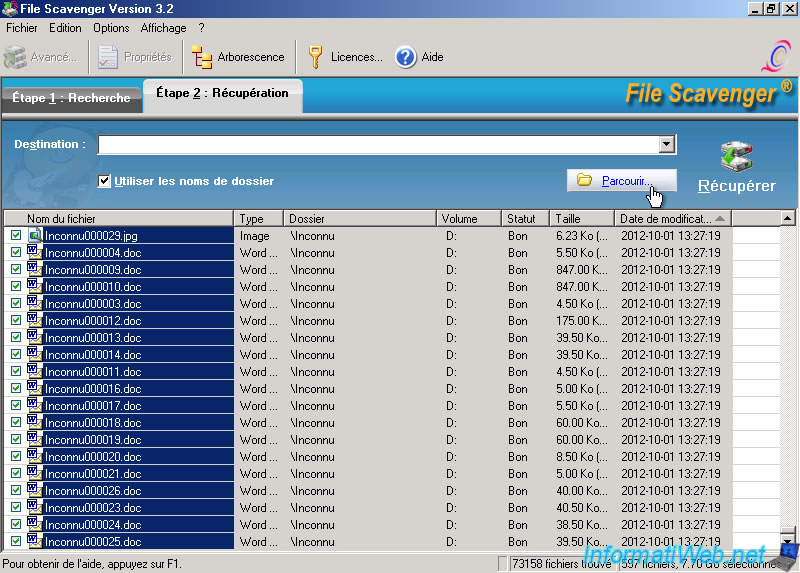
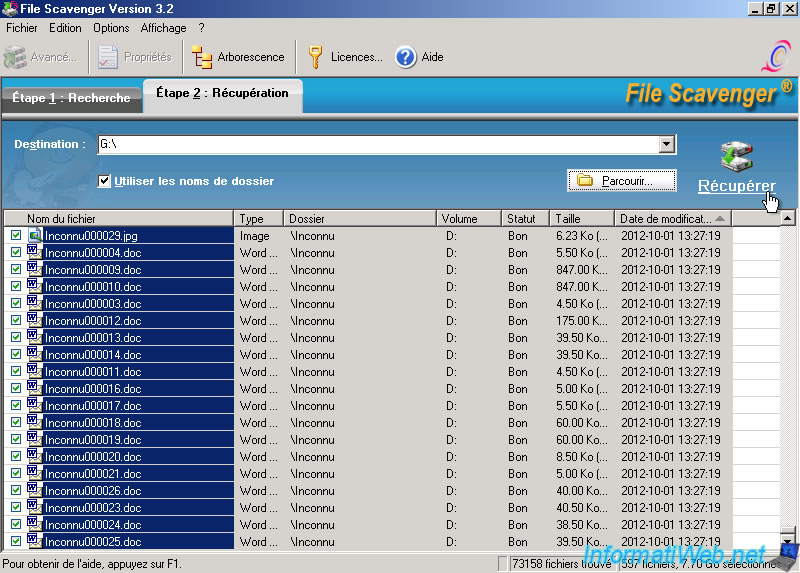
Then, go to the "Recovery" tab and select the files to be recovered. Recovered files can't be restored on the same hard drive where are the deleted files.
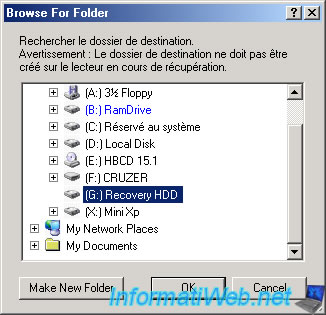
Click "Browse" to select a folder to save all files to recover.
For this tutorial, we have restored a portion of the data with File Scavenger to not let it run for hours but this process can also take several hours.
The partition that we named "Recovery HDD" is located on the 2nd hard drive we connected to transfer the files to recover.
Then click "Recover" to start the recovery process.
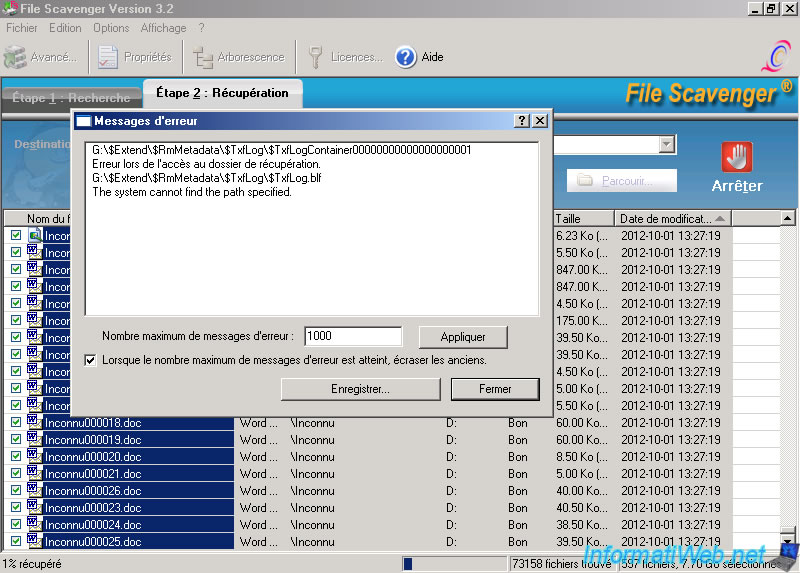
During the recovery process, sometimes errors occur. This happens for example when certain files are too damaged for rewrites were made over in the meantime. Check "When the maximum number of error messages is reached, overwrite old" to be able to see all the error messages. For informations : the process continues despite the error messages.
Once the recovery process is complete, File Scavenger warns you that some files may be incomplete. Verifying the integrity of a file can know at 100% if the file is corrupted or not.

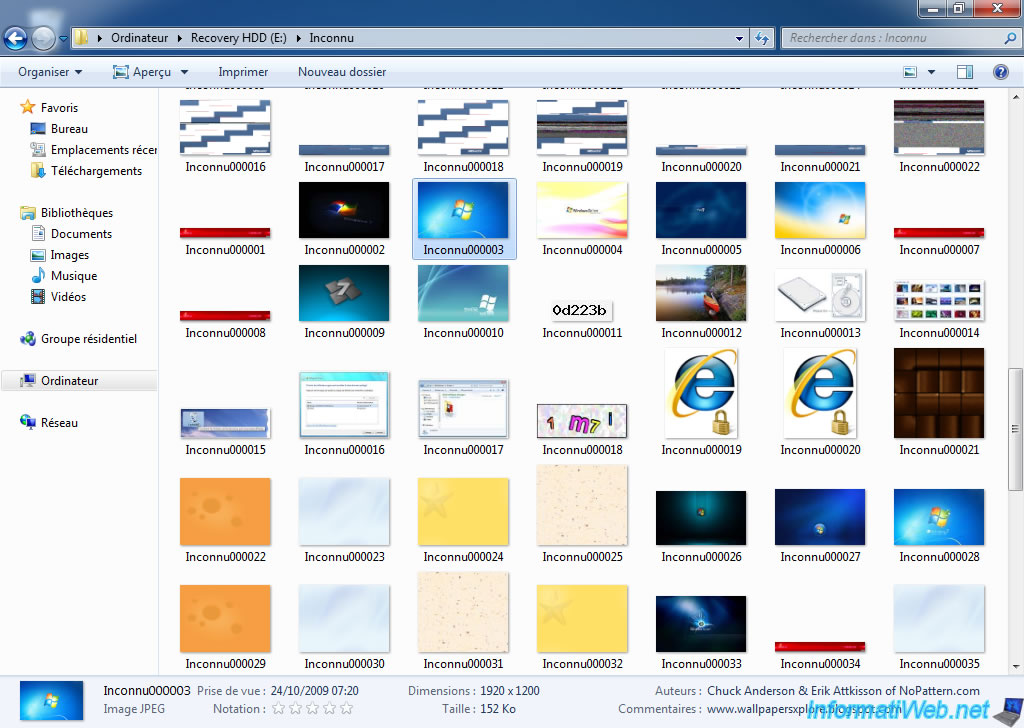
Using Windows Explorer you can go explore the files / folders that have been recovered.
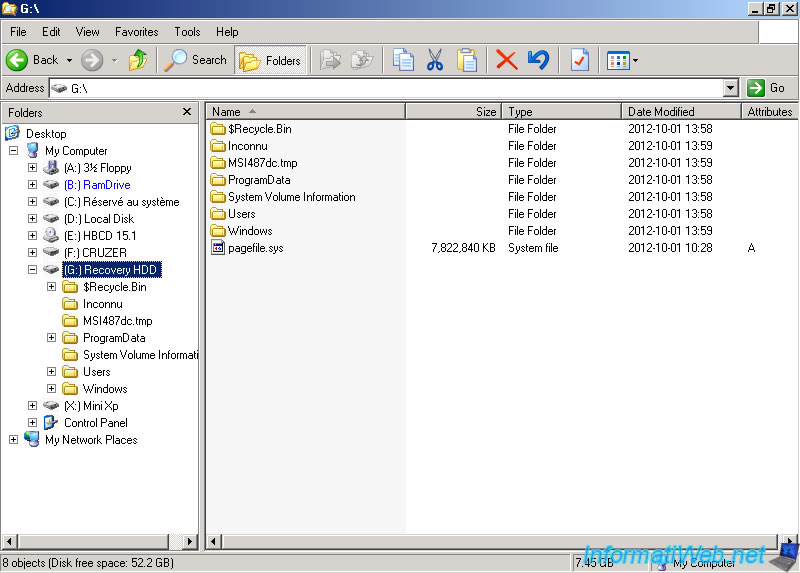
Then restart your physical Windows. As you can see we recover some of the pictures we had cleared before using this software data recovery.
All images are not present because we don't select all files to avoid having to wait for hours as the process ends. But the main for this tutorial was to show you that the deleted data were not really. Here's the proof :
Share this tutorial
To see also
-

Windows 2/6/2016
Accidental delete / format - What to do ?
-

Windows 1/17/2016
Recuva - Data recovery
-
Windows 1/22/2016
TestDisk - Recover a deleted or lost partition
-
Windows 1/25/2016
TestDisk - Repair a RAW partition
You must be logged in to post a comment