- Android
- 15 February 2014 at 20:33 UTC
-

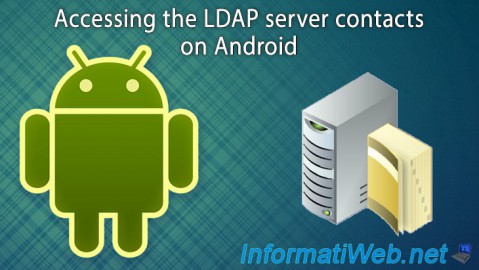
When is an individual and that was twenty contact, it's obviously unnecessary to use an LDAP server. But when you're a boss of a company and you start to get a hundred contacts or more, it becomes very interesting to be able to store your contacts on a server. You only need to synchronize your computers, tablets and smartphones with this LDAP server to access all your contacts.
If you do not know how to create this LDAP server, first read our tutorial "Ubuntu - Install and configure an LDAP server and a web interface to manage it".
If you have a smartphone running Android 4, it is possible that you can add an LDAP account in the Android settings. However, this is apparently not always the case.
We will explain the 2 options :
- Native support LDAP Android
- Third Application for using an LDAP account
Warning : the mobile application used in this tutorial no longer exists.
You will therefore have to use the native Android option (if you have it) if you want to access contacts from an LDAP server.
- Configure LDAP account in Android (if you have this option)
- Installation and configuration of the "Contact en ligne" application
- Force synchronization of contacts
1. Configure LDAP account in Android (if you have this option)
As indicated at the beginning of this tutorial, the account type "LDAP" is not present on all Android versions.
If you have this option, use it. Otherwise use the application presented in the next section.
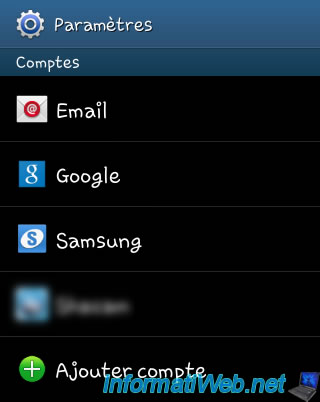
To start, go to "Settings -> Accounts and Sync" and select "Add Account".
Then select "LDAP" in the list.
Note : If this account is not present, go to the following : "Installing and configuring the application "Contact en ligne".
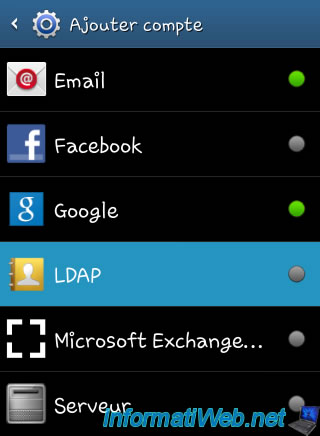
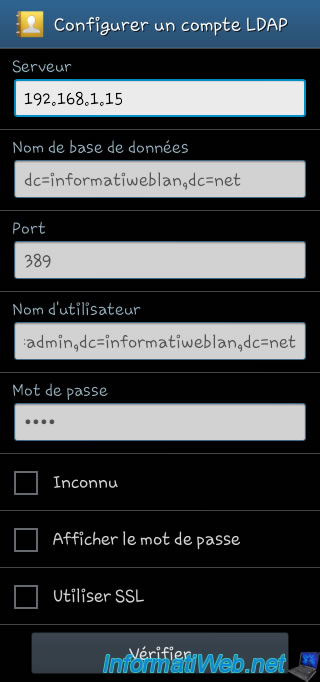
Then, enter the following information :
- Server : The IP address or domain name pointing to your LDAP server
- Database Name (also called : Base DN) : Specifies from where, the LDAP client will conduct research. (The root is dc=domain,dc=extension)
- Port: The port to which the server should connect Android. Unsecured LDAP = 389 and LDAPS (secure SSL) = 636.
- Username : That is to say, the full path to the user account to use the LDAP server
- Password : The password of the account (obviously)
- Box "Unknown" : Allows to establish an anonymous connection to the server (if supported by the server).
- "Use SSL" : Allows you to establish a secure server via SSL (if supported by the server) connection. To do this, read our tutorial "Ubuntu - Securing your LDAP server using SSL".
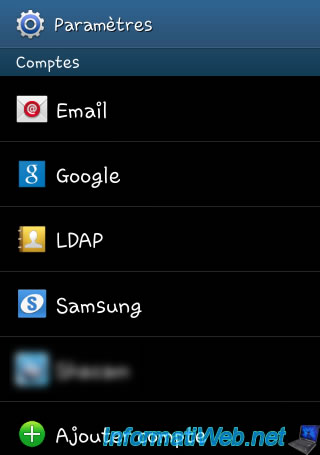
If the connection is successful, the LDAP account will now be displayed in the list of your accounts.
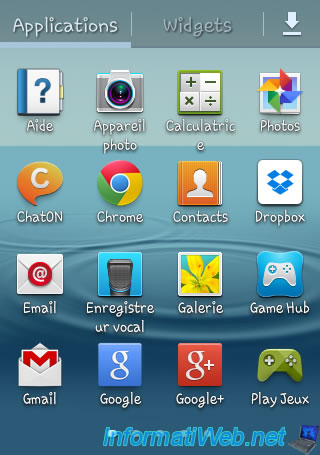
To access the saved contacts on your LDAP server, go to the application "Contacts".
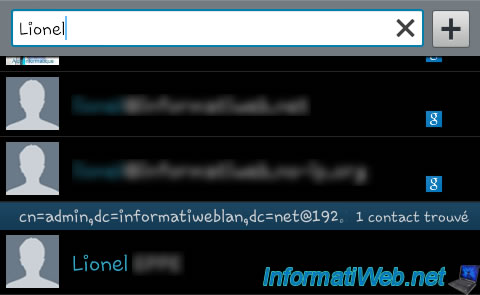
And search. So you can see your contacts appear at the bottom of the list under the "cn=username,dc=domain,dc=extension@IP address of the server".
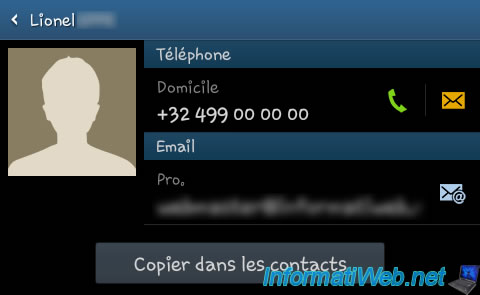
Then select a contact to view its details.
2. Installation and configuration of the "Contact en ligne" application
If you can not add LDAP accounts in "Settings -> Accounts & sync", first download "Contact en ligne" (the application) and "Contacts LDAP" (the extension to add support for the LDAP in application "Contact online".
Once you install these 2 applications, launch the application "Contact en ligne".
![]()
Then click the icon at the top right and click "Accounts".
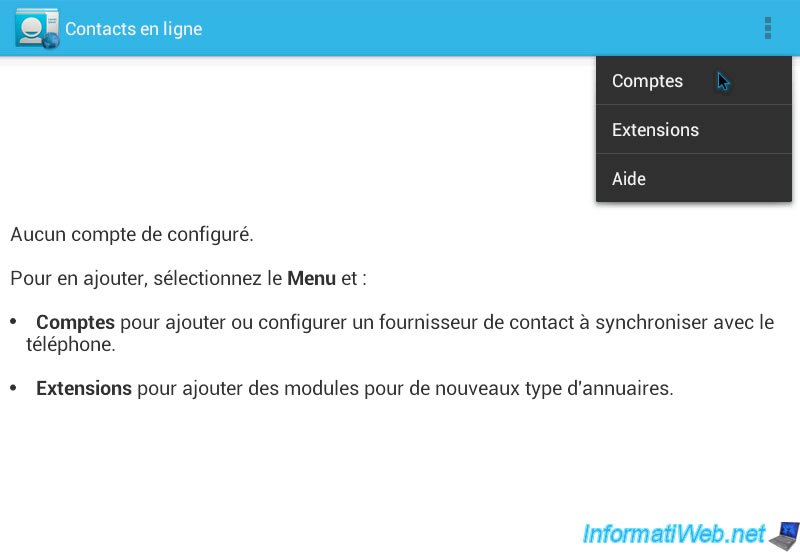
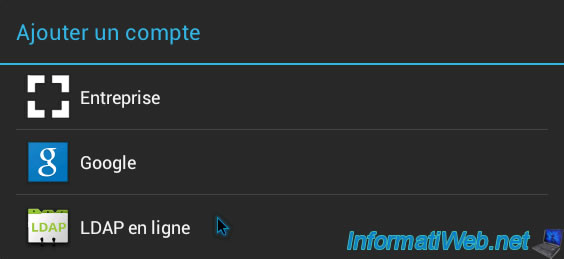
Then select "LDAP en ligne" as the type of account.
Now enter the IP address or domain name pointing to your LDAP server.
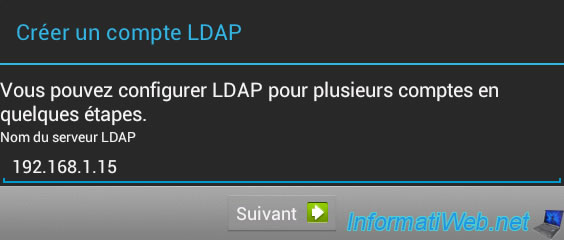
If your server is available, the program will proceed to the next step.
In this window you must specify the following informations :
- The ID (or username) : That is, the full path to the user account to use the LDAP server
- Password : The password for the account (obviously)
- Security : Clear = ldap protocol (port 389) = ldaps protocol SSL (port 636), ...
- Base DN (recommended) : Specifies from where, the LDAP client will conduct her research. (The root is dc=domain,dc=extension)
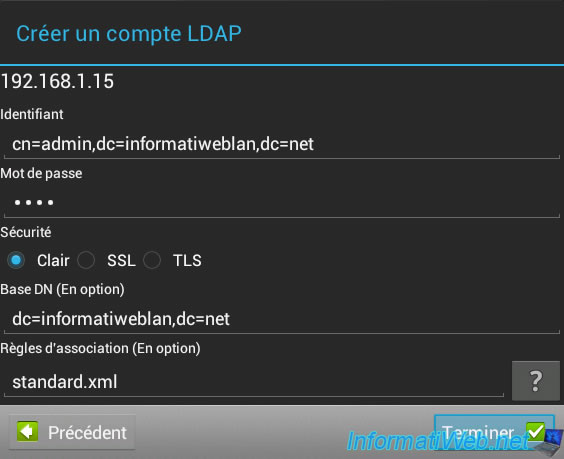
The wizard will then attempt to connect to the LDAP server and disappear if all goes well.
You return automatically to the application "Contact en ligne". Test the application by searching (at the top of the application).
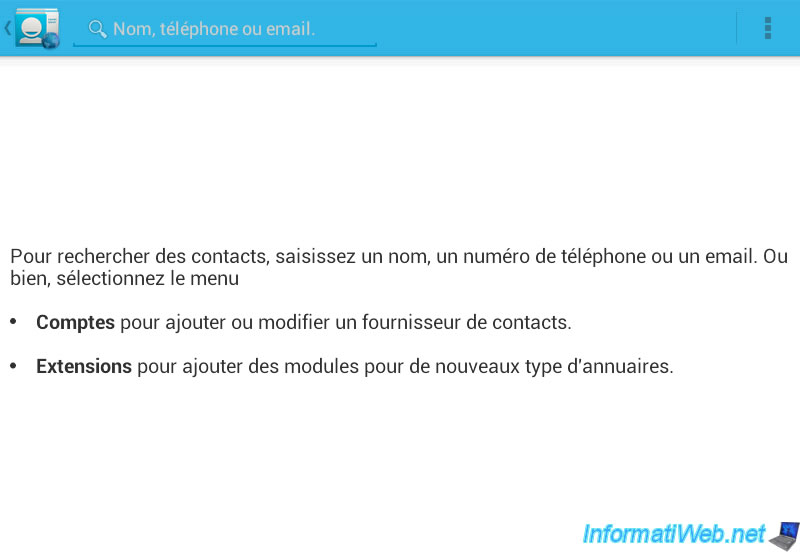
Normally, a list of contacts is displayed and the application will display the address of the server corresponding to each contact retrieved.
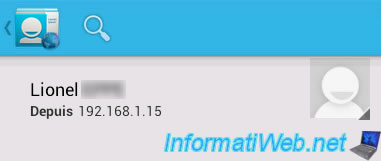
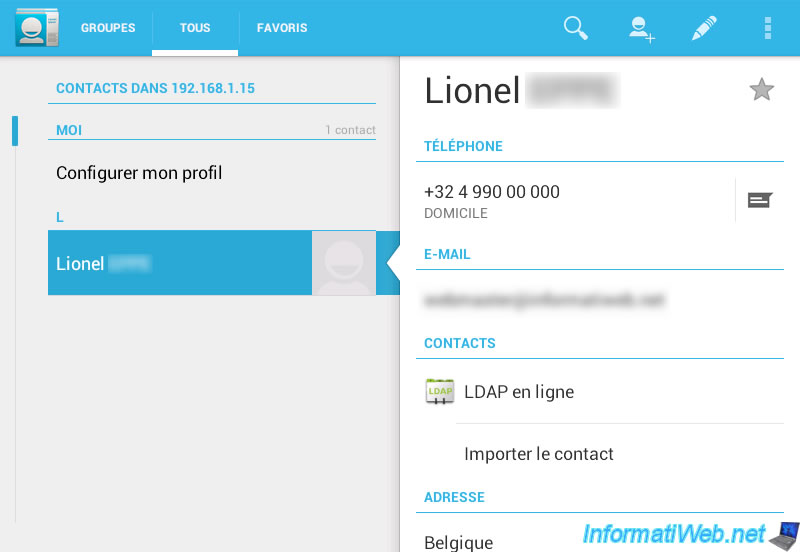
If you select a contact, you can access its detailed information, such as telephone number, address, ...
3. Force synchronization of contacts
To force synchronization of an LDAP account, go to the Android settings, then click "Accounts & sync".
Then select the account to sync.
Note: You can add other LDAP accounts, Google, ... via the "Add Account".
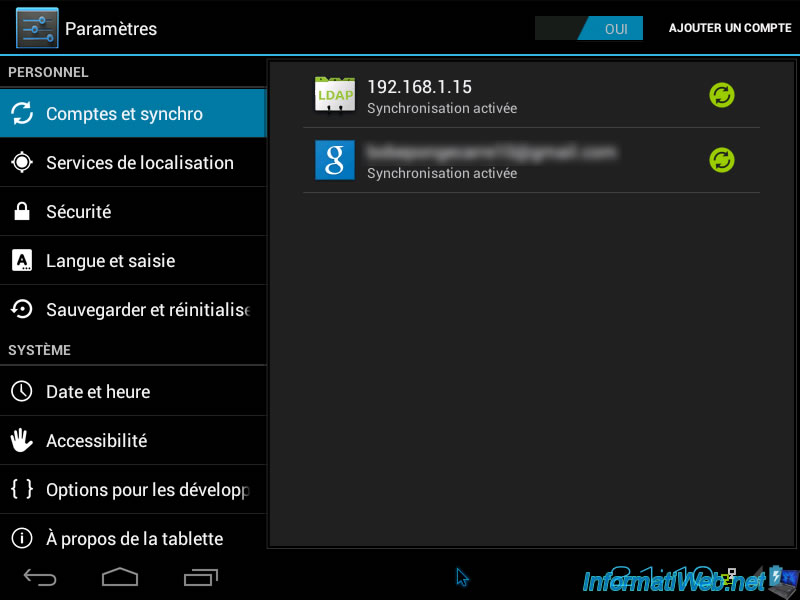
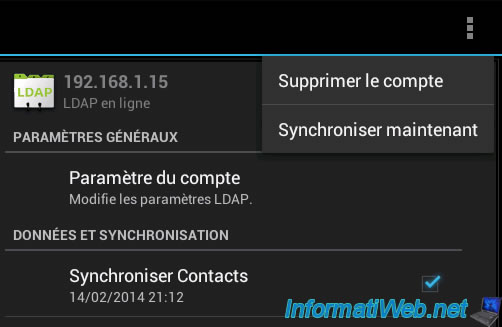
To force synchronization of the selected account, you have 2 options :
- Or, uncheck then re-check the box
- Either via the icon in the top right and clicking on "Sync Now".
Share this tutorial
To see also
-
Android 3/2/2018
Android - Control a computer from your smartphone
-
Android 8/19/2012
Android x86 - Install Android on a computer
-
Android 7/30/2017
Samsung Smart Switch Mobile - Transfer your data easily
You must be logged in to post a comment