- Articles
- 09 January 2023 at 09:45 UTC
-

- 1/2
When you buy an USB key, even if it has an USB 3.0 connector, the writing speed is usually not optimal. And this is all the more true if you want to install Windows on it (in Windows To Go / WTG mode).
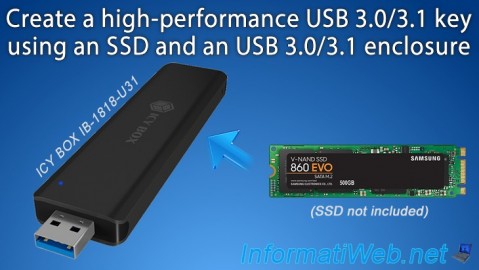
If you want to create an high-performance USB 3.0/3.1 key, the best thing is to buy an USB 3.0/3.1 enclosure in the form of an USB key in which you can place the M.2 SSD (compatible) of your choice.
- Unpacking the ICY BOX IB-1818-U31 enclosure
- Unpacking the M.2 SSD
- Disassemble the ICY BOX IB-1818-U31 enclosure
- Fix the SSD inside the enclosure
- Reassemble the ICY BOX IB-1818-U31 enclosure
- Overview of your new USB 3.0/3.1 key
- Initialize, partition and format your new USB key
- Performance comparison with a classic USB 3.0 key
- Eject the USB 3.0/3.1 key
- Install Windows on this new USB key
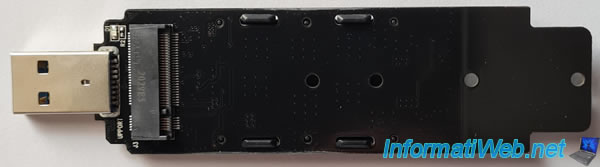
1. Unpacking the ICY BOX IB-1818-U31 enclosure
For this tutorial, we purchased the "ICY BOX IB-1818-U31" enclosure (USB Enclosure for M.2 SATA SSD) below.
As you can see, this box has a USB 3.1 Type A connector (which is backwards compatible with older versions of USB) and allows you to insert an M.2 format SSD with the "B-Key" corrector.
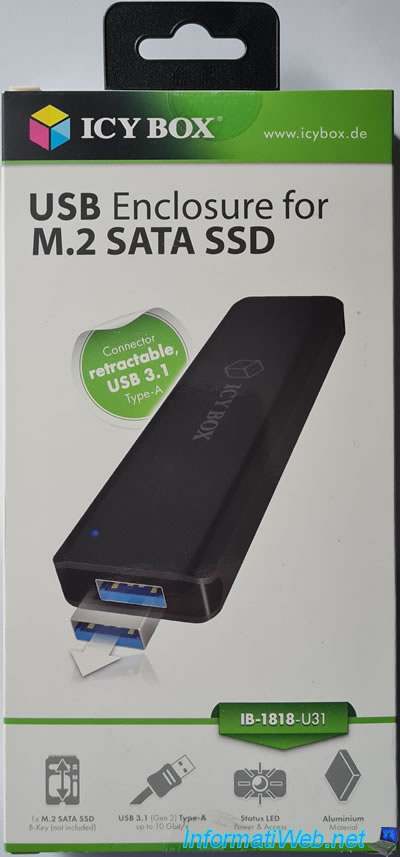
On the back of the packaging, you will see that the socket (slot) for the SSD inside this box has the "B-Key" corrector and that this slot is therefore compatible with SSDs having the "B" or "B+M" corrector.
You will also see that the size of the SSD must be : 22 x (30 or 42 or 60 or 80) mm.
For compatibility, this one is compatible with Windows and macOS.
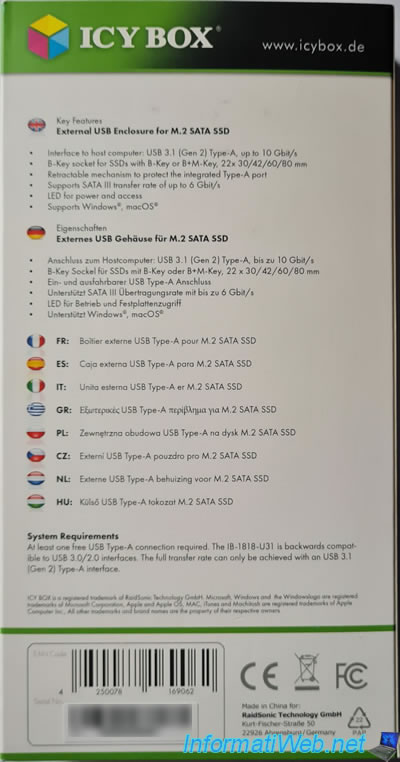
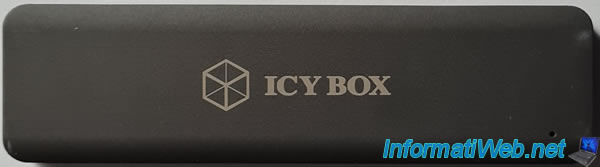
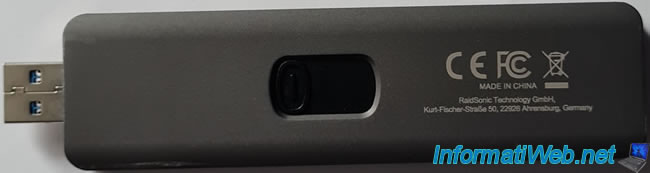
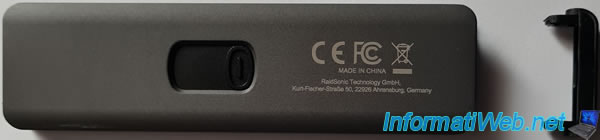
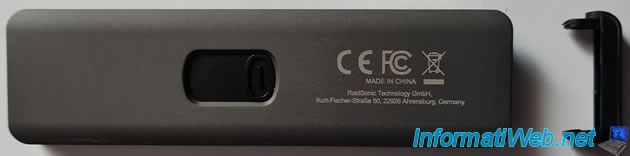
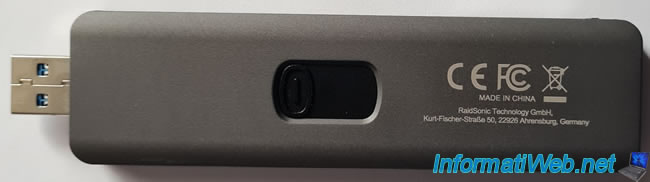
The enclosure is rather simple and simply has the ICY BOX logo on the front.
And inscriptions, such as CE marking, place of manufacture and information about the manufacturer (RaidSonic Technology GmbH).
You will also find the button (or "slider") to pull out or pull in the USB 3.0/3.1 connector inside the enclosure.
You will also find a small plastic bag with :
- a "nut" to fix the SSD
- gray screws to fix the SSD in the enclosure
- black screws to screw the black cover allowing access to the SSD which is inside
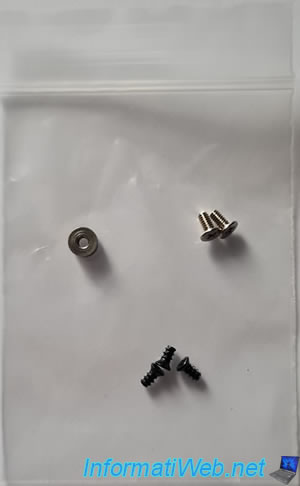
To screw these screws, you will have a small screwdriver provided.
![]()
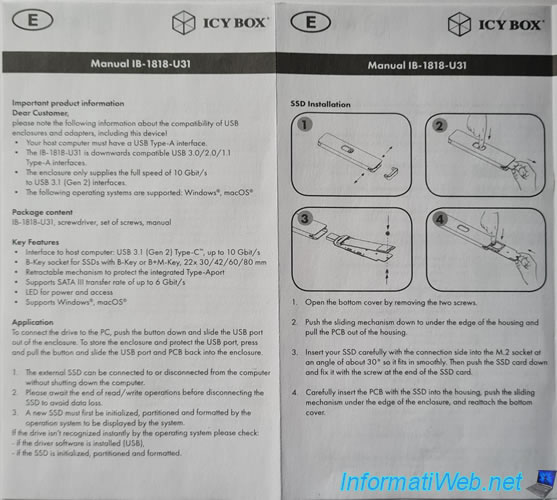
And finally, you will find a manual in English with different information and the procedure for disassembling and reassembling the case.
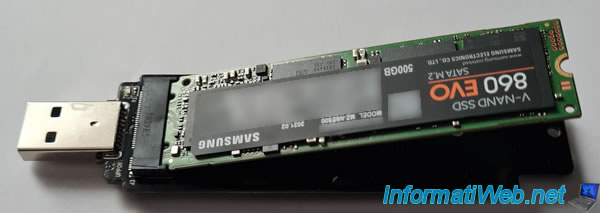
2. Unpacking the M.2 SSD
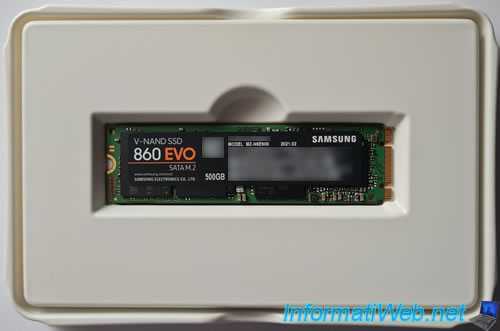
In our case, we bought a "Samsung 860 EVO SATA M.2" SSD of 500 GB, whose size is 2280 (22x80) and whose keys are "B+M".

3. Disassemble the ICY BOX IB-1818-U31 enclosure
To disassemble the case, you can refer to the manual provided in the package or use the one available on the official website.
The advantage of the PDF version being that you can zoom in on the document if you wish.
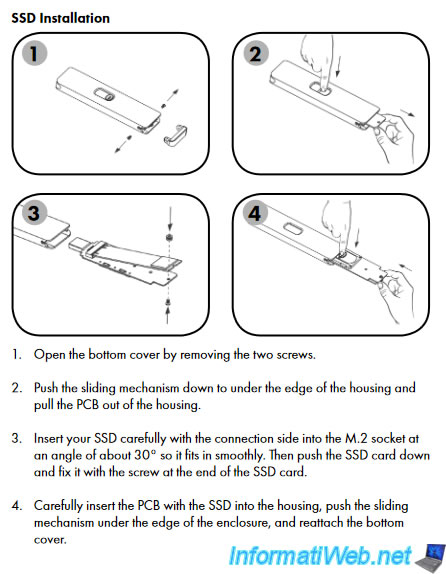
1st step of the manual: unscrew the 2 black screws which prevent the right black cover from being removed.
As you can see, in our case, they weren't there by default. Since these are in the transparent plastic bag.

So, you just have to remove the black cover by pulling it.
2nd step of the manual : press the middle button and push it to the right to take everything out of the box.

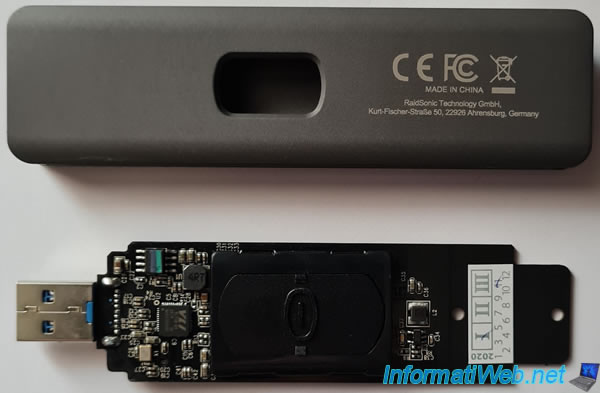
Since everything is fixed on the same circuit board, you will be able to get everything out at once.
Once out, this is what it looks like.
4. Fix the SSD inside the enclosure
Flip the circuit board over, and you'll find an M.2 port on the left to plug in your favorite (compatible) M.2 SSD.
Manual Step 3 : insert your M.2 SSD into the connector at about 30 degrees until you no longer see the gold SSD tabs.
Slide the round "nut" onto the other end of the SSD with the thick side facing the PCB side.
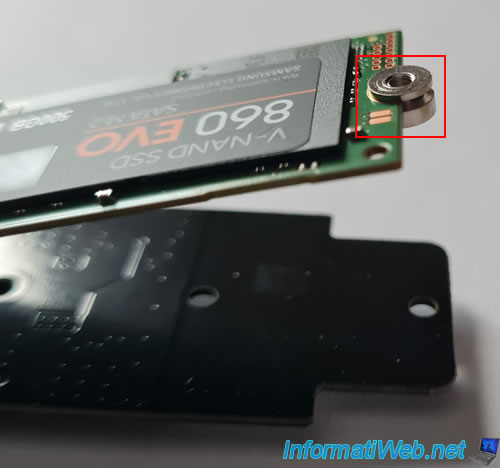
Press the SSD so that it's parallel to the circuit board and screw the gray screw provided into the nut you just slipped on the end of the SSD.

5. Reassemble the ICY BOX IB-1818-U31 enclosure
4th step of the manual : gently insert the printed circuit into the enclosure and push the big black button so that everything can fit inside the enclosure.

Once the button has been placed correctly, don't forget to reclip the black cover on the side.
Then, screw the 2 black screws provided to hold this black cover correctly.

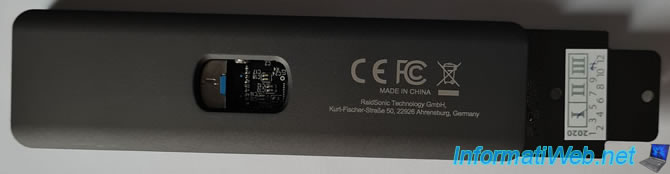
6. Overview of your new USB 3.0/3.1 key
As you can see, this enclosure strongly resembles an USB key
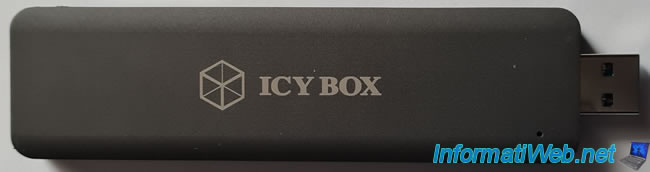
All you have to do is plug it into an USB 3.0/3.1 port on your computer of choice to benefit from the best possible performance.
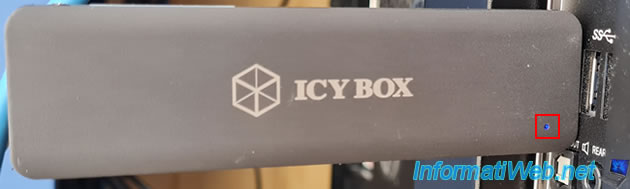
Note that there is a small blue LED on this box which will indicate to you that the box is powered, as well as if it's currently in use (reads/writes).
Share this tutorial
To see also
-
Articles 2/17/2017
Corsair Flash Padlock 3 - Secure USB key with hardware encryption
-
Articles 9/16/2024
Intel NUC Skull Canyon - Install Windows 10
-

Articles 3/7/2017
Intel NUC Skull Canyon - Unboxing
-

Articles 2/12/2013
Why not install several AV simultaneously
You must be logged in to post a comment