Installing the Razer Core X eGPU on Windows 10
- Articles
- 03 August 2026 at 07:57 UTC
-

- 2/2
5. Install Razer Synapse to update Razer Core X case
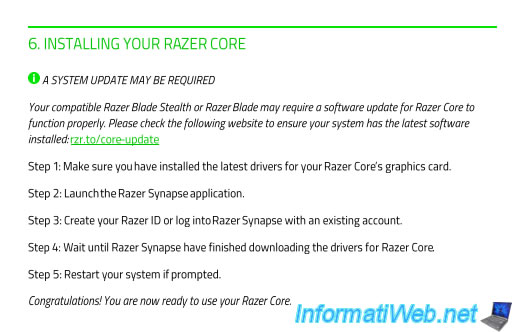
If you look at page 15 of the Razer Core case manual, you will notice that Razer tells you that a system update may be required for your Razer Core case to function properly.
Plain Text
A SYSTEM UPDATE MAY BE REQUIRED.
Your compatible Razer Blade Stealth or Razer Blade may require a software update for Razer Core to function properly. Please check the following website to ensure your system has the latest software installed: rzr.to/core-update.
In this manual, Razer explains that you must:
- download and install the latest drivers available for the graphics card in your "Razer Core X" case.
In other words, the NVIDIA driver that you just downloaded and installed. - download, install and launch the "Razer Synapse" application so that the drivers for your "Razer Core" case are installed.
- restart your computer for the changes to be taken into account.
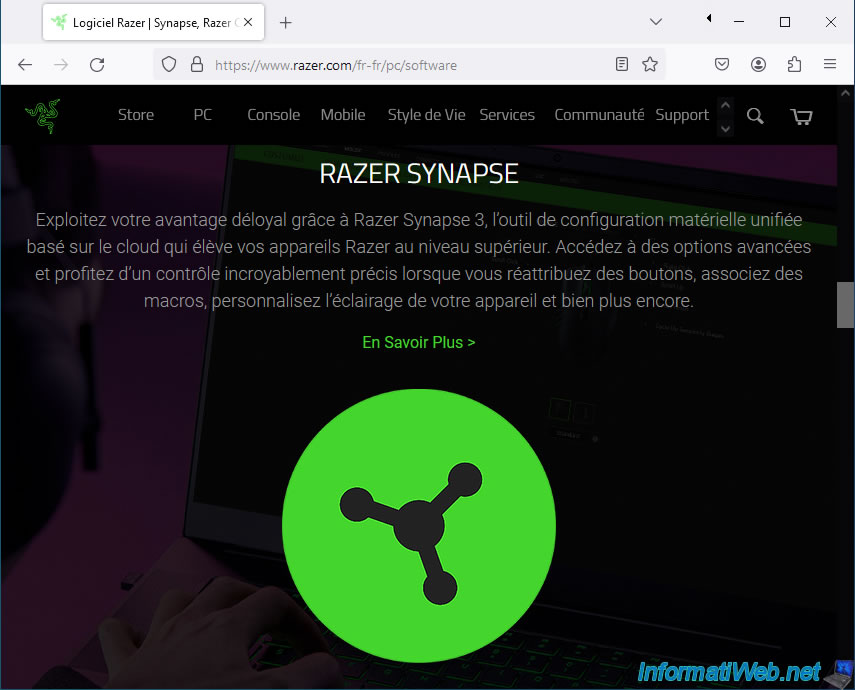
As explained earlier, you need to download the "Razer Synapse" software from the Razer website.
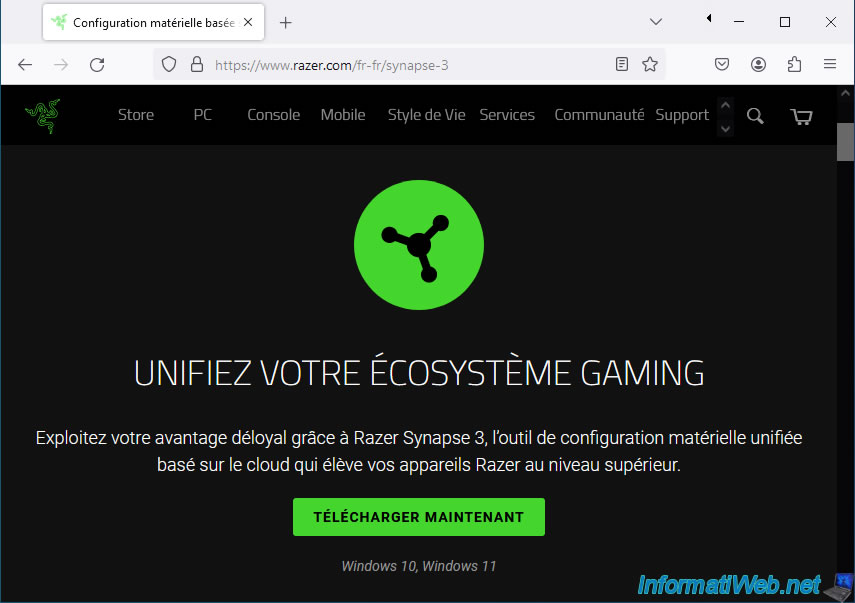
To do this, go to the "Razer Synapse 3" software page and click the "Download Now" button.
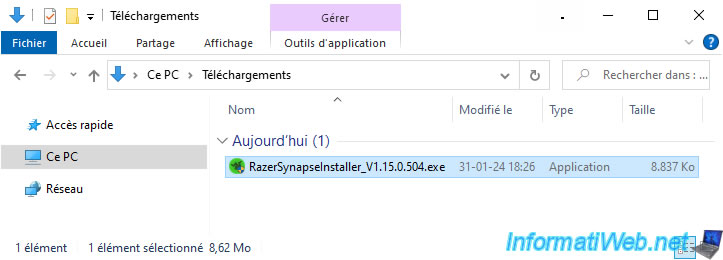
Then, run the downloaded "RazerSynapseInstaller_..." file.
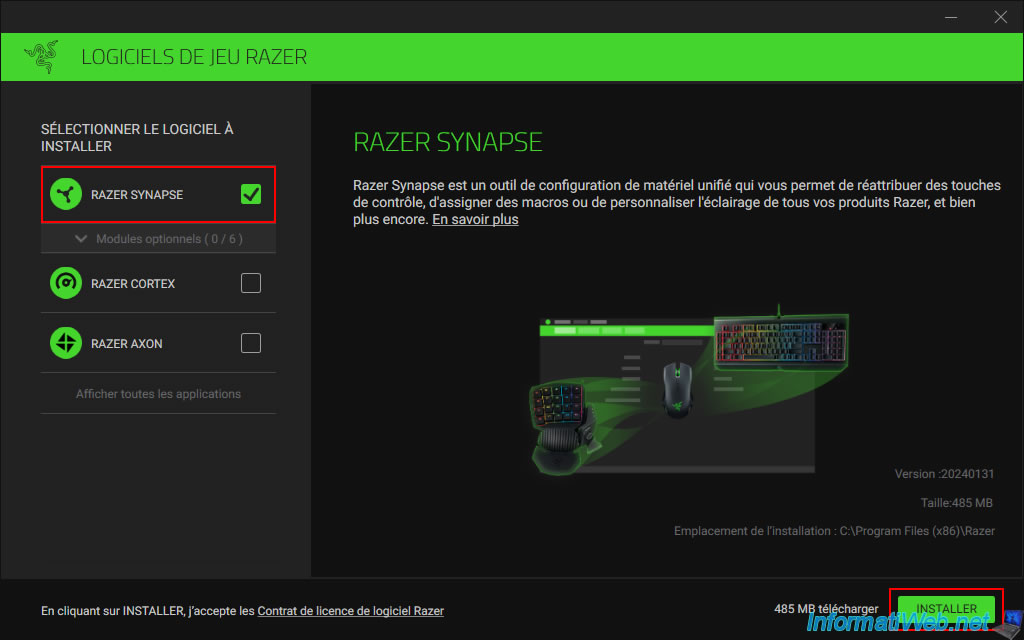
Check only the "Razer Synapse" box, as the rest is not necessary in this case, then click: Install.
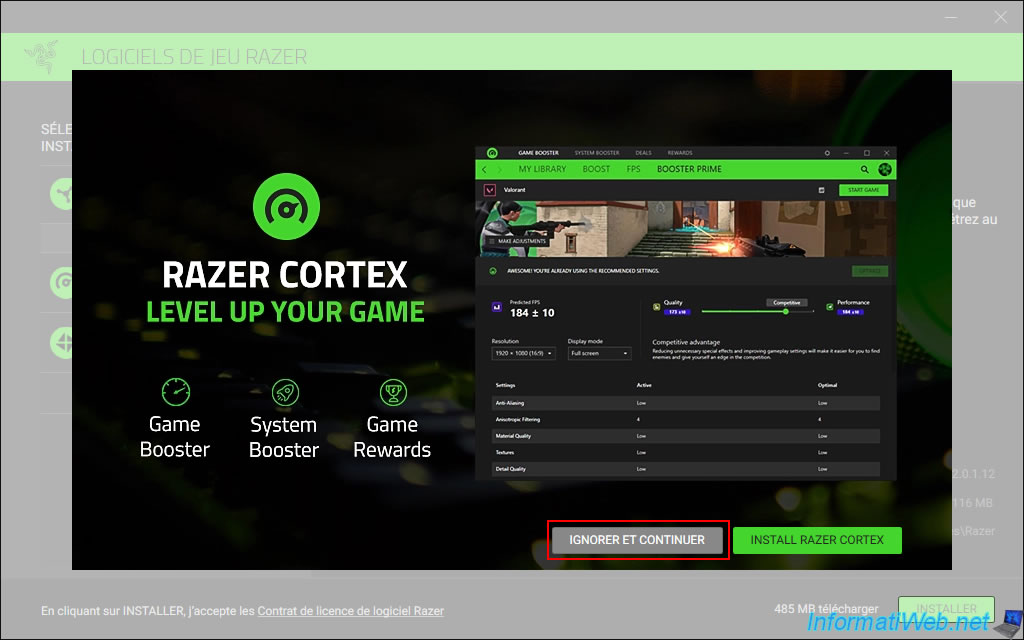
If Razer still tries to get you to install "Razer Cortex" (which you don't need here), click "Ignore and continue".
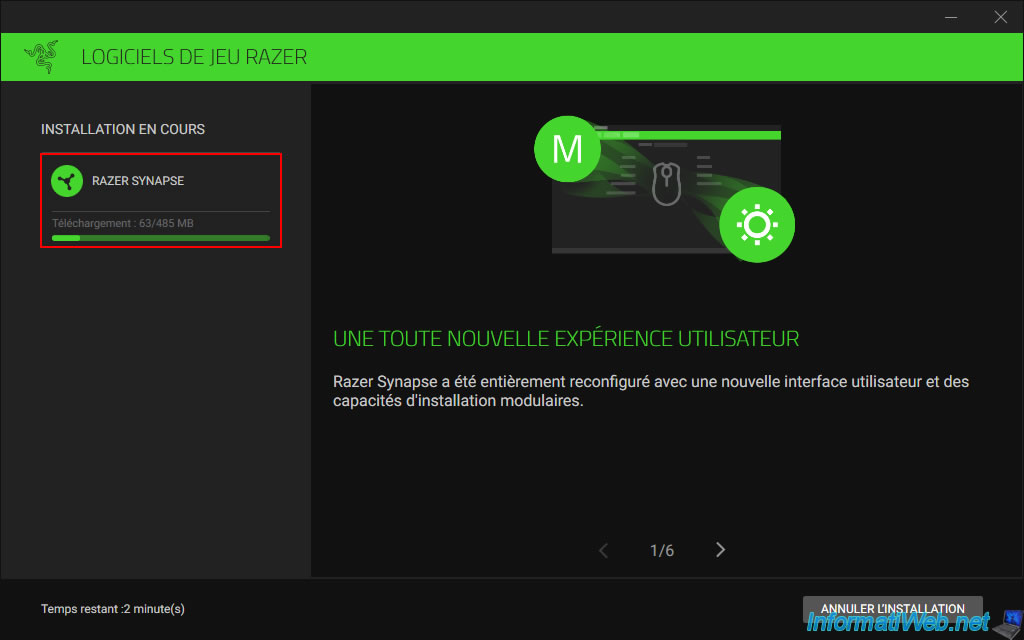
Please wait while the "Razer Synapse" software downloads (currently about 485MB).
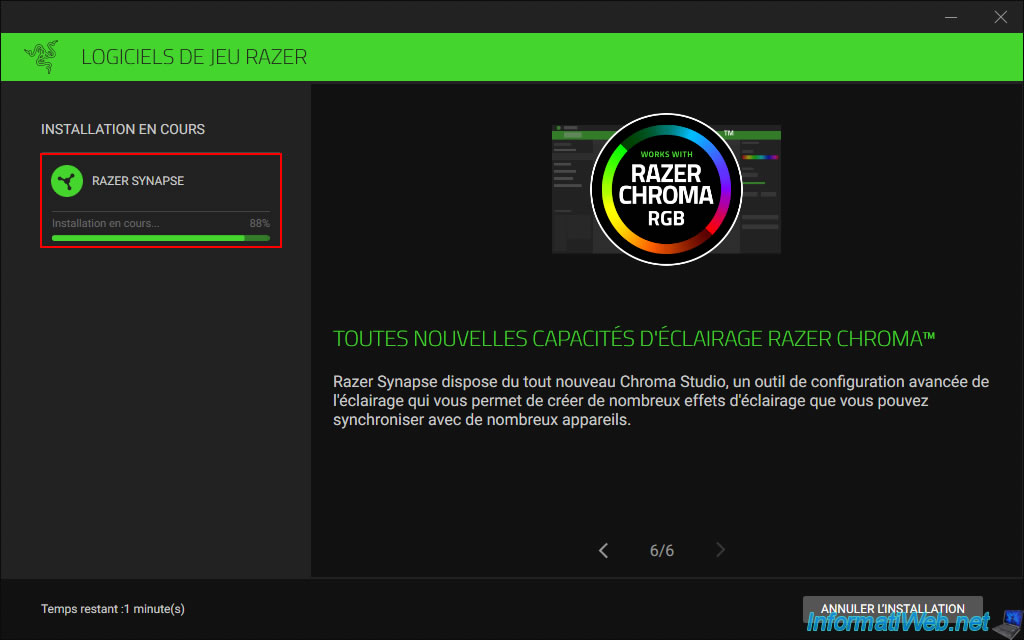
Then, wait while this software "Razer Synapse" is installed.
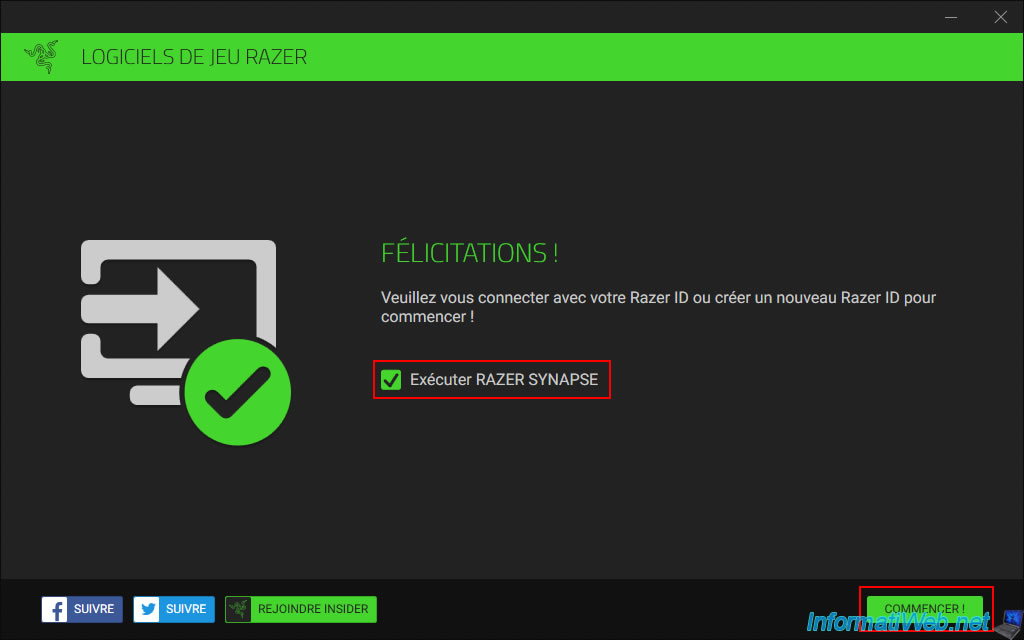
Once the "Razer Synapse" software is installed, check the "Run RAZER SYNAPSE" box and click "Start".
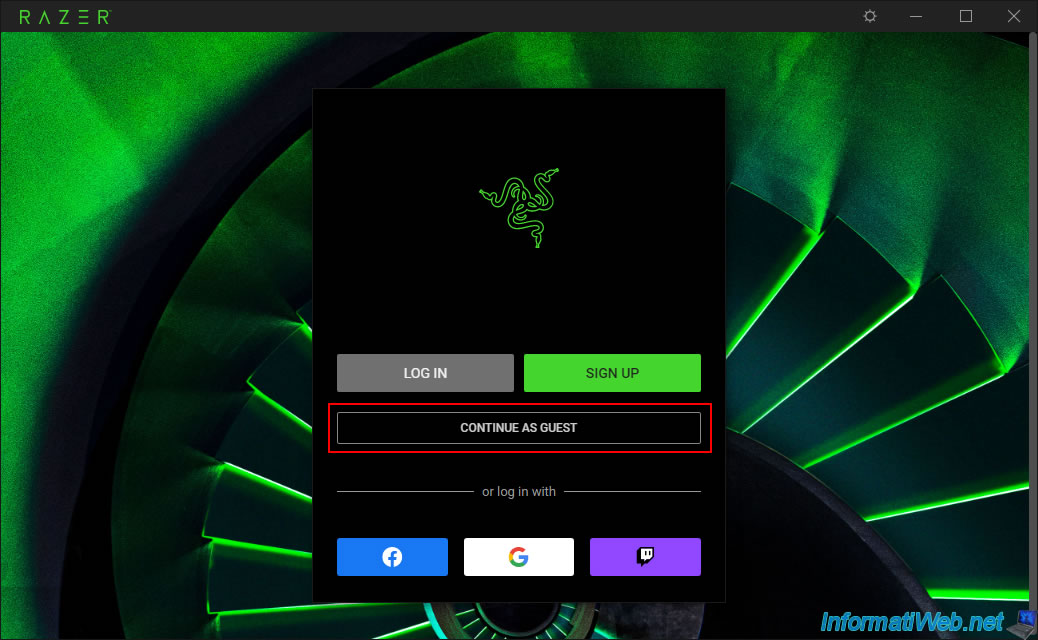
No need to log in to a Razer account.
Just click the "Continue as guest" button.
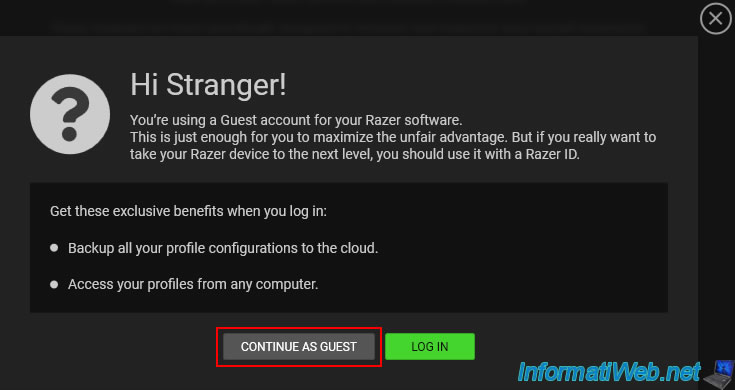
As before, click on "Continue as guest".
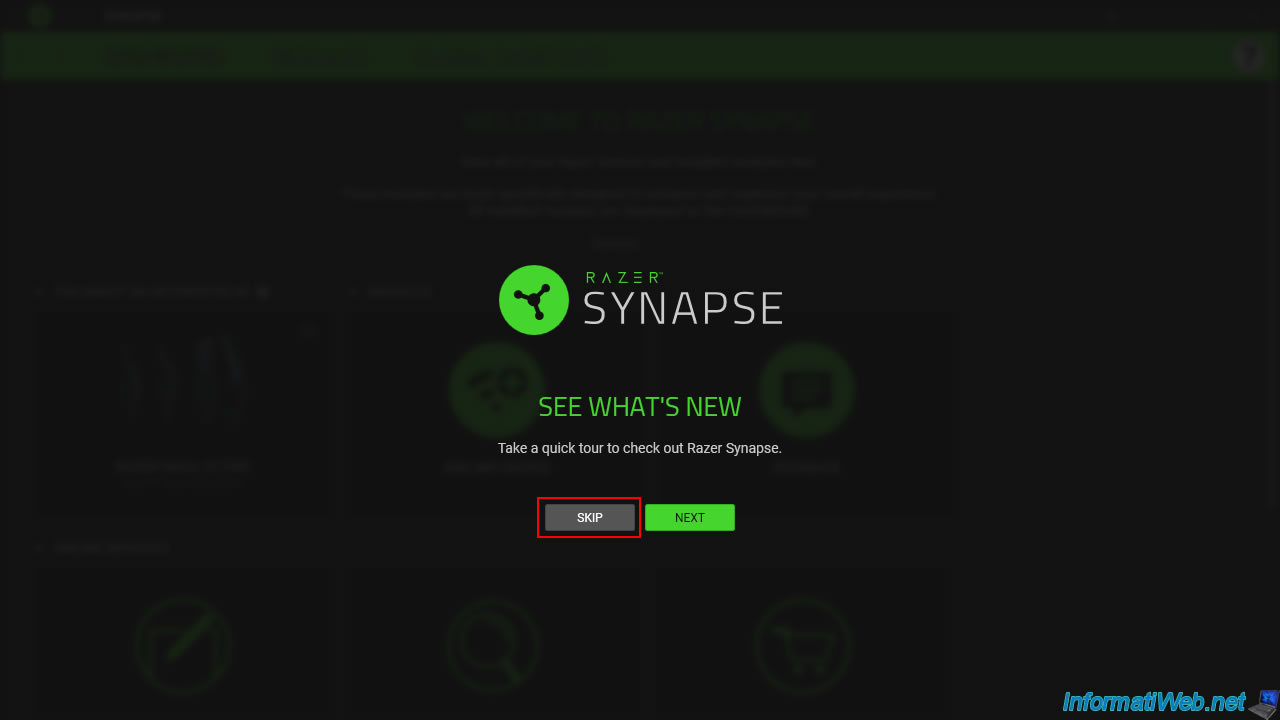
Skip the new features display if it appears by clicking "Skip".
6. Razer Core X case graphics card detected
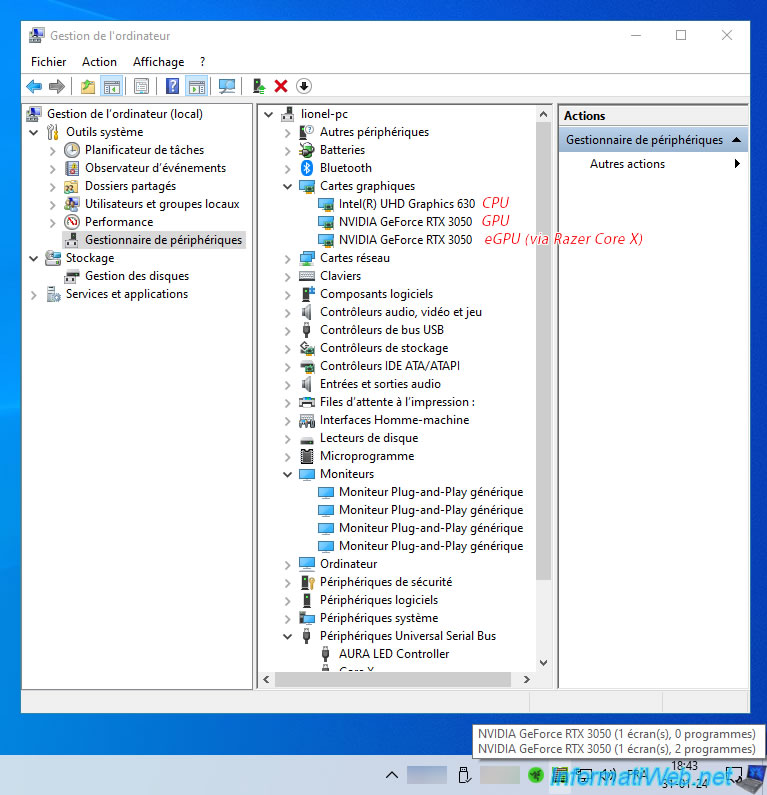
Now that everything is installed (including the free "Razer Synapse" software), Windows 10 also recognizes the graphics card present in your "Razer Core X" eGPU enclosure (as you can check with the Windows 10 Device Manager).
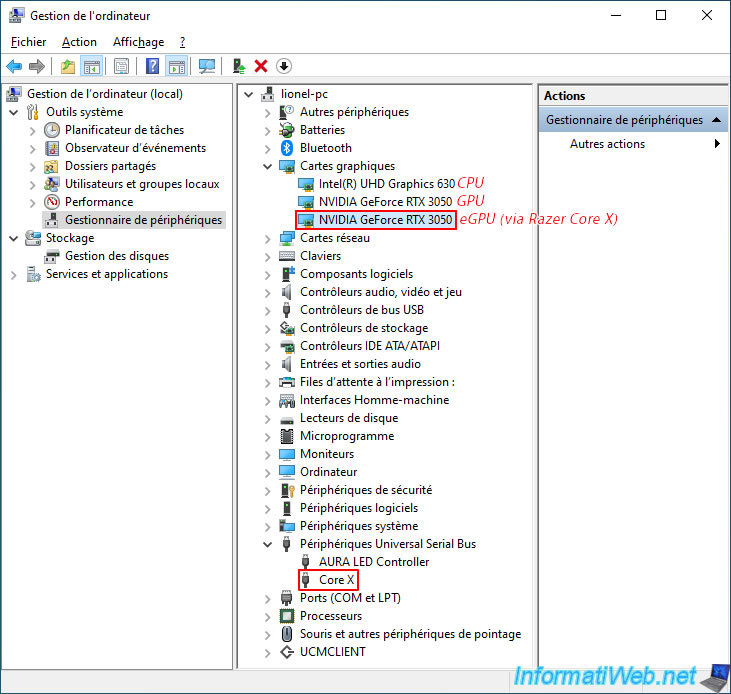
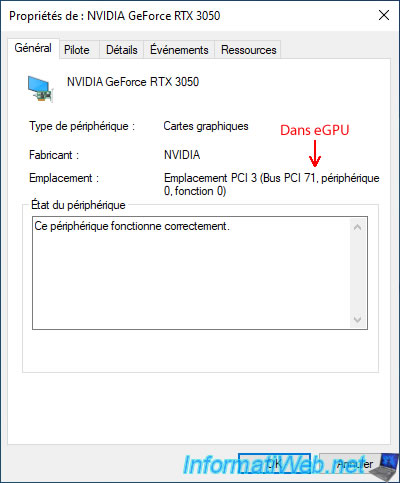
Note that the graphics card present in the "Razer Core X" eGPU enclosure is in a completely different PCI bus (in our case: 71).
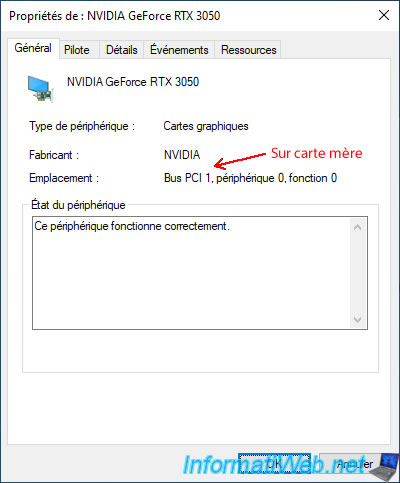
While the NVIDIA graphics card plugged into the motherboard uses PCI bus 1.
Important : for a typical user, this changes absolutely nothing.
On the other hand, if you want to do GPU passthrough with a motherboard intended for individuals, this allows you to place your physical graphics card (NVIDIA, AMD, ...) in a different IOMMU group without using the ACS patch creating a security flaw on your computer.
This is also why we bought this box and you will see it in our GPU passthrough tutorials on "InformatiWeb Pro".
Warning : if you want to buy an eGPU to do GPU passthrough, be aware that the graphics card in the eGPU enclosure will not necessarily be in a different IOMMU group.
This worked with the "Razer Core X" enclosure, but it will not necessarily be the case with other eGPUs.
You can search for the keywords "GPU passthrough" and the eGPU model you want to buy to see if the graphics card will be in an isolated (different) IOMMU group or not.
Windows 10 also detected an additional display and an additional icon appears in the taskbar with the detected graphics cards.
In Windows 10 display settings, click the "Advanced display settings" link again.
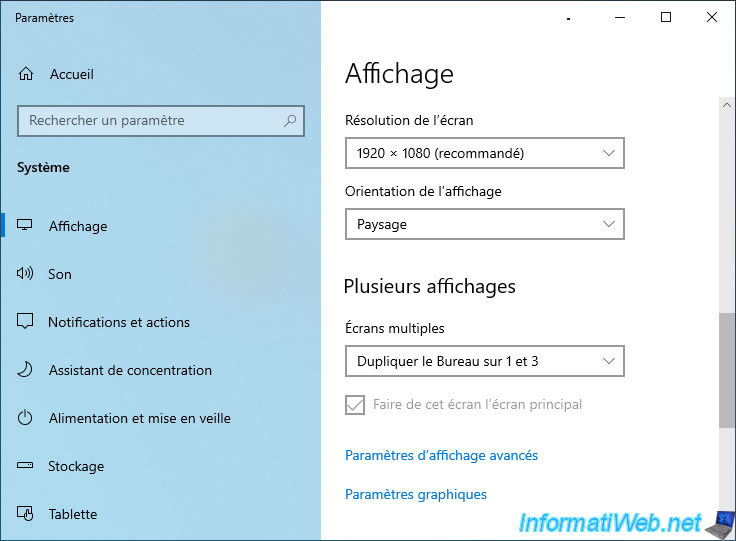
As you can see, the new screen (4) detected by Windows 10 is connected to our "NVIDIA GeForce RTX 3050" graphics card (present in our eGPU box).

Share this tutorial
To see also
-

Articles 11/18/2024
Connect a SATA/IDE hard drive to USB 3.0 (Nedis adapter)
-

Articles 1/28/2015
Create your own PC configuration
-
Articles 3/14/2017
Intel NUC Skull Canyon - Mounting
-
Articles 11/25/2024
WD My Passport - Encrypted external (USB) hard drive
No comment