- Articles
- 03 August 2026 at 07:57 UTC
-

- 1/2
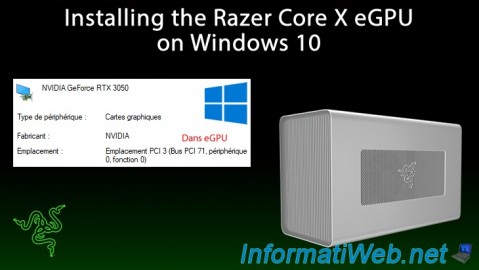
In our article "Unboxing and assembly of the Razer Core X eGPU", we presented and showed you how to assemble your "Razer Core X" case.
Once assembled, connecting it to your computer may not be enough (at least, the first time after purchasing this eGPU).
Here's how to do it under Windows 10.
Important : the "Razer Core X" eGPU case requires at least Windows 10 64bit RS5 (= 1809) and a Thunderbolt port in version 3 (at least).
Note that Thunderbolt is backward compatible, so if your motherboard has a Thunderbolt 4 port, it will also work without loss of performance.
- 1st start of your computer with the Razer Core X eGPU box
- Download and install the Thunderbolt driver (for your motherboard or added PCIe card)
- Download and install the driver for the graphics card present in the eGPU
- New screen detected via Razer Core X
- Install Razer Synapse to update Razer Core X case
- Razer Core X case graphics card detected
1. 1st start of your computer with the Razer Core X eGPU box
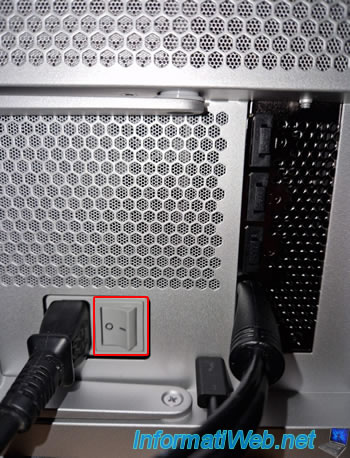
Connect your eGPU enclosure correctly, as well as the Thunderbolt cable provided between this eGPU enclosure and your computer.
Then, turn on the enclosure and only after that, start your computer.
Indeed, if you start your computer before turning on the enclosure, it happens that the graphics card does not appear even if everything is installed correctly.
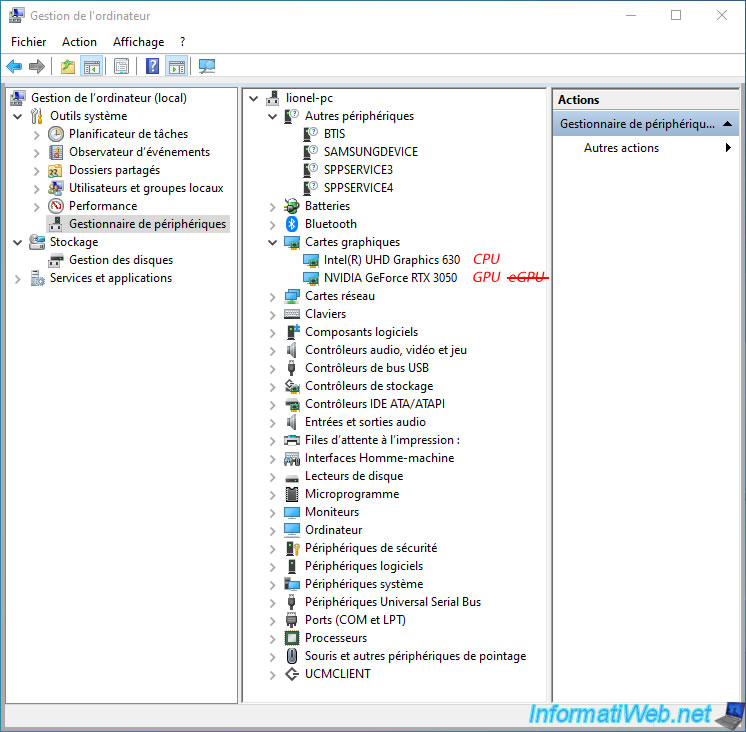
Once Windows 10 is started, open the device manager and you will notice that the graphics card present in the eGPU box does not appear by default.
Indeed, in our case, we only see:
- Intel(R) UHD Graphics 630: which corresponds to the graphics part of our "Intel i9-10900" processor.
- NVIDIA GeForce RTX 3050: which corresponds to the physical graphics card connected to a PCIe port on our motherboard.
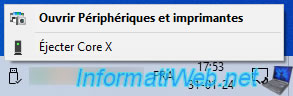
However, if you look in the taskbar and click on the USB stick icon, you will see that the Razer device is indeed recognized.
Plain Text
Eject Core X.
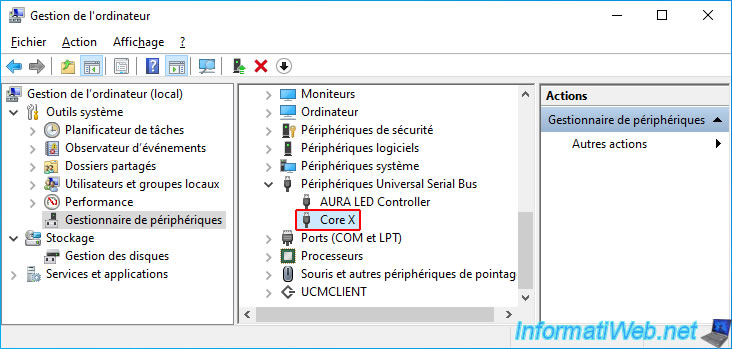
Indeed, if you look in the "Universal Serial Bus Devices" section (which basically means USB devices), you will indeed find the "Core X" device (which refers to the "Razer Core X" box itself).
2. Download and install the Thunderbolt driver (for your motherboard or added PCIe card)
In order for your "Razer Core X" eGPU enclosure connected via Thunderbolt to be recognized by Windows 10, it is necessary to download and install the Thunderbolt driver:
- of your motherboard: if you have connected your eGPU enclosure to a Thunderbolt port on your motherboard.
- of the Thunderbolt card added to your computer: if you have connected your eGPU enclosure to the Thunderbolt port of a Thunderbolt card added in PCIe to your computer.
For more information on these PCIe cards specific to the brand of your motherboard, refer to the article cited at the beginning of this tutorial.
In our case, our eGPU enclosure is connected to a Thunderbolt port of our "ASUS ROG MAXIMUS XIII HERO" motherboard.
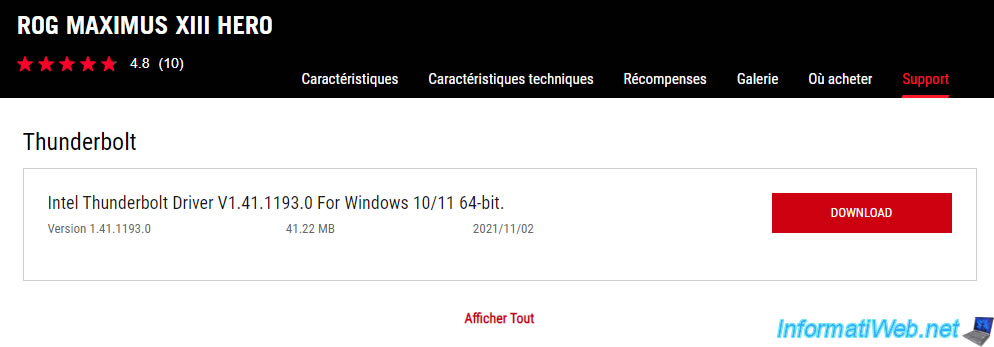
Once the Thunderbolt driver suitable for your computer is downloaded, launch its installer.
Note that the appearance of the installer may vary from one brand to another and from one model to another.
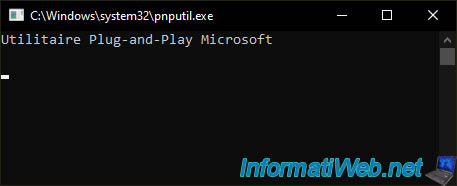
3. Download and install the driver for the graphics card present in the eGPU
In order for Windows 10 to use the graphics card in your "Razer Core X" case, you need to download and install the driver that is adapted to it.
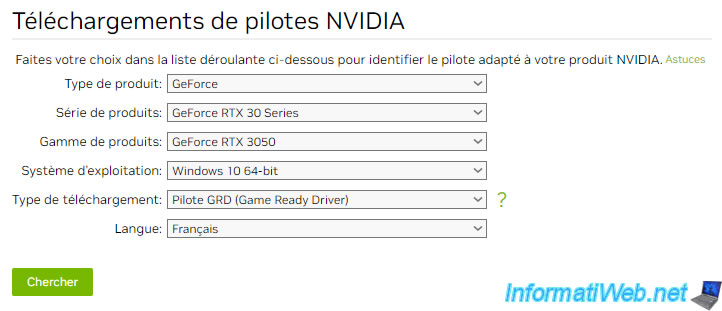
To do this, go to the "Official Drivers | NVIDIA" page and choose:
- your graphics card model: in our case, an "NVIDIA GeForce RTX 3050" graphics card.
- your Windows version: probably "Windows 10 64-bit" (since this is the minimum required for your "Razer Core X" case).
- your language: English (US).
Then, click on "Find", then download the GeForce Game Ready Driver found.
Important : even if you have already installed an NVIDIA driver in the past, it is necessary to reinstall it once the "Razer Core X" box is connected to your computer so that the driver is also installed for the graphics card that is in the box.
Run the installer and leave all options as default.
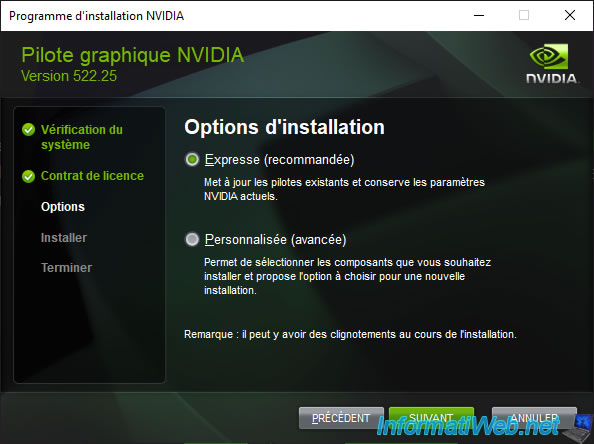
4. New screen detected via Razer Core X
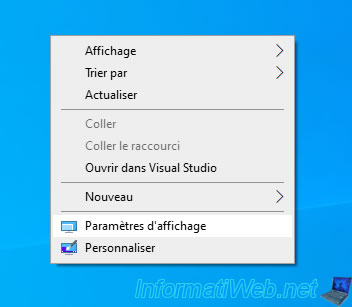
Now that the NVIDIA driver has been installed (or reinstalled), right-click "Display Settings".
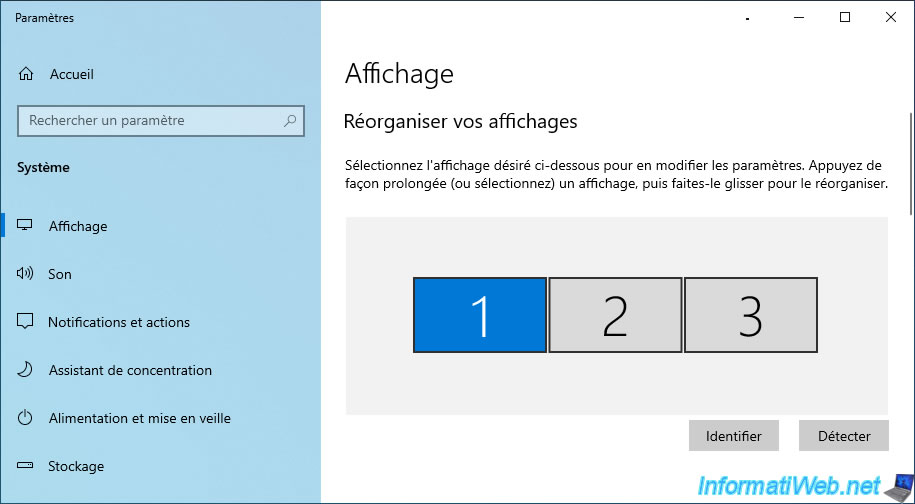
You should see an additional display appear in the Windows 10 display settings.
In our case, there are 3 screens, because there are:
- the one connected to the graphics part of the processor.
- the one connected to the graphics card connected in PCIe to our motherboard.
- the one connected to the eGPU box "Razer Core X".
However, in your case, you should have 2.
A little further down, you can choose what Windows 10 should do with multiple displays.
By default, Windows 10 stretches the display across all available displays.
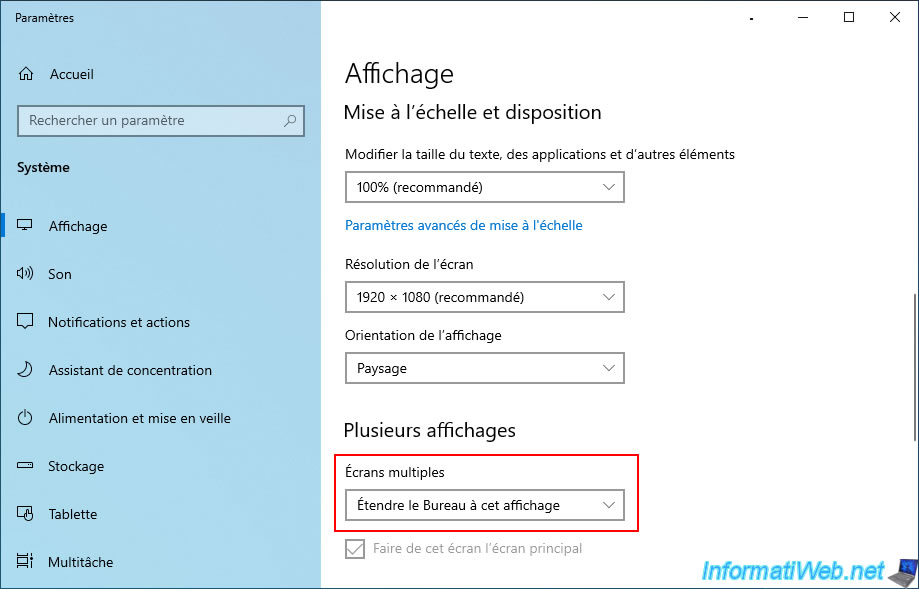
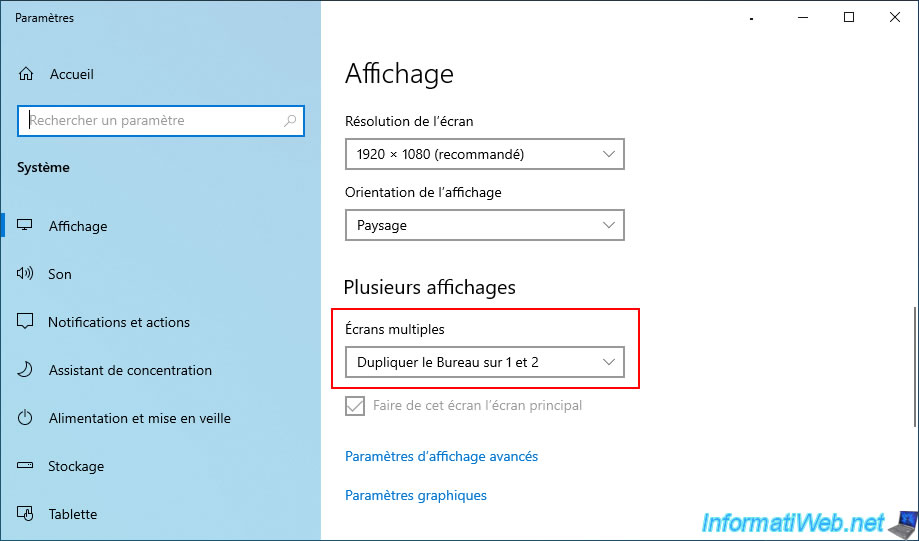
If you only have 2 screens, you have the option to duplicate the image on both screens (if you wish) by changing the value of the "Multiple displays" setting.
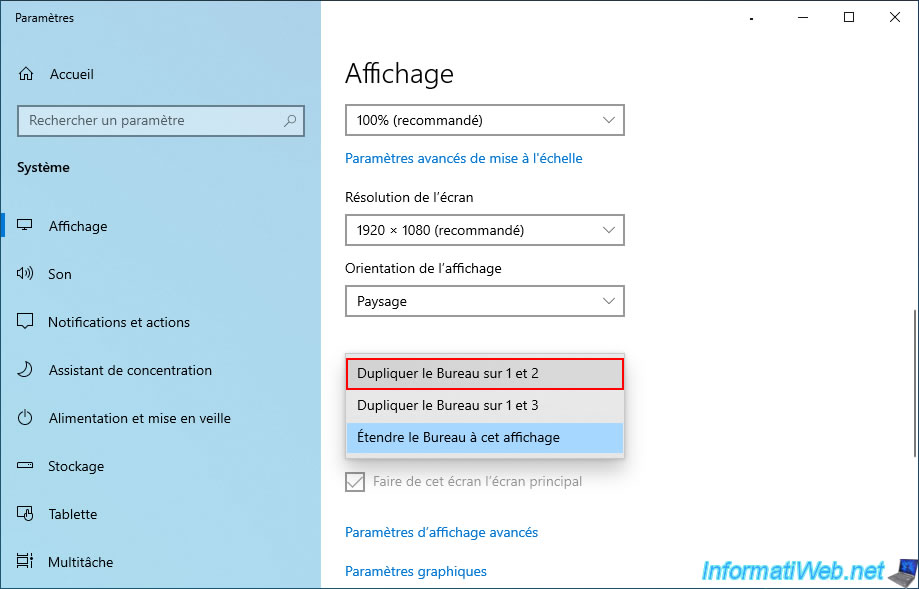
If you change the value of this setting, Windows 10 will ask you to confirm the change (to prevent you from losing the display in case of a problem).
If you see this message, click "Keep".

The value of the "Multiple displays" setting has been successfully modified.
If you click on the "Advanced display settings" link just below, you will be able to see which display is connected to which graphics card.
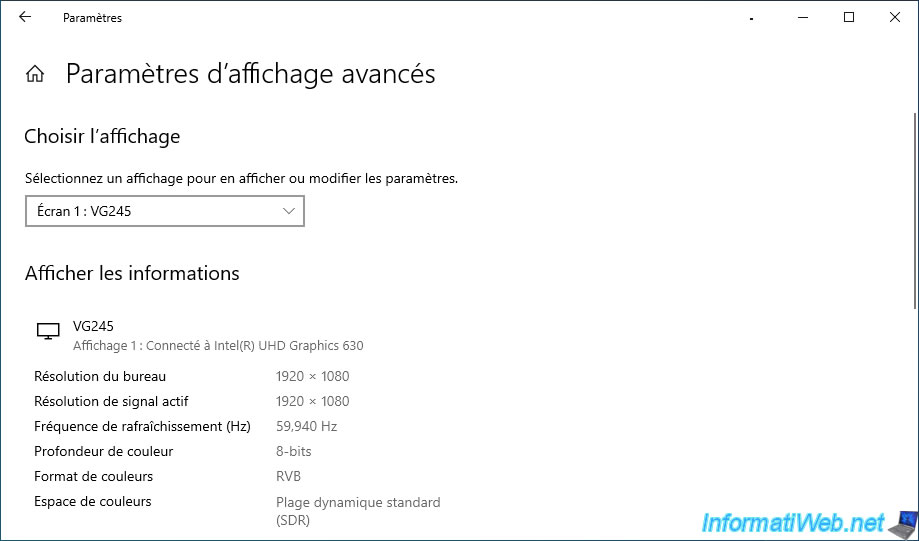
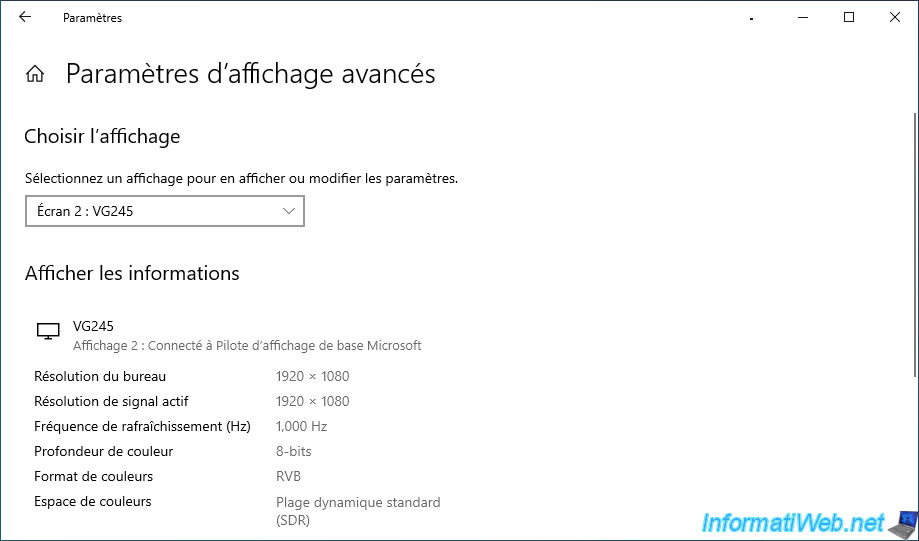
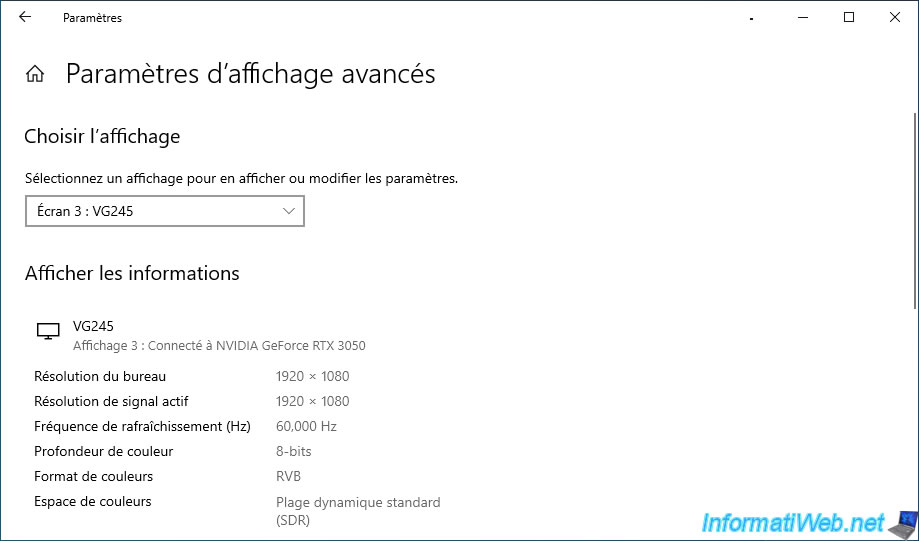
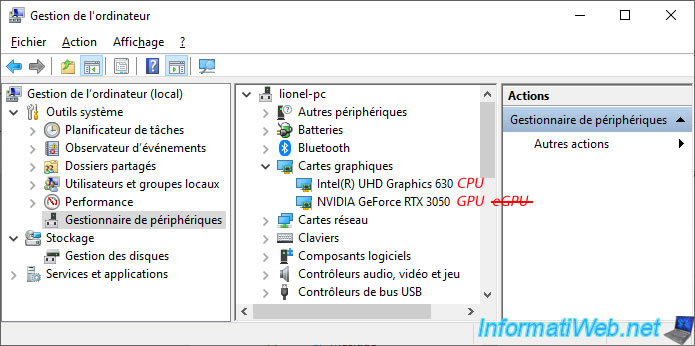
Although 3 displays are detected, Windows 10 still only sees 2 graphics cards:
- Intel(R) UHD Graphics 630: the graphics part of the Intel processor.
- NVIDIA GeForce RTX 3050: the physical graphics card connected to our motherboard.
Share this tutorial
To see also
-

Articles 7/11/2014
How to partition a hard drive ?
-

Articles 1/21/2017
Presentation of the various USB keys
-

Articles 1/30/2023
PRISKA MAX EASY - Know your consumption with connected sockets
-

Articles 8/6/2014
Zalman ZM-VE300 - Virtual CD drive
You must be logged in to post a comment