- Articles
- 27 July 2026 at 13:47 UTC
-

- 1/3
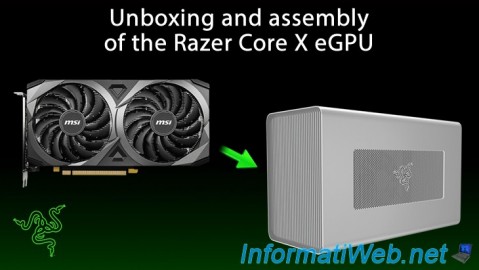
Usually, you plug your screen into the graphics port (HDMI, DisplayPort, VGA, ...) of your graphics card (Nvidia, AMD, ...) to get a very good quality display.
On cheaper computers, there may not be a graphics card plugged into your motherboard. In this case, you plug your screen into the graphics port of your motherboard to use the internal graphics card of your processor (if it exists, because it is not always the case).
If your computer's graphics card is not powerful enough and you don't have the option to plug a physical graphics card into your computer's motherboard (which is especially the case with laptops), then one solution is to buy an eGPU, such as the: Razer Core X.
In summary:
- you buy an eGPU case
- a graphics card compatible with it (in particular depending on its physical dimensions and the GPU models supported by it)
- you connect the graphics card (GPU) to the PCIe port of the eGPU case.
- you connect your screen and your computer to your eGPU case using the HDMI cable (or other) and a Thunderbolt cable.
- Prerequisites for using an eGPU (including the Razer Core X)
- Razer Core X box
- Razer Core X box contents
- Razer Core X eGPU enclosure assembly
1. Prerequisites for using an eGPU (including the Razer Core X)
To use an eGPU, you first need a motherboard that supports Thunderbolt, or in other words, that has Thunderbolt connectors.
Note that Thunderbolt is backward compatible (a bit like USB) and that you can therefore connect an eGPU running in Thunderbolt 3 to a motherboard using Thunderbolt 4 without any problem.
You will simply be limited in terms of performance. It is therefore preferable to use the same version, but it is not mandatory.
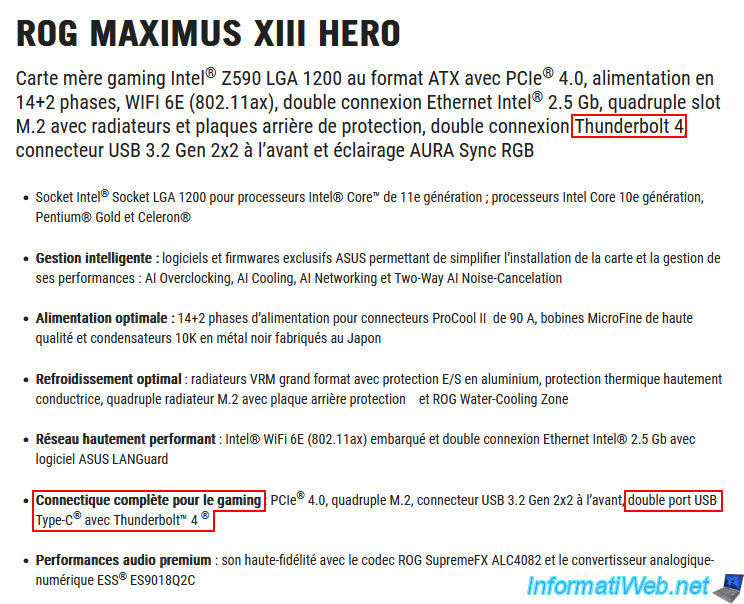
In our case, we have an "ASUS ROG MAXIMUS XIII HERO" gaming motherboard that supports Thunderbolt 4 (as you can check on the Asus Rog website or below).
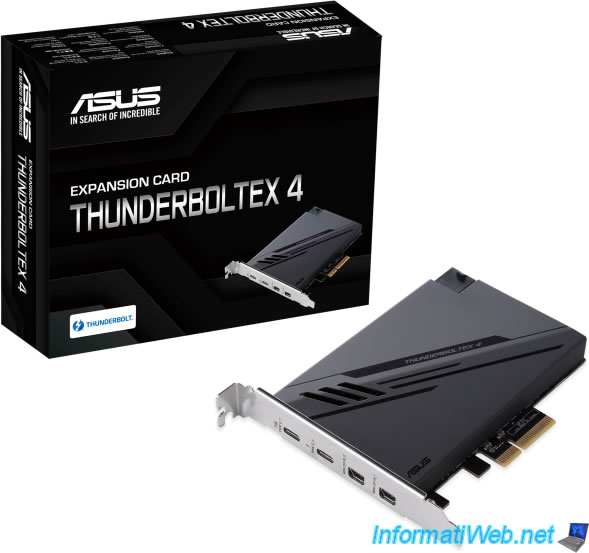
If your motherboard does not natively support Thunderbolt, it is possible that the manufacturer of your motherboard has created a PCIe card that allows you to add this technology and therefore this connection for your server:
- for Asus and Asus Rog (the gaming version of Asus): Asus ThunderboltEX 4, (for Thunderbolt 4 support), Asus ThunderboltEX 3 (for Thunderbolt 3), ...
To find out which one is compatible with your Asus or Asus Rog motherboard, refer to the page "[ASUS Thunderbolt card] Which model of ASUS motherboard support ASUS Thunderbolt card? | Official Support | ASUS Global". - for Gigabyte: GC-ALPINE RIDGE (rev. 2.0), GC-TITAN RIDGE (rev. 2.0), ...
To find out which one to choose in your case, refer to the compatibility table on the Gigabyte links mentioned above. - and more.
Next, you need an eGPU enclosure that uses the same version of Thunderbolt as your motherboard or a version older than the one used by your motherboard.
In our case, we used the well-known eGPU enclosure "Razer Core X" whose manufacturer is very well-known in the gaming world.
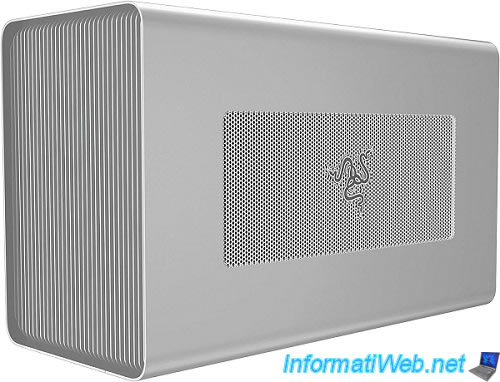
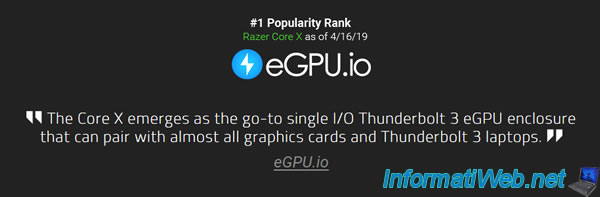
In addition, this case is 1st in the ranking on the site "egpu.io".
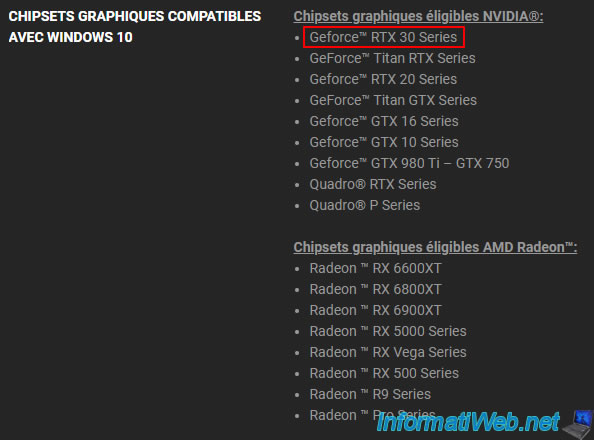
Important : always check that the desired eGPU enclosure is compatible with your graphics card (its model).
In our case: an Nvidia GeForce RTX 3050 graphics card. More precisely, this one: MSI GeForce RTX 3050 VENTUS 2X 8G OC LHR.
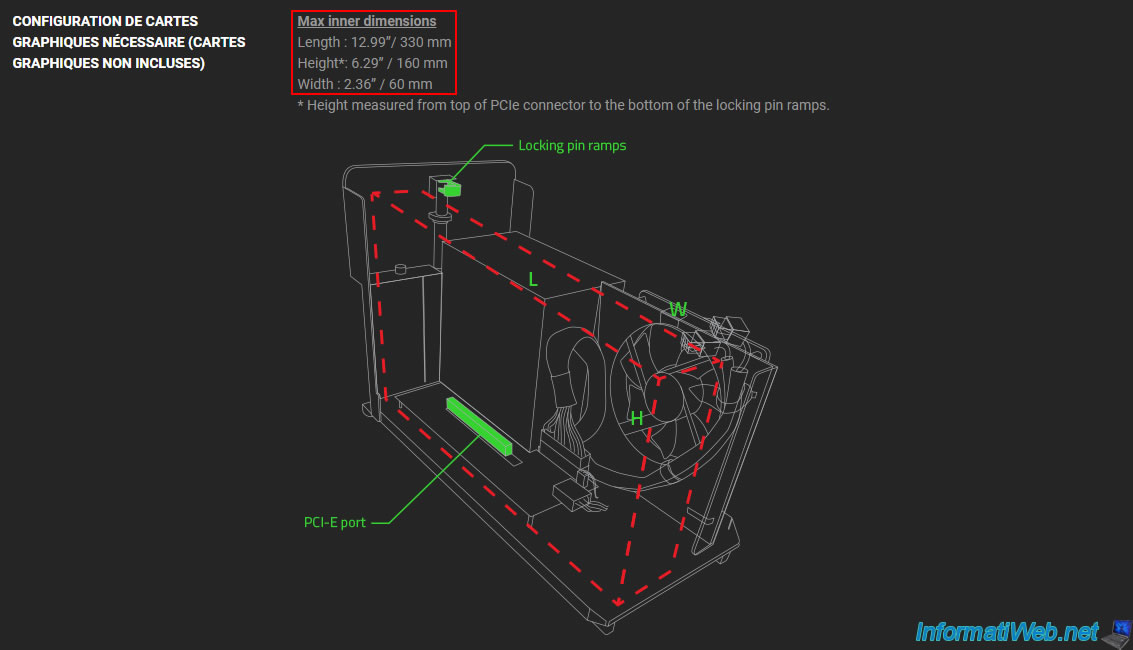
Also check, if possible, that your graphics card is not too big for this eGPU enclosure.
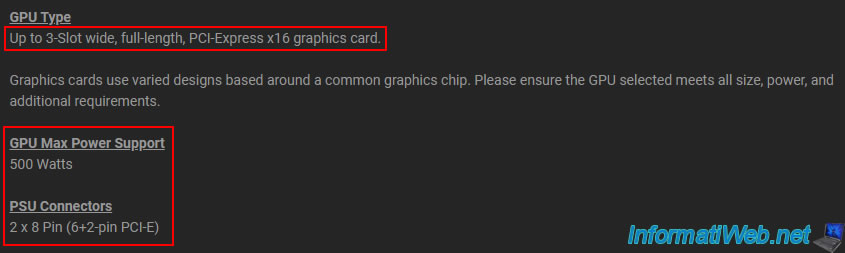
Finally, you can also:
- check the size of the PCIe (PCI Express) connector where you will plug your graphics card.
In this case, a PCIe x16 connector and space for a graphics card that would have a height that could take up to 3 PCIe slots. - the available PCIe power connectors.
In this case: 2 x 8 pins (2 x 6+2 pins). - the maximum power supply that this case can provide.
In this case: up to 500 W for your graphics card.
2. Razer Core X box
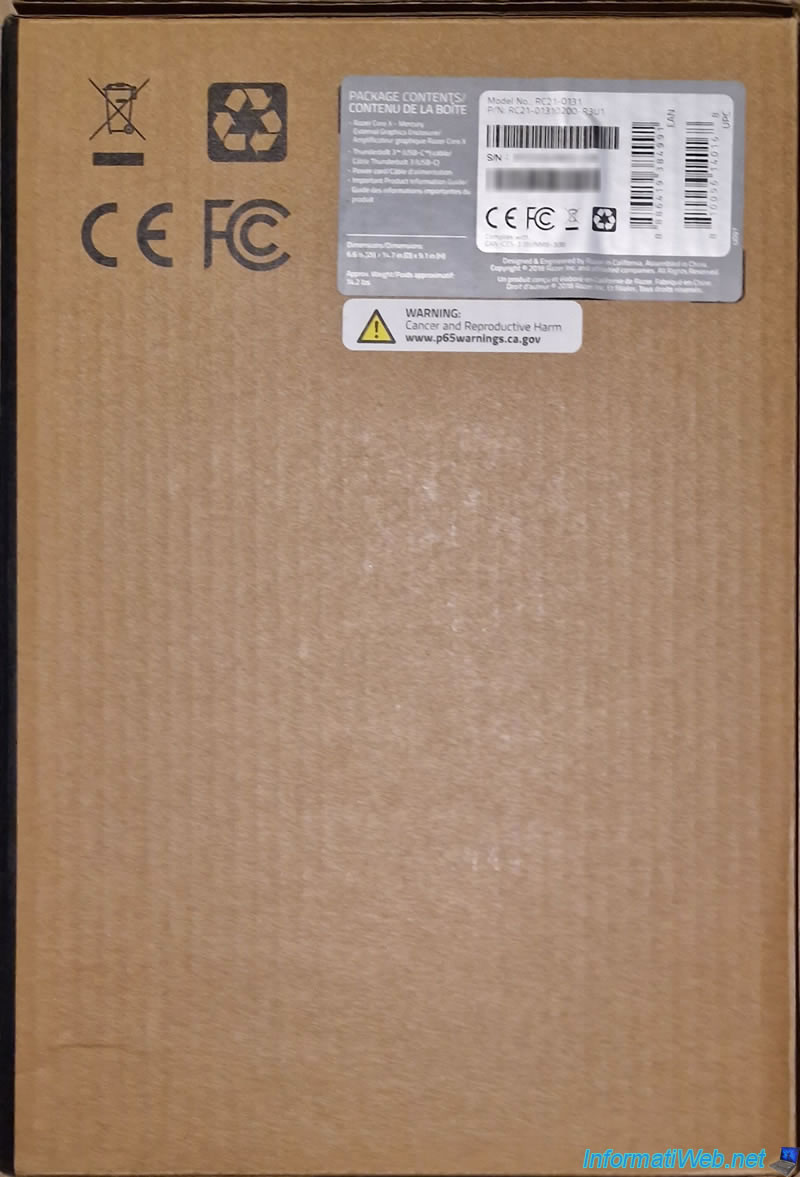
On one side of the large box you will receive, you will find a label with:
- the contents of the box: Razer Core X case, Thunderbolt cable, ... (as you will see a little later in this article).
- the model number: RC21-0131.
- the part number: RC21-01310200-R3U1.
- the serial number: useful for the warranty.
- the EAN barcode: 8886419384991.
- the UPC barcode: 810056140168.
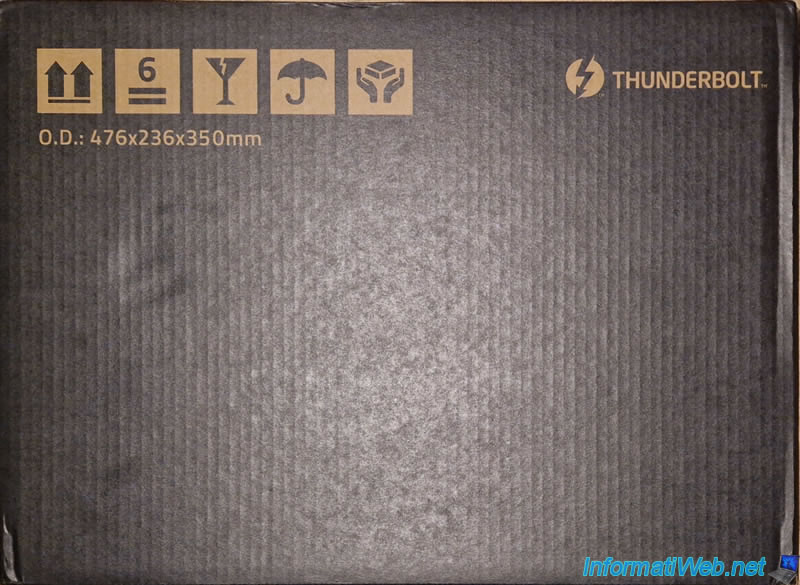
On the black side, you will easily see that it is a Thunderbolt device.
At the top of the box, you will see the Razer logo with the words "For gamers. By gamers".
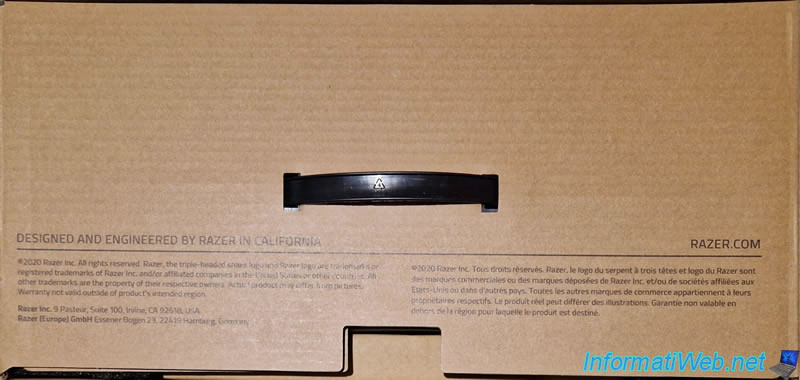
Below, you will find another card telling you that the Razer Core X was designed and manufactured by Razer in California.
Finally, you will find a last card with the hashtag "#GoGreenWithRazer".

3. Razer Core X box contents
To begin, you will find a black box at the top.
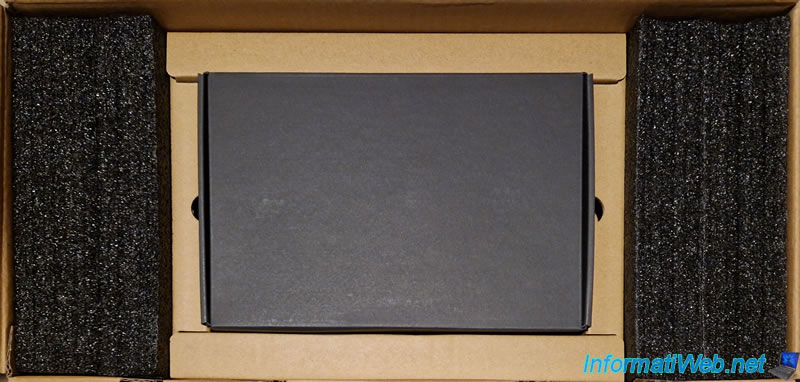
This black box contains the accessories for your Razer Core X.
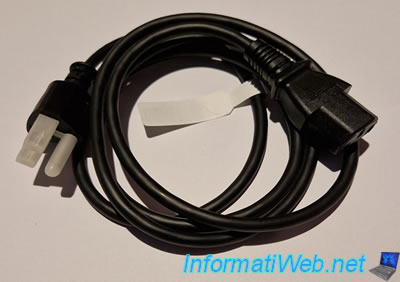
In this black box, you will first see the power cable for your "Razer Core X" eGPU enclosure, as well as a small card thanking you for choosing Razer.
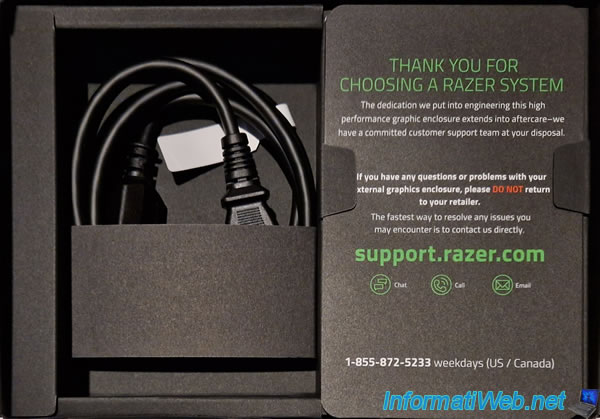
As stated on this box, if you have any issues with your case, you should not return it to your reseller.
Instead, contact Razer Support.

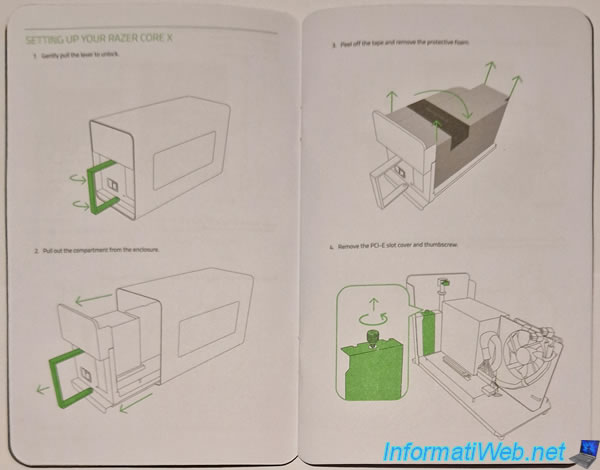
You will also find a small manual for assembling your Razer Core X case.

As you can see, the assembly is explained step by step.
But, what we followed in this article and you will see the different steps over time in this article.
If you still want to download this manual in PDF format, then go to the page: Razer Core X | RC21-01310 Support & FAQs - Razer.
For the manual in English, here is the direct link: COREX-EN.pdf.
In the black box, you will also find the Thunderbolt cable.
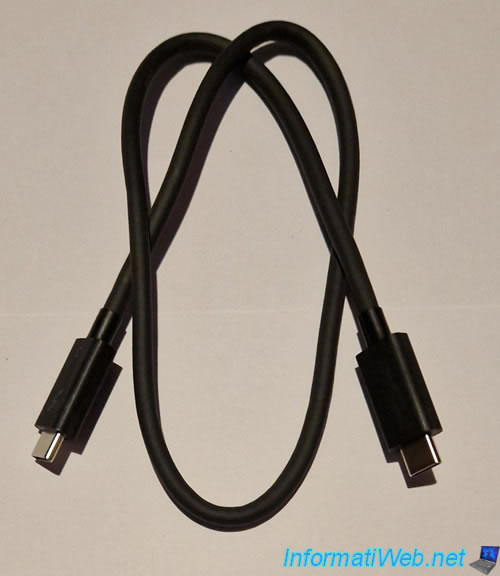
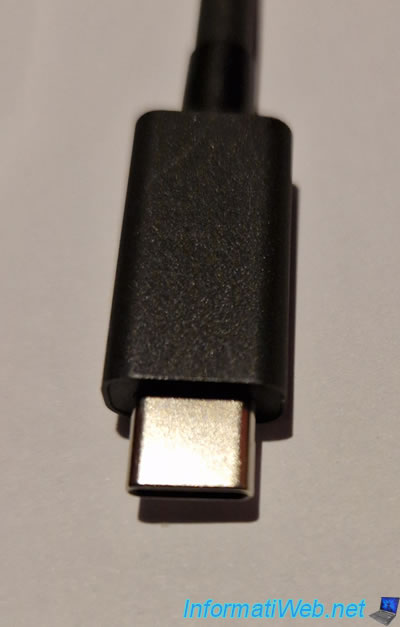
Although the connector looks a lot like a USB-C connector, it is actually a Thunderbolt cable.
The power cable provided depends on the country where you purchased it.
Important : if you buy this case on Amazon.com, you will receive a plug for the United States (as below) and the adapter is not included.
However, fortunately, this "Razer Core X" case supports the 2 existing voltages (230V in France and 110 V in the United States). In addition, the cable is the same as that of a standard computer.
In our case, we were forced to buy it on Amazon.com (with import fees), because it was no longer available in France.
Below the black box, you will find your "Razer Core X" case.
As you can see, it is very well protected. Whether for shocks or scratches.
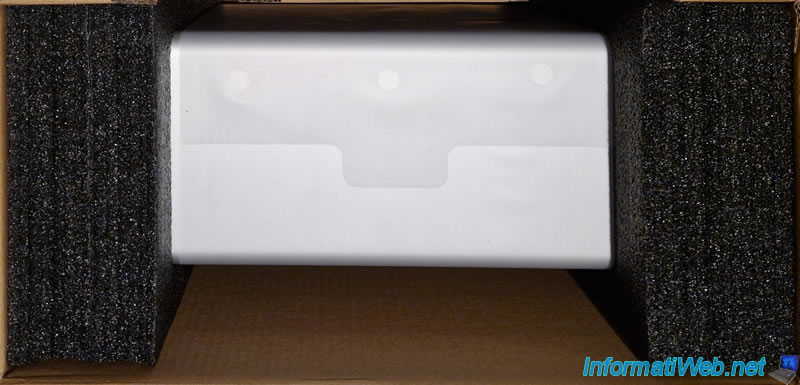
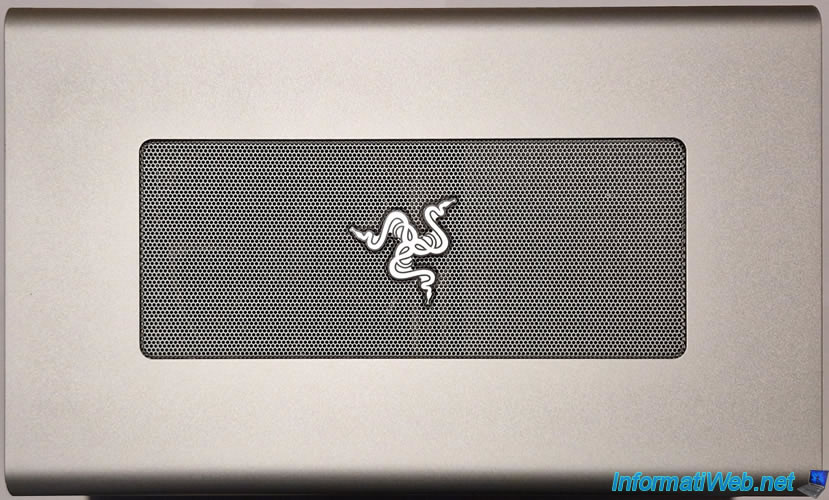
The side of the "Razer Core X" case looks like this.
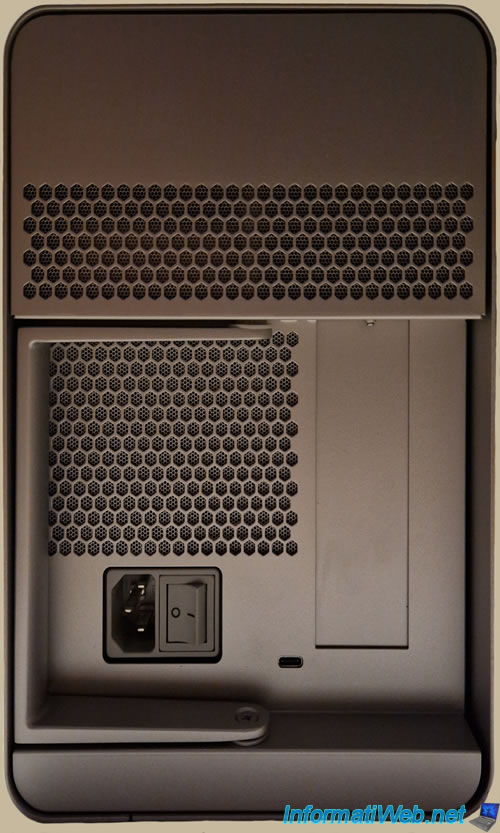
At the moment, the back of the "Razer Core X" case looks like this, with:
- the power connector.
- the switch that turns the eGPU on and off. This allows you to use the graphics card placed in this case only when you play.
Which is rather practical for saving on your electricity bill. - the small Thunderbolt connector at the bottom.
- the PCIe slot closed for the moment and where you will see the back of the graphics card that you will later place in this case.
Share this tutorial
To see also
-

Articles 2/17/2017
Corsair Flash Padlock 3 - Secure USB key with hardware encryption
-
Articles 1/9/2023
Create a high-performance USB 3.0/3.1 key
-
Articles 11/2/2014
Some practical infos about USB storage devices
-

Articles 2/12/2013
Why not install several AV simultaneously
You must be logged in to post a comment