Restore your MSI laptop to its factory state
- Others
- 01 November 2022 at 10:52 UTC
-

- 2/2
3.3. Restoring Windows 8 to factory state from MSI recovery DVDs
Again, press Enter to boot your MSI laptop on the 1st recovery DVD previously created.

Click the "Hard Disk Recovery" button.
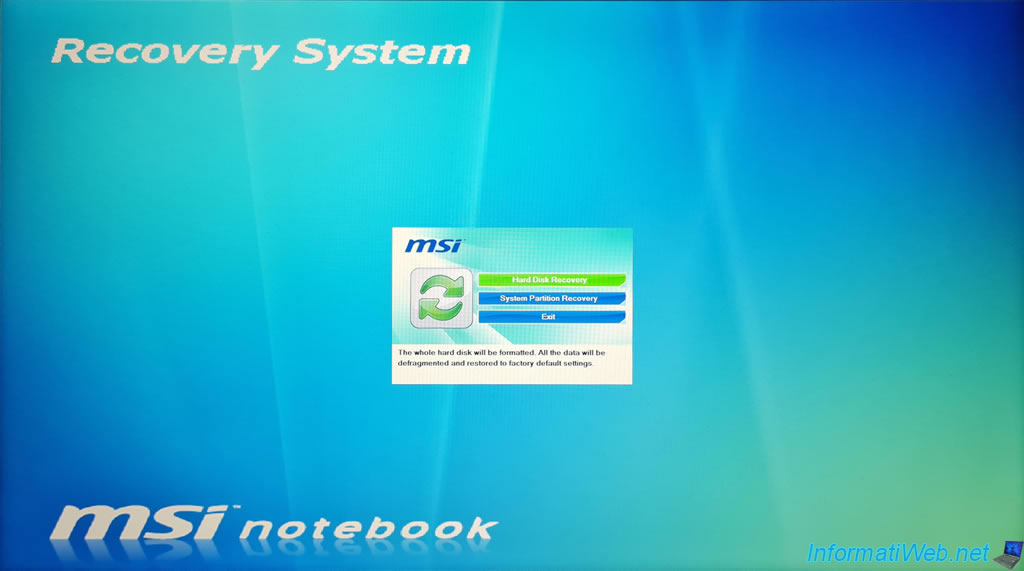
As stated here, all files and settings will be reset and therefore lost. Including all personal data and data that is in the "DATA" partition of the internal hard drive.
Plain Text
All files and setting will be reset and lost on this computer. Are you sure to continue ?
Click Yes.

Confirm again the complete restoration of the internal hard drive of your MSI laptop by clicking Yes.

The window disappears for a few seconds and only the wallpaper remains displayed.

Then, the MSI recovery window appears.
As you can see, this MSI recovery program will restore your Windows 8 installation.

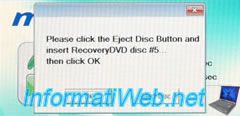
Note that MSI's recovery program will ask you to insert each recovery DVD one after the other, but it will only do this once per DVD and these will only be asked at the start of your laptop recovery.
Plain Text
Please click the Eject Disc Button and insert RecoveryDVD disc #2 then click OK

Meanwhile, recovery will continue for a few seconds or 1-2 minutes.
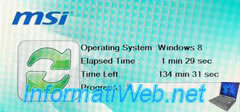
Once you have inserted the latest Recovery DVD (RecoveryDVD disc #5) and clicked OK again, you can let the program continue with the recovery without any further action on your part.
La restauration de Windows 8 continue.

When the restore is complete, the "Windows 8 Recovery is successful. Please press OK and restart your system" message will appear.
Click OK.
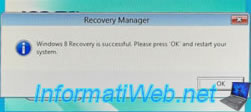
Your laptop will restart and the MSI logo will appear.
Then, the "Getting devices ready" message will appear.

Then, "Getting ready" message will appear.

The MSI logo will appear again.
A "Your display language" screen will allow you to choose your language.
For example : English.
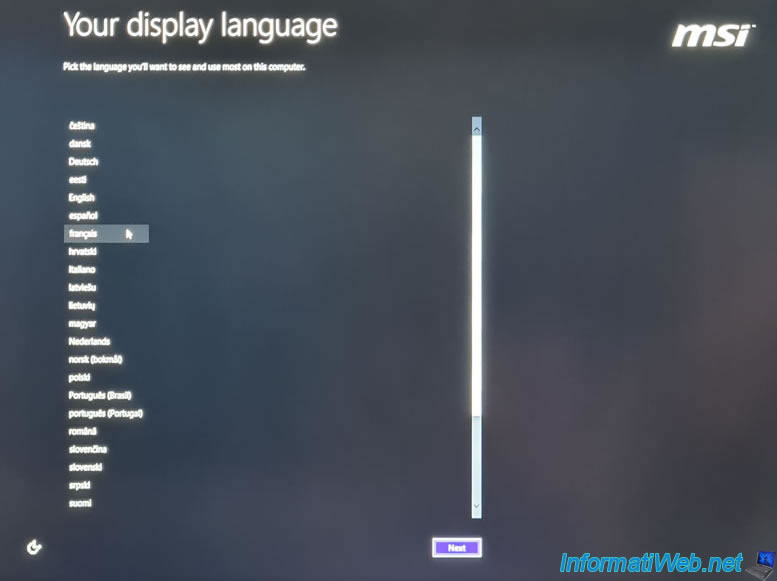
Once you click on your language, this screen will display in the selected language.
Click Next.

Accept the license agreement for Windows and third-party software preinstalled by MSI on this laptop by checking the box "I accept the terms of this license agreement for the use of Windows and this PC", then clicking on "Accept".
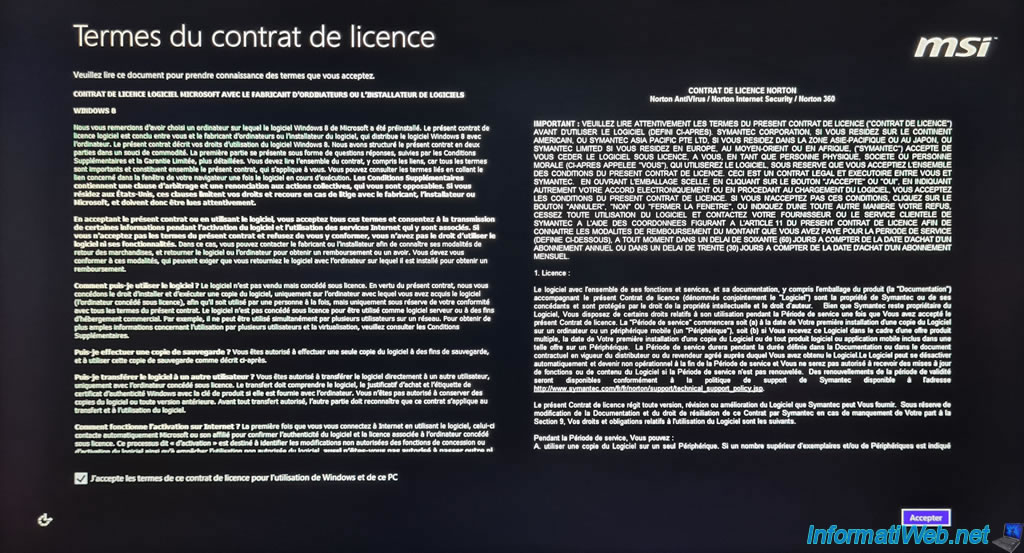
Then, the Windows 8-specific configuration screens will appear.

By default, your laptop will be named "MSI" on your local network.
However, you can change this name here or later in Windows 8 system properties.
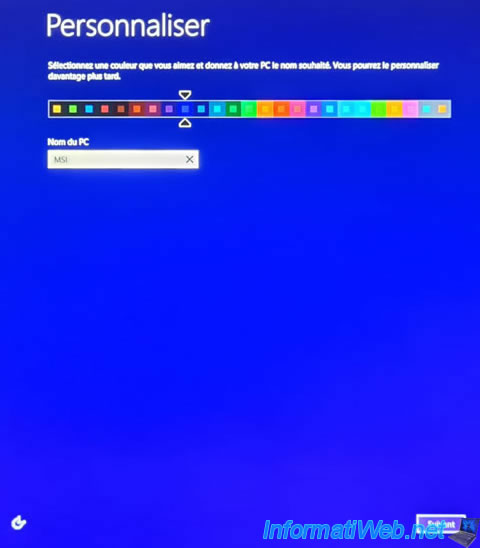
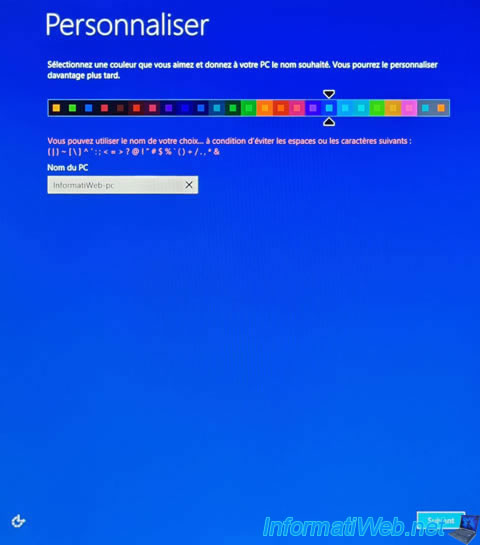
In our case, we changed the color to blue and we indicated "InformatiWeb-pc" as the name for our laptop.
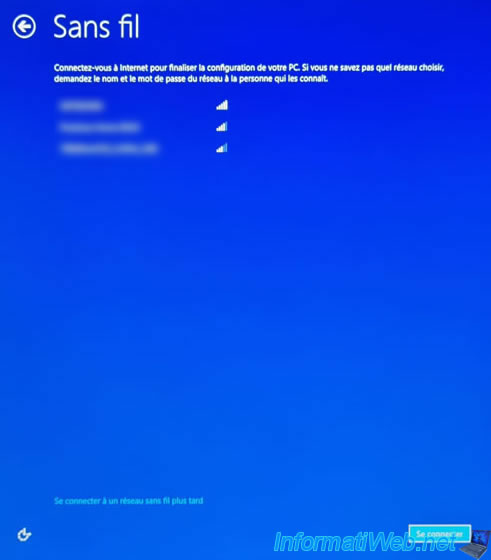
If you wish, you can now connect your laptop to a wireless network (Wifi).
To do this, select your Wifi network from the list, then click on "Connect".
Otherwise, click the "Connect to a wireless network later" link at the bottom of the screen.
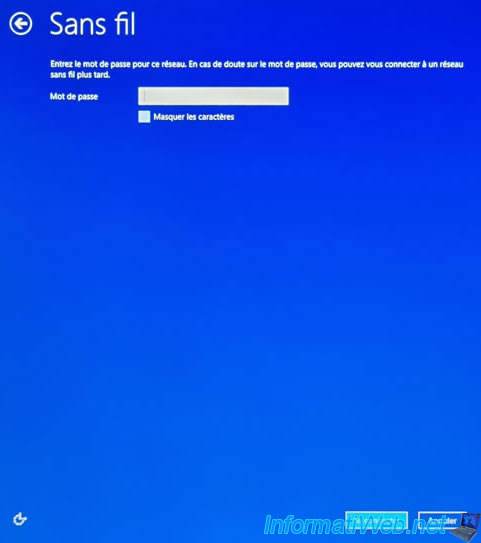
If you have chosen to connect to a wireless network, you will need to enter its password (also known as "Wifi key" or "passphrase").
For the configuration of Windows 8 settings, refer to our tutorial : Windows 8 / 8.1 - Formatting and reinstalling.
But, in summary, if you don't want to be tracked by Microsoft, we strongly recommend that you click on : Customize.
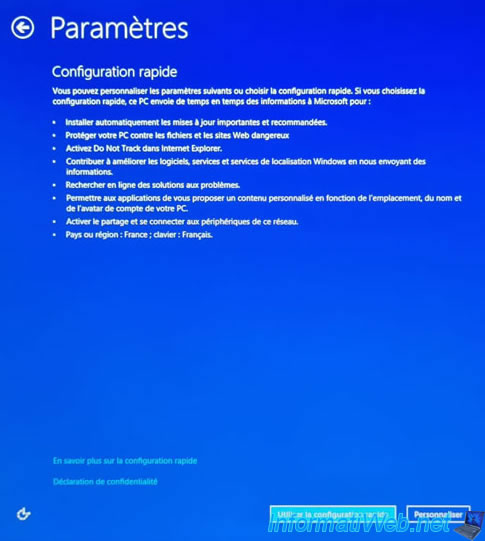
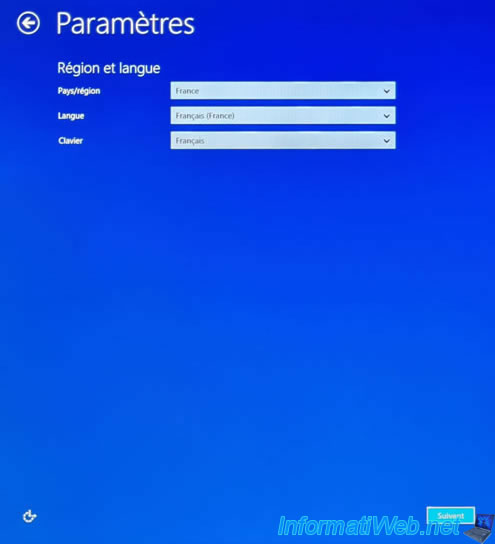
Choose your country/region, your language and the layout (layout of the keys) of your keyboard.
In general, by selecting the country and language, the keyboard layout will change correctly.
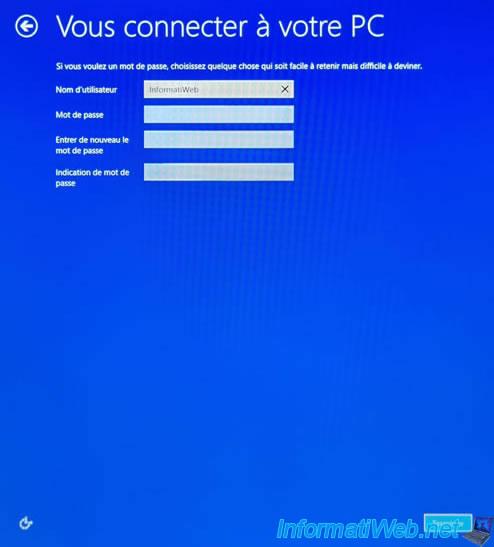
Specify a name for the user to be created in Windows 8.
If needed, you can add more later using the Windows 8 Control Panel.
After these steps, this message will appear : The procedure will continue immediately after restarting your computer.

Then, your laptop will restart and the MSI logo will appear again.
The Windows 8 installation screens will continue to appear, but no action on your part will be required.


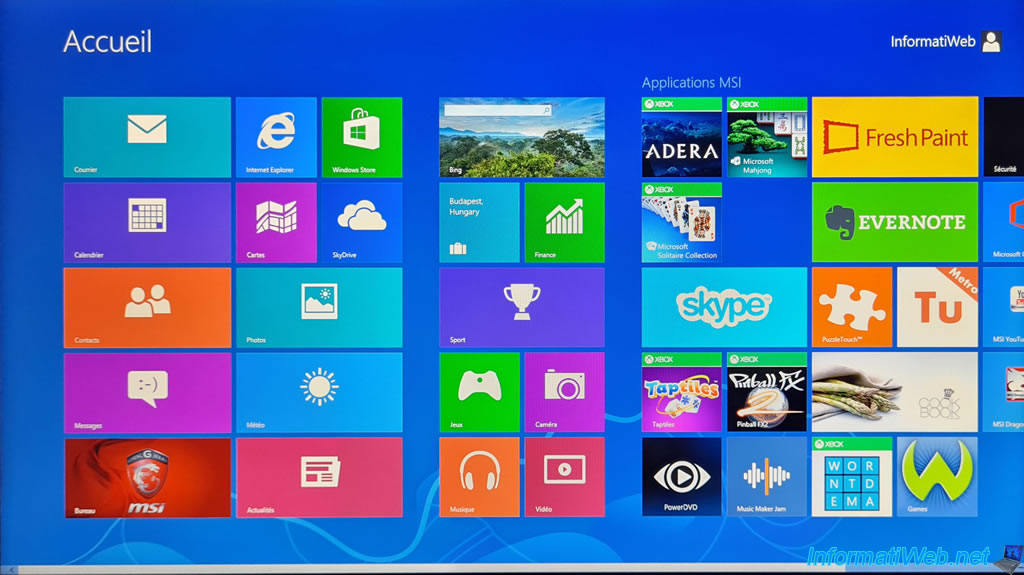
Once the Windows 8 restore is complete, you will arrive at the Windows 8 home screen (or "touch interface").
To access the Windows 8 desktop, click on the "Desktop" tile located at the bottom left (with a red background).
4. Restored MSI laptop
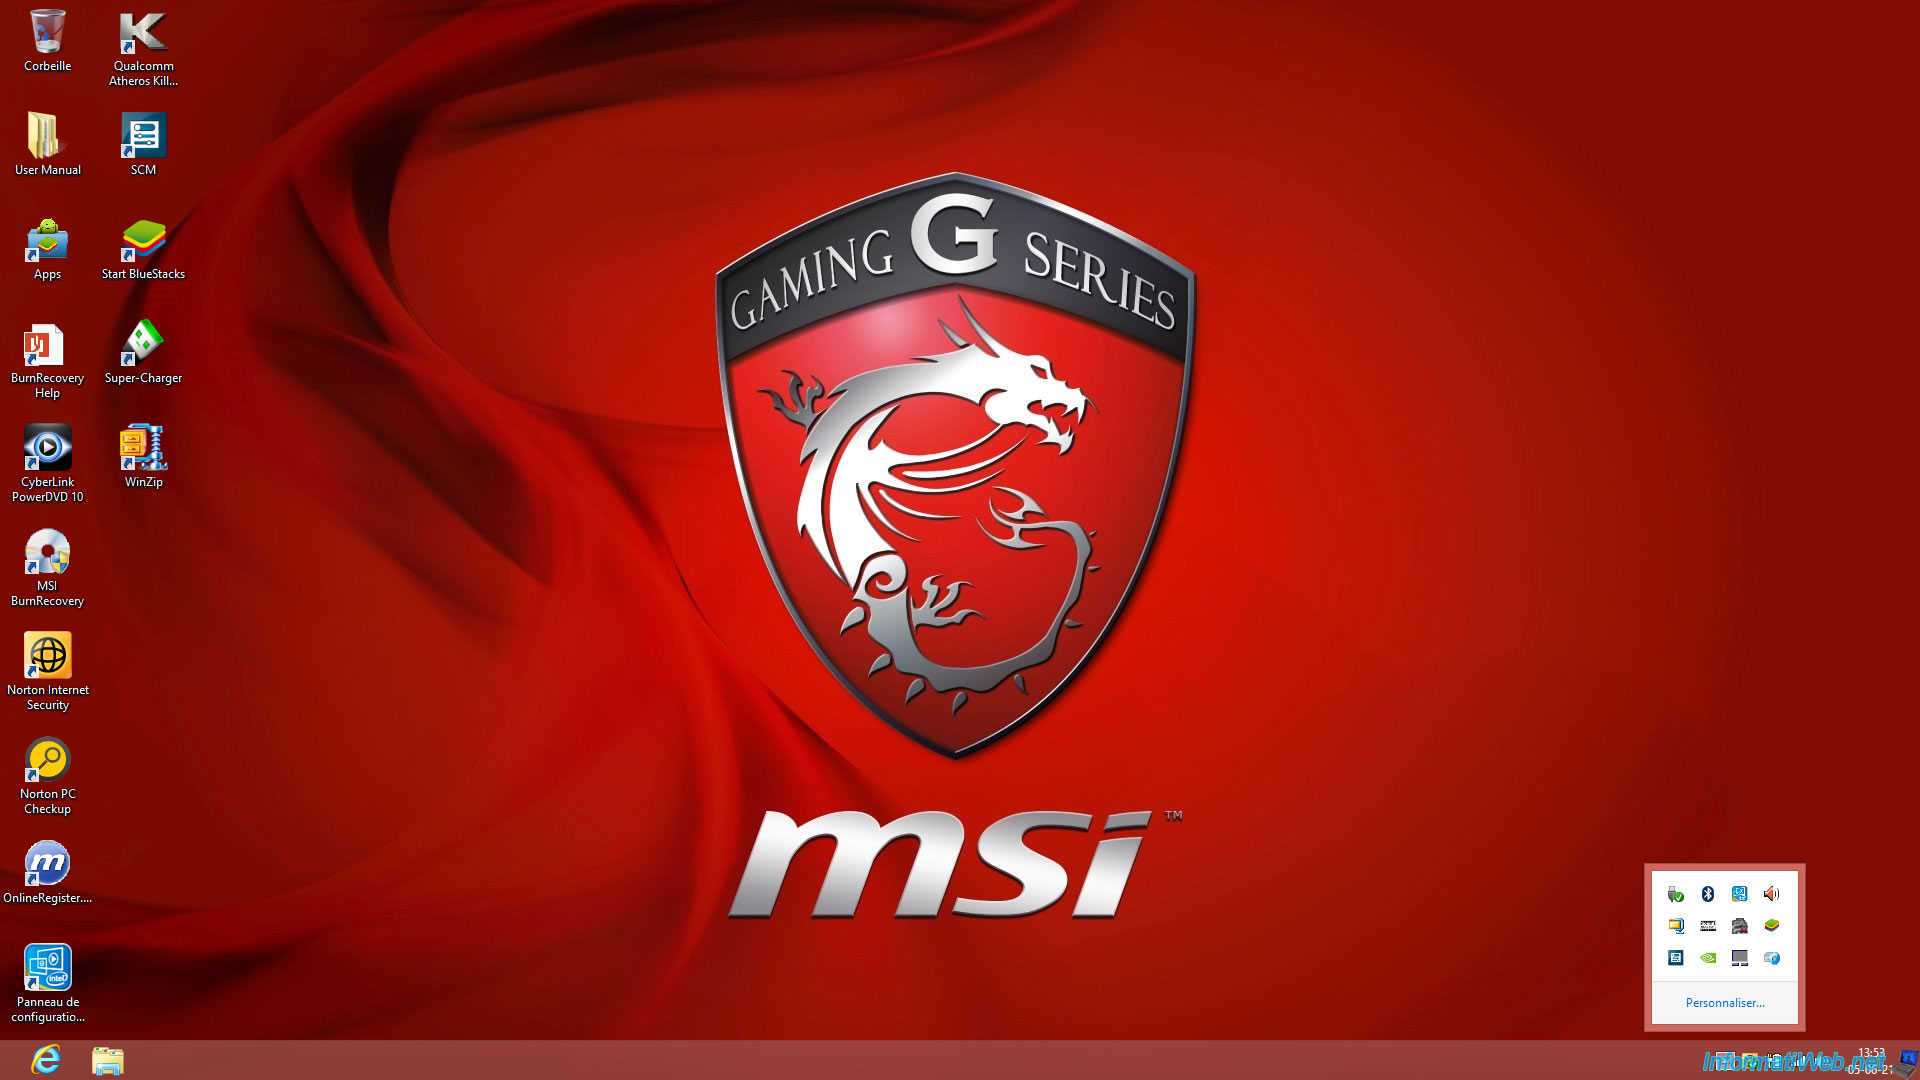
There you go, your MSI laptop is like new. The installation of Windows 8, its drivers and third-party software that had been pre-installed by MSI have been restored.
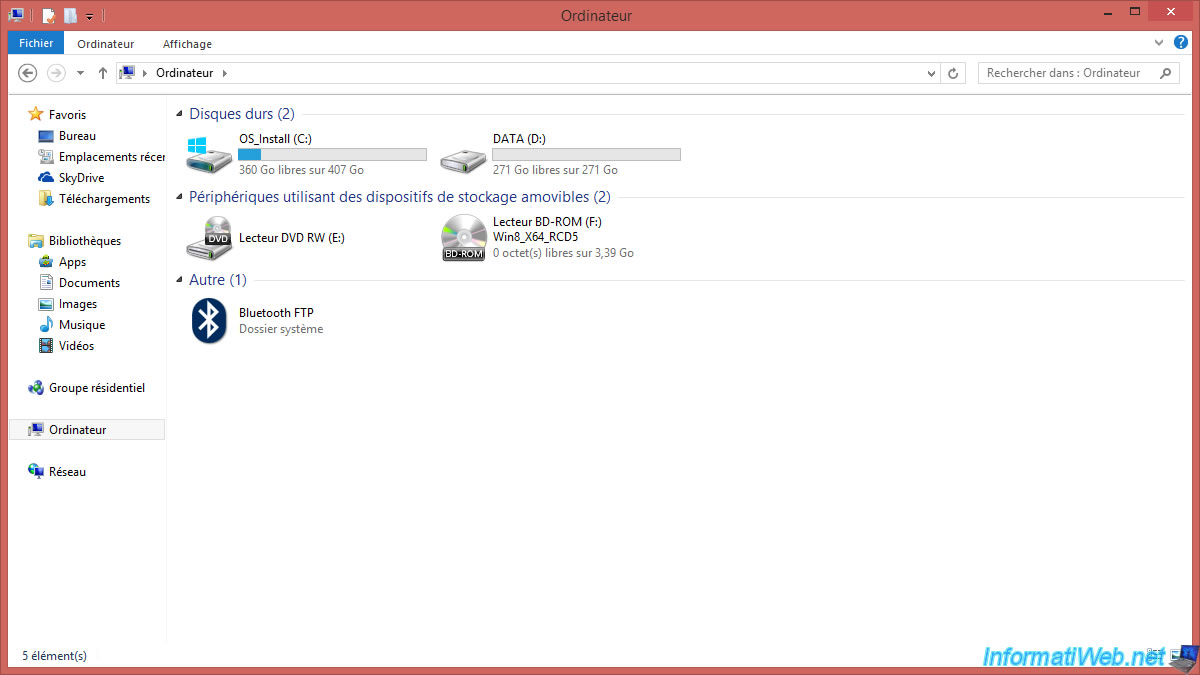
As you can see, the hard disk has been repartitioned as it was in the factory state with an "OS_Install" partition where Windows 8 is installed and a "DATA" partition in which you can store your personal data without that these are not deleted during the restoration (IF you use the 2nd option of Recovery).
Share this tutorial
To see also
-
Others 9/18/2012
Create a bootable USB key
-

Others 8/17/2012
FreeNAS - Turn your old computer into a NAS
-

Others 12/23/2013
MSI - Create recovery DVD of your laptop
-

Others 12/23/2013
MSI - Install Windows 7 on your laptop
No comment