How to install, configure and use the free version of Hyper-V : Microsoft Hyper-V Server 2012 Standalone
- Virtualization
- 18 August 2019 at 09:21 UTC
-

- 2/2
4. Installing remote management consoles
Since Windows 8 supports the installation of the Hyper-V feature, it's also possible to activate its management tools.
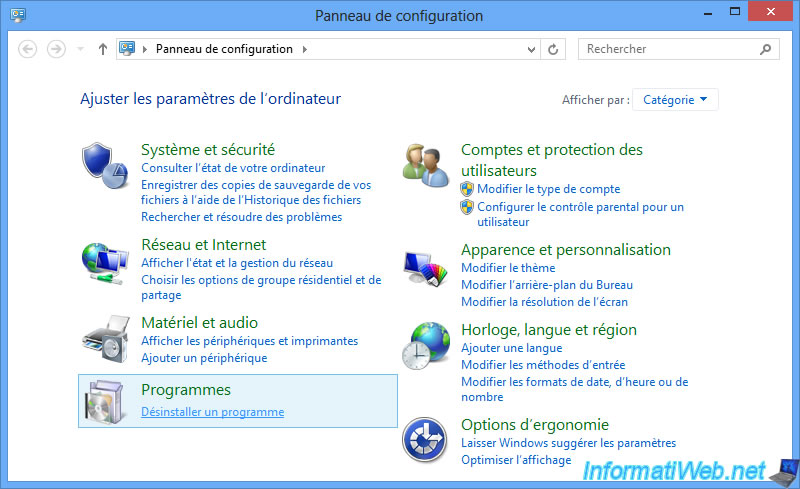
To do this, open the control panel and click on "Programs: Uninstall a program".
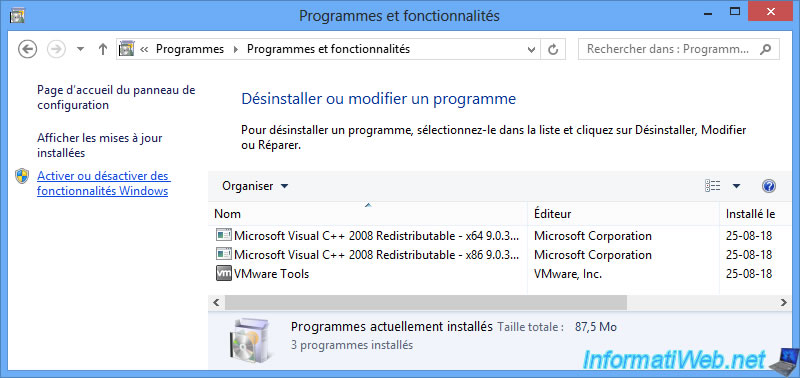
Then, click on "Turn Windows features on or off".
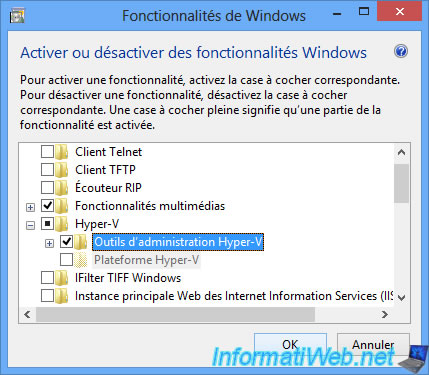
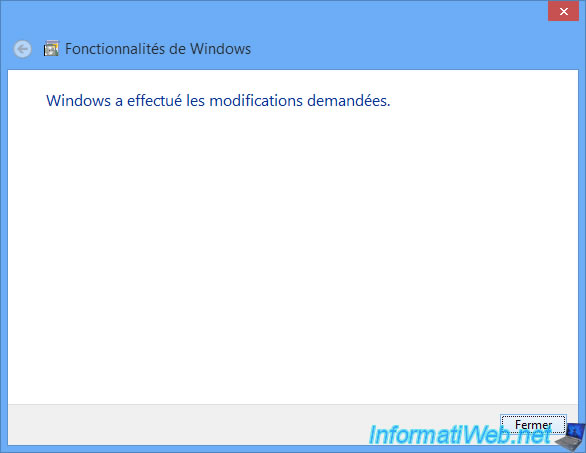
Deploy the "Hyper-V" node and check the "Hyper-V Management Tools" box.
Then, click OK.
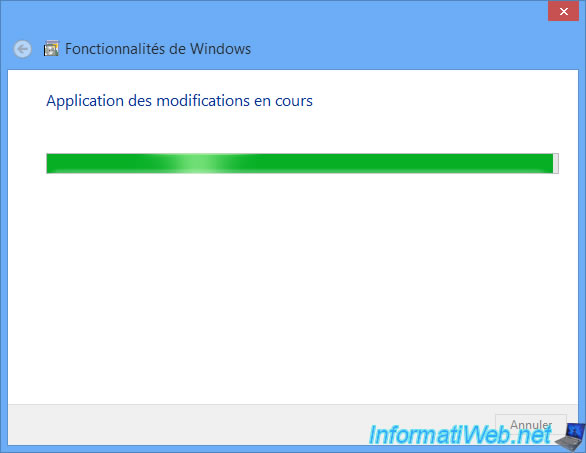
Windows applies the desired changes.
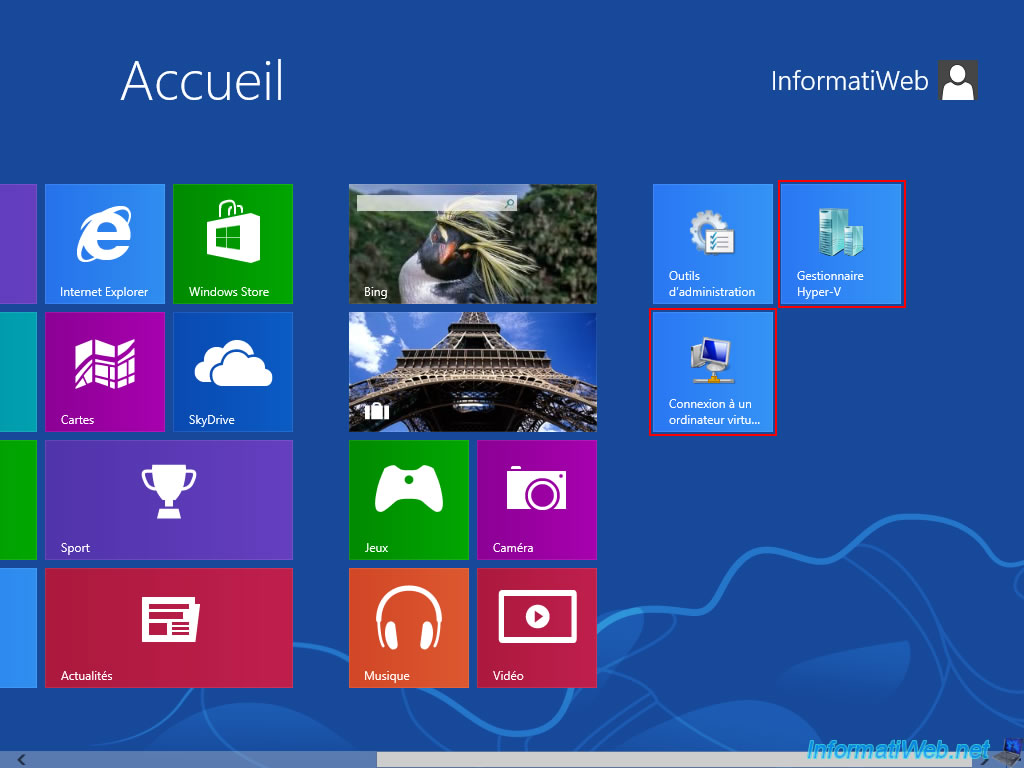
Now, you will have access to 2 new programs :
- Hyper-V Manager
- Virtual Machine Connection
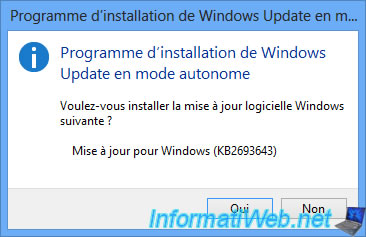
If you want to fully manage your server remotely and not just Hyper-V, you will need Remote Server Administration Tools (RSAT).
These tools are available in the form of a Windows update (KB2693643 in the case of Windows 8) and that obviously varies depending on your version of Windows.
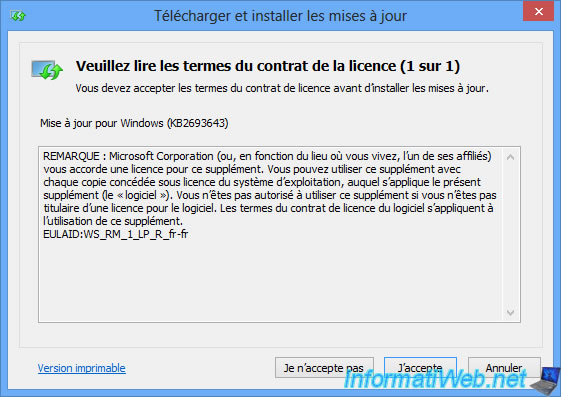
Once the installation of the update is complete, you will find the server manager.
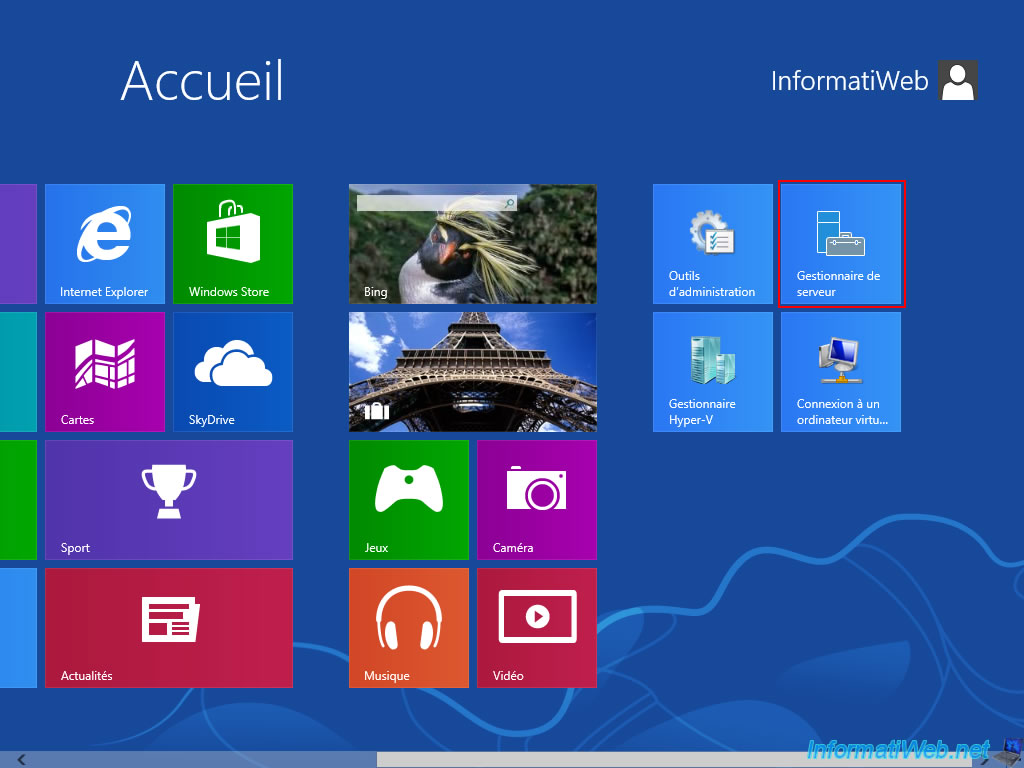
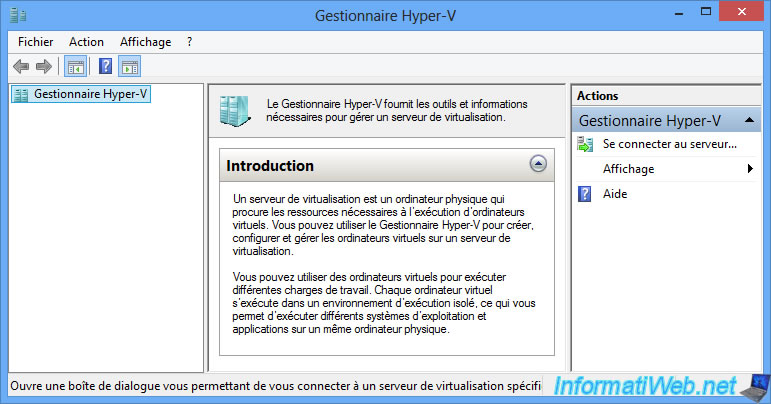
5. Hyper-V Manager
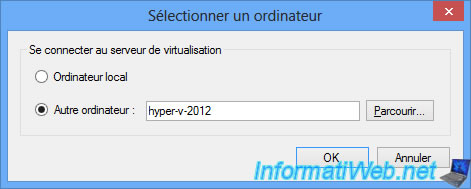
Open the Hyper-V Manager from the home screen and click "Connect to Server".
Select "Another computer", enter the name of your Hyper-V Server 2012 server and click OK.
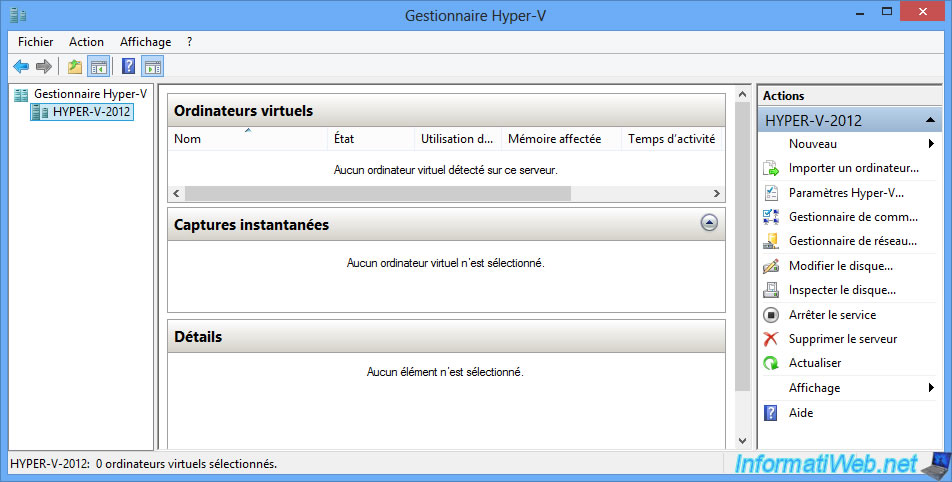
If all goes well, the Hyper-V Manager will connect to your server and display :
- the virtual machines of this one
- OR the message "No virtual machine were found on this server"
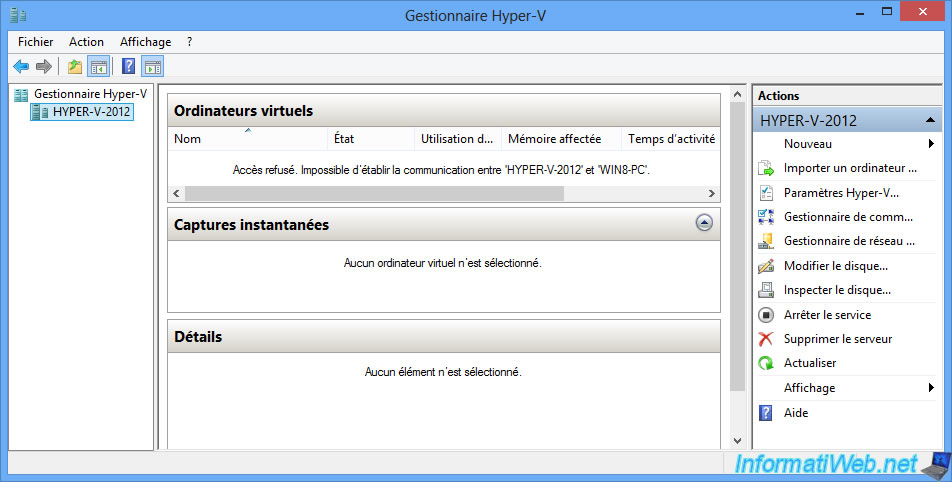
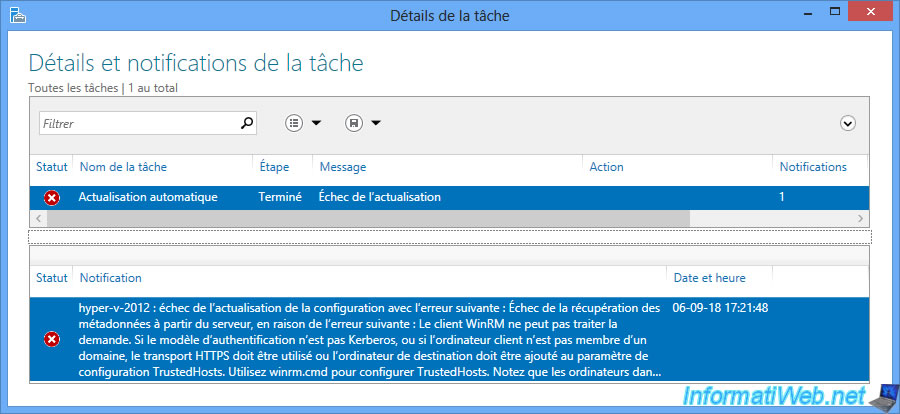
Note that if you don't run the "hvremote.wsf" script on the client PC, you will receive this error in the Hyper-V Manager :
Plain Text
Access denied. Unable to establish communication between 'name of your Hyper-V server' and 'client PC name'.
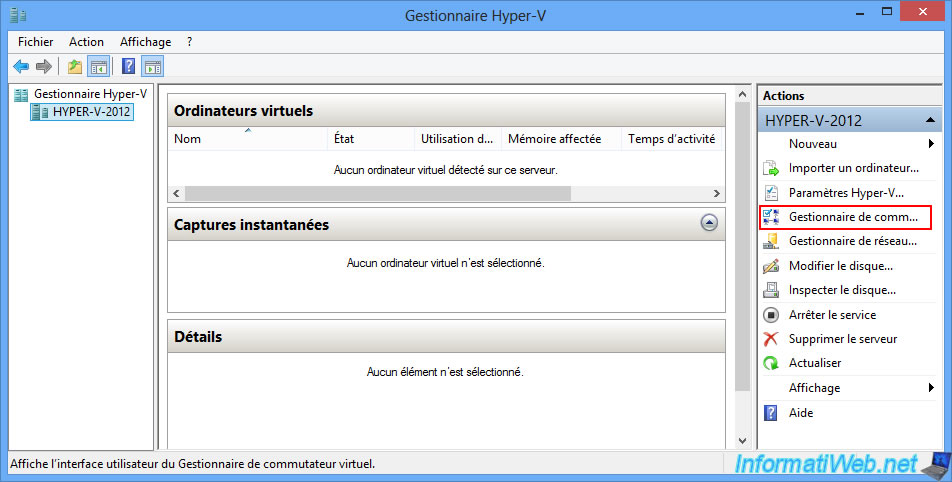
Note that no virtual switches were installed during the installation of Microsoft Hyper-V Server 2012.
To configure this setting, click "Virtual Switch Manager" in the right menu.
Create a new virtual switch of external type.
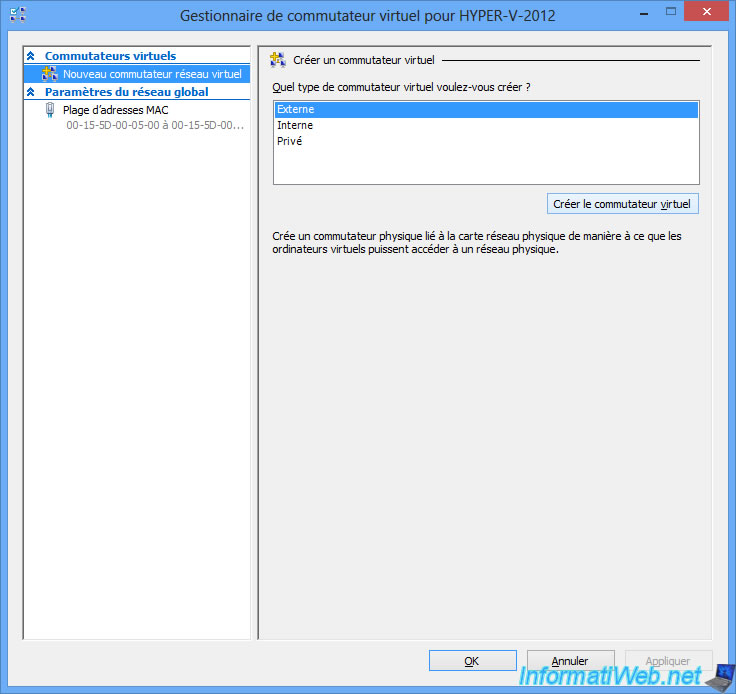
In the list, select the correct physical network adapter to use (if you have more than one).
In our case, this is the "Intel(R) 82574L Gigabit Network Connection" network card.
Click OK to save the changes.
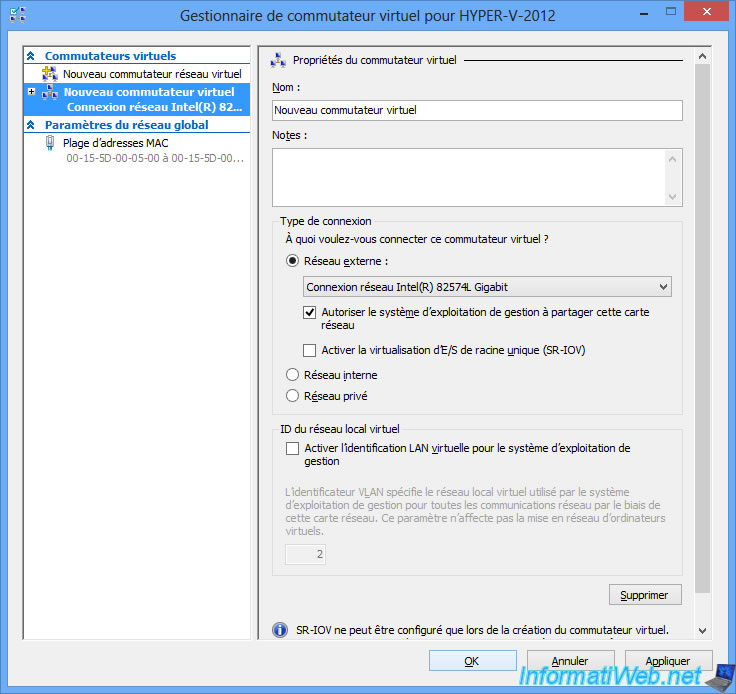
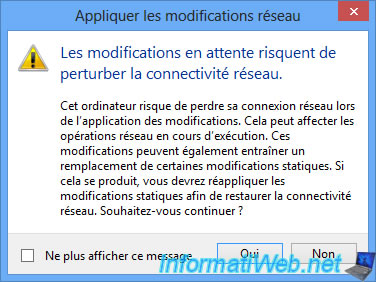
As you can see, the Hyper-V Manager tells you that this can disrupt the network connectivity.
Click Yes.
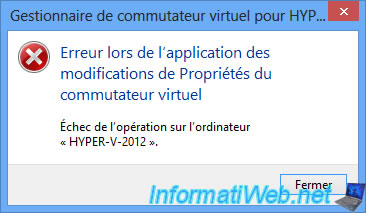
You will probably receive an error.
However, this is completely normal since you have just changed the network configuration of your Hyper-V server.
In addition, the Hyper-V Manager had warned you previously.
Click Close.
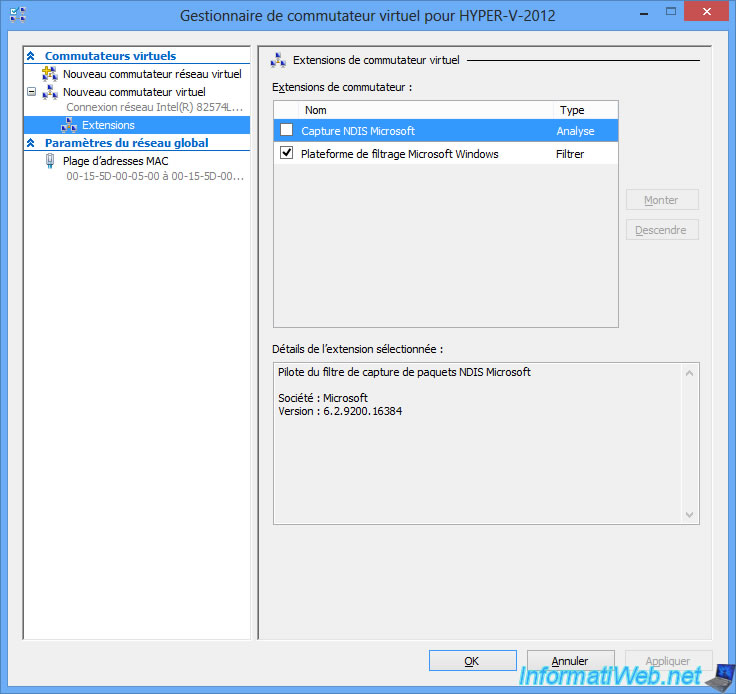
In Hyper-V Manager, click Refresh in the right menu to properly reconnect to your server, and then open the Virtual Switch Manager again.
As you can see, it has been created and you also have access to the extensions of it (which is possible only after the creation of the virtual switch).
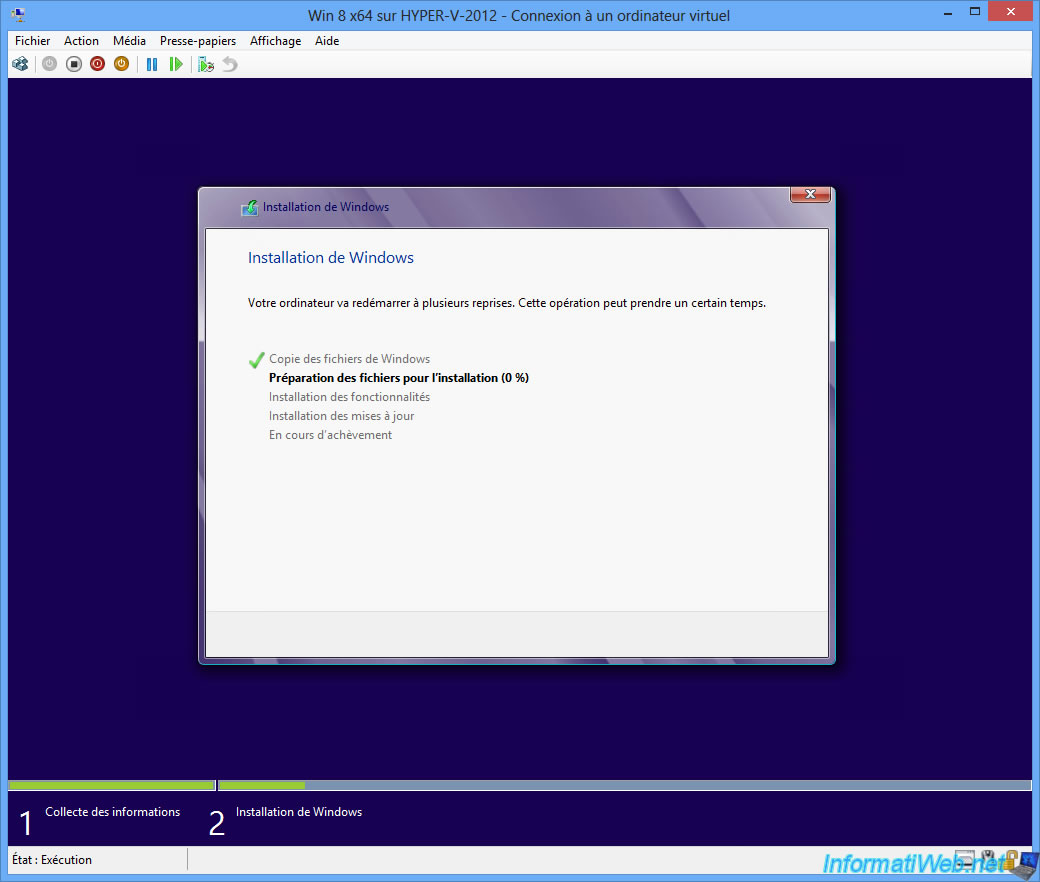
To prove that all this works correctly, here are some screenshots of the installation of Windows 8 in a virtual machine running on our server : Microsoft Hyper-V Server 2012.

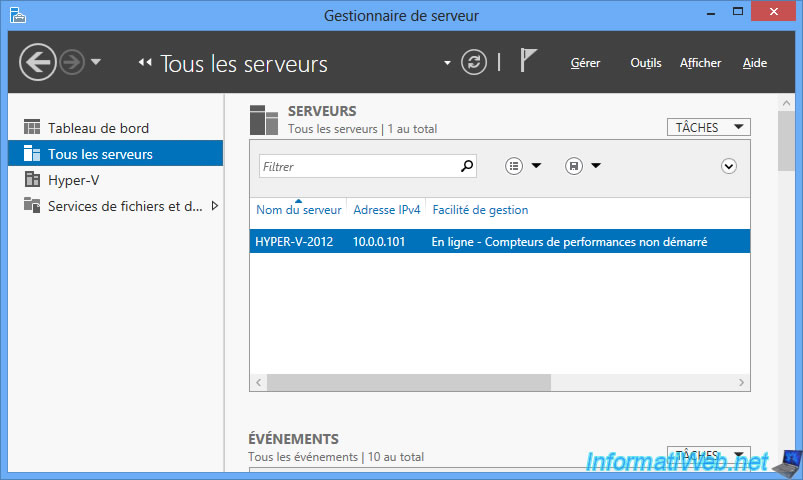
6. Server Manager requirements
For now, you can manage your Hyper-V server remotely (but only Hyper-V features).
Indeed, if you try to manage something else on your server, especially by using the server manager, you will see that it will not work.
To use the server manager, the "Computer Management" console, ... refer to our tutorial : Manage multiple Core servers remotely with WinRM (Workgroup).
Indeed, since Microsoft Hyper-V Server 2012 is only a reduced version of Windows Server 2012 (Core mode), the procedure is the same (and tested by us).
Note that the creation of the virtual switch in the Hyper-V Manager will cause the "vEthernet" interface to appear instead of the "Ethernet0" interface we are talking about in the previously mentioned tutorial.
However, this will not change the procedure for your Hyper-V 2012 server.

Once you have fully followed the tutorial mentioned above, you will be able to manage your server remotely from the server manager.
Use the "Computer Management" console to manage :
- users and groups
- the Windows events of your server
- his planned tasks
- and more

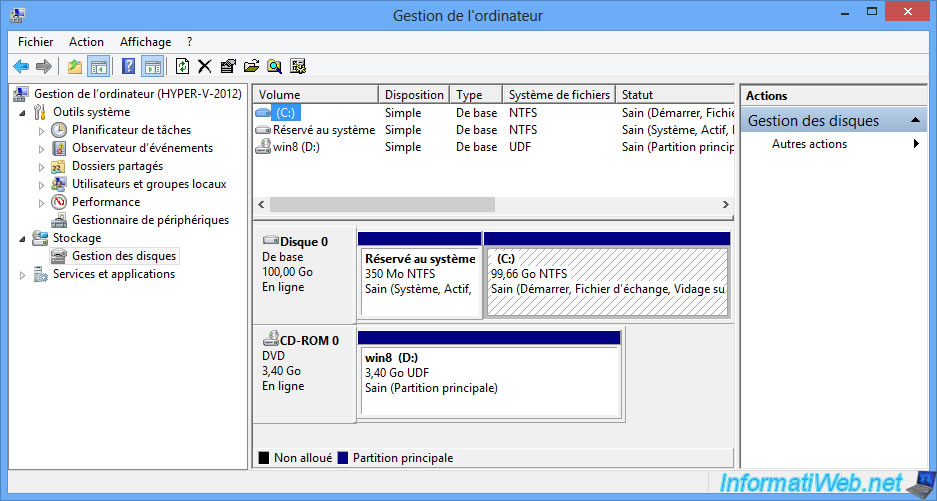
You can also manage the hard disks of your server remotely via disk management.
Note : if a "You do not have access rights to Logical Disk Manager on [your hyper-v server name]" error appears, make sure you have indicated the correct identifiers for the command "cmdkey" used in step "3) Configuration of the PC client" of this tutorial.
Share this tutorial
To see also
-
Virtualization 10/20/2018
VirtualBox - Manage your VMs remotely with Hyperbox
-
Virtualization 9/15/2018
VirtualBox - Network access modes of a virtual machine
-

Virtualization 9/30/2018
VirtualBox - Remotely control a virtual machine
-
Virtualization 1/29/2024
Windows 8 / 8.1 / 10 / 11 - Install Hyper-V on Windows Home Edition
No comment