- Virtualization
- 18 August 2018 at 14:31 UTC
-

All virtualization solutions provide a snapshots system, including VirtualBox.
For those who don't know what is it, it's a simple backup of the current state of a virtual machine to return to it in an instant.
Snapshots are very convenient and can be used in many cases.
Especially :
- to avoid reinstalling the operating system each time (Windows, Linux, ...) when the virtual machine becomes slow or it doesn't start anymore because of a system error (for example : a blue screen that occurs in the VM).
- to test different configurations or techniques for those who would like to learn to repair a computer, without endangering the host operating system.
- to configure rather complex services (for example : a complete mail server under Linux) without having to start again from scratch in case of irreversible bad handling.
- to quickly create a 2nd virtual machine with the same operating system if the snapshot is created directly after installing the guest operating system.
- and more.
- Current state of our VM
- Create a snapshot of your VM
- Edit the VM
- Restore your VM to a previous state
- Virtual hard disks used
1. Current state of our VM
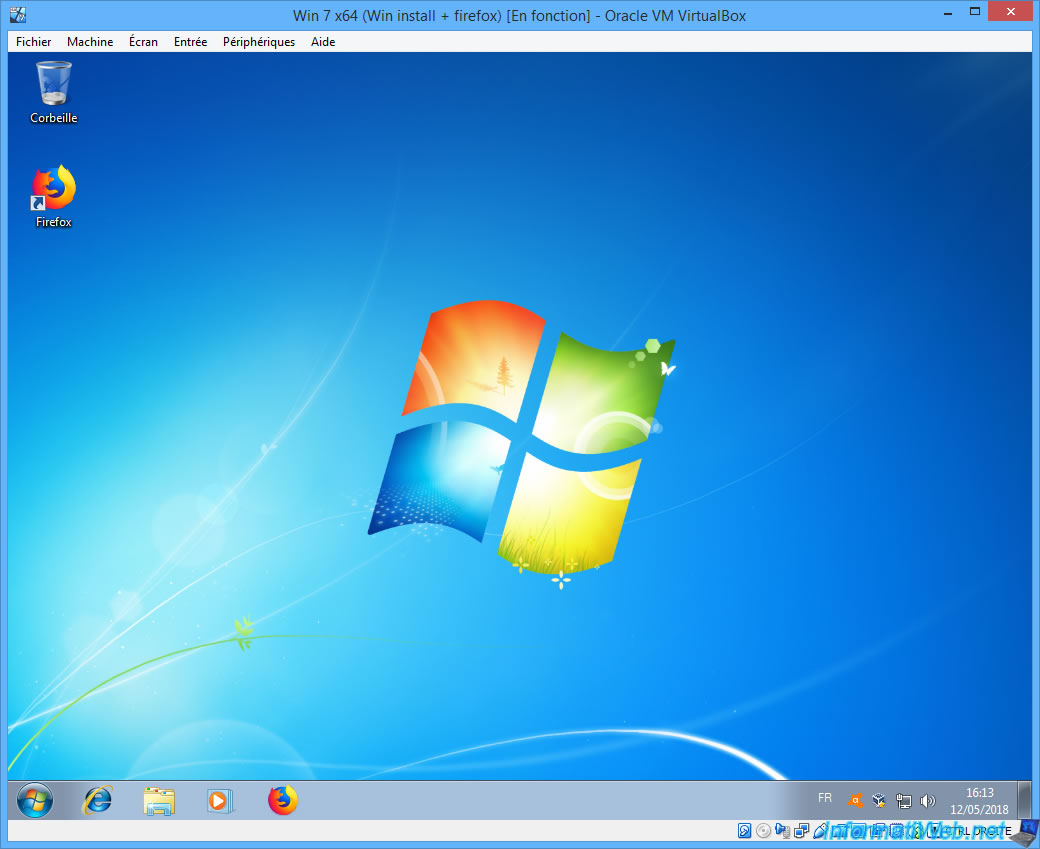
Currently, our virtual machine looks like this : the Windows operating system with the "Mozilla Firefox" web browser.

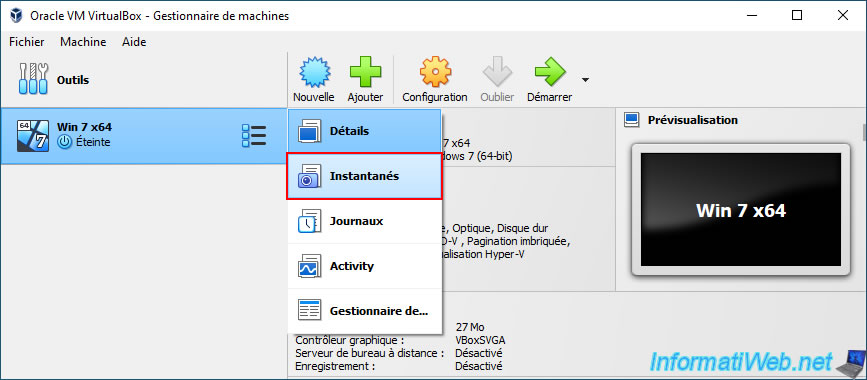
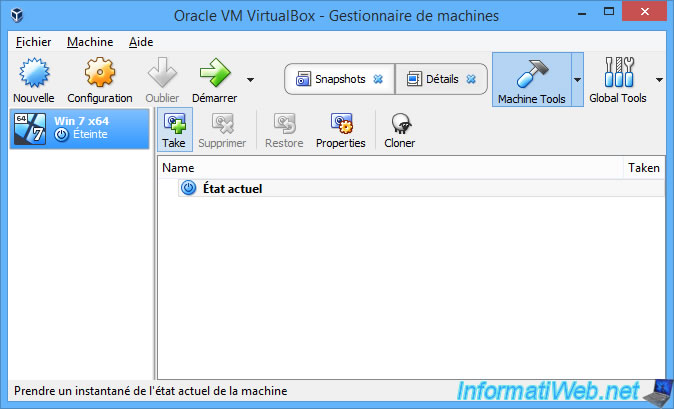
To create a snapshot of a virtual machine, select it in VirtualBox and click : Machine Tools -> Snapshots.
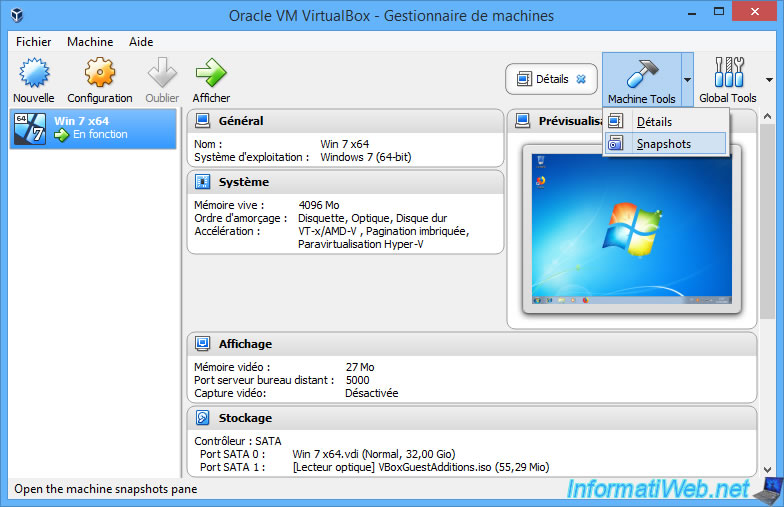
Since VirtualBox 6.1, you will need to click on the menu icon to the right of the name of your virtual machine, then on : Snapshots.
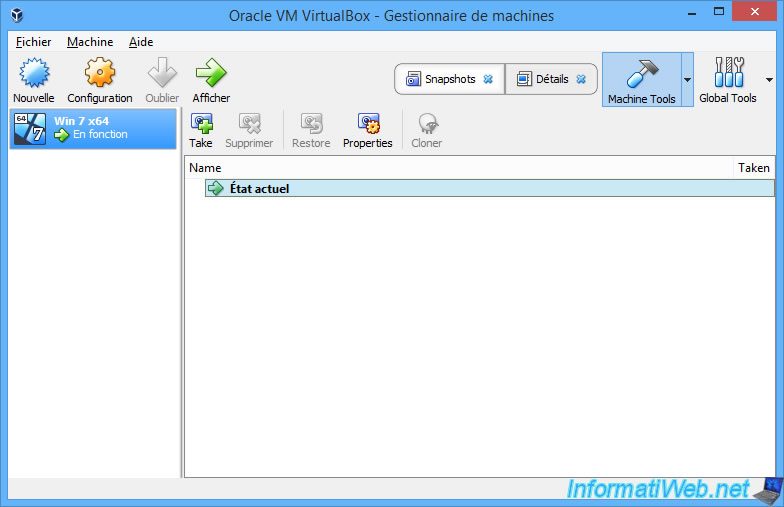
At the moment, you can see that there are no snapshots and that you are at the current state.
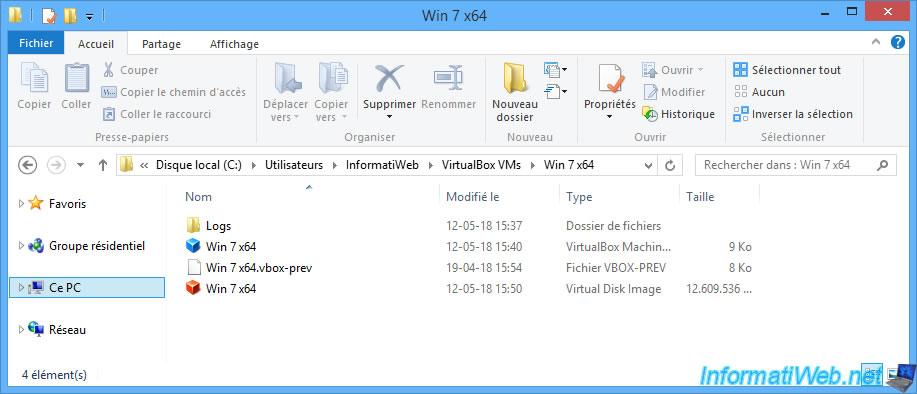
For virtual machine files, you will find :
- the configuration file in vbox format
- its virtual hard disk in vdi format in our case
But for the moment, there is no folder "Snapshots".
As you can see in the "General -> Advanced" section of your virtual machine's settings, snapshots are stored by default in a "Snapshots" subfolder of the folder containing the files of your virtual machine.
To change the location of snapshots for this virtual machine, just change the path : Snapshot Folder.

2. Create a snapshot of your VM
To create a snapshot of your virtual machine :
- turn off your virtual machine
- select it in VirtualBox
- click on : Machine Tools -> Snapshots
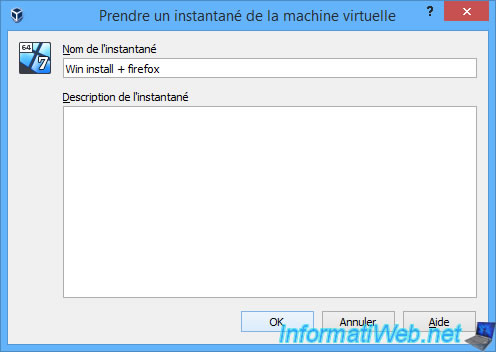
- click on : Take
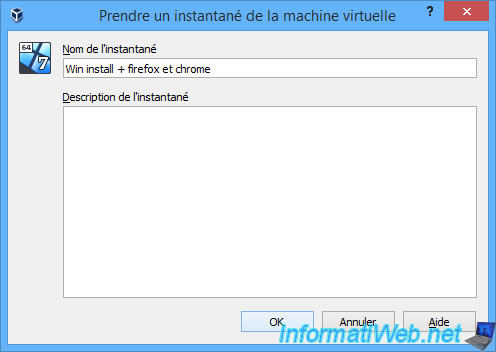
Enter a name for this snapshot and add a description if you wish.
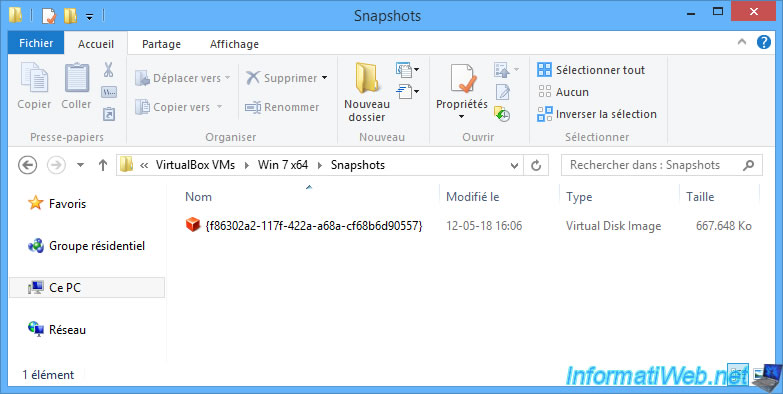
Once you have created a snapshot of your virtual machine, you will see that a "Snapshots" folder has appeared in your virtual machine's folder.
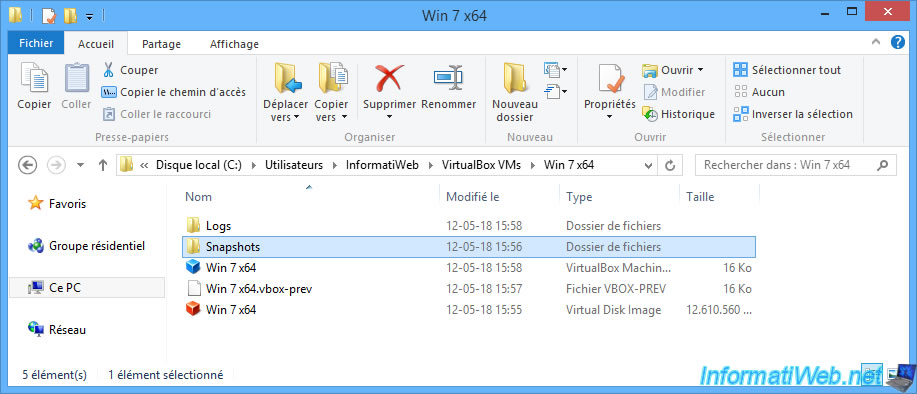
In this folder, you will find a new virtual hard drive a bit special.
Indeed, it's a virtual hard disk of differential type which contains only the differences between the original state of your VM (the state in which the hard disk was during the creation of the snapshot) and now.
New files created in your virtual machine will be stored in this new file.
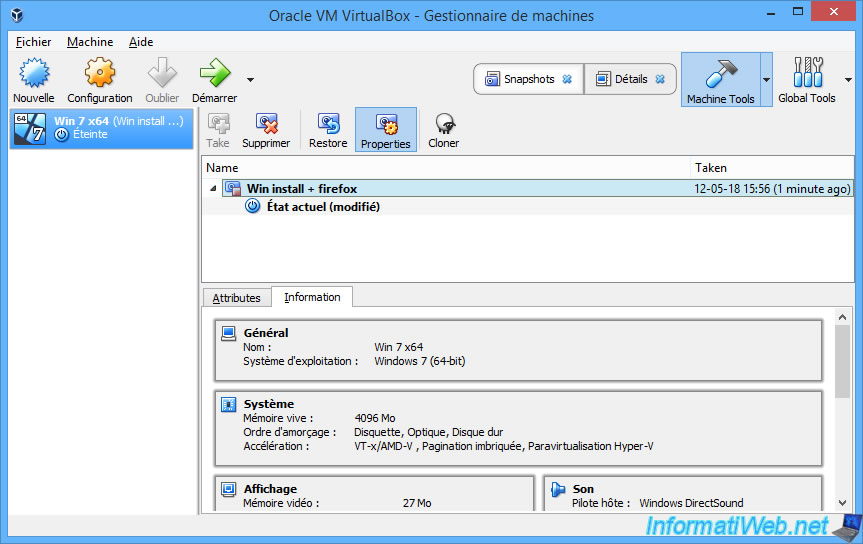
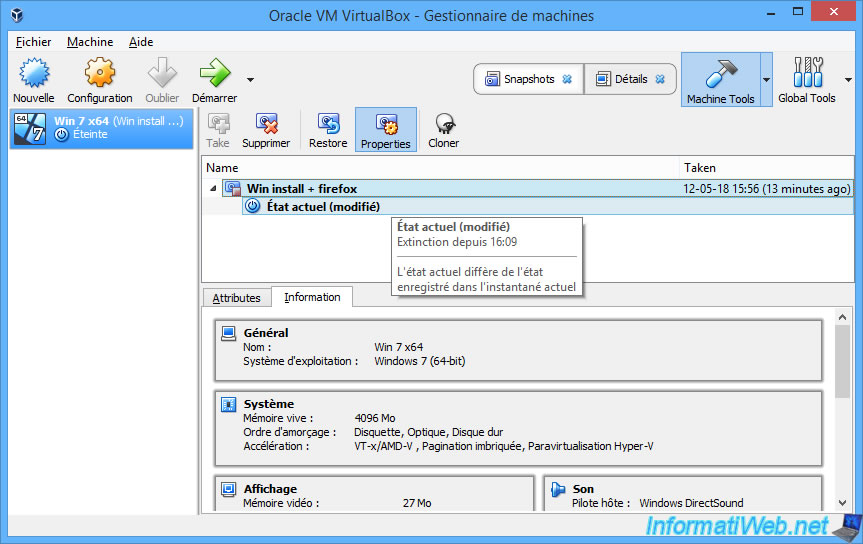
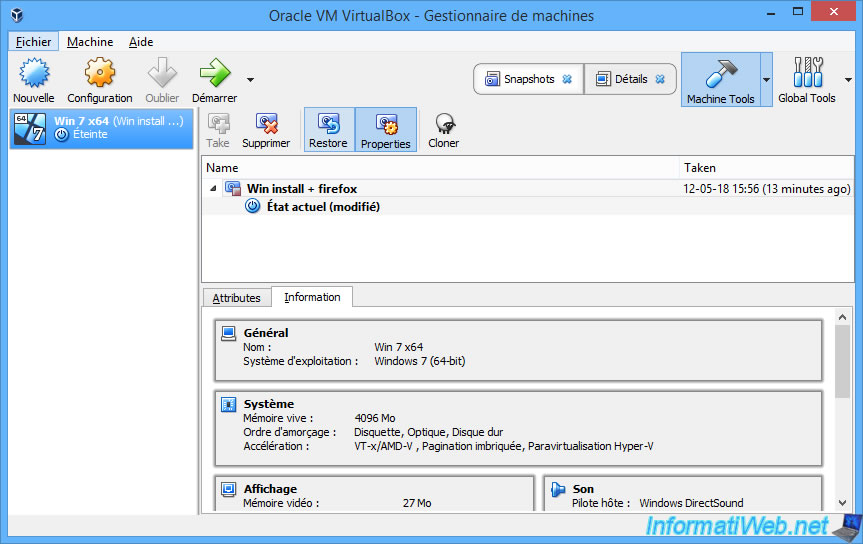
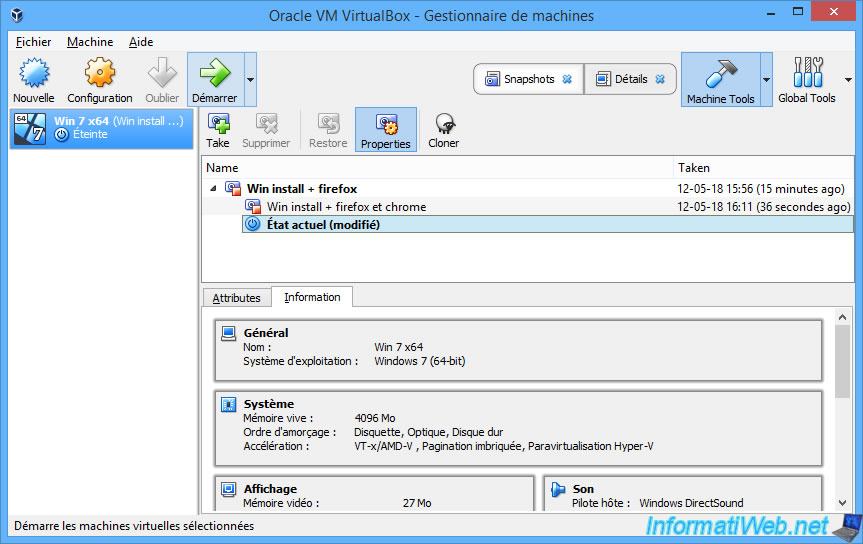
In VirtualBox, you will see that the current state is after your new snapshot.
To view the virtual machine configuration saved in this snapshot, select it and click Properties.
3. Edit the VM
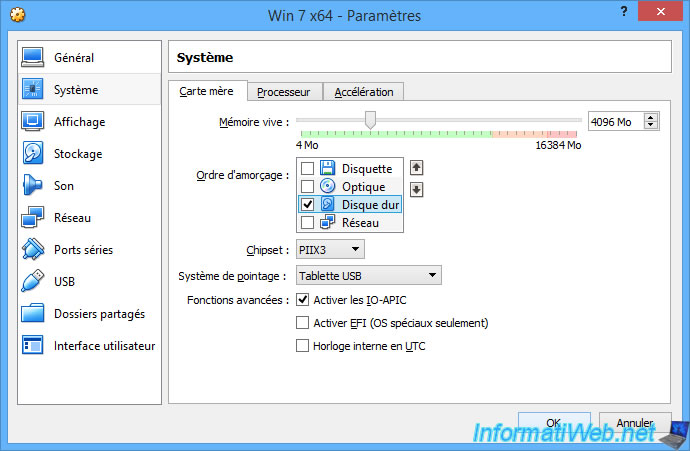
To be able to test the restoration of our VM, we will first modify its configuration.
For this tutorial, we changed the boot order of our virtual machine to allow booting only on its virtual hard disk.
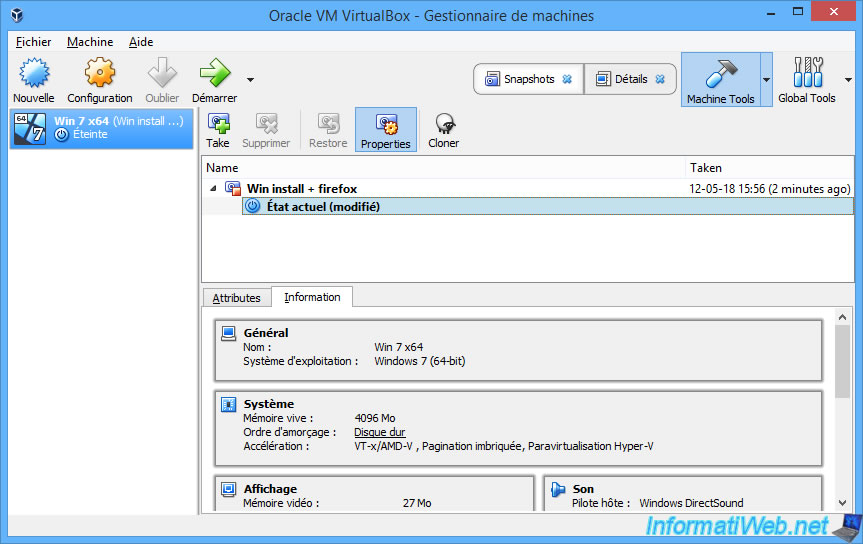
Now, if you select the current state of your VM, you will see the boot order is underlined, because it differs from the boot order present in the previously created snapshot.
We start our virtual machine which always contains Mozilla Firefox as web browser.

And we're installing Google Chrome so you can see the difference when restoring our VM.

VirtualBox tells you that the current state of your VM differs from the state saved in the previously created snapshot.
4. Restore your VM to a previous state
To restore your virtual machine to the previous state (saved in the previously created snapshot) :
- turn off your VM
- select it
- click on : Machine Tools -> Snapshots
- select the snapshot to which you want to return
- click Restore
When you want to restore a VM to its previous state, VirtualBox will suggest that you first create a snapshot to save the current state of your VM.
This can avoid unpleasant surprises (like : damn, I lost an important file), but it also means that your virtual machine take a little more space instead of recovering by removing the last ones changes.
For this tutorial, we checked the box "Create a snapshot of the current state of the machine" to show you what this option was for.

Enter a name for the new snapshot (if you checked the box above).
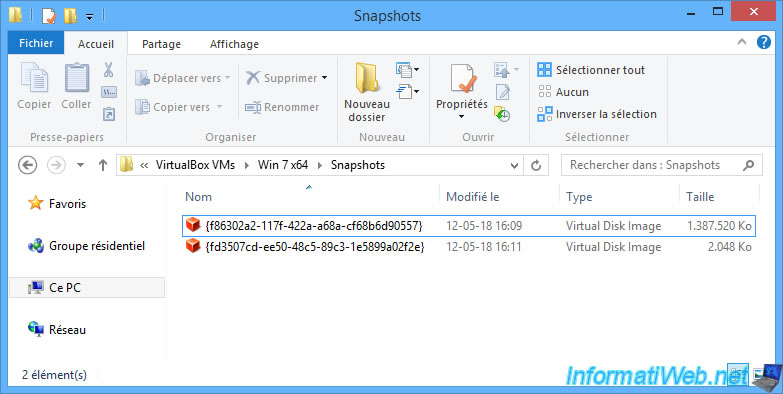
As you can see, VirtualBox creates a new virtual hard disk in the "Snapshots" folder every time you create a new snapshot.
Info : the new virtual hard disk is 2048 KB, because all virtual hard disks in VDI format are 2 MB (2048 KB) when empty.
Now that we have restored our VM (while maintaining the previous state of our VM before it's restored), we can restart it.
Once started, we find ourselves in the "Win install + firefox" state.
So, Google Chome (which was installed after the creation of the "Win install + firefox" snapshot) has disappeared.
5. Virtual hard disks used
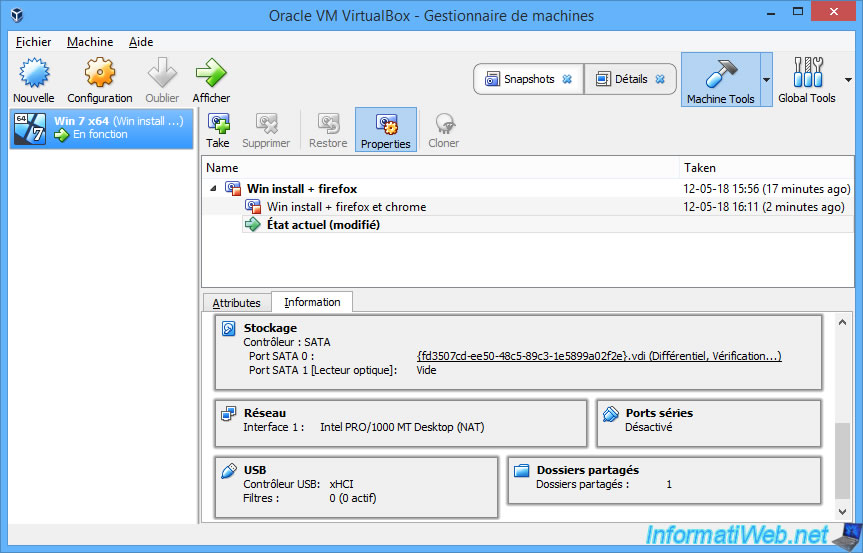
To understand how VirtualBox handles virtual hard disks with snapshots, you can view the properties of the current state of your virtual machine.
As you can see, your virtual machine is now using a "Differential" virtual hard drive with a weird name.
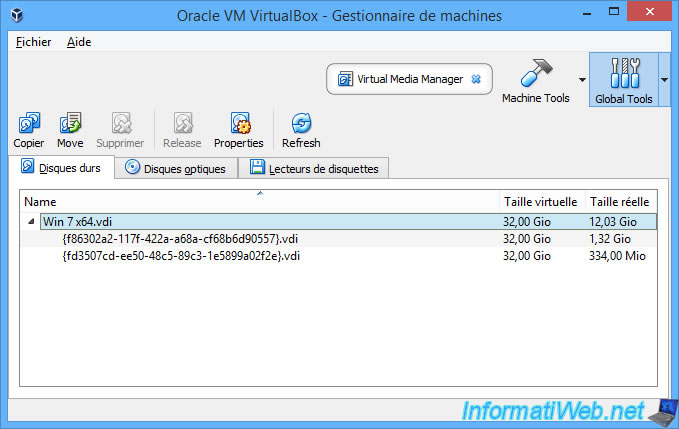
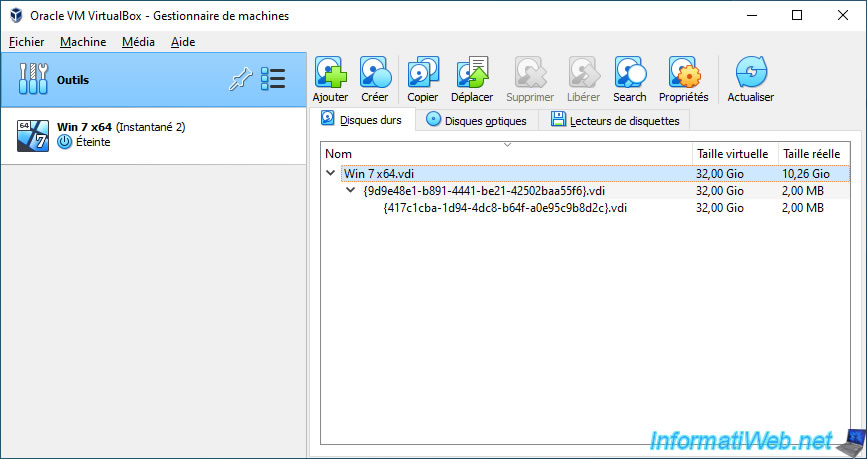
In fact, if you open the VirtualBox Media Manager (via the option : Global Tools -> Virtual Media Manager), you will see that this virtual hard disk is part of a set whose root is the virtual hard disk (Win 7 x64.vdi) of the original virtual machine.
Since VirtualBox 6.1, you will need to click on the menu icon to the right of "Tools", then click on : Media.
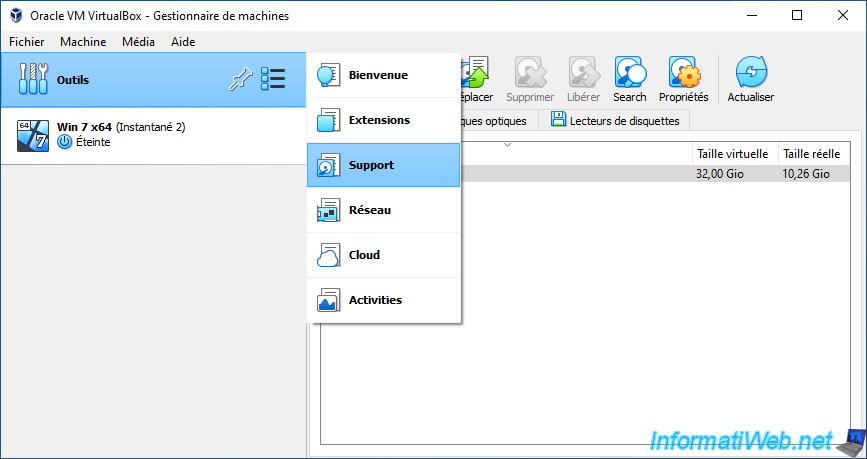
Again, you will see that the differential hard disks (whose names are long identifiers) depend on the base hard disk of your virtual machine.
Share this tutorial
To see also
-

Virtualization 8/30/2019
Hyper-V - Coexistence with VirtualBox or VMware Workstation
-
Virtualization 8/25/2018
VirtualBox - Clone a virtual machine (VM)
-
Virtualization 7/22/2018
VirtualBox - Configure settings of your VMs
-

Virtualization 11/6/2020
VirtualBox - Connect an USB key to a VM
You must be logged in to post a comment