- Virtualization
- 12 August 2018 at 11:58 UTC
-

To simplify your life, VirtualBox lets you share the clipboard between virtual machines and your physical machine, as well as drag files from a virtual machine to your physical machine (and vice versa).
However, by default, these options are disabled.
1. Share the clipboard and drag and drop
To enable the sharing of the clipboard with a virtual machine, as well as the drag and drop of files for it, go to the general settings of your virtual machine.
Then, go to the "Advanced" tab.
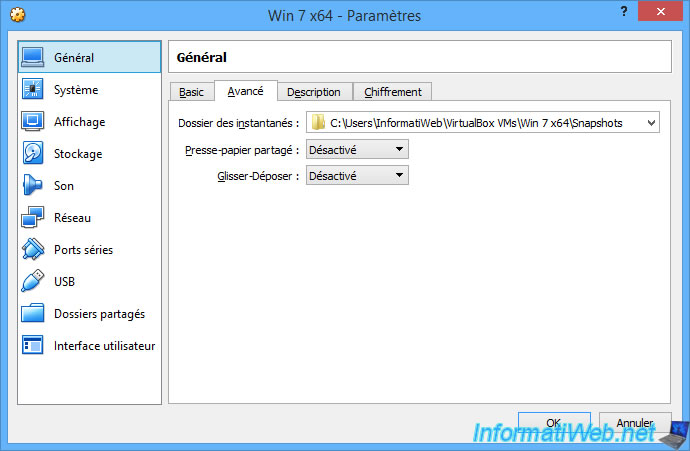
For the "Shared Clipboard" and "Drag'n'Drop" options, you can choose between :
- Disabled (the default value)
- Host To Guest
- Guest To Host
- Bidirectional (enable clipboard sharing and/or drag and drop in both directions)
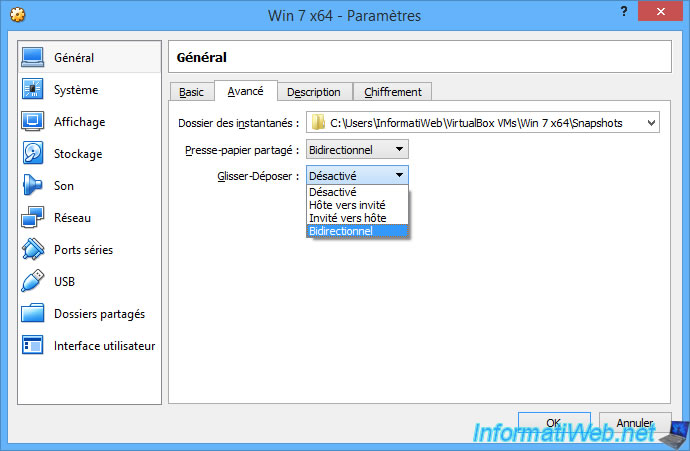
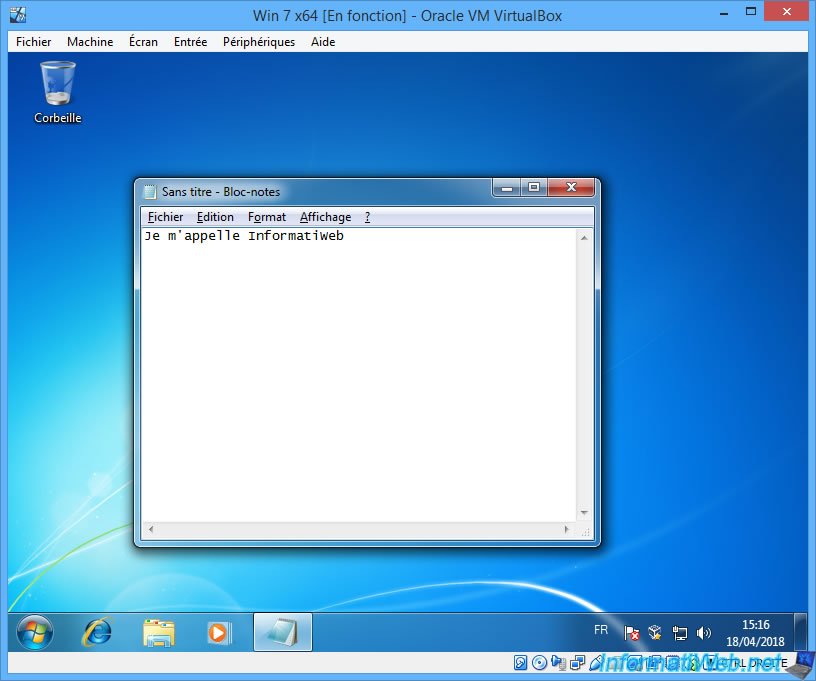
Once you have enabled the "Shared Clipboard" option (in our case : Bidirectional), you can copy/paste text from your physical machine to your virtual machine (and vice versa)
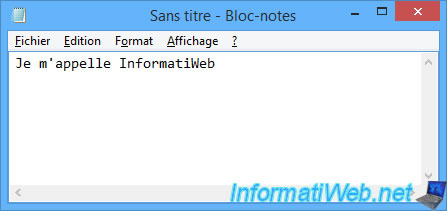
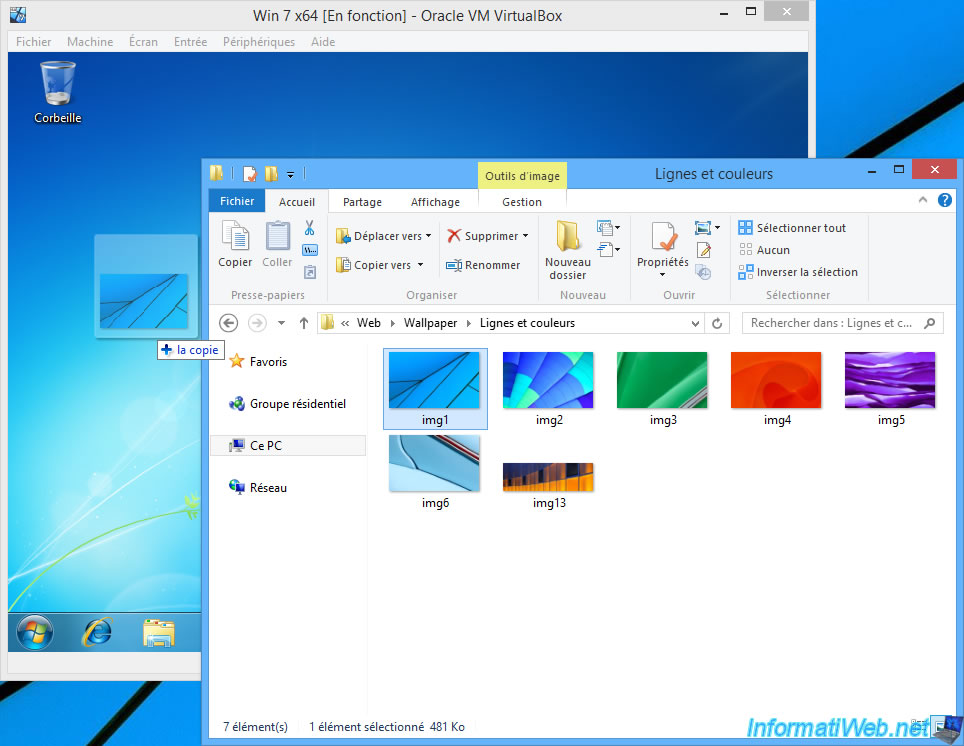
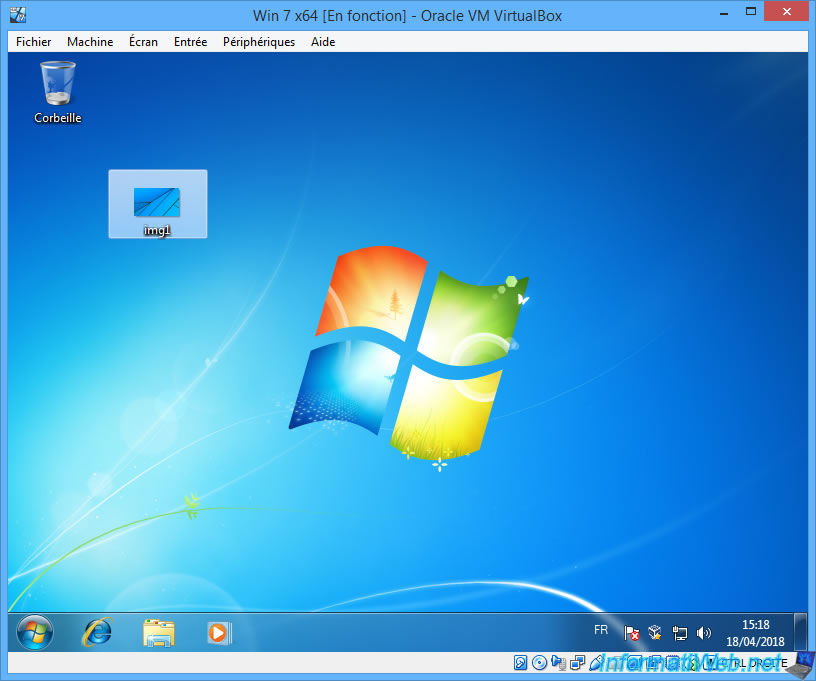
If you have also enabled the "drag'n'drop" option, you can easily transfer files from your physical machine to your virtual machine (and vice versa) simply by dragging and dropping.
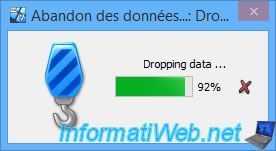
If you drag and drop large files, a small "Dropping data" window will be displayed.
2. Shared folders
To transfer files from your physical machine to your virtual machine (and vice versa), you can also use VirtualBox's "Shared Folders" feature.
To do this, in the settings of your virtual machine, go to the "Shared Folders" section and click on the + icon.

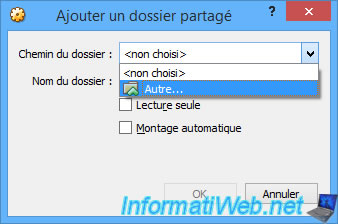
The "Add Share" window is displayed.
Click on the small arrow on the right and click on "Other".
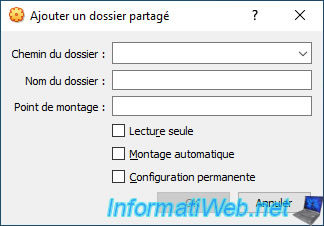
Since version 7.0 of VirtualBox, the options have changed slightly and you can now also specify a mount point, as well as create a share permanently by checking the "Make Permanent" box.
If you don't check the "Make Permanent" box, it will be a temporary shared folder.
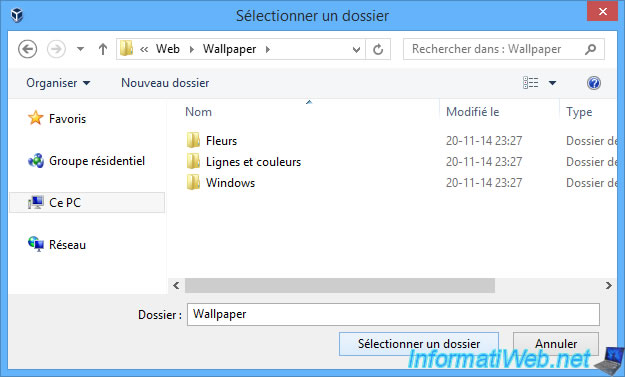
Select a folder on your physical PC that you want to access from your virtual machine.
As you can see, you can :
- make this shared folder accessible read-only (by checking the appropriate box) or read/write by leaving the "Read only" box unchecked. This avoids infecting your physical PC with a virus launched in a virtual machine, for example.
- make this share available automatically when Windows starts by checking the "Auto-mount" box.
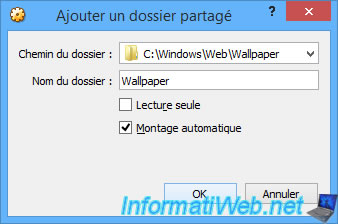
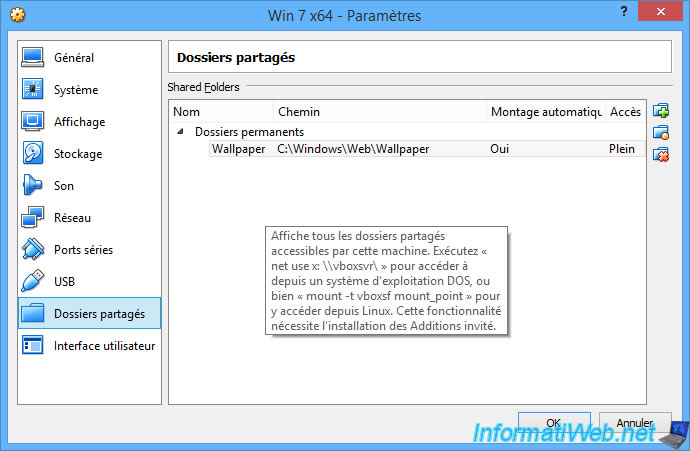
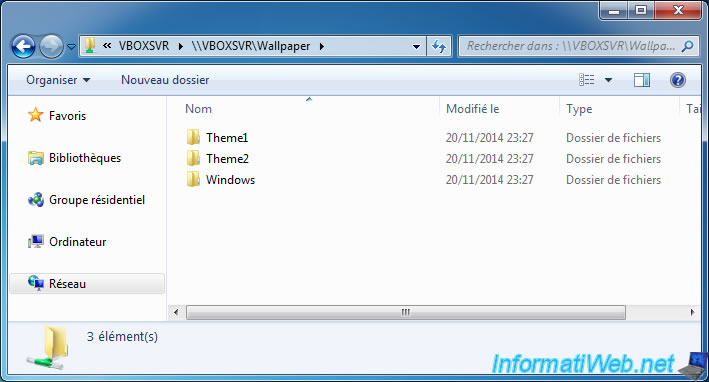
As you can see, the shared folders defined here will be accessible via a fake machine called "vboxsvr".
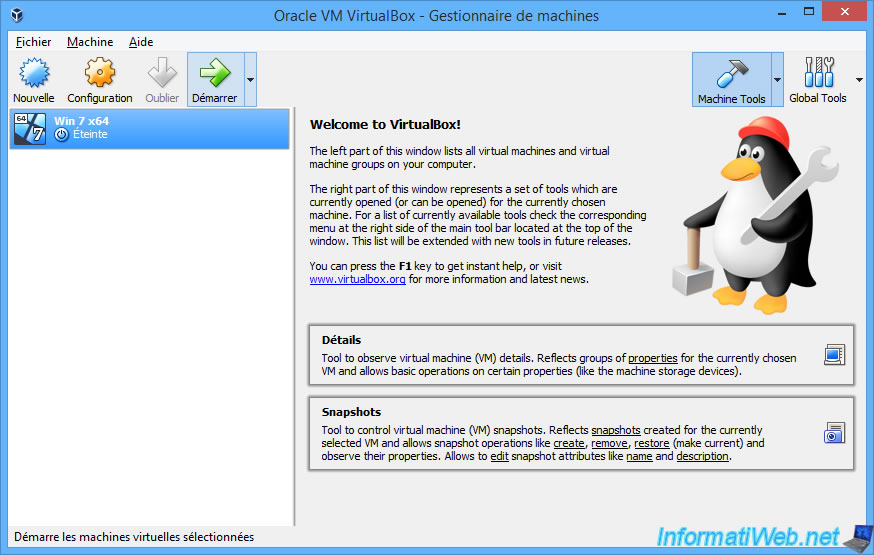
Start your virtual machine if needed.
Note that you can access shared folder settings accessible from your virtual machine at any time via the menu : Devices -> Shared Folders -> Shared Folders Settings.

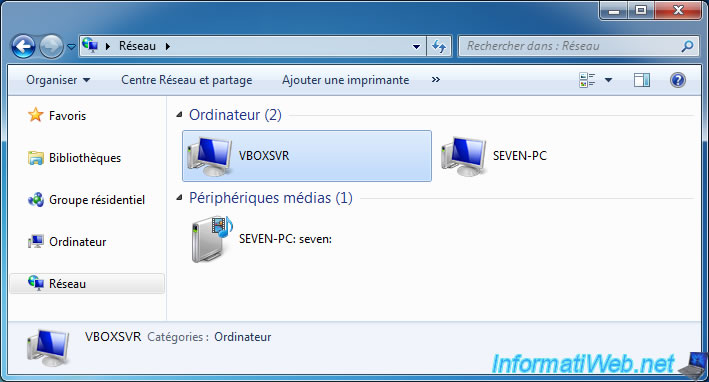
As mentioned before, these shares will be available via a fake machine named "VBOXSVR".
In Windows 7, you can access it by going to "Computer -> Network".
As expected, we find our shared folder.
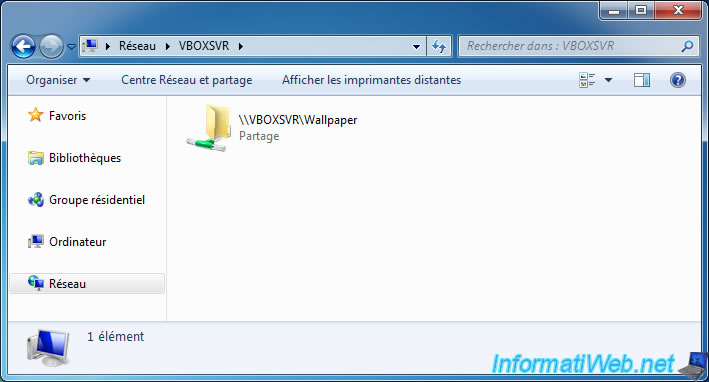
And we have access to the data in this folder.
Share this tutorial
To see also
-

Virtualization 8/30/2019
Hyper-V - Coexistence with VirtualBox or VMware Workstation
-
Virtualization 8/25/2018
VirtualBox - Clone a virtual machine (VM)
-
Virtualization 7/22/2018
VirtualBox - Configure settings of your VMs
-

Virtualization 11/6/2020
VirtualBox - Connect an USB key to a VM
You must be logged in to post a comment