- Virtualization
- 22 July 2018 at 15:04 UTC
-

- 1/2
Once you have created a virtual machine with VirtualBox, you will be able to modify many settings including :
- add virtual hard disks
- manage the virtual network adapters of it
- add shared folders
- and more
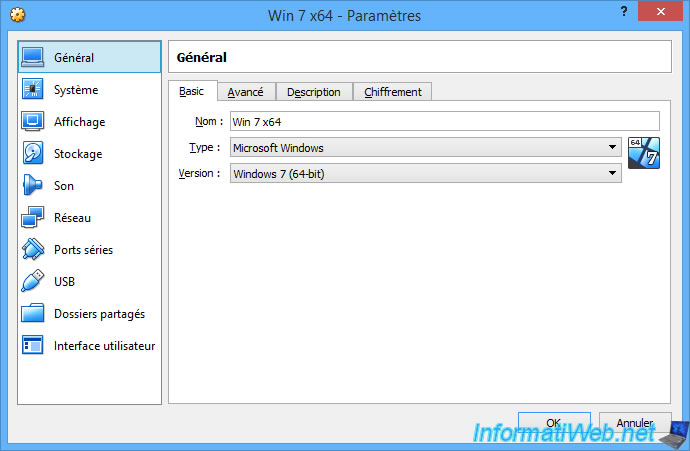
1. General
In the Basic tab, you will be able to :
- rename your virtual machine
- change the type and version of the operating system installed on it
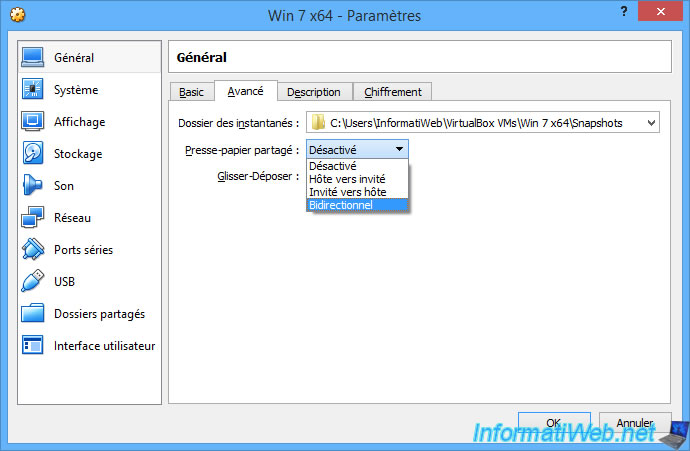
In the "Advanced" tab, you can choose the folder where snapshots will be stored.
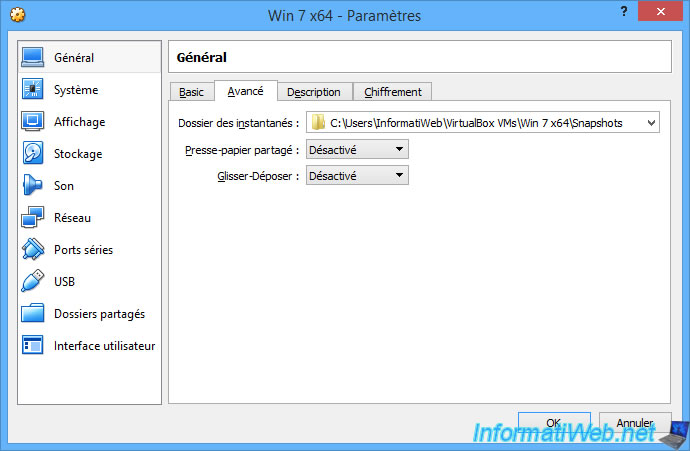
But also :
- enable or disable the clipboard sharing between the host machine and the virtual machines (in one or both directions).
- enable or disable drag and drop between the host machine and the virtual machine. This allows you to easily copy files from the physical machine to the virtual machine (and vice versa).
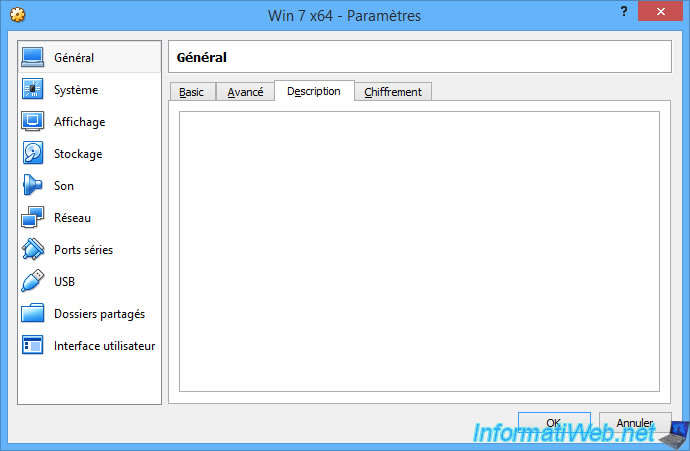
In the "Description" tab, you can enter notes if you wish.
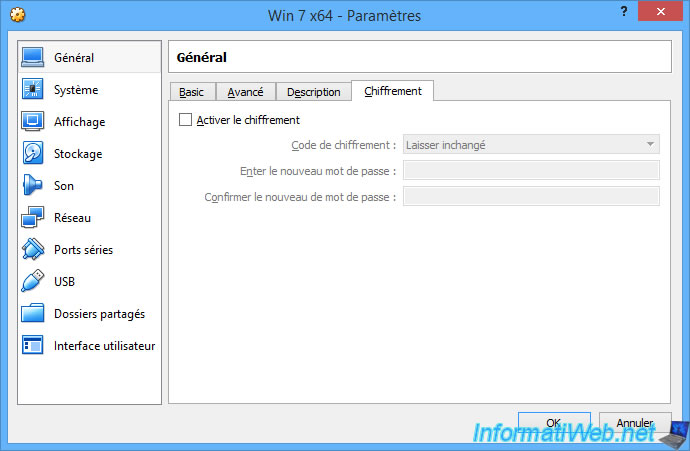
In the "Encryption" (or "Disk Encryption" since VirtualBox 6.1) tab, you can enable the encryption of the virtual machine and use a password to reuse it.
In this case, the virtual hard disk will be encrypted to protect the data it contains.
2. System
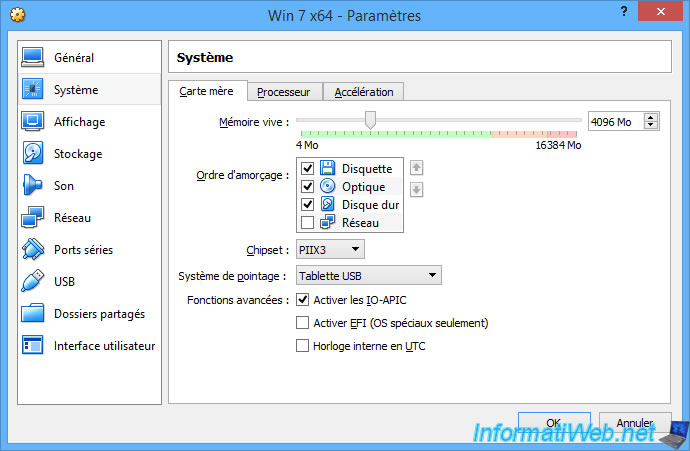
In the "Motherboard" tab, you will find interesting informations.
Indeed, you will be able to :
- change the amount of RAM allocated to your virtual machine.
- change the boot order. (The "Network" option is primarily used to boot your VM through a PXE server.)
- change the chipset. Note that the ICH9 chipset emulation is experimental and is only useful for virtual machines with Mac OS X as guest OS.
- enable or disable EFI (for Windows 7, 8, 8.1 or 10, for example)
- use an internal clock in UTC or not. Enabling this option is only useful for Unix systems.
- and more.
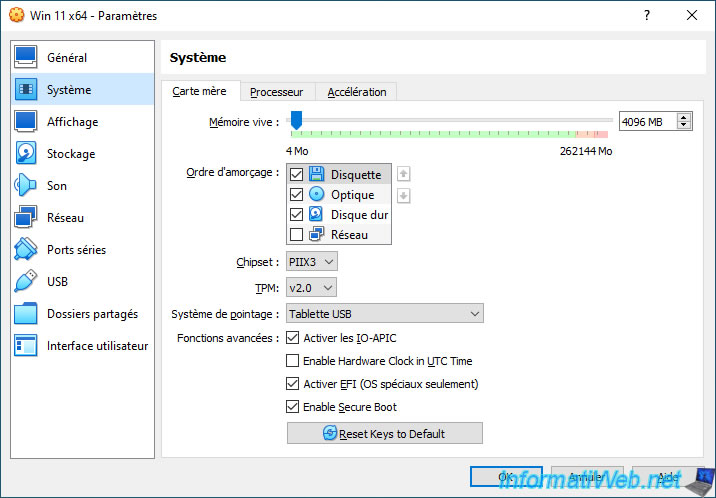
Since version 7 of VirtualBox, new options have appeared :
- TPM : allows you to add a virtual TPM in version 1.2 or 2.0 if you wish.
- Enable Secure Boot : allows you to enable the secure boot when booting in EFI mode.
Secure Boot is supported since Windows 8 (in the case of Windows) and it's part of the prerequisites for installing Windows 11 if you want the hardware to be supported by Microsoft.
Important : these new options finally allow you to install Windows 11 in a virtual machine with hardware fully supported by Microsoft.
This also allows you to benefit from free Windows 11 updates in your virtual machine.
Note that Windows 11 requires TPM version 2.0.
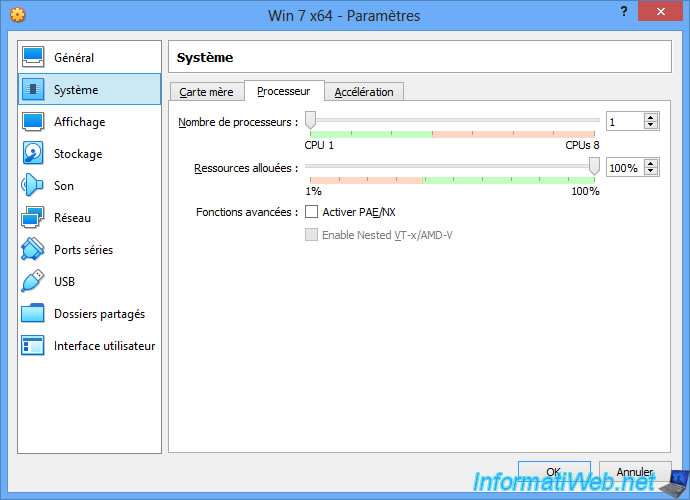
In the "Processor" tab, you will be able to :
- allocate 1 or more processor cores to this virtual machine.
- allocate 100% of your physical PC's resources or only a portion.
- enable the PAE/NX (Physical Address Extension) to use more than 4 GB of RAM with a 32-bit OS (x86).
- since version 6.0, you can also enable nested virtualization by checking the "Enable Nested VT-x/AMD-V" box if you have an AMD processor.
- since version 6.1, you can also benefit from nested virtualization if you have an Intel processor (from the 5th generation of Core i, codename Broadwell).
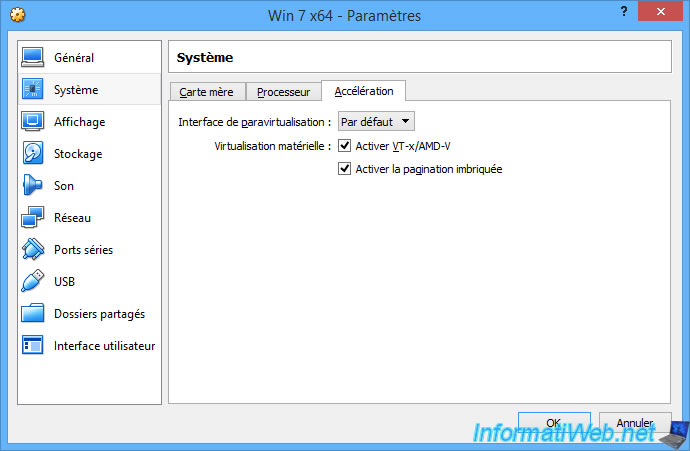
In the "Acceleration" tab, you will be able to :
- choose the type of virtualization to use
- enable the "Intel VT-x/AMD-V" hardware virtualization to virtualize a virtualization server such as VMware ESXi or Citrix XenServer, for example.
- enable nested paging to improve the performance of your virtual machine if your processor supports nested paging (AMD-V) or the EPT - Extended Page Table (Intel VT-x).
3. Display
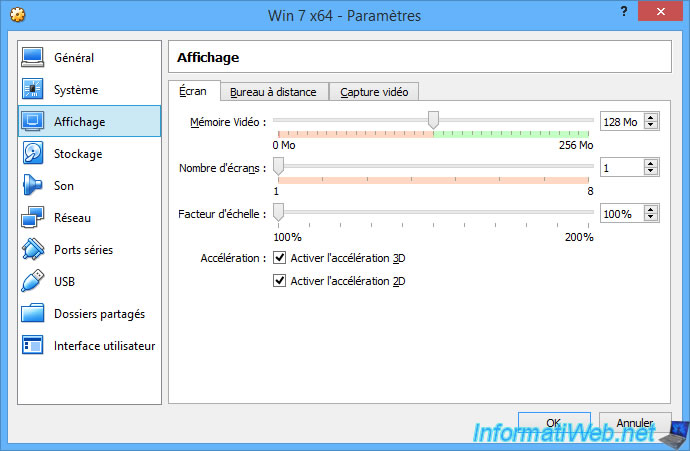
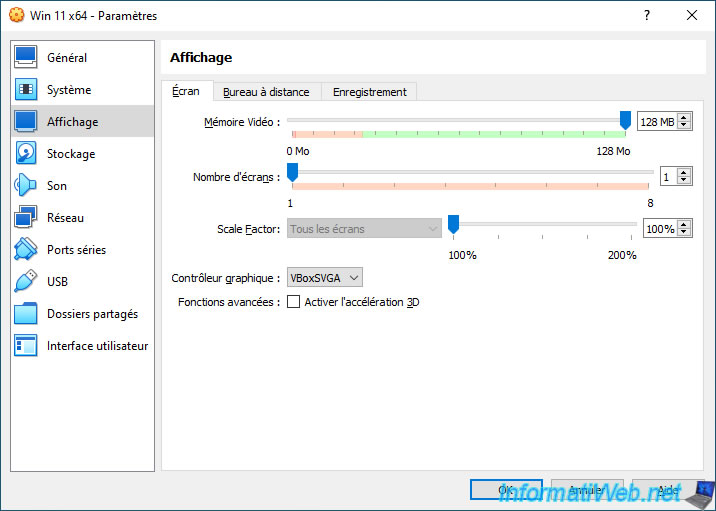
In the "Screen" tab of the "Display" section, you will be able to :
- enable or disable 2D and 3D accelerations (which is especially necessary to enable the Windows 7 aero interface)
- allocate more or less video memory to your virtual machine (if you enable 2D and 3D, you will need at least 128 MB)
- choose the number of screens to support in the virtual machine
Since VirtualBox 6.1, you have the possibility to choose between 4 graphics controllers :
- VBoxVGA : used for older operating systems.
Default choice for Windows before Windows 7 and for Oracle Solaris. - VMSVGA : improves performance and 3D support compared to the VBoxVGA controller.
Default choice for Windows 7 and later. - VBoxSVGA : allows you to emulate the "VMware SVGA graphics device" graphics card used on VMware virtual machines.
Default choice for Linux.
Note that the box for 2D acceleration has disappeared.
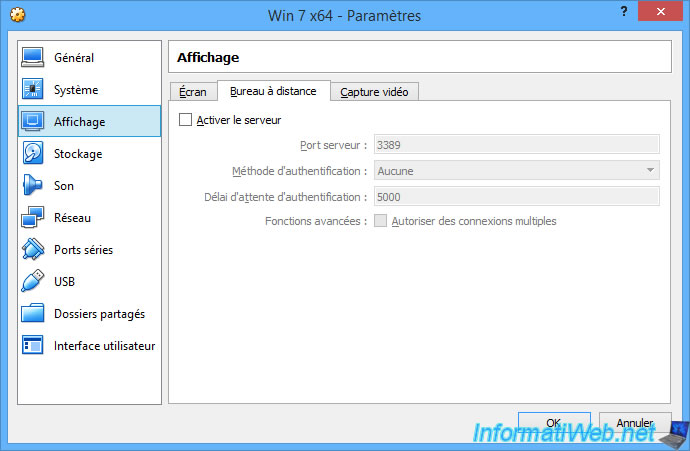
In the "Remote Desktop" tab, you will be able to activate the desktop remotely using the VRDP protocol (VirtualBox RDP).
With this feature, you will be able to remotely access the desktop of a VirtualBox machine.
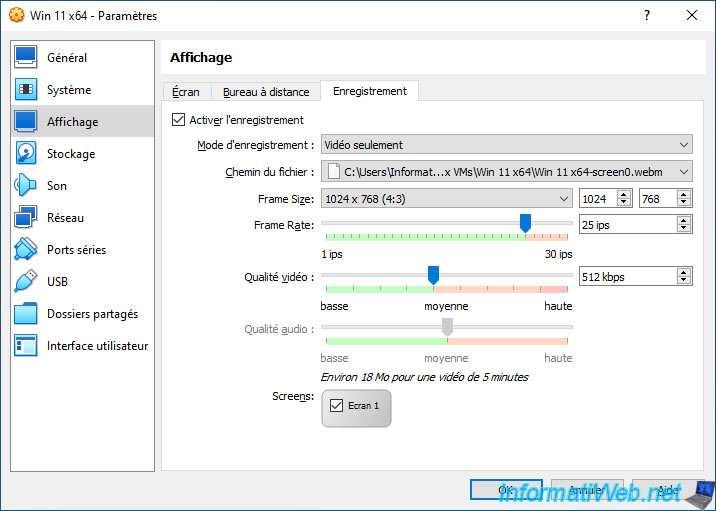
Unlike VMware Workstation, which no longer supports this, VirtualBox still allows you to record the screen (as well as the audio output) of a virtual machine.
Which is rather handy for making small video tutorials, ...
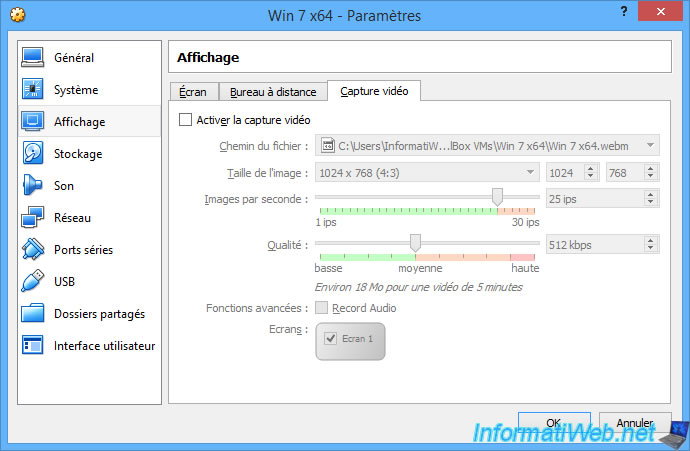
Since VirtualBox 6.1, you have the option to record sound only, display only, or both.
In addition, you can adjust the video quality and audio quality separately.
Which was not the case before.
Share this tutorial
To see also
-

Virtualization 8/30/2019
Hyper-V - Coexistence with VirtualBox or VMware Workstation
-
Virtualization 8/25/2018
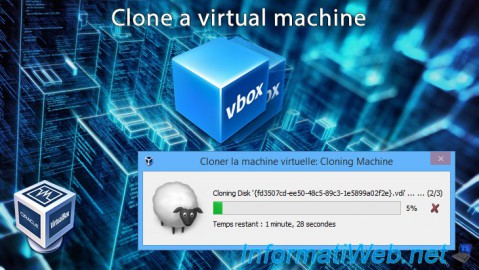
VirtualBox - Clone a virtual machine (VM)
-
Virtualization 11/6/2020
VirtualBox - Connect an USB key to a VM
-
Virtualization 8/18/2018
VirtualBox - Create snapshots of a virtual machine
You must be logged in to post a comment