Understand and configure the settings of your virtual machines on VirtualBox 7.0 / 6.0 / 5.2
- Virtualization
- 22 July 2018 at 15:04 UTC
-

- 2/2
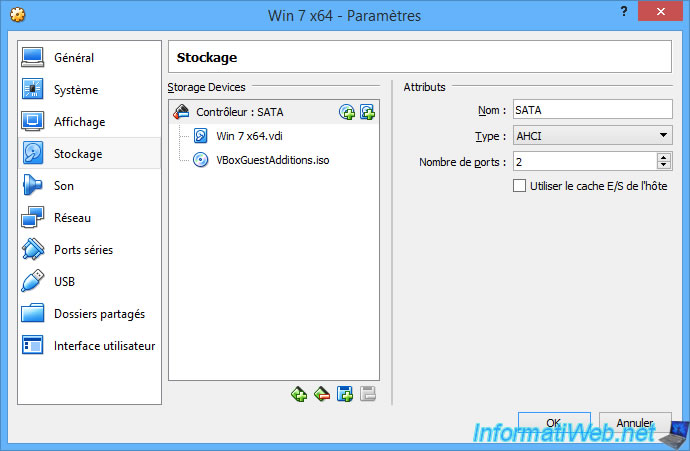
4. Storage
In the "Storage" section, you will be able to :
- add SATA, IDE, ... controllers
- add virtual hard disks
- add virtual CDs/DVDs
- and more
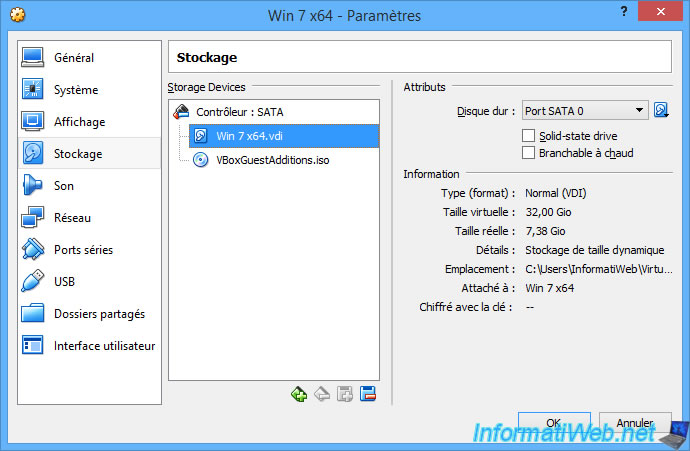
Note that it's possible to recognize emulate virtual hard disks as SSDs (no matter which controller they are connected to).
And to indicate if they can be plugged in and unplugged from the guest OS (as is the case for SCSI hard drives, for example).
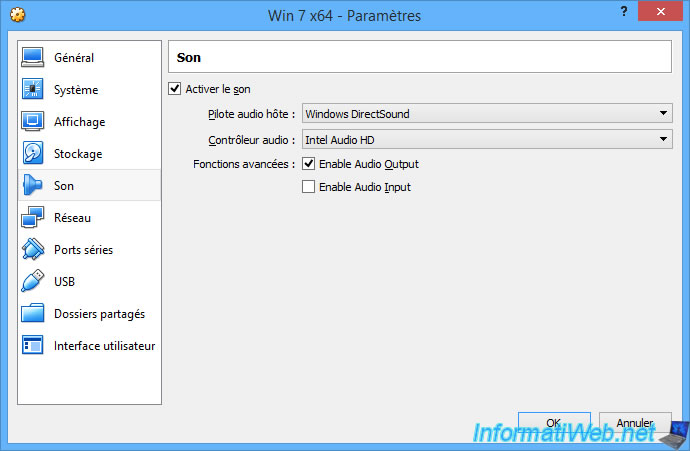
5. Audio
In the "Audio" section, you can enable or disable the sound of the virtual machine for input (microphone) and/or output (speaker).
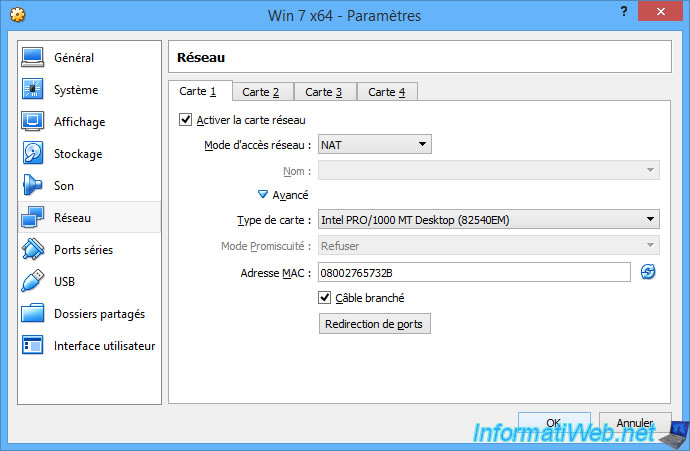
6. Network
In the "Network" section, you can configure up to 4 network cards and connect them to different types of networks :
- NAT
- Bridged Adapter
- and more
To understand how these different network access modes work, refer to our tutorial "VirtualBox - Network access modes of a virtual machine".
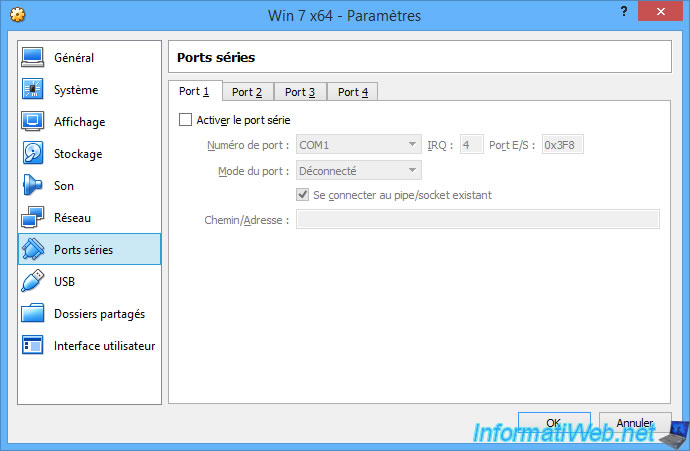
7. Serial Ports
If necessary, you can activate up to 4 serial ports and choose which COM ports they will be accessible.
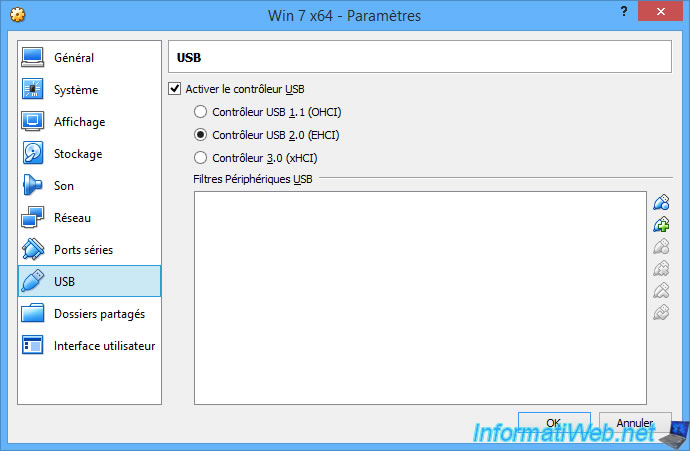
8. USB
By default, the USB controller is enabled and is available in 3 versions :
- USB 1.1 (OHCI) Controller
- USB 2.0 (EHCI) Controller or USB 2.0 (OHCI + EHCI) Controller since VirtualBox 7
- USB 3.0 (xHCI) Controller
By default, for Windows 7, the USB controller is set to USB 2.0, because USB 3.0 is not supported by this version of Windows.
Since Windows 8, VirtualBox will select version 3.0 by default.
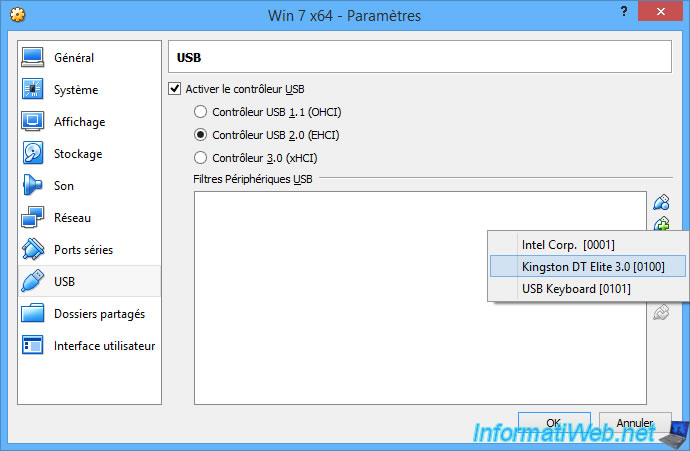
If you connect an USB key or other compatible USB device to your physical PC, you can connect it to the virtual machine via the icons on the right.
Note that if your USB device came with a driver, it will of course also have to be installed in the virtual machine if you connect it via this option.
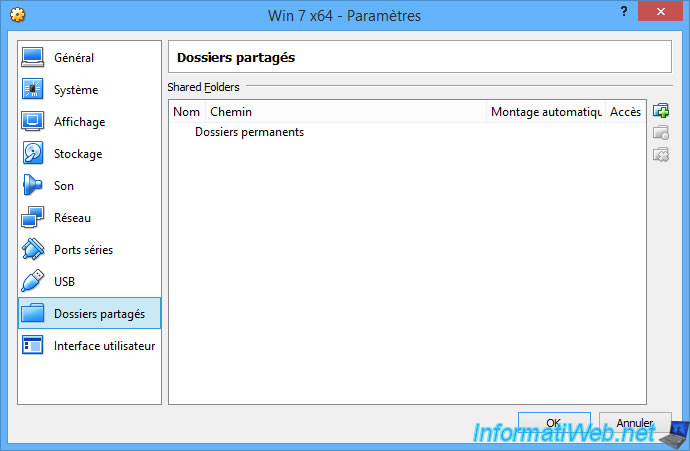
9. Shared Folders
With VirtualBox, you can easily share folders of your physical PC to make them accessible for reading and/or writing for a particular virtual machine.
To learn more about this "Shared Folders" feature of VirtualBox, refer to our tutorial "VirtualBox - Transfer files to and from a VM".
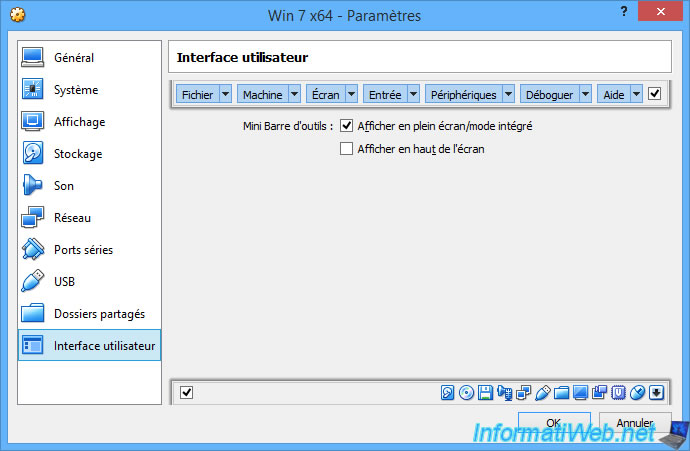
10. User Interface
Finally, you can customize the VirtualBox user interface for your virtual machines.
Share this tutorial
To see also
-

Virtualization 8/30/2019
Hyper-V - Coexistence with VirtualBox or VMware Workstation
-
Virtualization 8/25/2018
VirtualBox - Clone a virtual machine (VM)
-
Virtualization 11/6/2020
VirtualBox - Connect an USB key to a VM
-
Virtualization 8/18/2018
VirtualBox - Create snapshots of a virtual machine
No comment