Control a remote computer and transfer files via the VNC protocol (thanks to TightVNC or RealVNC)
- Windows
- 18 January 2022 at 16:05 UTC
-

- 2/2
2. Control a computer remotely via RealVNC (via the Internet)
With RealVNC, you can easily control a computer remotely over the Internet without having to configure port forwarding in your router.
Indeed, the connection will pass securely via a RealVNC gateway to avoid you having to open ports in your router.
Note that RealVNC is free, but limited in the Home version.
Indeed, 2 other (paid) editions also exist (Pro and Enterprise) and allow you to use additional features, such as direct connection to a computer via the VNC protocol (without going through a RealVNC gateway), sharing files (between the source computer and the destination computer), ...
In this tutorial, we will use the Home version which is free and which allows you to easily control a computer remotely by creating a free account on the RealVNC site.
If you want to test the paid versions of RealVNC, be aware that you are entitled to a 30-day trial period.
2.1. Install RealVNC VNC Connect (VNC Server)
To get started, download VNC Connect (VNC Server) from RealVNC and run the downloaded installation file on the computer you want to be able to control remotely.
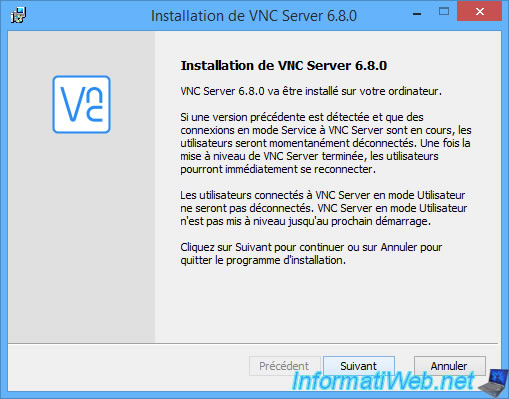
Click on Next.
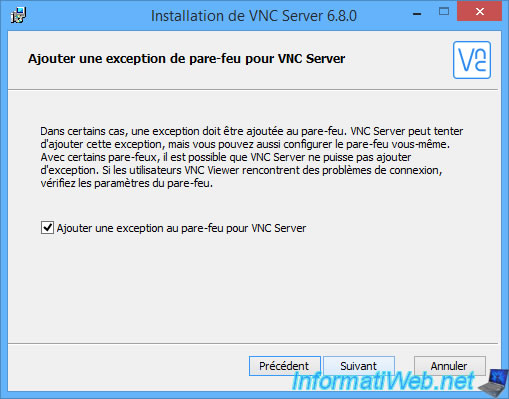
As you can see, the VNC Server installer will automatically add an exception in the firewall so that you can easily access this computer in the future without having to change your Windows firewall settings manually.
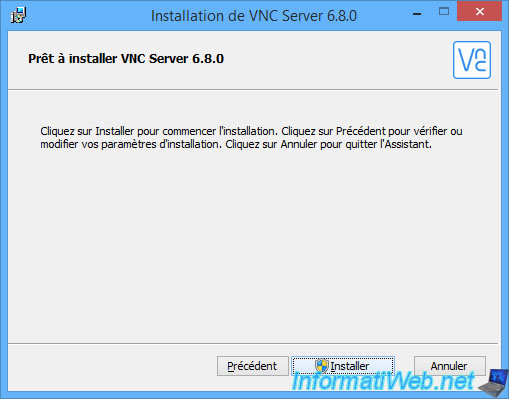
Start the installation of VNC Server.
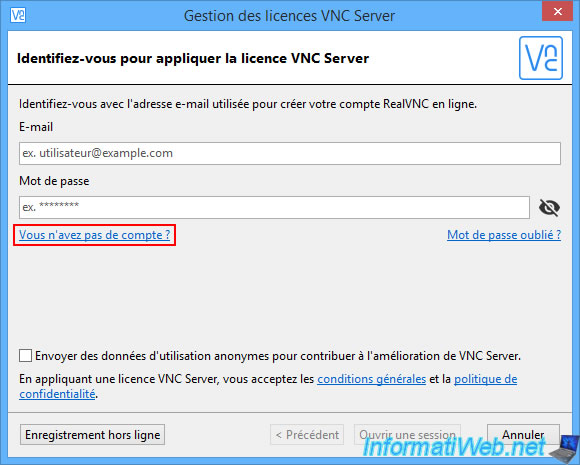
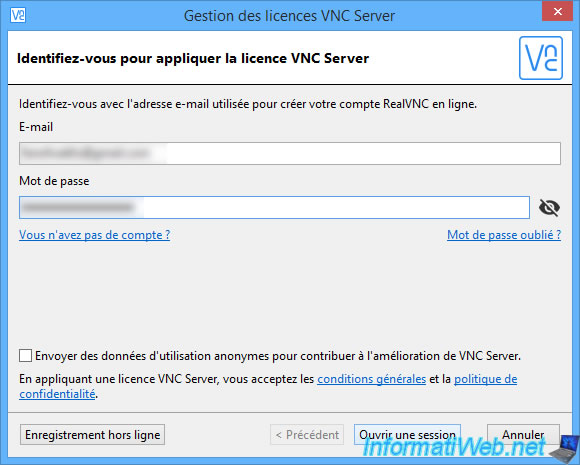
Once VNC Server is installed, the "VNC Server Licensing" wizard will appear.
As you can see, you can't use VNC Server without having an account at RealVNC.
If you don't have an account with them yet, click on the "Don't have an account?" link.
2.2. Create a RealVNC account
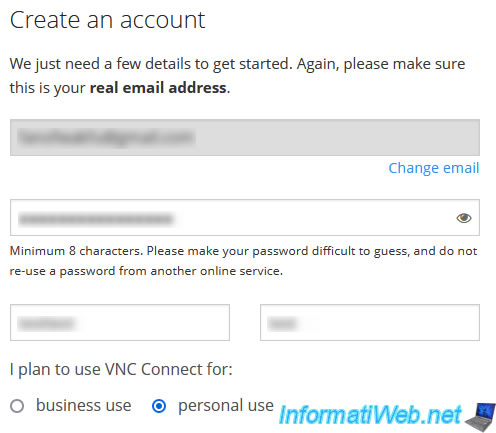
On the registration page that appears, enter your email address, confirm the captcha (anti-robot code), then click Next.

Then, provide a password for your RealVNC account, along with any other information requested.
Note that to use the free version (Home), it's important to select "I plan to use VNC Connect for : personal use".
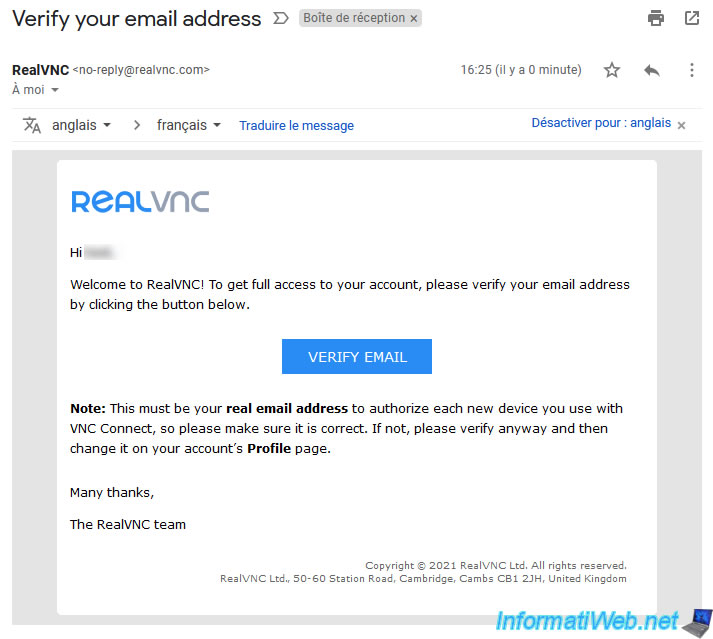
Once you have registered, you will receive a confirmation email on your email address.
Click on the "Verify email" button provided.
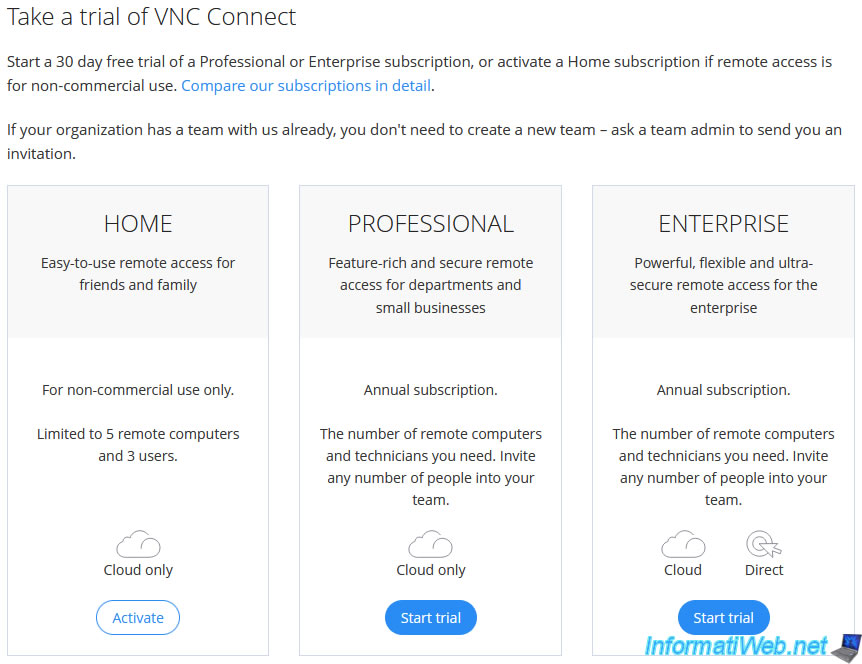
In your RealVNC account, you will be able to choose between the 3 available editions :
- Home : free for non-commercial use, limited to 5 remote computers and 3 users.
Because you can create a Team or join one (created by your company, for example). - Professional : more features and connection to remote computers only through RealVNC gateway.
- Entreprise : possibility of connecting directly to a remote computer via the VNC protocol without going through the gateway present at RealVNC.
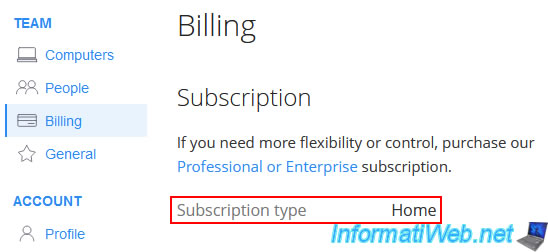
To use the free edition, click on the "Activate" button of the "Home" edition.
A "Getting started" page will appear.

If you click on "Billing" in the left menu, you will see that the Subscription type used is Home (free).
2.3. Register your VNC server
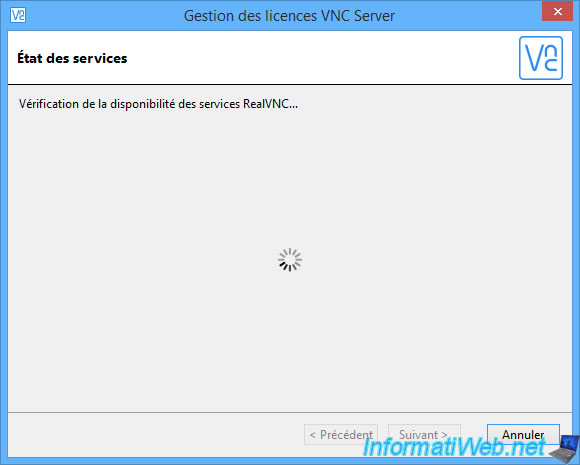
Now that your account is created, you can connect with it on your "VNC Server".
VNC Server will connect to RealVNC servers.
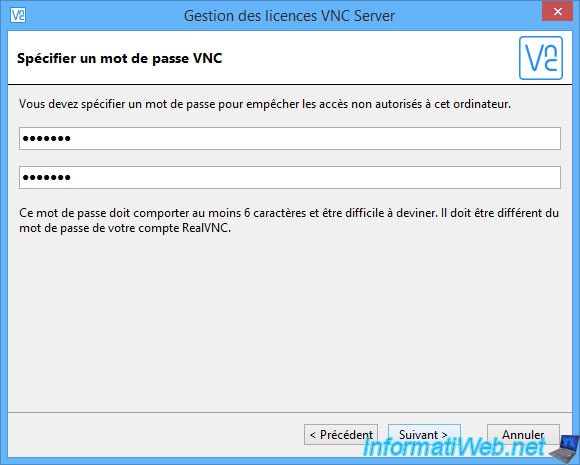
Then, you will be asked for a VNC password.
This is the password that you will need to enter on the VNC client to connect to this computer remotely.
By default, your computer's NETBIOS name will be used as the computer name to display in your team (in your RealVNC account).
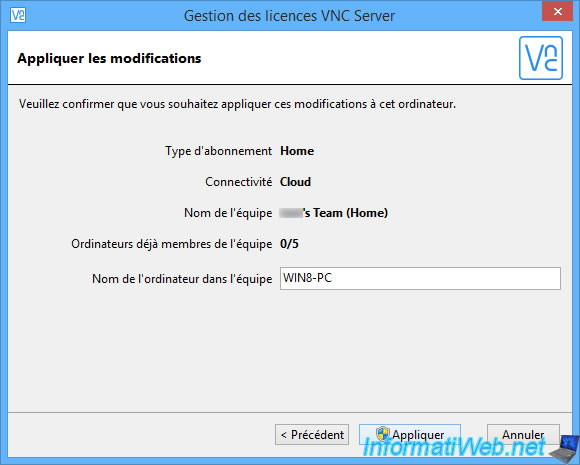
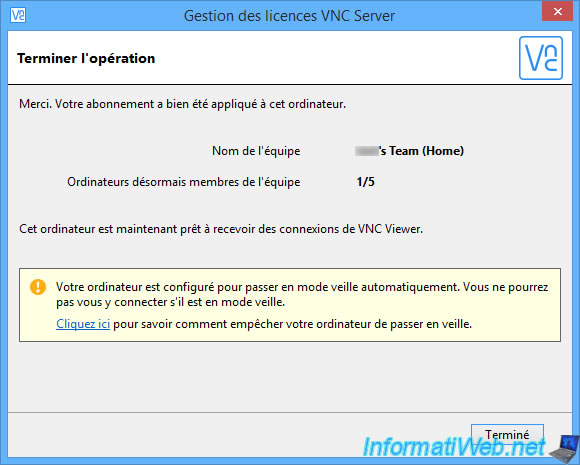
If RealVNC tells you that your computer is configured to go into sleep mode automatically, open the Windows Control Panel.
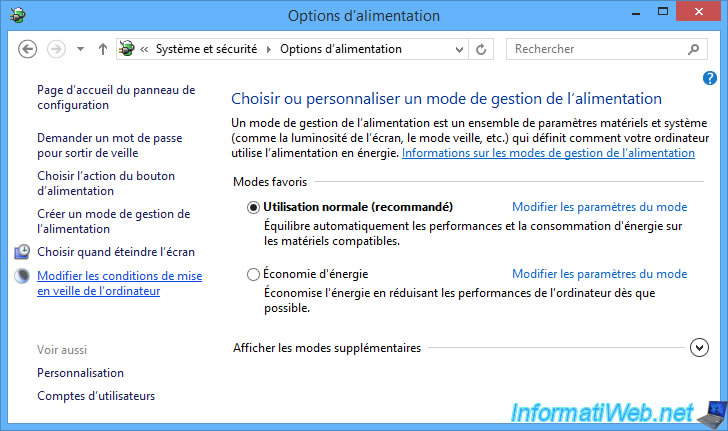
In the control panel that appears, go to "System and Security -> Power Options", then click on "Change when the computer sleeps" in the left menu.
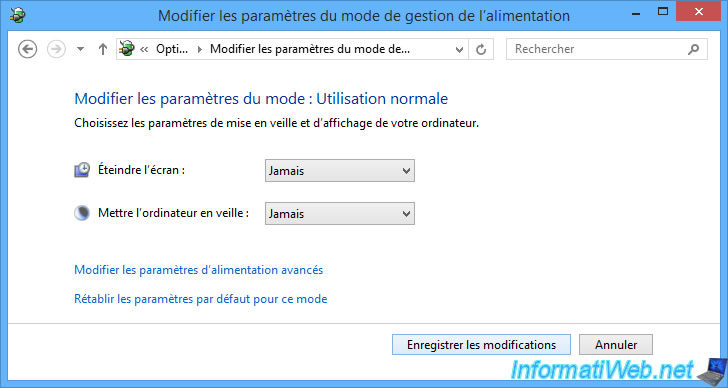
Select "Never" for the "Put the computer to sleep" option, then click : Save changes.
The VNC server is configured.
As you can see, this server has 2 names at RealVNC : VNC Server and VNC Connect.

2.4. Install the RealVNC VNC Viewer client
On the local (source) computer, download and install the RealVNC "VNC Viewer" client.
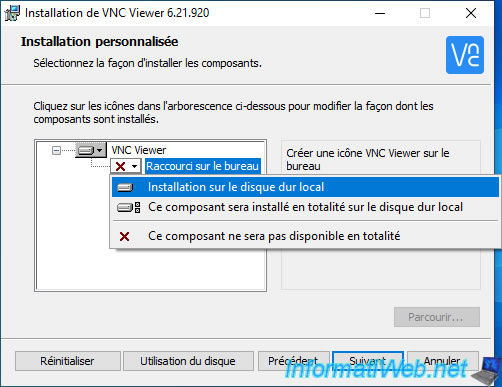
By default, the desktop shortcut for VNC Viewer will not be created.
To fix this problem, click the icon next to "Desktop Shortcut" and click : Will be installed on local hard drive.
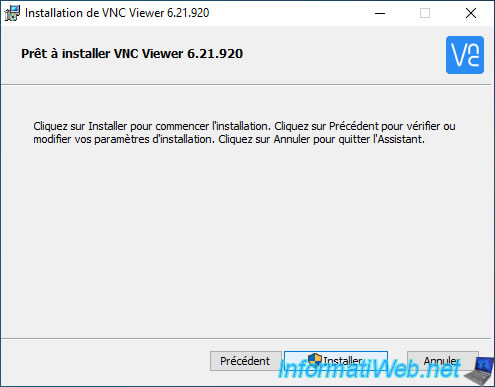
Then, click on : Install.
2.5. Logging into your RealVNC account from the VNC Viewer client
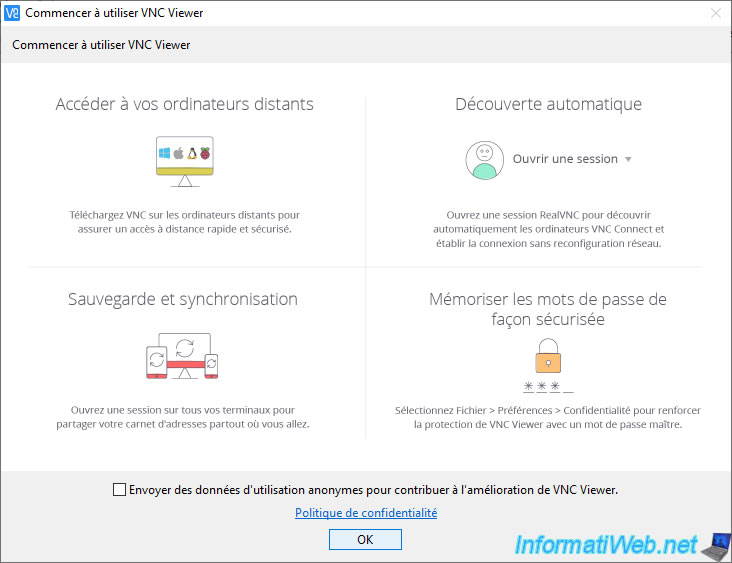
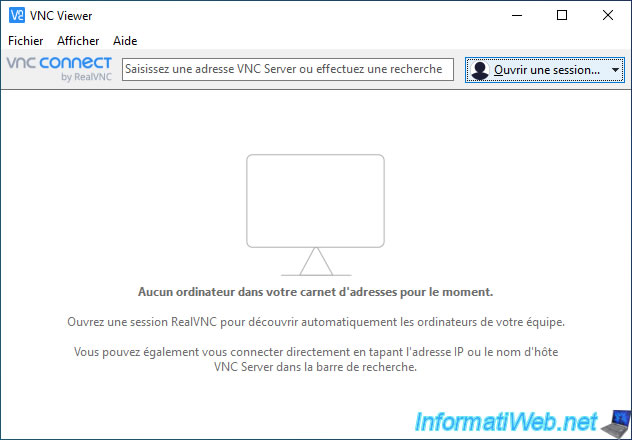
Launch the "VNC Viewer" client, uncheck the "Send anonymous usage data ..." box at the bottom of the window and click OK.
If you have a paid edition of RealVNC (Pro or Enterprise), you will be able to connect to the remote computer without going through the RealVNC gateway if the 2 computers are on the same network or if your router is correctly configured.
For the free version (Home), it will not work.
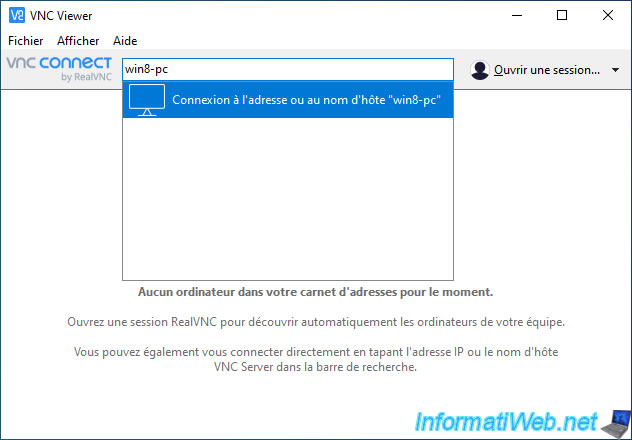
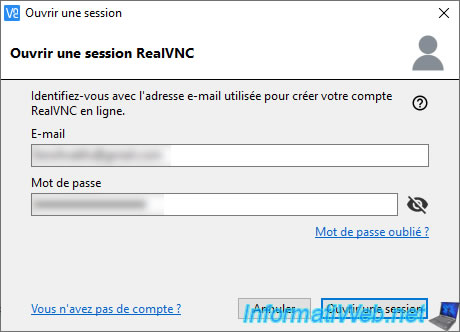
Click on the button : Open a session.
Enter the credentials of your RealVNC account.
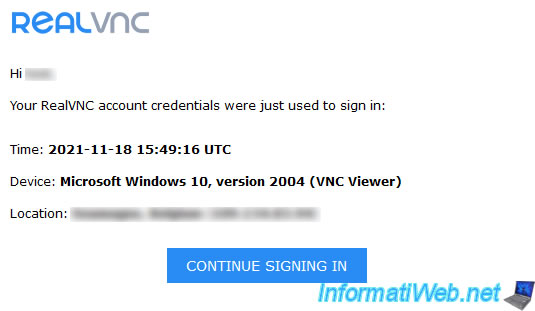
The first time you log into your RealVNC account from this computer, RealVNC will automatically send you an email to make sure it is you.
So, even if someone hacks your RealVNC account, they will not be able to access your computers through RealVNC.
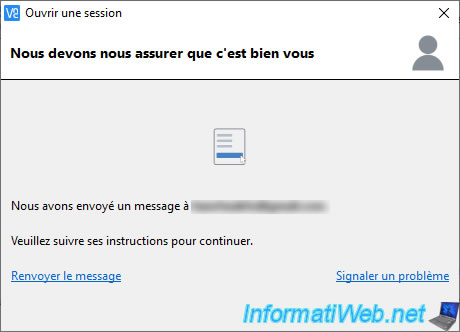
Click on the "Continue signing in" button in the received e-mail.
Then, on : Authorize sign-in.
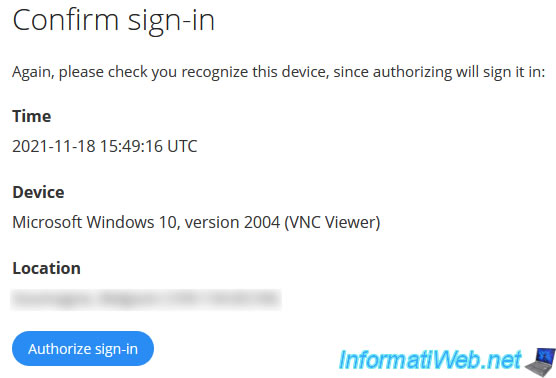
The connection has been authorized.
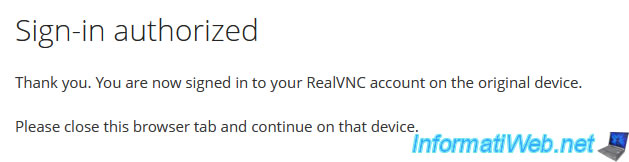
On your VNC client, the connection will automatically succeed when you validate the request received by email.
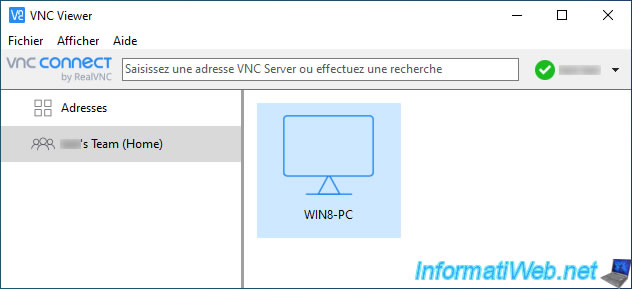
As expected, you see your remote computer appear. In other words, the computer on which you installed "VNC Connect (VNC Server)".
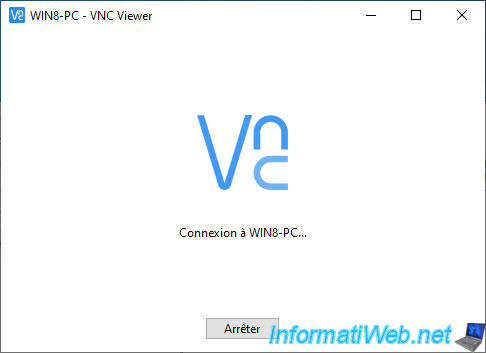
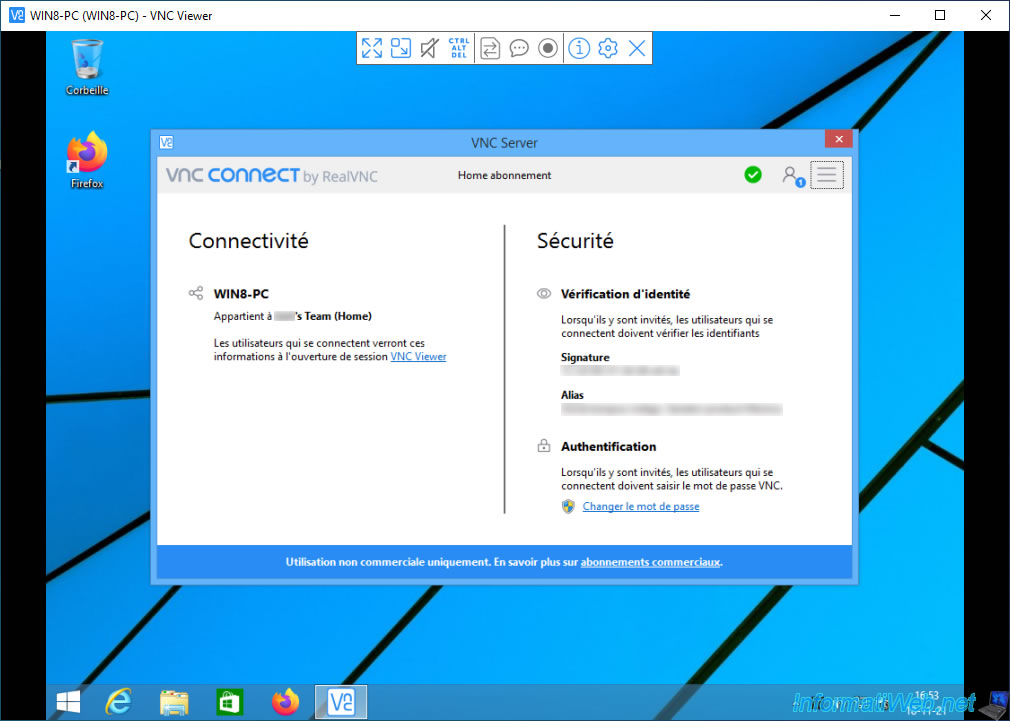
2.6. Connection to remote computer via RealVNC
Double click on the displayed computer to connect to it.
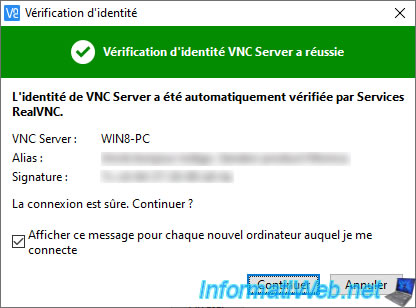
The identity of the remote computer is automatically verified by RealVNC.
As expected, the VNC Server identity verification was successful.
This is achieved through the signature and alias displayed in the VNC server of the remote PC and also registered in your RealVNC account.
Click on Continue.
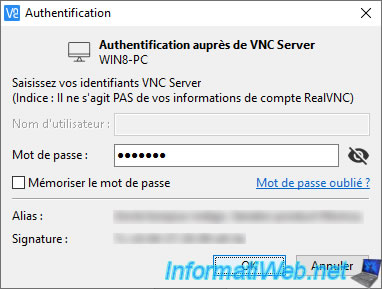
Enter the VNC password you set up when configuring your VNC server and click OK.
As expected, you have access to your remote computer through RealVNC.
Note that a notification will automatically appear on the remote computer.
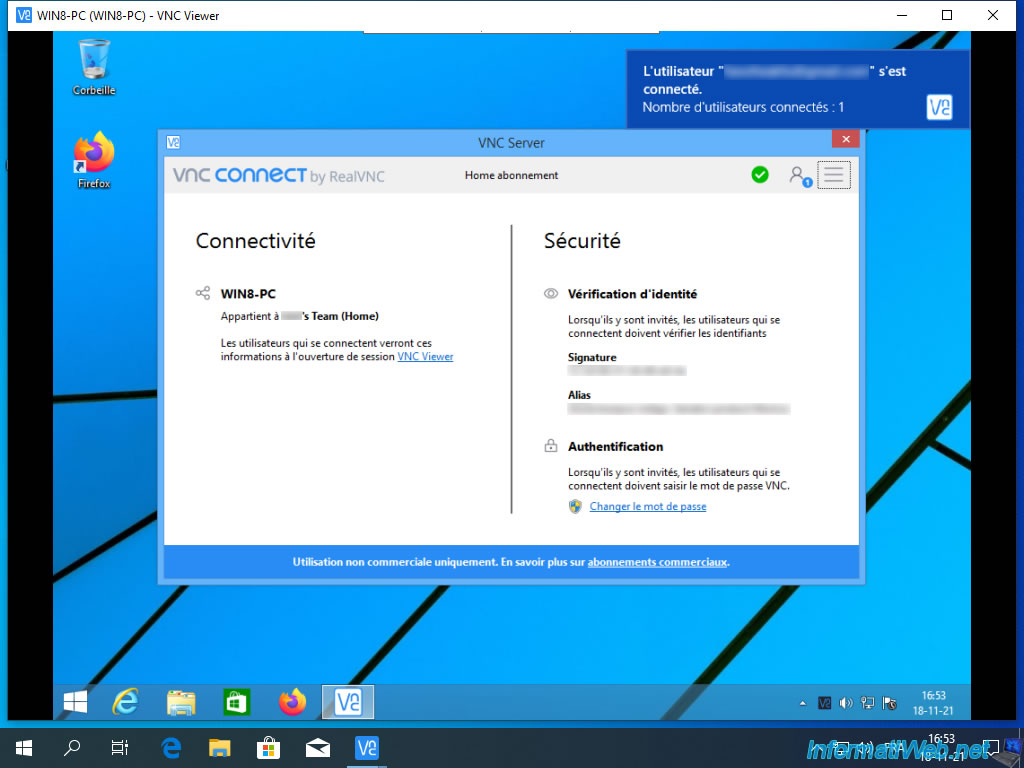
If you place your mouse at the top of the VNC Viewer window, you will see that some options are grayed out.
Indeed, some options are not available in the free version of RealVNC.
Share this tutorial
To see also
-

Windows 2/20/2013
Know your LAN IP address
-

Windows 3/29/2022
Windows 11 - Change a user's password
-
Windows 1/25/2022
Windows 11 - Download the official iso from Microsoft's server
-
Windows 4/2/2022
Windows 8.1 - Change the network profile used
No comment