- Windows
- 18 January 2022 at 16:05 UTC
-

- 1/2
When you want to take remote control of a computer, you have several options.
Nevertheless, the VNC protocol is one of the best known and it is therefore integrated in some professional solutions, such as : VMware ESXi and VMware Workstation.
If you are looking for VNC clients and/or servers, you will find several, some of which are paid and some are free.
In our case, we chose TightVNC which is free and which allows files to be transferred between the source PC and the destination PC.
Unlike other software that uses the VNC protocol and doesn't support file transfer or requires a (paid) license, as is the case with RealVNC, for example.
- Control a computer remotely via TightVNC (on a local network)
- Control a computer remotely via RealVNC (via the Internet)
1. Control a computer remotely via TightVNC (on a local network)
1.1. Install the TightVNC Server on the remote computer
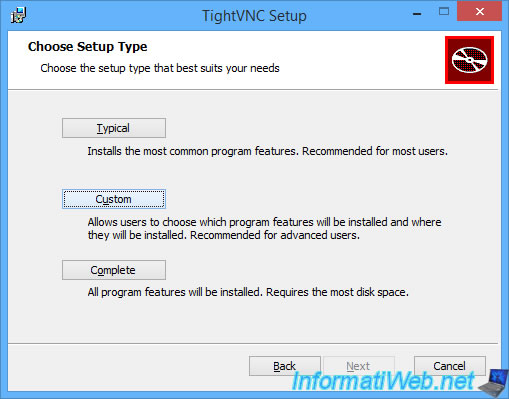
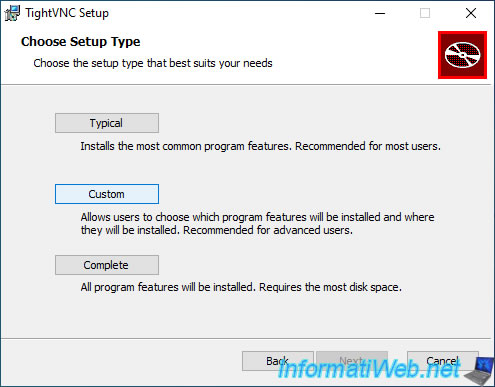
In short, download TightVNC from the official site and run the downloaded installer.
Then, click on the "Custom" button.
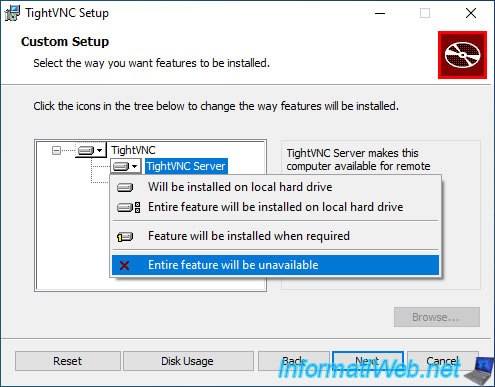
As you can see, by default, the client (TightVNC Viewer) and the server (TightVNC Server) will be installed.
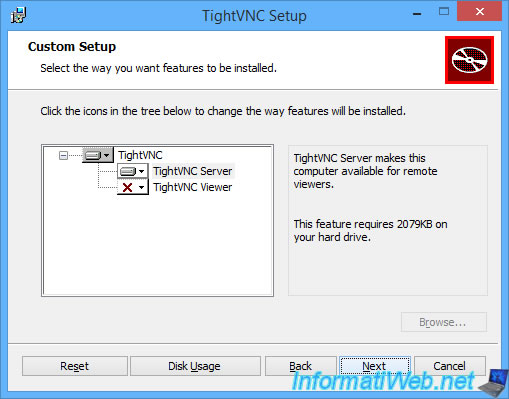
However, on the PC you want to access remotely, you only need the server.
So, click on the hard drive icon located to the left of the server (TightVNC Server) and click on : Entire feature will be unavailable.
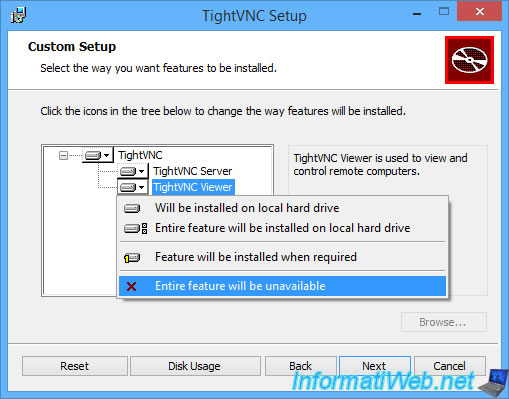
Then, click on Next.
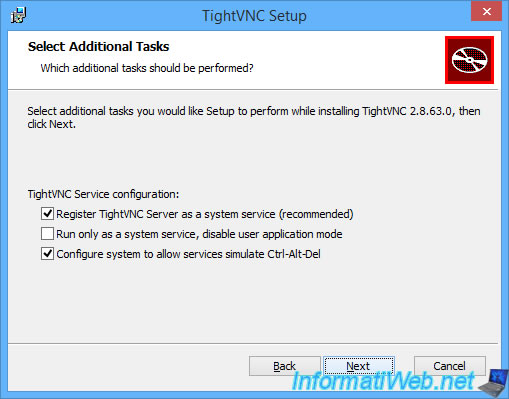
Leave the default configuration for the TightVNC service configuration.
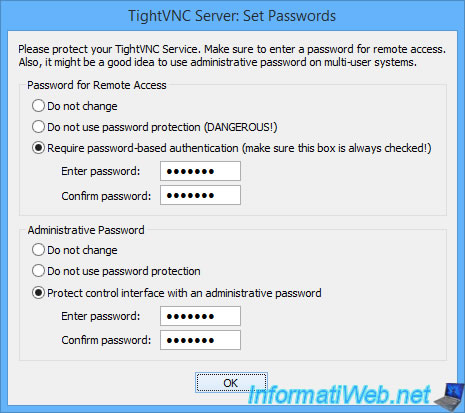
Once the installation of TightVNC Server is complete, a "TightVNC Server: Set Passwords" window will appear and ask you for 2 passwords :
- Password for Remote Access : password for remote control of this computer via the VNC protocol.
- Administrative Password : password for managing the VNC server (TightVNC Server).
You should therefore enter 2 different passwords, otherwise, the person knowing the password will be able to control this computer, as well as modify the configuration of the TightVNC server.
1.2. Install the TightVNC Client on the local computer
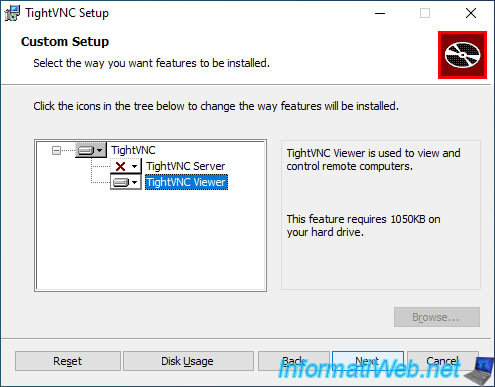
On your computer (the source computer), use the same installer and click again on : Custom.
But, this time, you will need the Viewer (client).
So, click on the icon to the left of "TightVNC Server" and choose : Entire feature will be unavailable.
Then, click on : Next.
1.3. Connection to remote computer via TightVNC
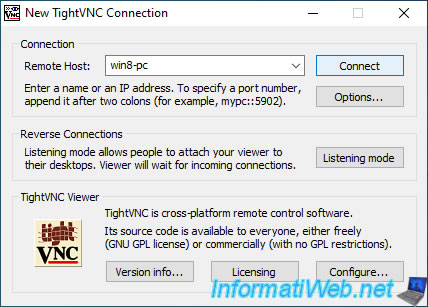
To connect to the remote computer, you need its name (NETBIOS name) or its IP address.
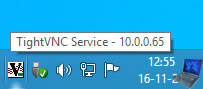
For your computer's local IP address, you can easily see it by hovering over the TightVNC icon on the remote computer.
Warning : this IP address can only be used if the source computer and the remote computer are on the same network (local network).
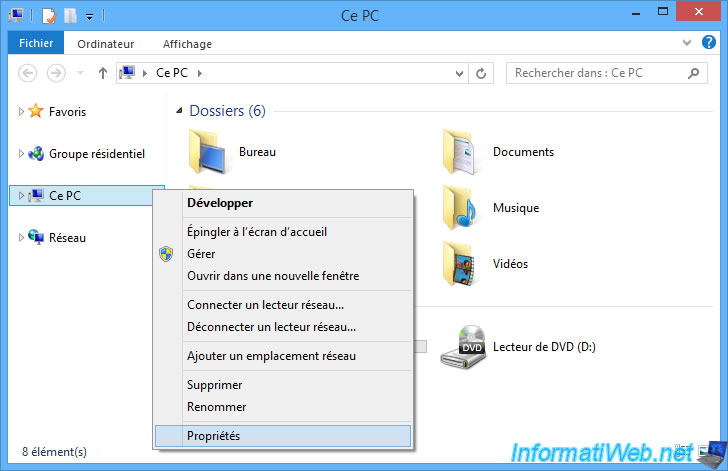
To find out the NETBIOS name of the remote computer, go to it and open the file explorer.
Then, right click "Properties" on "This PC" (or "Computer").
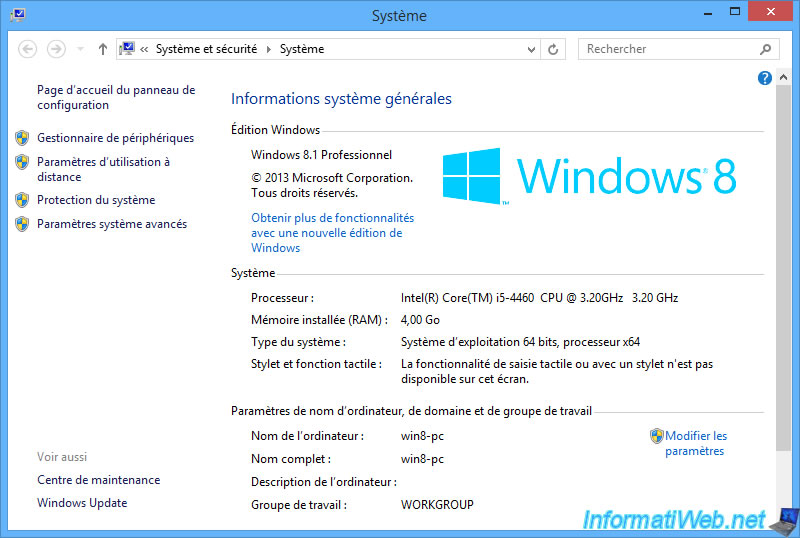
The name of the remote computer appears.
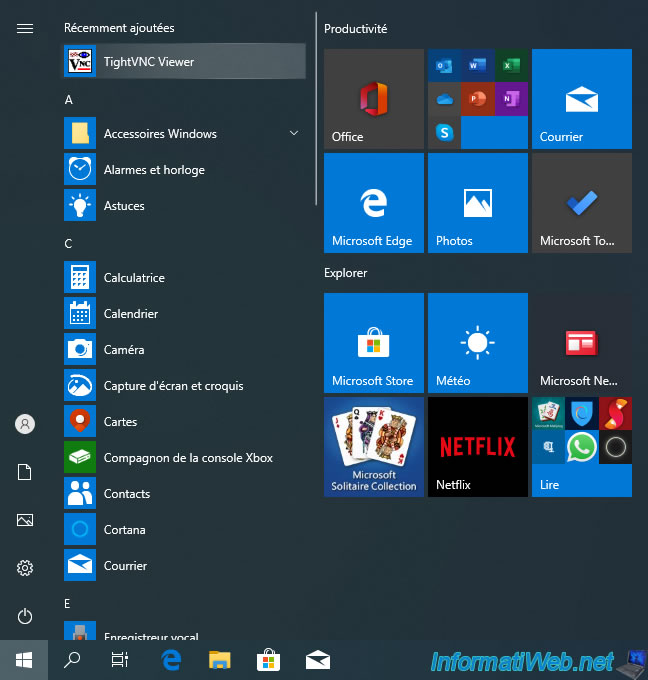
On your local computer (source), launch the "TightVNC Viewer" client available in the start menu or the Windows touch interface.
Specify the name or the IP address of the remote computer in the "Remote Host" box and click on : Connect.
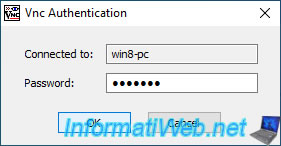
If the TightVNC server is protected by a password (which is the case by default), specify it in the "Vnc Authentication" window that appears.
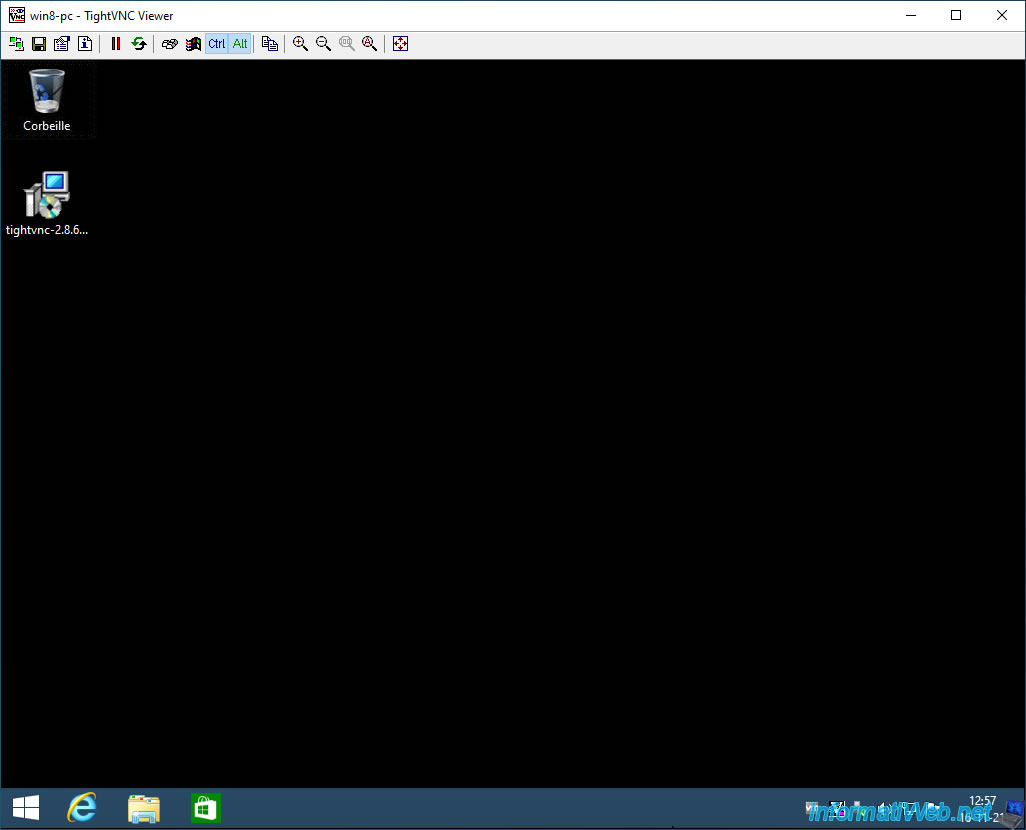
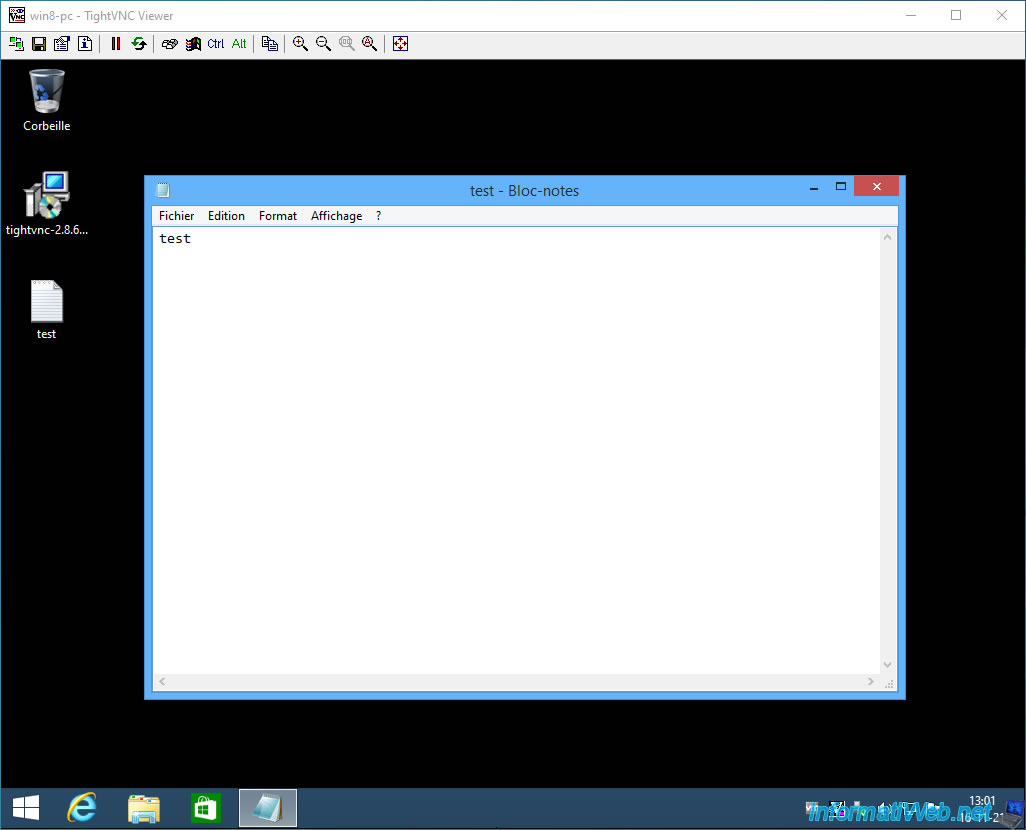
The remote computer screen appears.
Note that the wallpaper will be black when controlling this computer remotely for performance reasons.
1.4. Transfer files via TightVNC
As explained previously, TightVNC is one of the few software that uses the VNC protocol and allows you to transfer files between the source computer and the remote computer for free.
To do this, click on the icon representing 2 files (as below).
Note : copying and pasting files is not supported by TightVNC for transferring files between the source computer and the remote one.
![]()
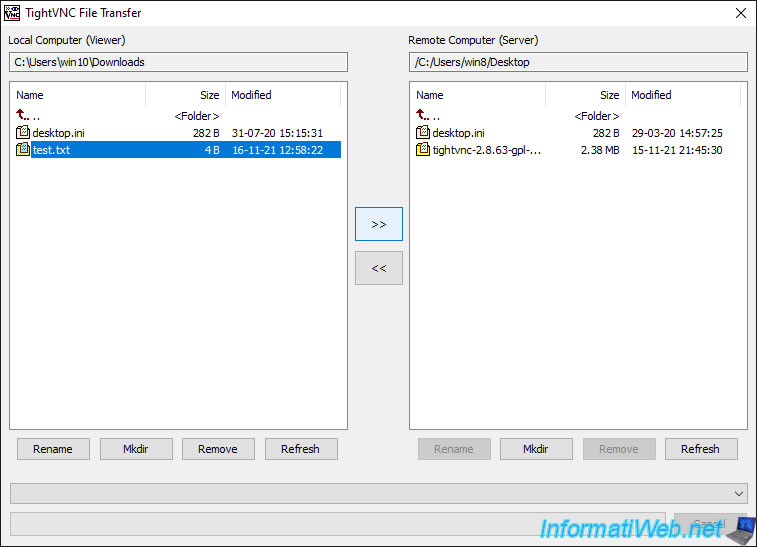
A "TightVNC File Transfer" window appears and displays the partitions of the local computer (on the left) and those of the remote computer (on the right) by default.
![]()
To transfer a file from your local computer to the remote computer, select the desired file on the left.
Then, click on the ">>" button.
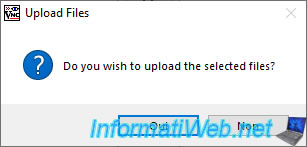
Answer "Yes" to the question "Do you wish to upload the selected files?" which appears.
Then, the file appears on the right (on the remote computer).
In our case, we have transferred the "test.txt" file from our "Downloads" folder to the Desktop of the remote computer.
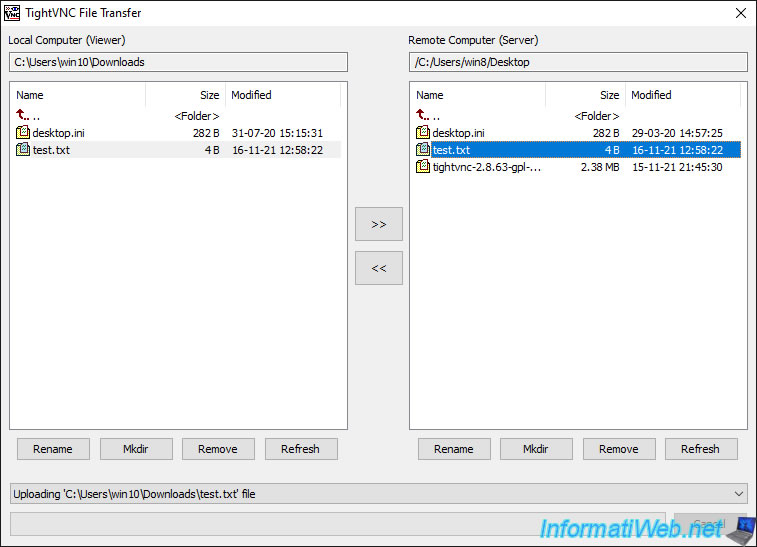
As expected, the file appears on the remote computer.
Share this tutorial
To see also
-
Windows 8/22/2023
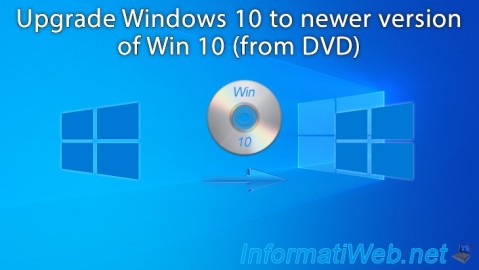
Upgrade Windows 10 to newer version of Win 10 (from DVD)
-

Windows 8/29/2022
Windows - Install the drivers from the manufacturer's site
-

Windows 5/3/2022
Windows 11 - Return to a local account
-
Windows 3/24/2025
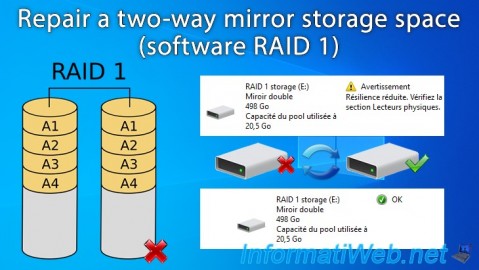
Windows 11 / 10 / 8.1 / 8 - Repair a two-way mirror storage space (software RAID 1)
You must be logged in to post a comment