- Windows
- Windows 8 / 8.1, Windows 7
- 06 October 2021 at 08:44 UTC
-

- 1/2

On Windows 7 and 8.1, there is a not known feature called "Windows Remote Assistance" which allows a user to be helped remotely by a friend or a technician.
- Allow Windows 7 / 8.1 Remote Assistance
- Ask for help
- Use Easy Connect
- Help a user with Windows 7 / 8.1 remote assistance
- Control the user's computer remotely
- Chat with the user
- Interrupt remote assistance (pause)
- Stop remote control only
- Stop remote assistance
1. Allow Windows 7 / 8.1 Remote Assistance
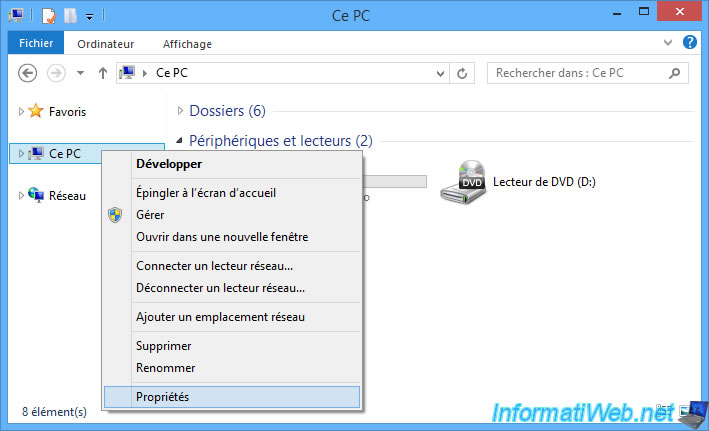
To enable Windows 7 and 8.1 Remote Assistance, open File Explorer and right-click "Properties" on "This PC" (or "Computer" depending on your version of Windows).
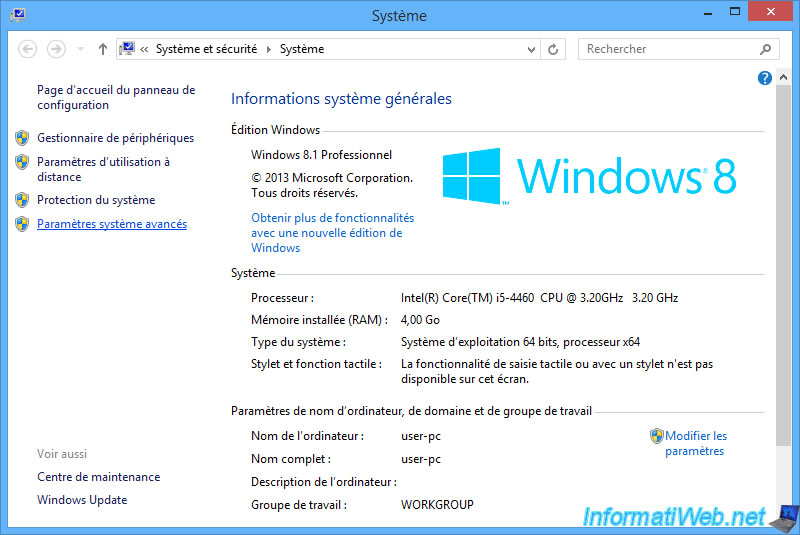
In the left menu, click on : Advanced system settings.
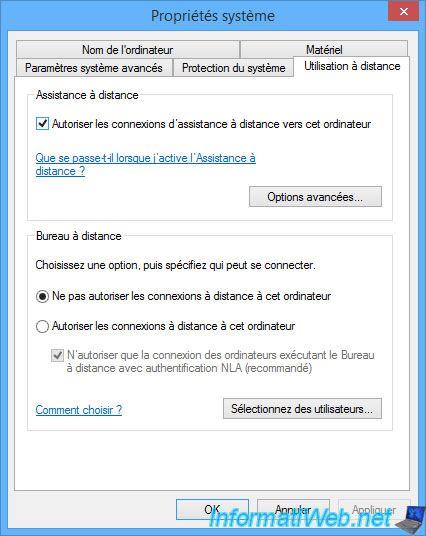
In the "Remote use" tab, check the "Allow Remote Assistance connections to this computer".
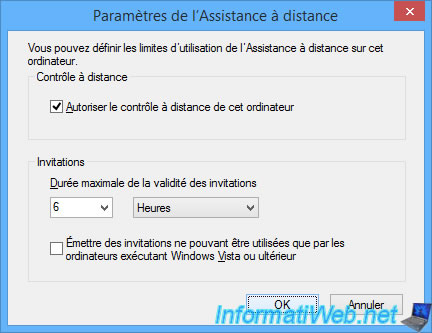
If you click on "Advanced", you can also allow the remote control of this computer and change the maximum amount of time invitations can remain open for the "Windows Remote Assistant" program.
By default, the maximum amount of time for invitations on Windows 7 and 8.1 is 6 hours.
2. Ask for help
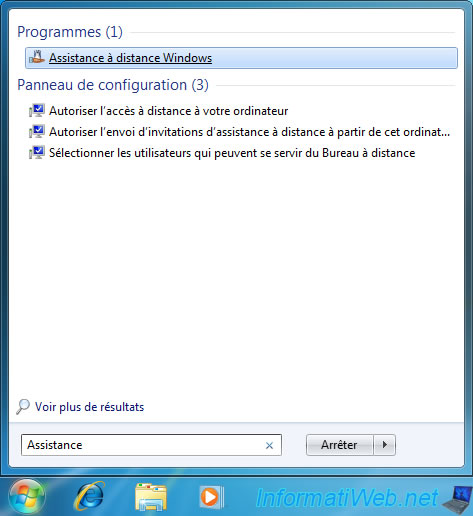
To ask a friend or an IT specialist for help on Windows 8.1, search for "invite someone" and click the "Invite someone to connect to your PC and help you..." setting.

On Windows 7, start the "Windows Remote Assistance" program.
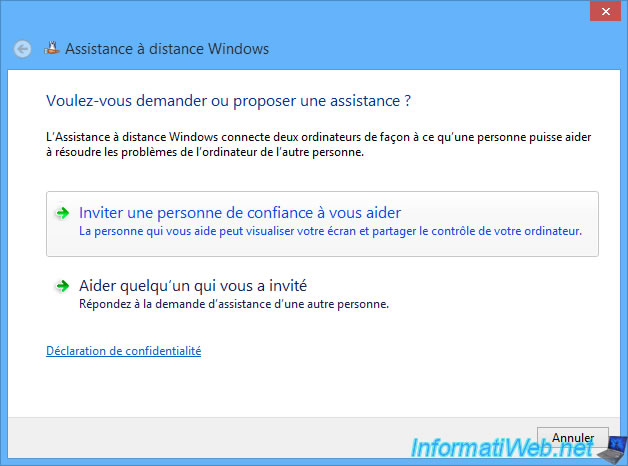
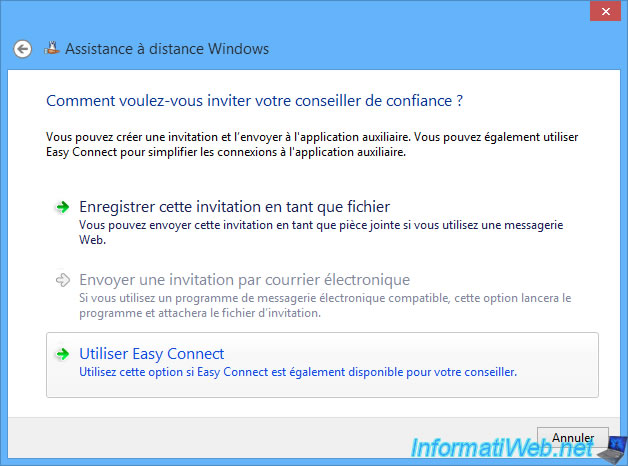
Click on : Invite someone you trust to help you.
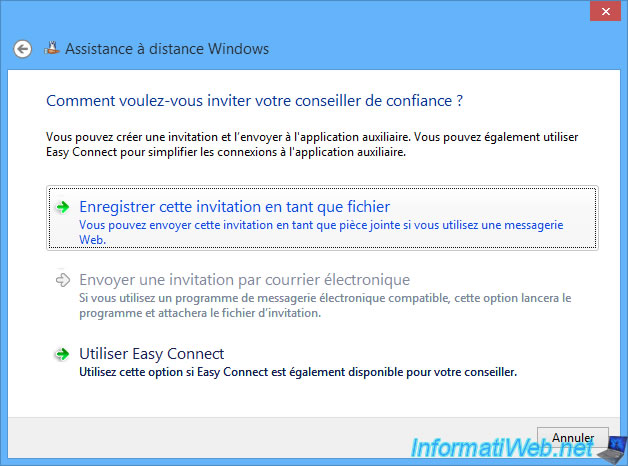
Click : Save this invitation as a file.
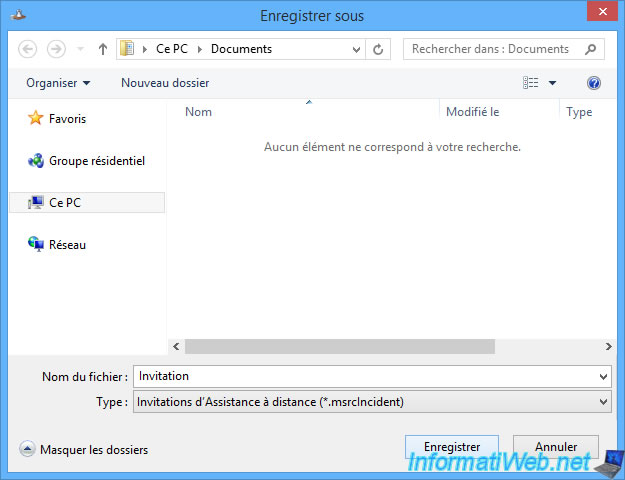
The "Windows Remote Assistance" program will offer you to save a file named : Invitation.msrcIncident.
Choose the folder where you want to create this file and click Save.
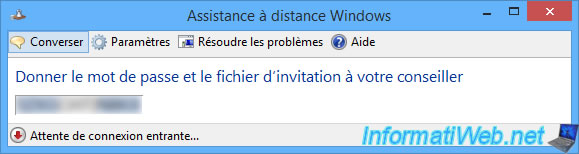
Then, the Windows remote assistance program will give you a password that your friend will have to indicate to connect to your computer thanks to the invitation file that you will have to send to him.
3. Use Easy Connect
Easy Connect made it possible (in 2013) to simplify the connection to a remote computer based on the IPv6 protocol and on Microsoft's IPv6 tunneling server (Teredo server) whose address is configured by default on "teredo.ipv6.microsoft .com ".
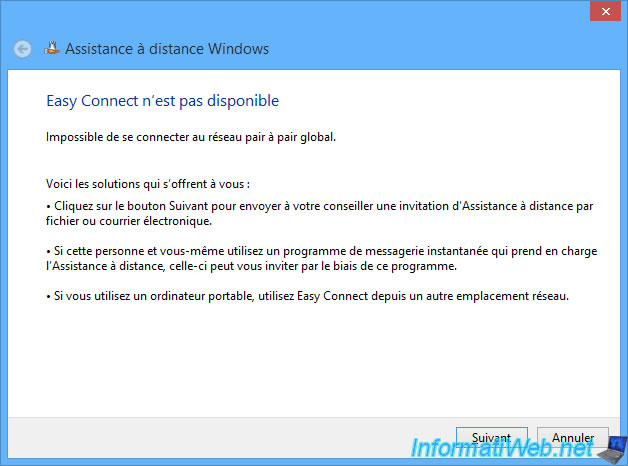
If you try to use this feature by clicking on "Use Easy Connect", you will see that it no longer works.
Indeed, this error will be displayed each time :
Plain Text
Easy Connect is not available.
Can't connect to the global peer-to-peer network.
The reason is simple, Microsoft's Teredo server configured for Windows 7 and 8.1 no longer exists.
To check it, just open a command prompt (cmd.exe) as administrator and type this command :
Batch
netsh interface teredo show state
Which will display this on Windows 8.1 :
Plain Text
Teredo Parameters
---------------------------------------------
Type                        : client
Server Name                 : win8.ipv6.microsoft.com.
Client Refresh Interval     : 30 seconds
Client port                 : unspecified
State                       : offline
Error                       : failed to resolve server name
Or this on Windows 7 :
Plain Text
Teredo Parameters
---------------------------------------------
Type                        : client
Server Name                 : teredo.ipv6.microsoft.com.
Client Refresh Interval     : 30 seconds
Client port                 : unspecified
State                       : offline
Error                       : failed to resolve server name
As you can see above, Windows tells you that the resolution of the server name (...ipv6.microsoft.com) has failed.
In other words, the corresponding DNS record has been deleted by Microsoft and therefore it's impossible to connect to this Teredo server as we no longer know its IP address.
Also note that Teredo servers configured on Windows 10 (for example) will not work in this case to make "Easy Connect" work again.
We tested it and it doesn't work.
4. Help a user with Windows 7 / 8.1 remote assistance
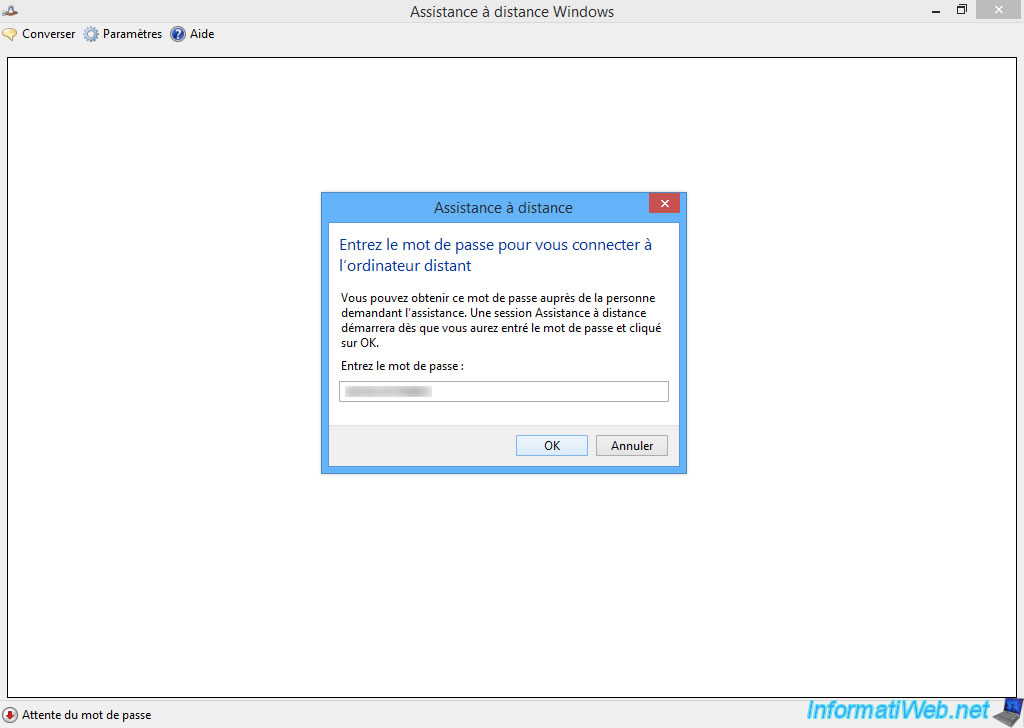
To help a user with Windows 7 or 8.1 Remote Assistance, simply double-click on the invitation file your friend sent you.

A "Windows Remote Assistance" window will appear and ask for a password.
This is the password your friend sees on their screen.
The "Windows Remote Assistance" program will attempt to connect to the remote computer.

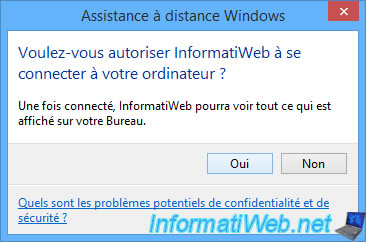
At this point, your friend will have a window asking "Would you like to allow InformatiWeb to connect to your computer?" to which he will have to answer "Yes".
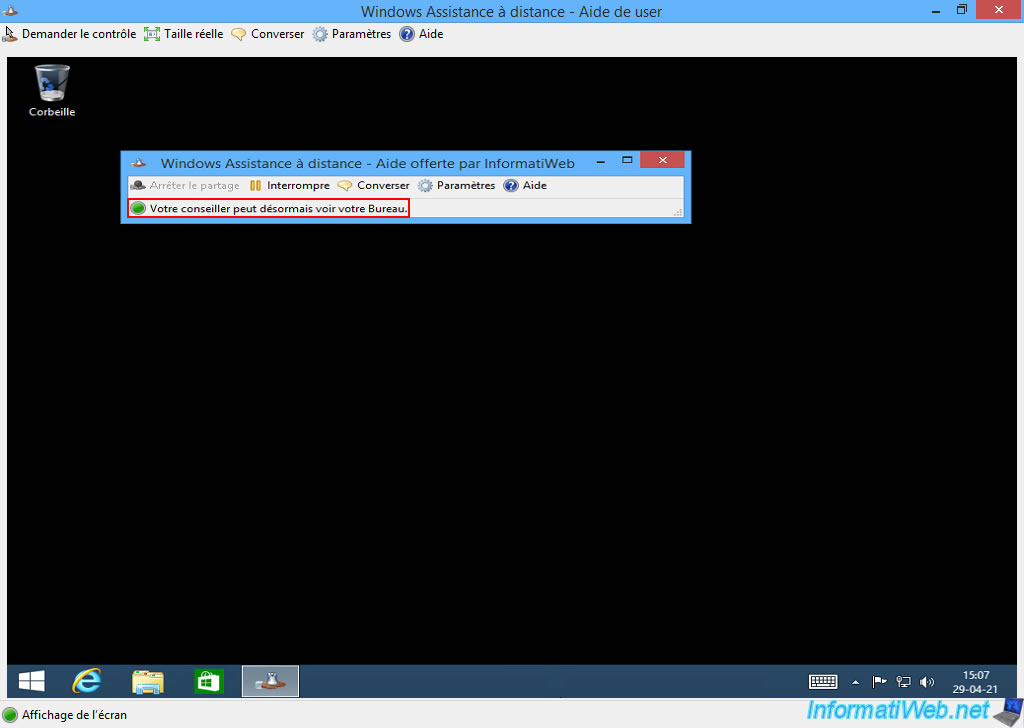
As you can see :
- the user you are helping will see the message : Your advisor can now see your desktop
- you will see the message : Viewing the screen
As you will understand, for the moment, you only see its screen.
Therefore, you can't remotely control his computer at the moment.
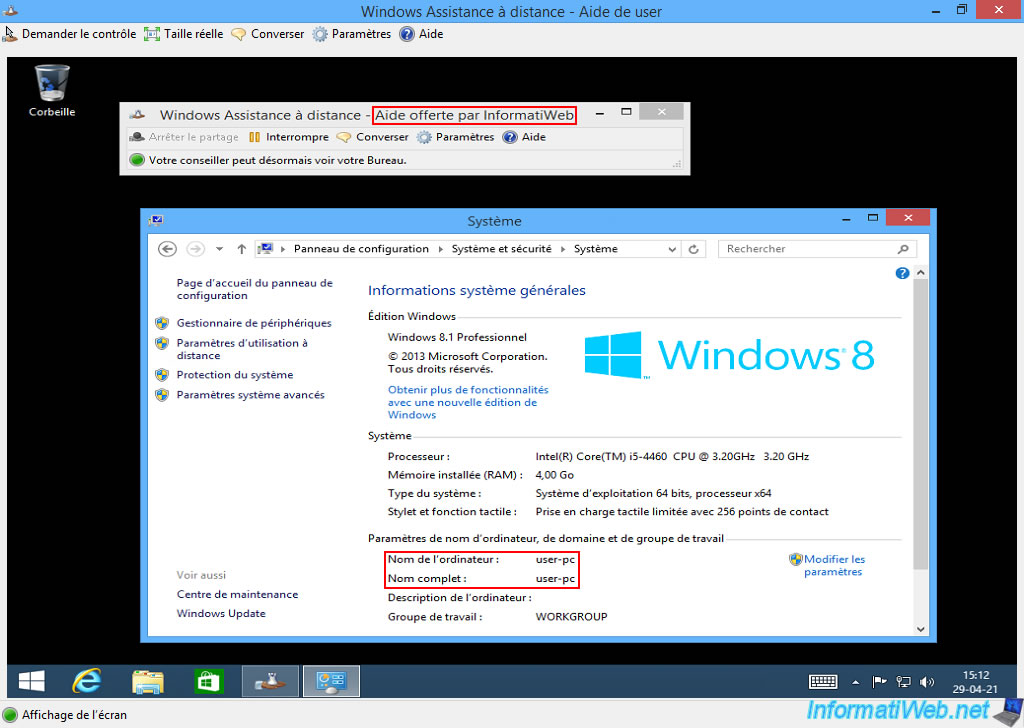
As you can see, the user sees that we (InformatiWeb) are helping him.
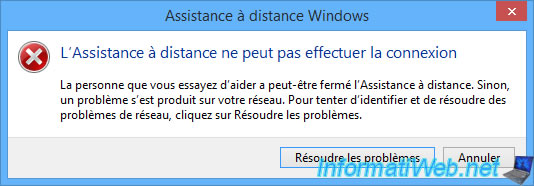
Note that if the computers are not on the same network, this will not work.
As a result, the error "Remote Assistance can't make the connection".
The solution in this case was to use Easy Connect, except that the Microsoft server used for this feature no longer exists.
In this case, you will therefore have to turn to a replacement, such as TeamViewer for example.
Share this tutorial
To see also
-
Windows 4/6/2013
Get the serial number of Windows
-
Windows 4/3/2025
Windows 11 / 10 / 8.1 / 8 - Expand a parity storage space (software RAID 5)
-

Windows 4/21/2013
Windows 7 - Create Universal Installation DVD
-

Windows 7/29/2014
Windows Vista to 11 - Partitioning your hard drive
You must be logged in to post a comment