- Virtualization
- Windows XP
- 09 August 2019 at 17:11 UTC
-

- 1/2
If you still use Windows 7 and you still have programs that are no longer compatible with this version of Windows, Microsoft has everything planned, because it allows you to reinstall a Windows XP SP3 virtual machine legally in a few clicks.
Indeed, no IT knowledge will be necessary to use it.
You will simply need to download 2 files and install them.
This solution is called Windows XP Mode and is available for people who have a professional, enterprise, or ultimate edition of Windows 7.
Note that this still requires support and activation of the Intel VT-x or AMD-V in the BIOS of your motherboard since the Windows XP Mode solution is based on the older virtualization solution : Microsoft Virtual PC.
- Installing Windows XP Mode
- Installing Windows Virtual PC
- Configuring Windows XP Mode
- Reactivate the Windows XP home screen
- Uninstall Windows XP Mode
1. Installing Windows XP Mode
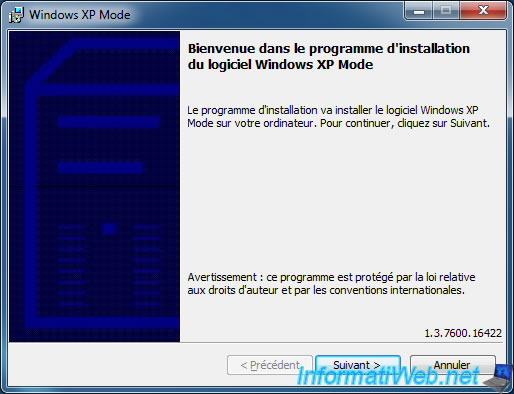
To get started, download and install Windows XP Mode from the Microsoft Download Center (via archive.org, as Microsoft removed the file from their server).
The downloaded "WindowsXPMode_en-us.exe" file will be approximately 469 MB, which is normal since it contains a virtual hard disk with a Windows XP SP3 installation.
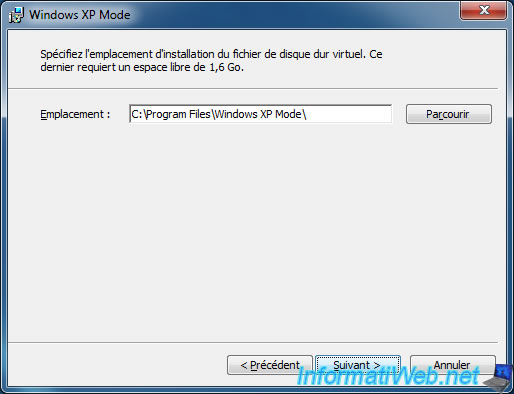
Select where you want to extract the virtual hard disk from Windows XP.
Note that it may take more space depending on what you install in this virtual machine.
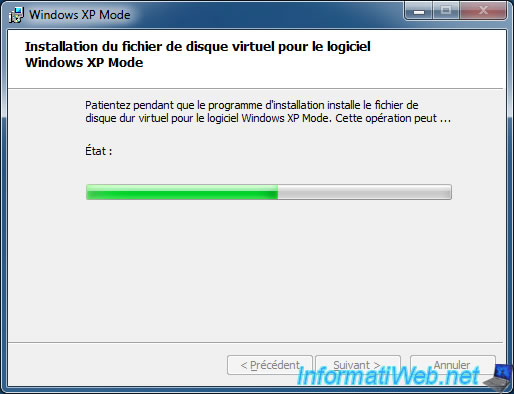
Wait while installing Windows XP Mode.
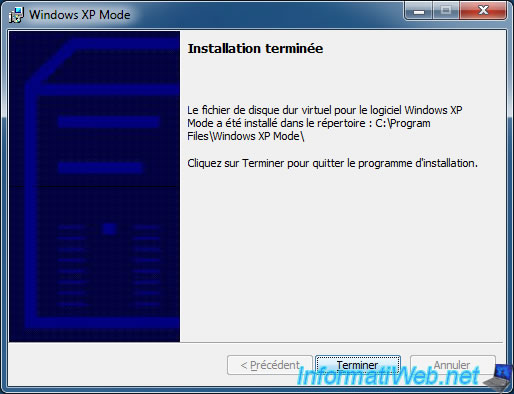
Now, you have a virtual hard disk with Windows XP SP3 inside.
But, in order to use it, you will also need the virtualization solution from Microsoft compatible with this virtual hard disk.
2. Installing Windows Virtual PC
To use your Windows XP virtual machine, you will need to download and install Windows Virtual PC (which is free).
Note that this virtualization solution is provided by Microsoft as a Windows Update (KB958559) and can only be used under Windows 7.
Download the version adapted to your version of Windows 7 :
- for Windows 7 in 32-bit (x86) : Windows6.1-KB958559-x86-RefreshPkg.msu
- for Windows 7 in 64-bit (x64) : Windows6.1-KB958559-x64-RefreshPkg.msu
To remove the requirements for Windows XP Mode and Windows Virtual PC (which requires enabling the Intel vt-x/AMD-V virtualization feature in the BIOS), download and install the KB977206 update for Windows 7 also from archive.org (direct links : Windows6.1-KB977206-x86.msu / Windows6.1-KB977206-x64.msu).
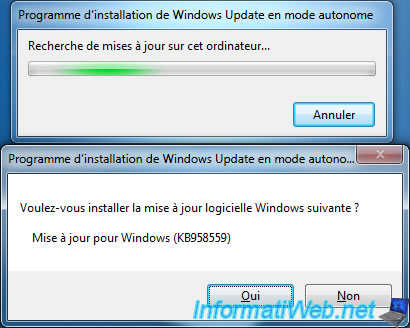
Wait while installing this update.
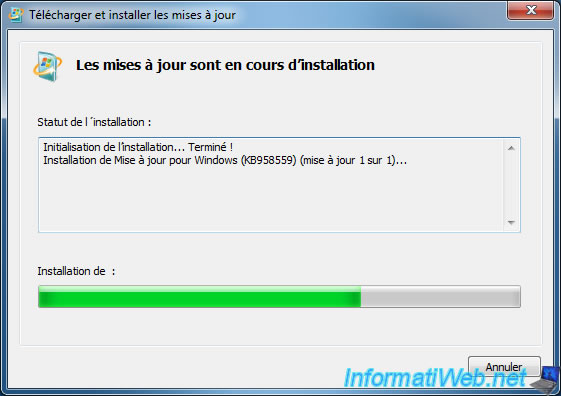
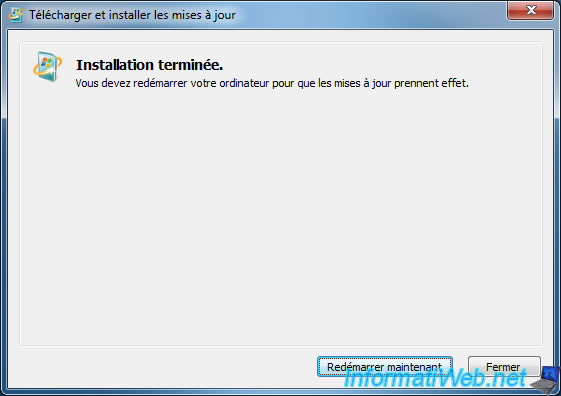
Then, restart your computer.
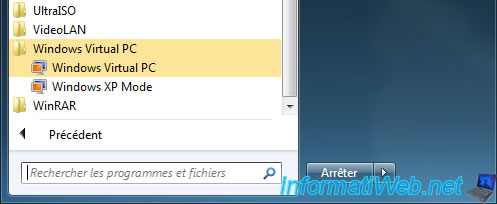
After restarting your computer, you will find a new "Windows Virtual PC" folder in the Windows 7 Start menu with 2 shortcuts :
- Windows Virtual PC : to access the list of your virtual machines (including XP mode)
- Windows XP Mode : to launch the "Windows XP Mode" virtual machine
Click on "Windows XP Mode".
Note : if you want to reset this installation of Windows XP one day, you will just have to uninstall the "Windows XP Mode" program installed on your Windows 7 PC, then reinstall it.
This will remove the "Windows XP Mode" virtual machine, as well as its virtual hard disk, and restore both items to their original configuration.
3. Configuring Windows XP Mode
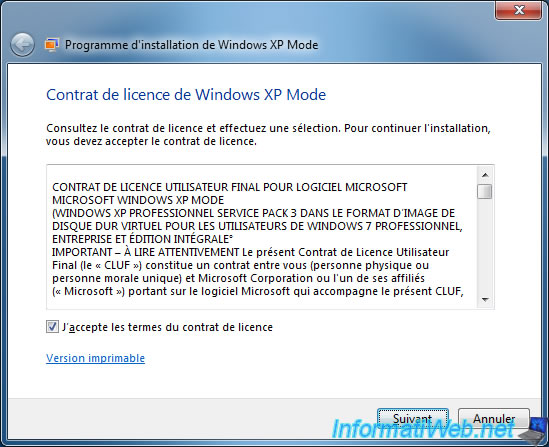
Check the "I agree..." box and click "Next".
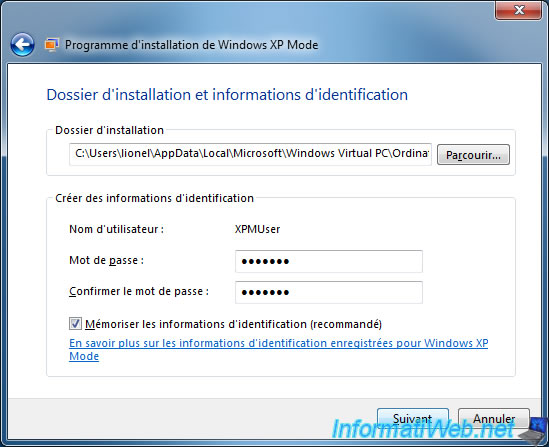
By default, an account named "XPMUser" (for XP Mode User) will be created in this virtual machine.
Enter a password for this user and choose whether you want the password stored.
In this case, the account will be password protected, but the integration features of Virtual PC will allow you to use this virtual machine without having to enter it.
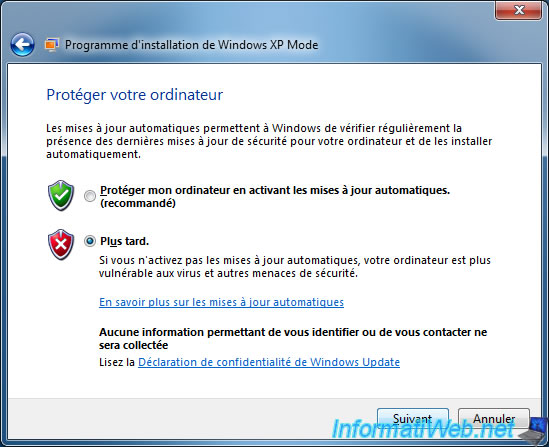
Choose whether you want to automatically install updates for Windows XP (knowing that anyway, this will never protect you 100% of hackers as the support of Windows XP is over).
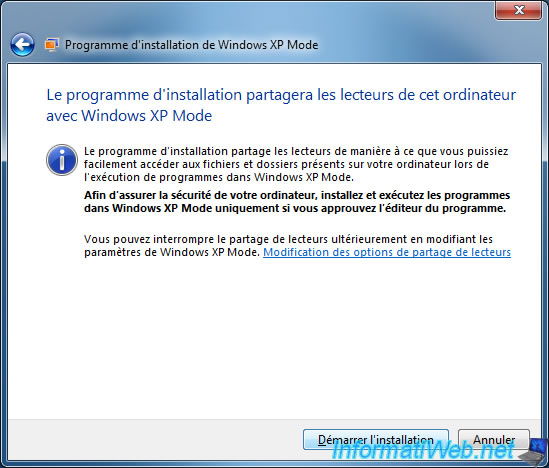
Click : Start installation.
Wait while setting up Windows XP Mode.
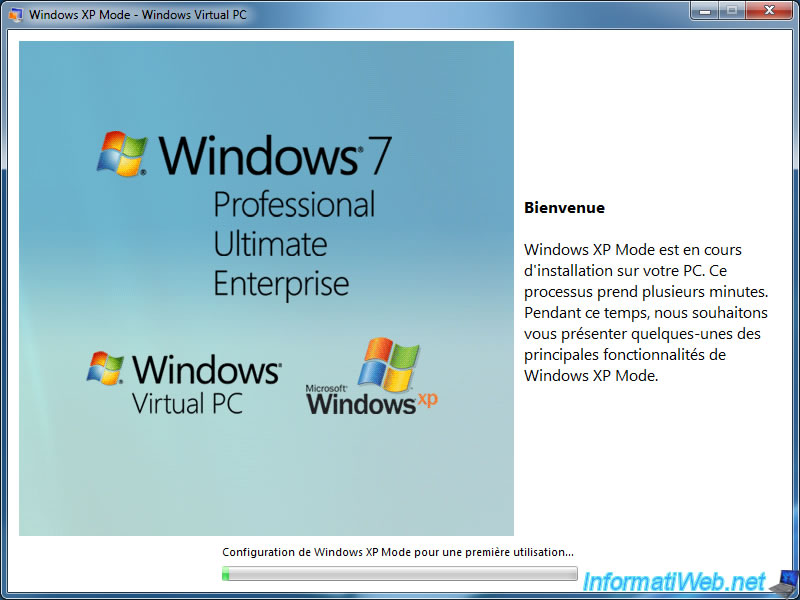
As you can see, the wizard will start the virtual machine in the background.
In fact, by default, Windows installation is generalized by Microsoft through sysprep, and the wizard will perform the rest of the configuration through an answer file (sysprep.inf).
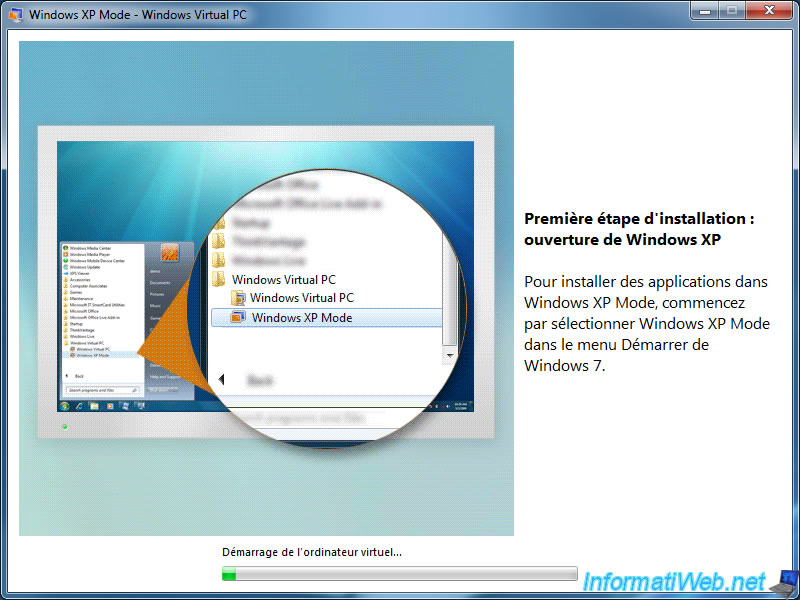
As you can see, you will be able to add applications (for example : programs that run on Windows XP, but that no longer work under Windows 7).
However, Windows Virtual PC will probably not allow you to play old games (unlike other newer virtualization solutions like VMware Workstation).
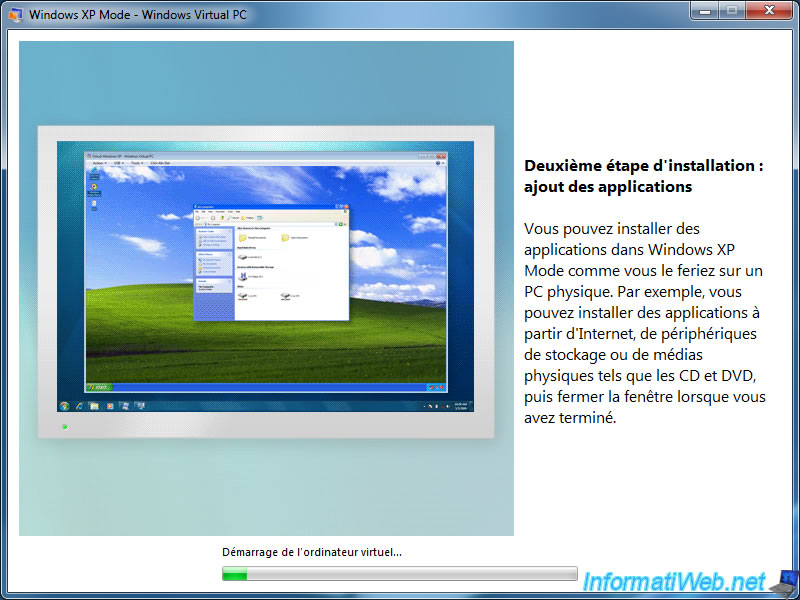
Thanks to the integration features that are automatically installed in this virtual machine, you will automatically find the shortcuts of the applications installed in it in the Windows 7 start menu.
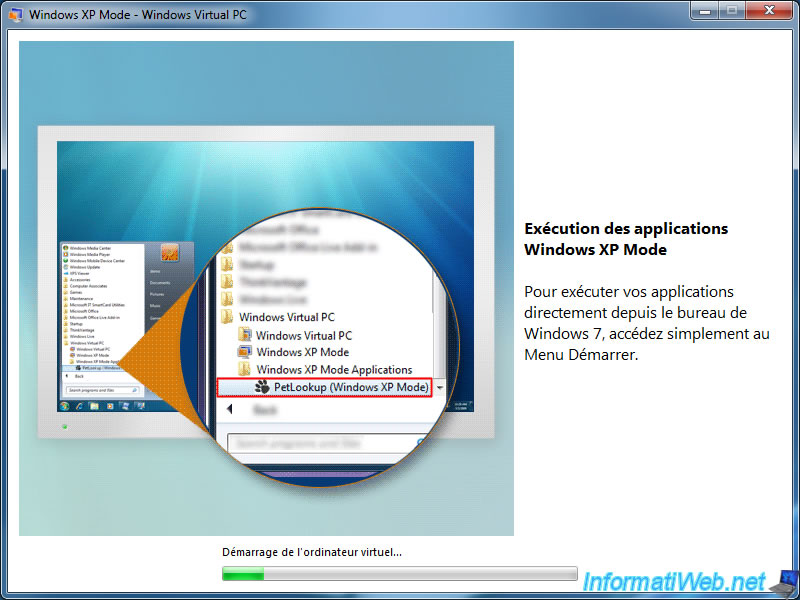
Once the Windows XP setup is complete, this window will close.
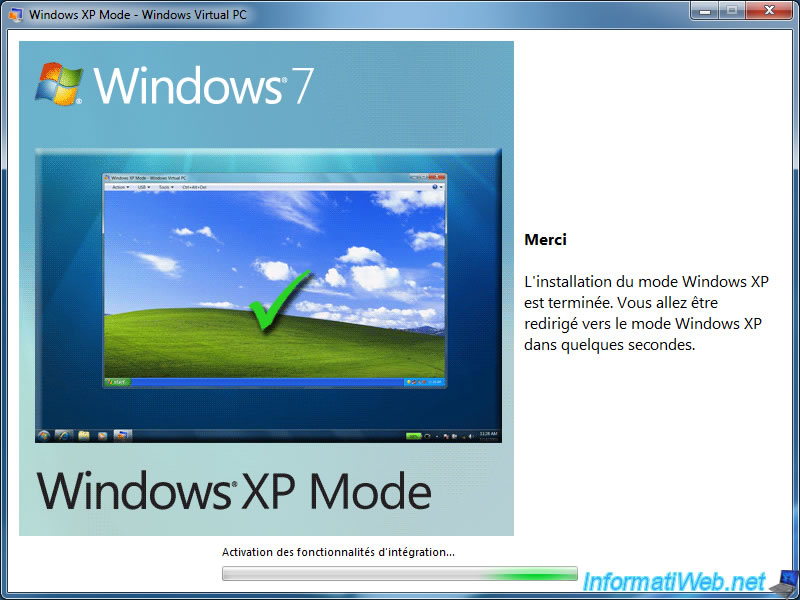
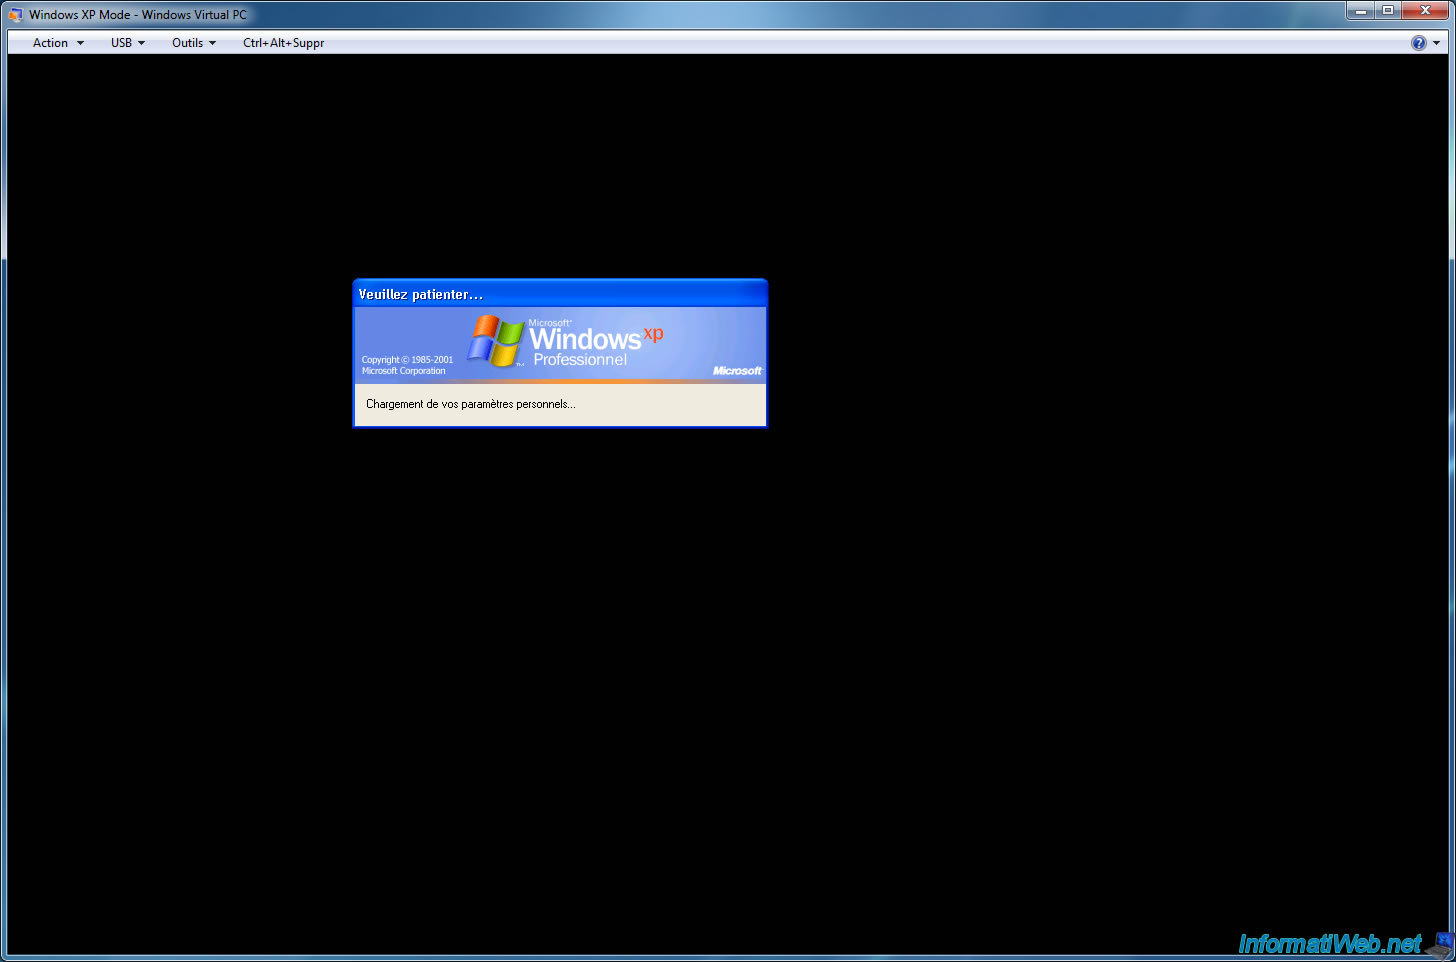
The Windows XP virtual machine appears and starts without problems.
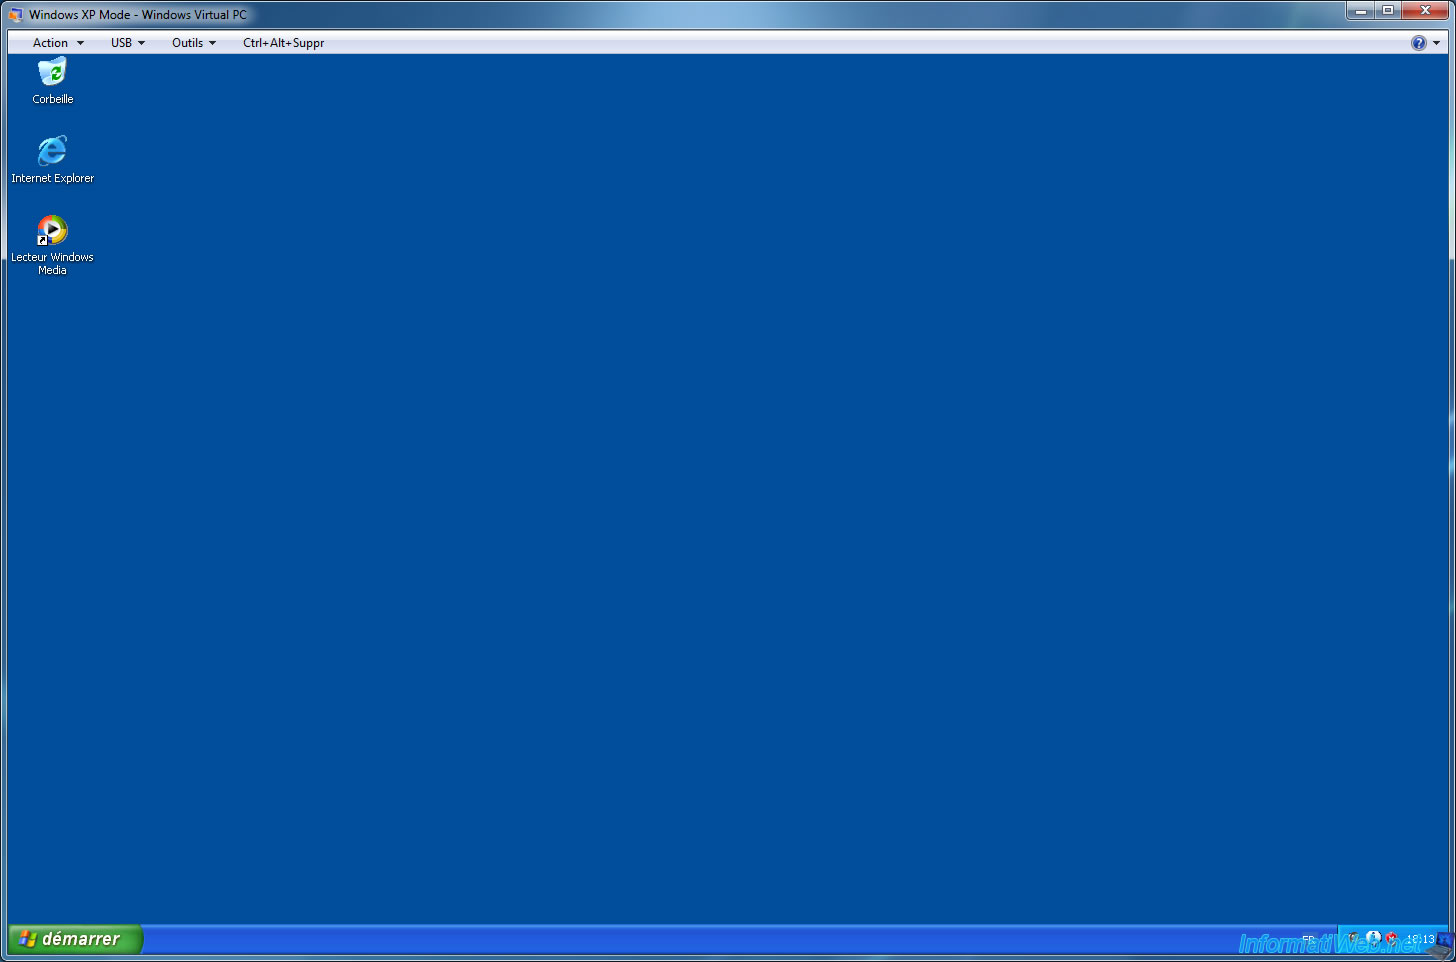
Here you are with a real installation of Windows XP SP3 legally pre-activated by Microsoft that will allow you to reuse your old programs without problems while maintaining the performance and security of Windows 7 for your everyday use.
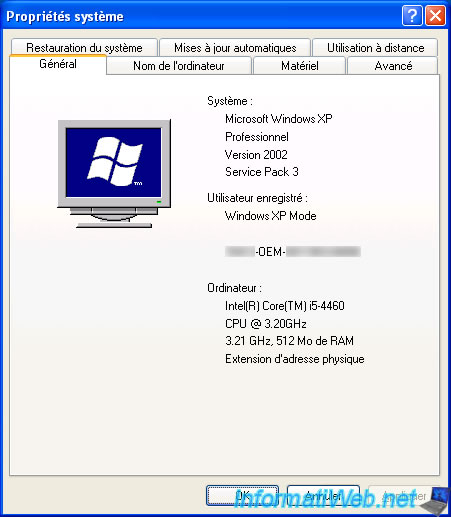
As you can see in the system properties of Windows XP, this is a SP 3 version of Windows XP and Windows XP is activated by the "manufacturer" of this computer (OEM).
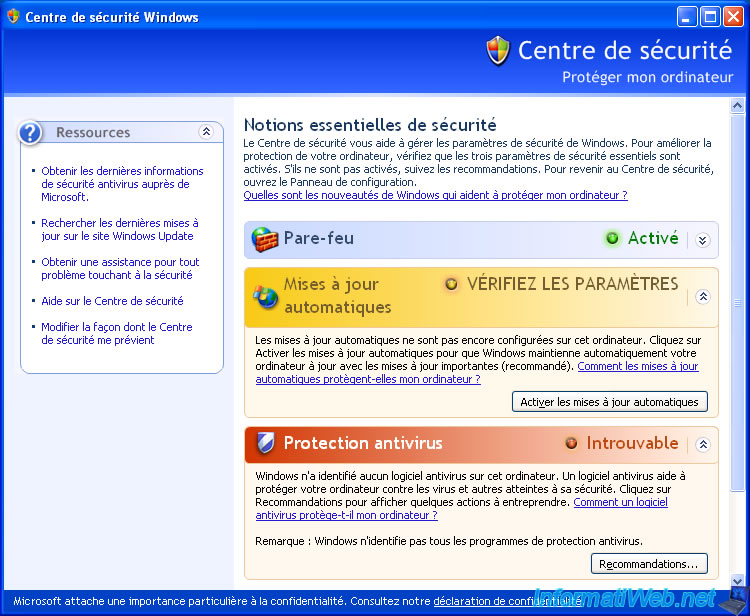
Since this is Windows XP SP 3, you will also benefit from the Windows XP SP 2 security center.
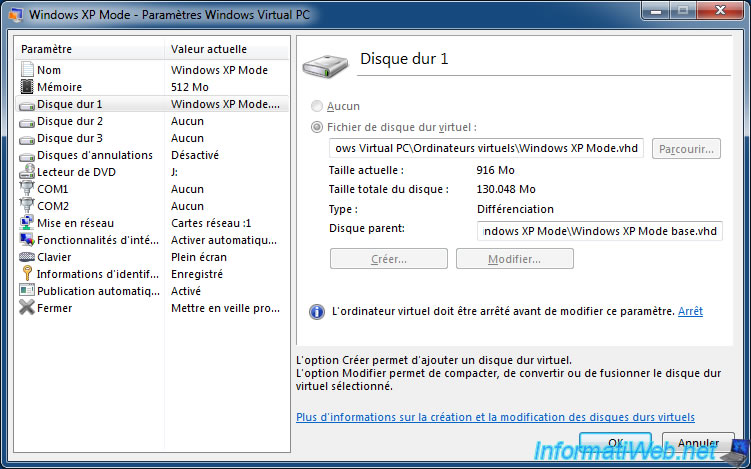
Open the settings for this virtual machine by clicking Tools -> Settings.

As you can see, by default, everything you add to this virtual machine will be stored in the "Windows XP Mode.vhd" virtual hard disk and not in the "Windows XP Base.vhd" base.
In case of formatting your physical PC, it will be necessary to save only the file "Windows XP Mode.vhd" (which contains only your data and applications installed in XP).
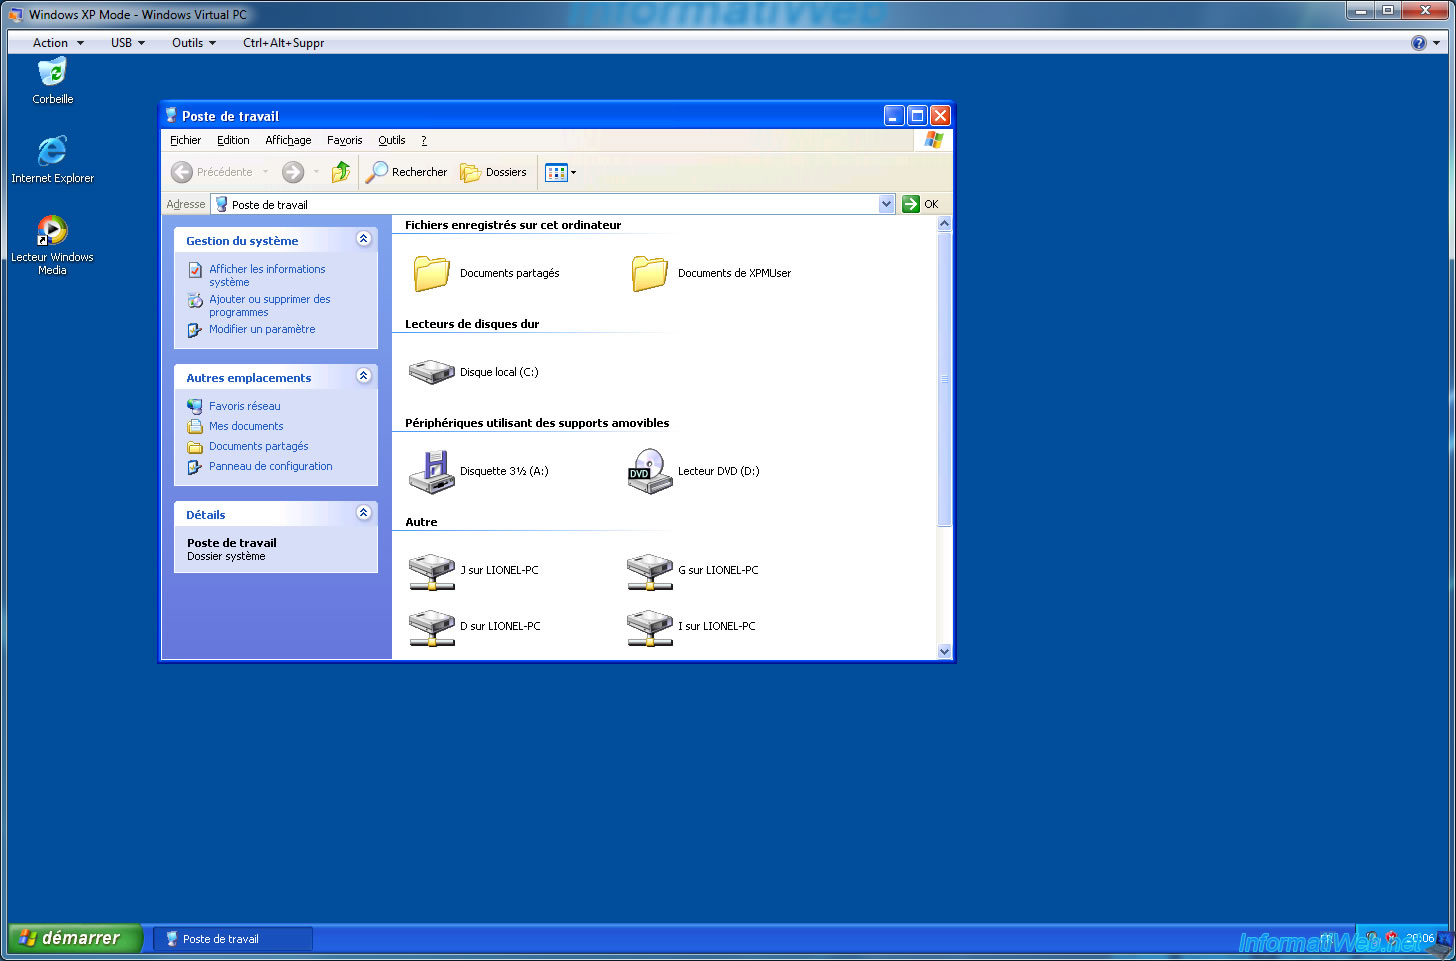
Be careful though to a "security breach" present by default in this XP mode.
Indeed, if you know a minimum of virtualization, you know that it is to run one or more machines independent of the host system (the physical PC) and that they are therefore completely isolated from the host system.
Except that in the case of Windows XP Mode, Microsoft preferred the ease of use, rather than security.
Which means that, by default, you have access to all the partitions of your physical PC from this virtual machine.
If you launch a virus in this virtual machine, it will have the opportunity to infect all files on your physical PC.
To remedy this problem, first install an anti-virus in this virtual machine (a free anti-virus will be enough).
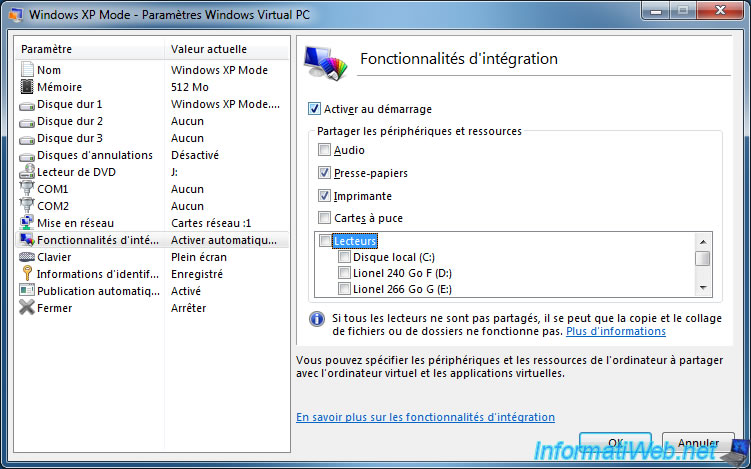
Then, you have 2 possibilities.
The first is to completely disable the integration features. But this will also disable clipboard sharing, which can be a hassle if you want to copy/paste files or programs from your physical PC to this virtual machine.

The other, more practical solution is to uncheck the "Drives" checkbox in the "Integration Features" section.
You can also disable the automatic publishing of virtual applications in the "Auto Publish" section.
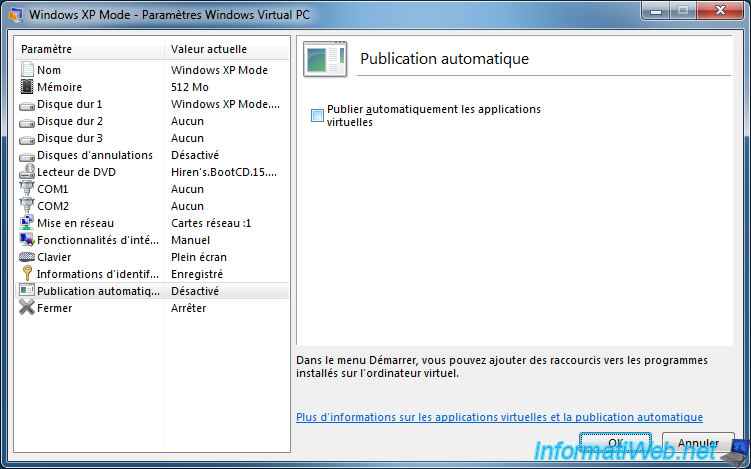
Note that the changes made will be taken into account the next time the virtual machine is started.
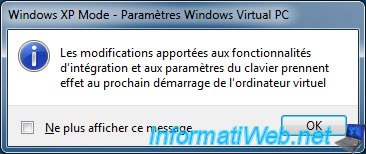
What Microsoft doesn't say is that you must shut down the virtual machine, and then restart it, not restart it or close the window (which, by default, puts Windows XP in hibernation instead of shuting down the VM).
To turn it off completely (shut down Windows XP completely), use the "Run" option of Windows XP and type this in the box :
Batch
shutdown /s -t 0
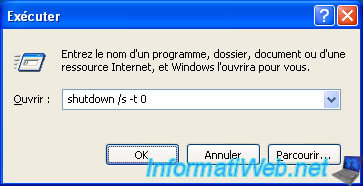
The virtual machine stops.

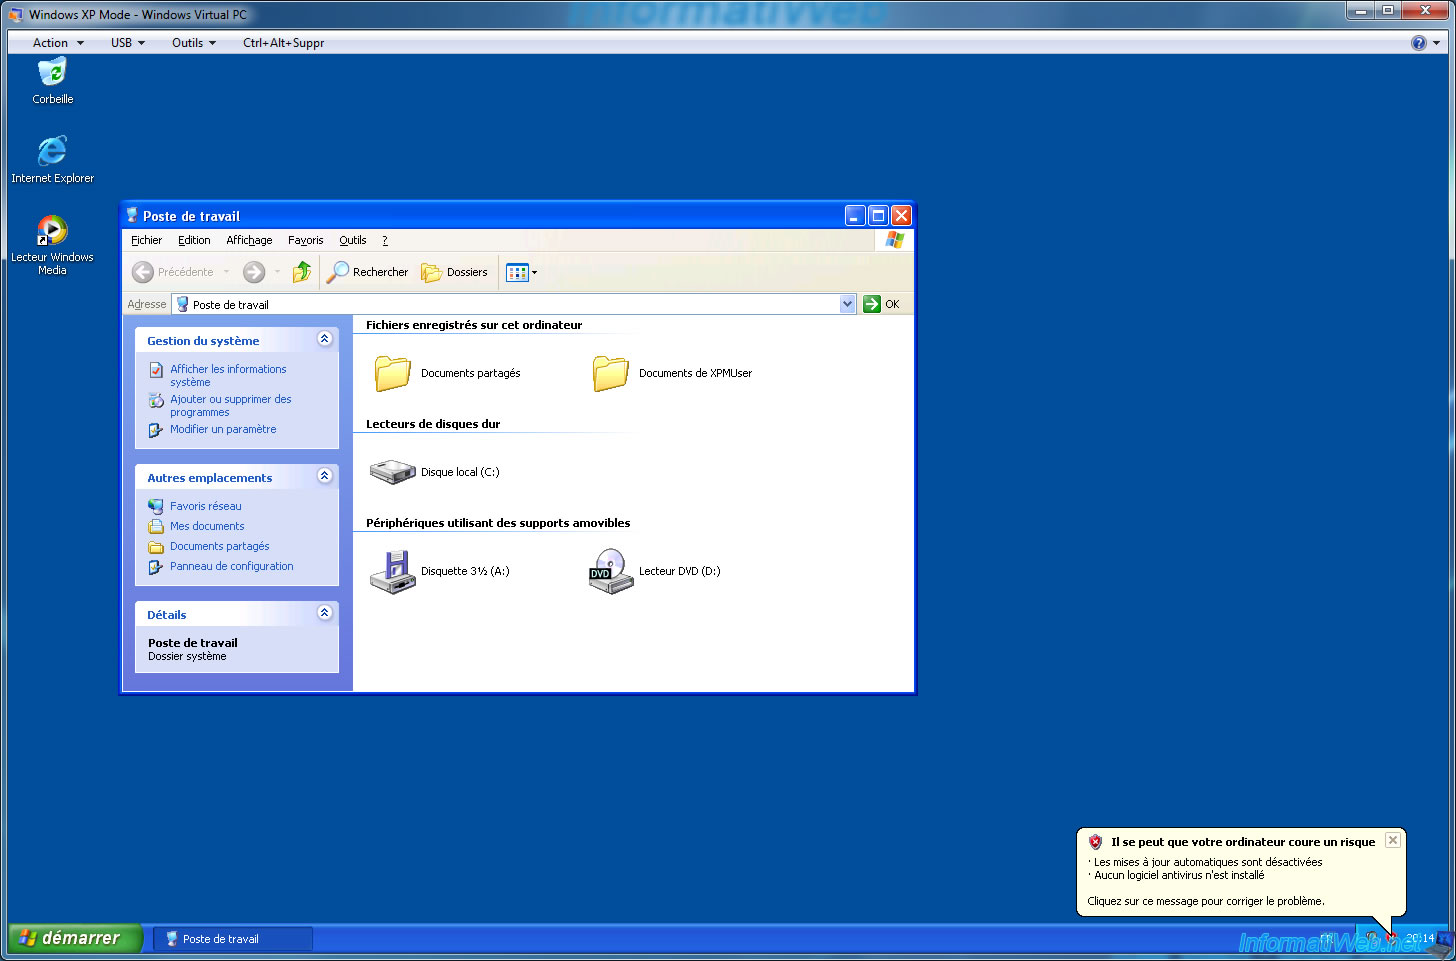
Then, restart the "Windows XP Mode" virtual machine from the Windows 7 start menu and open the workstation.
As expected, the drives (partitions) of your physical PC are no longer accessible from the virtual machine.
Share this tutorial
To see also
-

Windows 11/22/2012
Windows XP - Create a bootable USB key to install Windows
-
Windows 11/11/2012
Windows XP - Formatting and reinstalling
-

Windows 4/7/2012
Windows XP - Use a Bluetooth headset
-

Windows 1/7/2010
Windows XP - Windows Search - Search engine
You must be logged in to post a comment