Virtualize Windows XP SP3 for free with Windows XP mode of Windows 7
- Virtualization
- Windows XP
- 09 August 2019 at 17:11 UTC
-

- 2/2
4. Reactivate the Windows XP home screen
If you have known Windows XP, you know that, by default, Windows XP is supposed to offer you to choose between the different user accounts created on the computer in Windows XP.
But, this is not the case by default in Windows XP Mode.
This is due to the Virtual PC integration features that bypass this feature and you will need to disable them completely if you want to reuse this home screen.
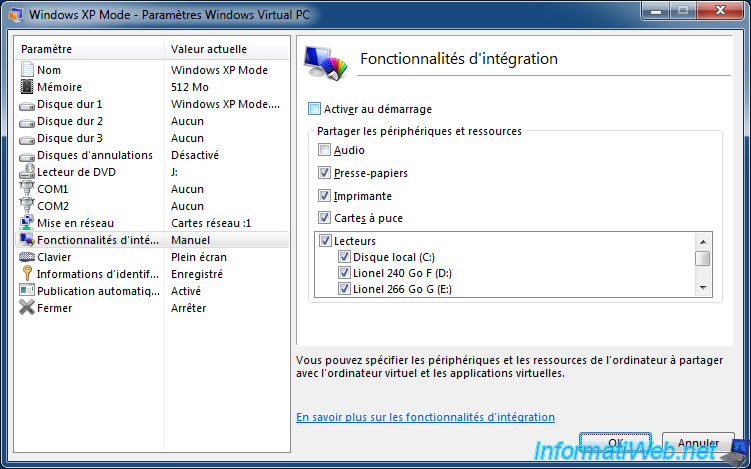
After the integration features are disabled, open the Windows XP control panel and click : User Accounts.
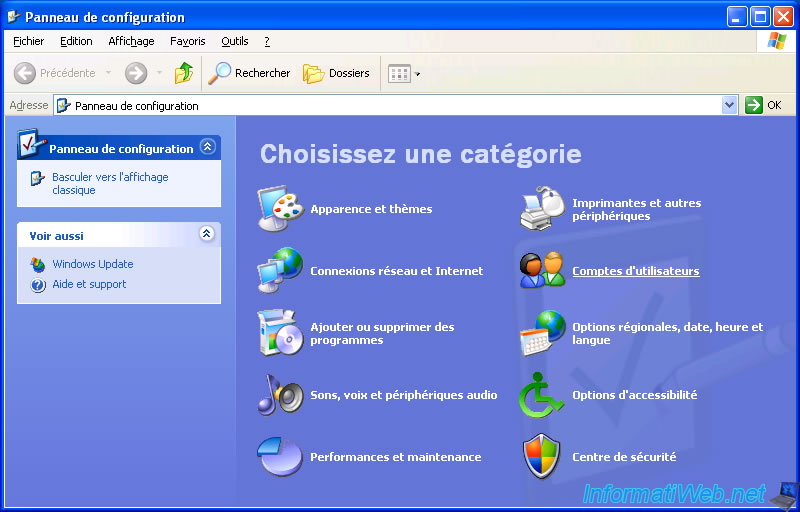
Click : Change the way users log on or off.
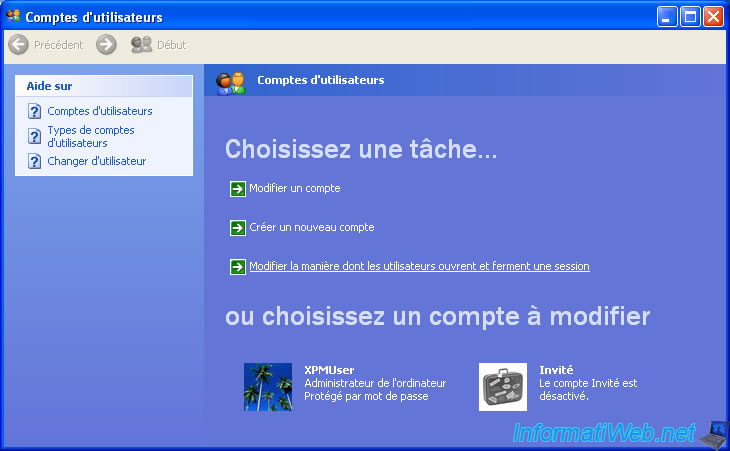
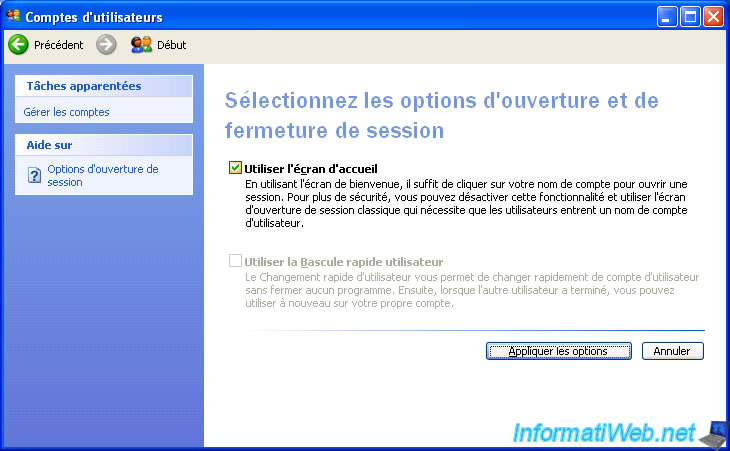
Check the box next to "Use the Welcome screen" and click : Apply Options.
For the offline files window, click Cancel.

Then, for the integration features to be truly disabled, you will need to shut down and then restart the virtual machine.
To do this, open the Windows Task Manager (via the "CTRL + ALT + DEL" keyboard shortcut), then click : Shut Down -> Turn Off.
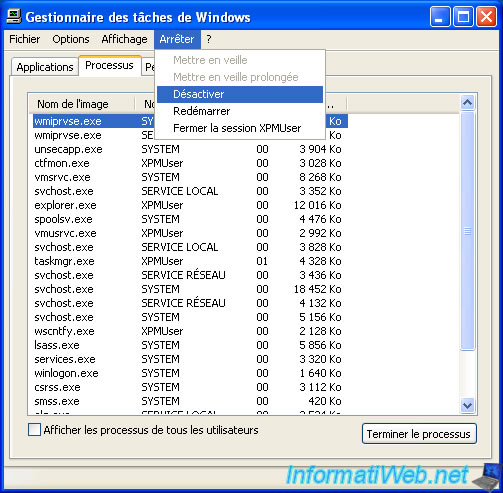
Click Yes to confirm the shutdown of Windows.

Start the virtual machine again.
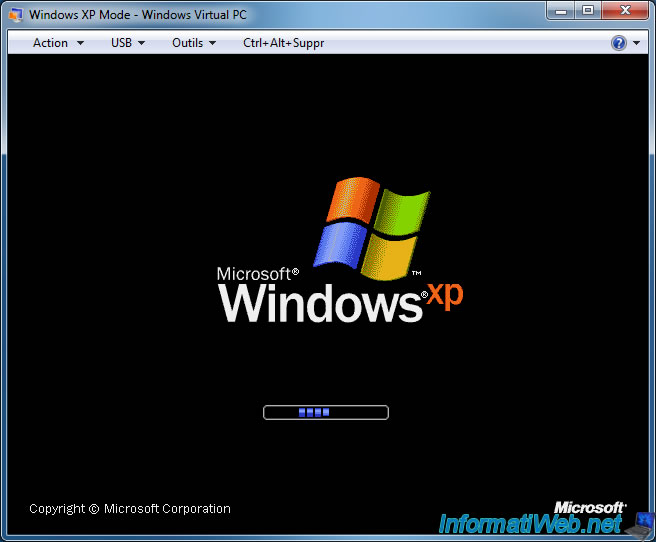
And the home screen of Windows XP appears.
However, because the integration features are disabled, you will no longer be automatically logged in to your XPMUser account with the password specified at installation.
From now on, you will have to type it manually.
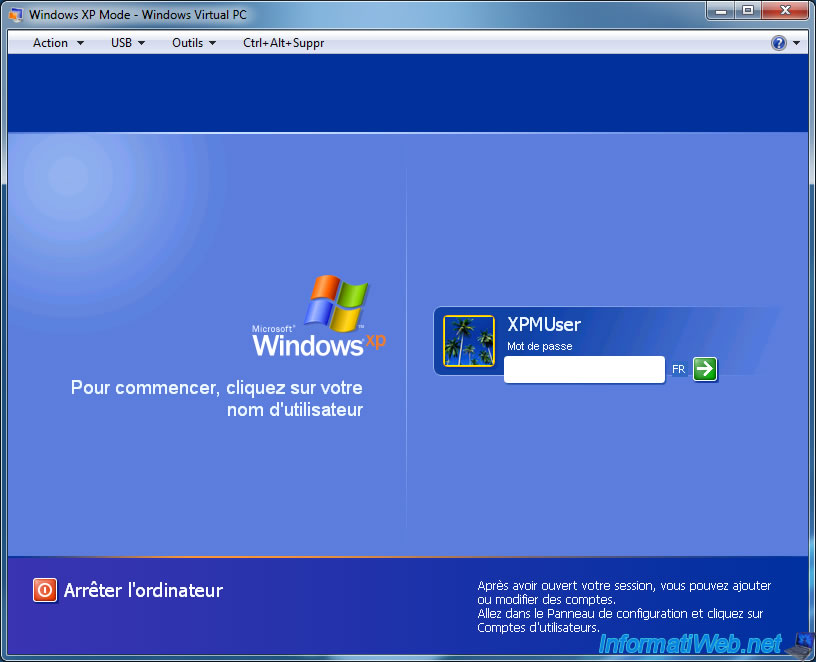
The resolution of the computer may also have changed.
To restore it, right click "Properties" on the desktop.
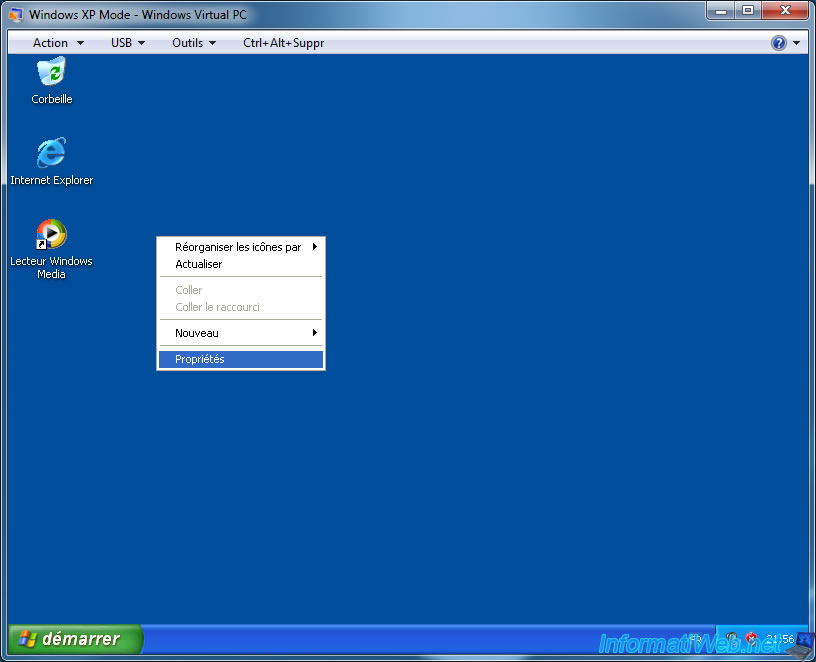
Then, in the "Settings" tab, choose the desired resolution.
For example : 1024x768.
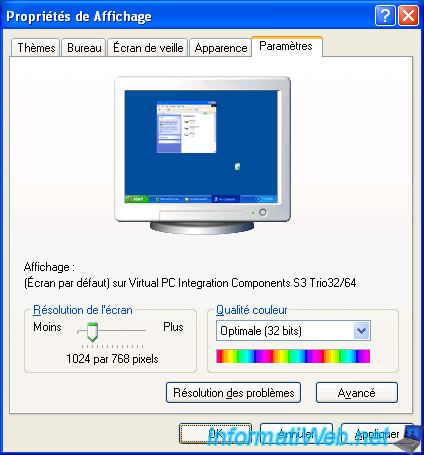
The resolution is changed.
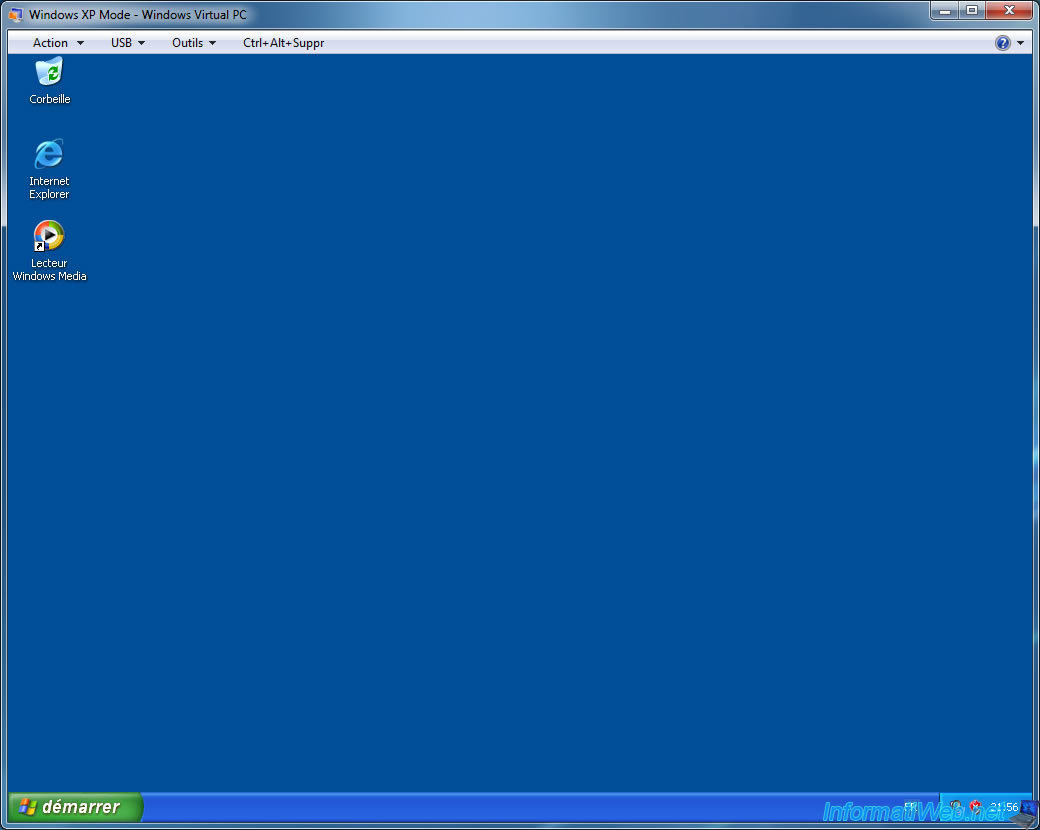
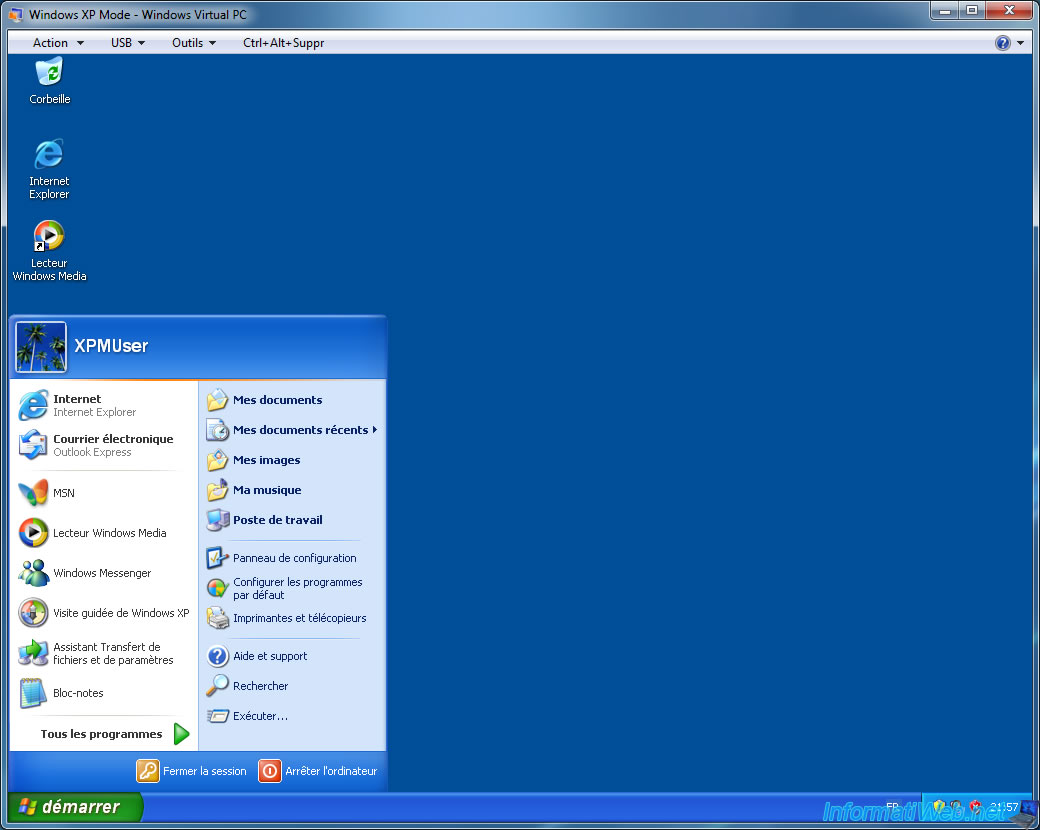
Disabling the integrations features will also have the effect of no longer altering the configuration of the Windows XP start menu.
So, you will find the default "Log Off" and "Turn Off Computer" options, instead of the single button "Log Off" displayed by these integration features.
5. Uninstall Windows XP Mode
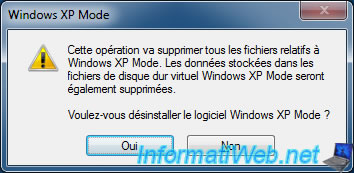
To completely uninstall Windows XP Mode, as well as to remove the virtual machine with the same name and associated virtual hard disk, you will need to shut down the virtual machine (or hibernate) and uninstall the "Windows XP Mode" program.
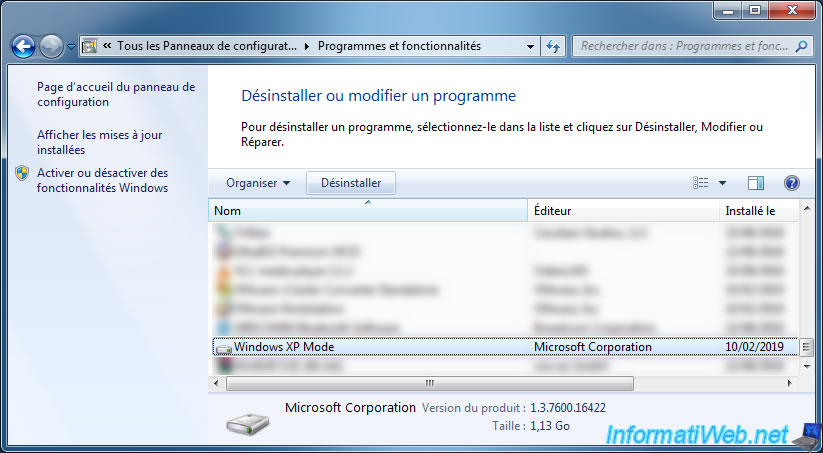
As the wizard will tell you, this will also delete all the files related to Windows XP Mode and files in the virtual hard disks used by Windows XP Mode.
Click Yes.
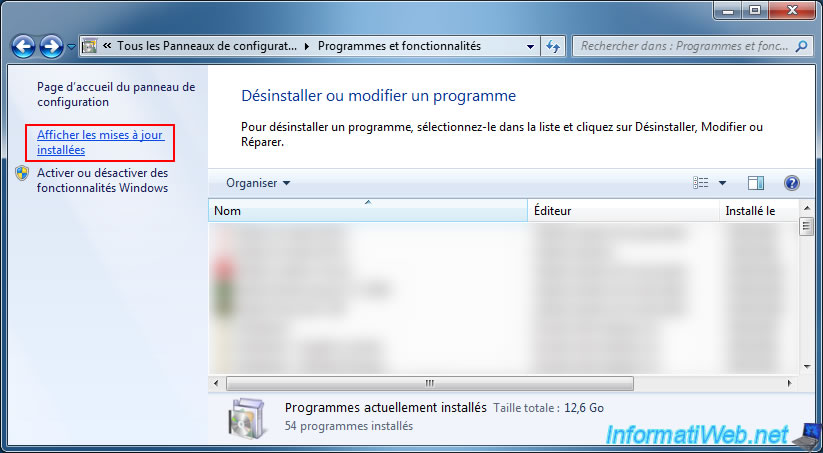
However, you will not find Windows Virtual PC in the installed programs.
Indeed, if you remember when you installed it, it was not a classic installation program, but an update in msu format.
To uninstall it, you will have to click on "View installed updates" in the menu on the left.
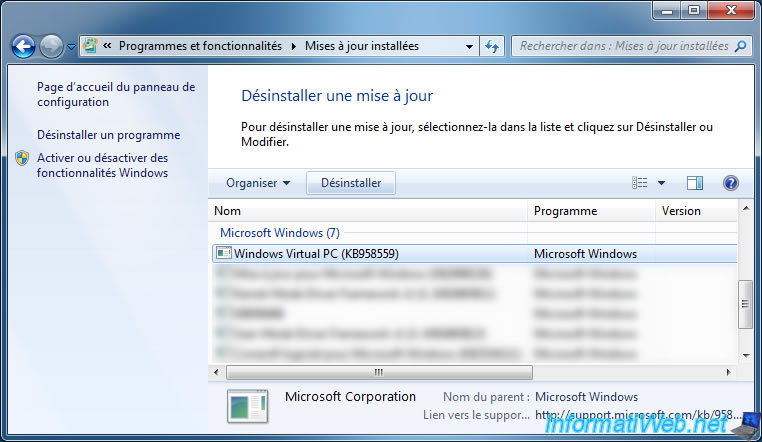
Select the "Windows Virtual PC (KB958559)" update from the list of installed updates, and then click Uninstall.
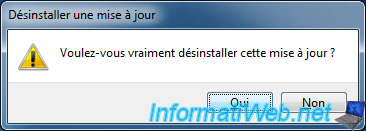
Click Yes to uninstall it.
Wait while uninstalling the update.
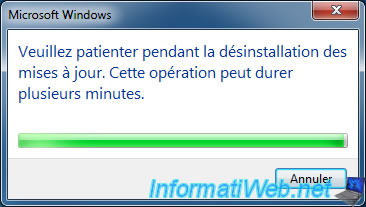
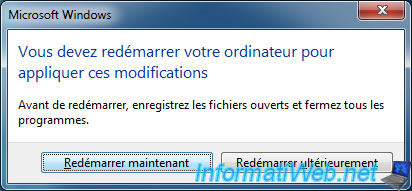
Then, restart your computer.
Note that Windows will automatically finish uninstalling this update when the computer restarts.
Share this tutorial
To see also
-
Windows 12/25/2012
Windows XP - Install Windows XP on a SATA hard disk
-
Windows 12/4/2015
Windows XP - System restore
-

Windows 1/8/2020
Windows XP - Update your install CD easily
-

Windows 4/7/2012
Windows XP - Use a Bluetooth headset
No comment