- Windows
- Windows XP
- 08 January 2020 at 21:09 UTC
-


When you have an original Windows XP CD, it's often out of date. Nevertheless, Microsoft allows you to update your installation CD from a service pack downloaded from its website.
Although you can do it from the command line, you can also use a very useful free tool named nLite.
1. Extract the files from the installation CD
In our case, we have a Windows XP SP1 CD.
If you have the CD handy, insert it into your computer's CD/DVD drive and copy the contents to a folder on your computer.
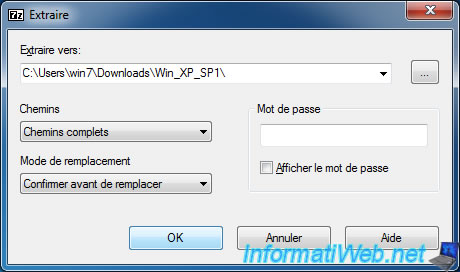
If you have the iso-format CD on your computer, you can extract the contents with any compression software (such as 7-Zip that is free) or use iso file editing software.
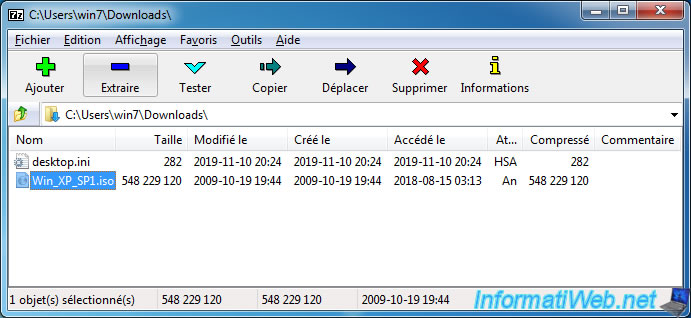
In our case, we will extract the contents of our "Win_XP_SP1.iso" file into this folder : C:\Users\win7\Downloads\Win_XP_SP1\
2. Updating the installation CD via nLite
To integrate a service pack (and/or updates, drivers, ...) in the Windows XP installation CD, the easiest way is to download nLite.
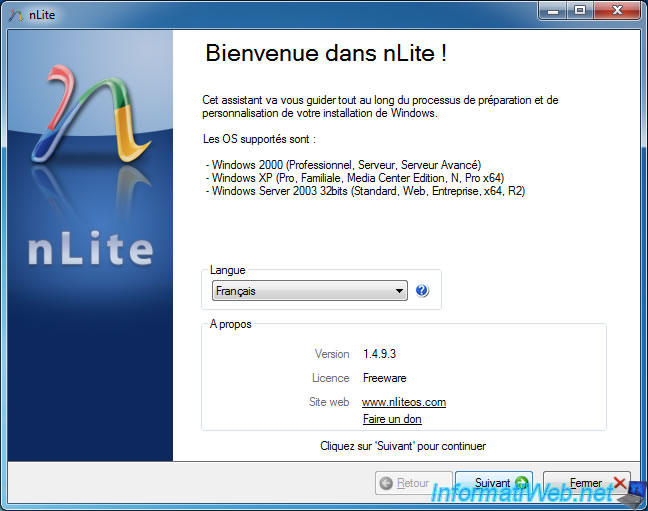
Install the program, launch it, select the "English" language and click Next.
Click Browse.
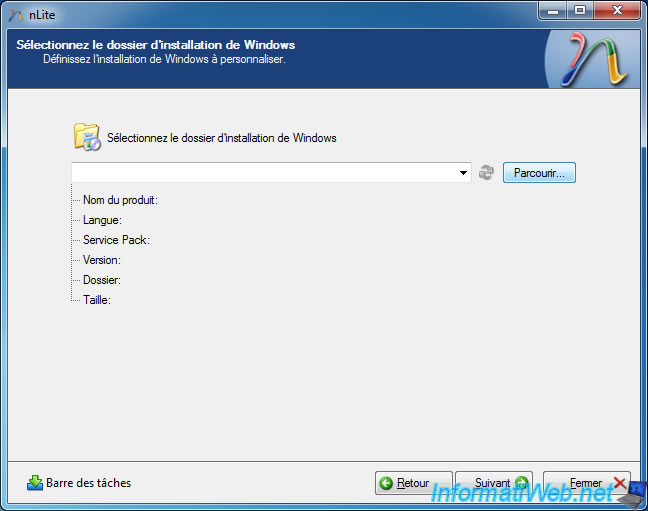
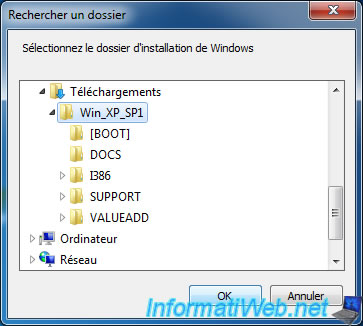
Select the folder where you extracted the contents of the original Windows XP CD and click OK.
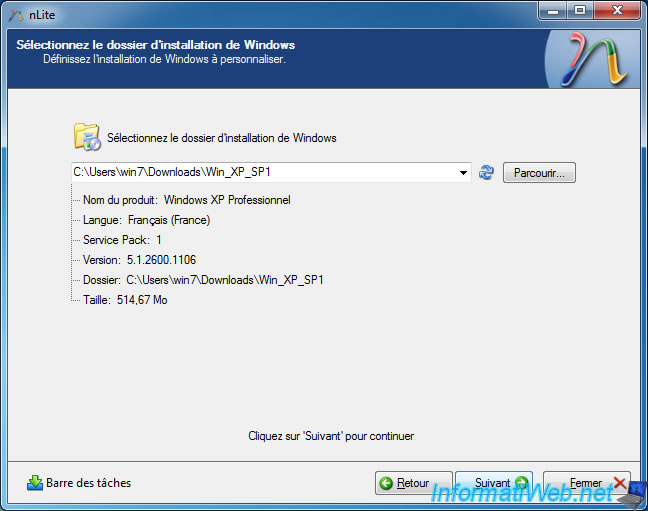
Note : the [BOOT] folder doesn't exist by default on the Windows XP CD. It was created by 7-Zip and contains a copy of the boot sector of the CD. But, you will not need it with nLite.
nLite will detect :
- the product name : Windows XP Professionnal (in our case)
- the language
- the integrated service pack in this one : 1
- the version of the CD
- the folder you just selected
- the size of this folder
Click Next.
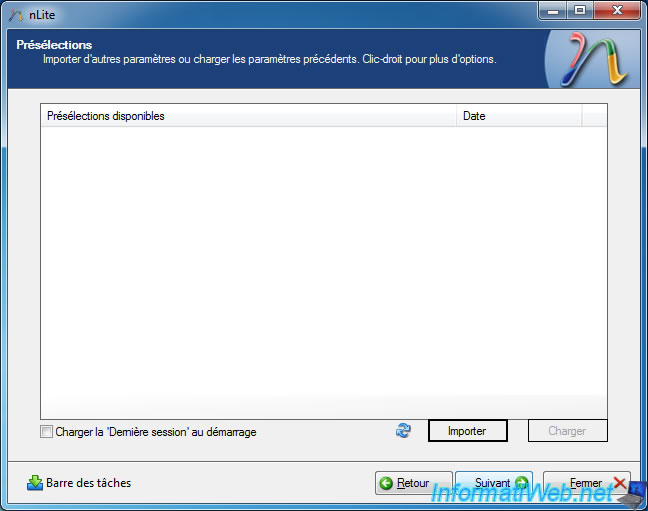
Ignore the "Presets" step by clicking Next.
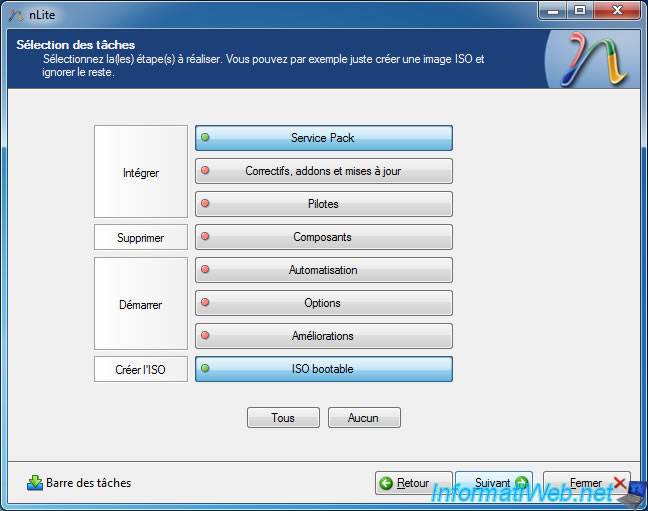
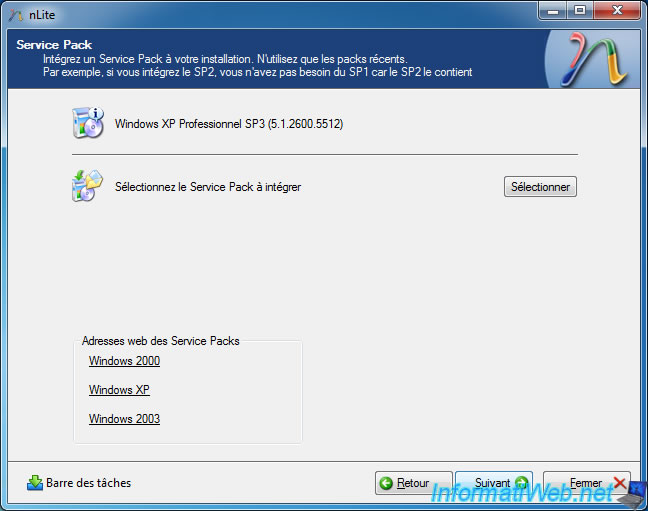
Enable the "Service Pack" and "Bootable ISO" options by clicking the corresponding buttons, and then click Next.
For now, nLite tells us that we have : Windows XP Professional SP1 (5.1.2600.1106).
Click Select and select the previously downloaded service pack from the Microsoft Update Catalog :

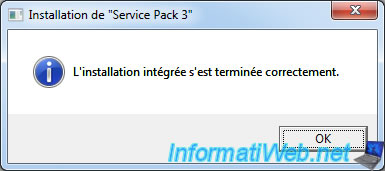
Once selected, you will see a "Extracting Files" window appear.
In fact, nLite simply uses the "/integrate" parameter implemented by Microsoft in these service packs for Windows XP.
Which amounts to doing this (depending on the service pack to integrate) :
Batch
WindowsXP-KB835935-SP2-FRA.exe /integrate:C:\Users\win7\Downloads\Win_XP_SP1
WINDOWSXP-KB936929-SP3-X86-FRA.EXE /integrate:C:\Users\win7\Downloads\Win_XP_SP1

As you can see, this is an integrated installation and not a typical installation.
Now, nLite tells you that you have the SP3 version of Windows XP.
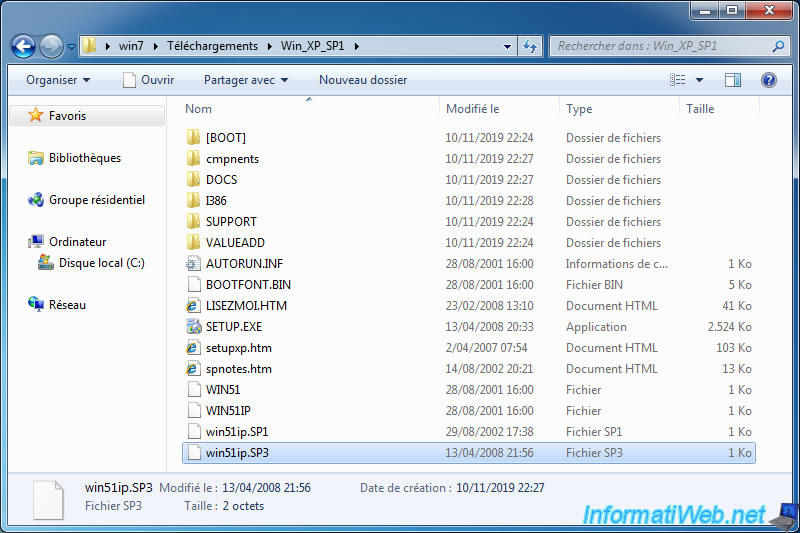
If you look at the contents of the selected folder in nLite, you will see that a "win51ip.SP3" file has appeared.
Which simply indicates that SP3 has been added to this CD.
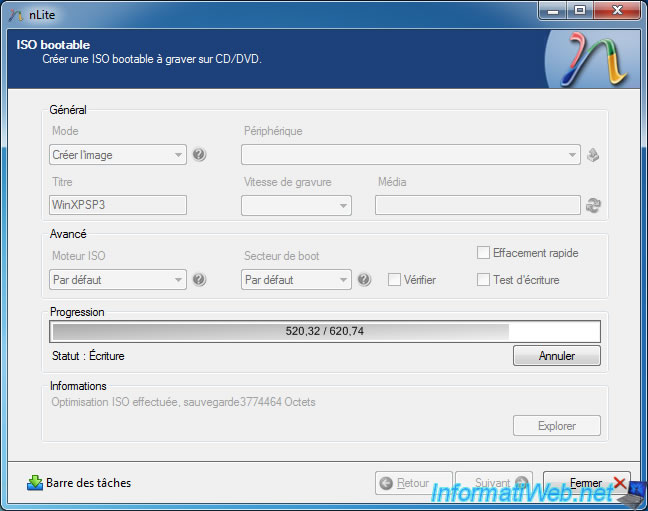
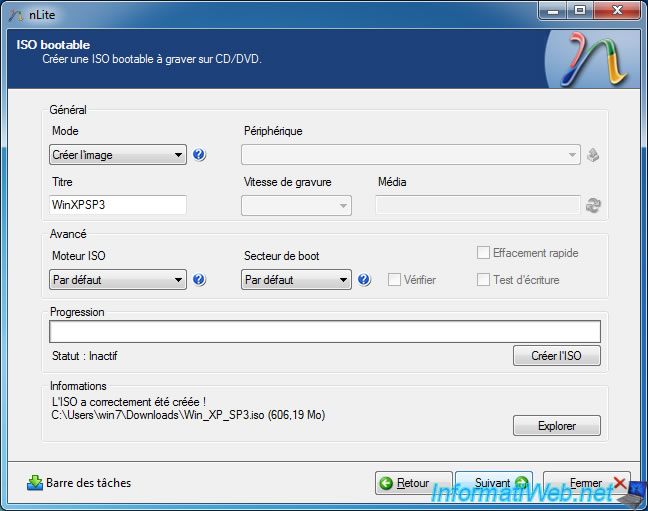
In nLite, click Next at the "Service Pack" step, and then click on the "Create ISO" button at the "Bootable ISO" step.
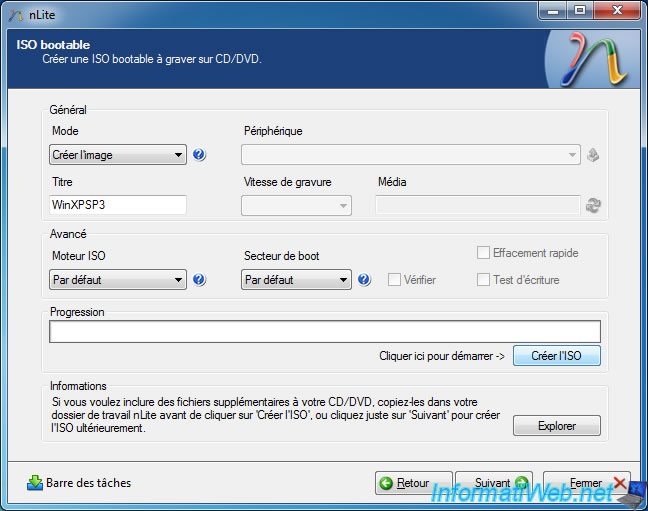
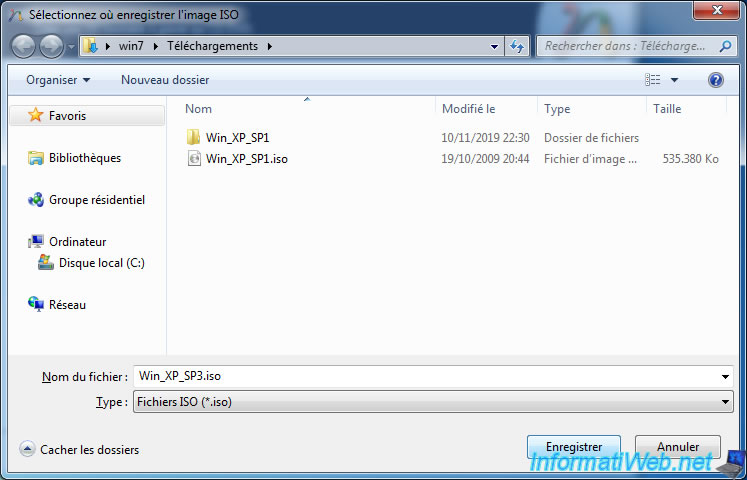
Enter a name for the new iso file.
In our case : Win_XP_SP3.iso.
Wait while writing the iso file.
Click Next.
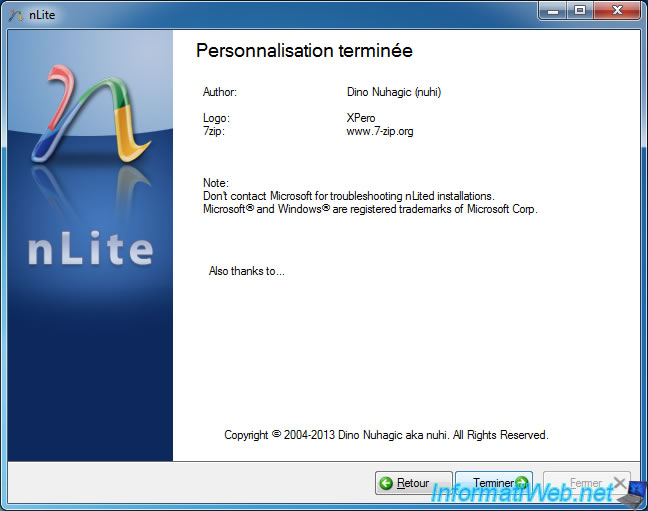
The "Customization complete" message appears.
Share this tutorial
To see also
-

Windows 11/3/2013
Windows XP - Connect to a Wifi network
-

Windows 11/22/2012
Windows XP - Create a bootable USB key to install Windows
-

Windows 11/11/2012
Windows XP - Formatting and reinstalling
-

Windows 4/7/2012
Windows XP - Use a Bluetooth headset
You must be logged in to post a comment