- MultiBoot
- Windows XP
- 11 March 2024 at 14:50 UTC
-

- 1/3
If you want to upgrade to Windows 7, but you have old games and/or software that only works on Windows XP, you have 2 options:
- use the XP mode available on Windows 7
- virtualize Windows XP with VirtualBox (free) or with VMware Workstation (paid)
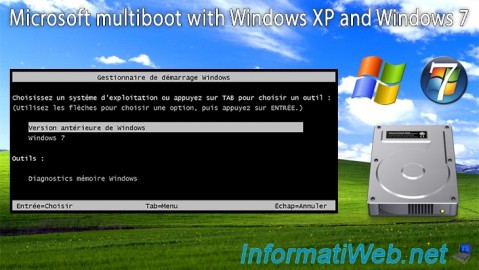
- install Windows XP and Windows 7 on the same multiboot computer. So that you can easily boot into either version of Windows each time you start your computer.
The main one being to install Windows XP first on the 1st partition (important so that the partition has the letter "C"), then install Windows 7 second on the 2nd partition (which will automatically get the letter "C" when you will start on this new version of Windows).
Indeed, since Windows 7, Windows automatically assigns the letter "C" when you start on it. Which was not the case before (on Windows XP and earlier).
Important : this is only possible on old computers (or VMs) since you must have the drivers for Windows XP and Windows 7 compatible with your computer.
- Install Windows XP
- Install Windows 7
- Manage the boot menu on Windows 7 (to change the default OS)
- Manage the boot menu on Windows XP (to change the default OS)
1. Install Windows XP
If you want to create a multiboot with Windows XP and Windows 7, it is essential to install Windows XP first.
Important : indeed, this old version of Windows must always be installed on the 1st partition of your hard disk so that Windows XP obtains the letter "C".
Otherwise, games and/or software that rely on the "C:\Windows" path (which is the default path for all versions of Windows) rather than on the environment variable (which allows dynamically and correctly obtain the Windows folder path) will not be able to find the Windows folder. This will cause various problems, including the non-detection of certain system DLLs, for example.
To do this, insert the Windows XP installation CD and configure the boot order in your motherboard's BIOS so that your computer boots first to the CD/DVD drive, then to your hard drive (where you want install Windows XP and 7).
If your computer boots correctly on the Windows XP installation CD, you will see this screen appear.
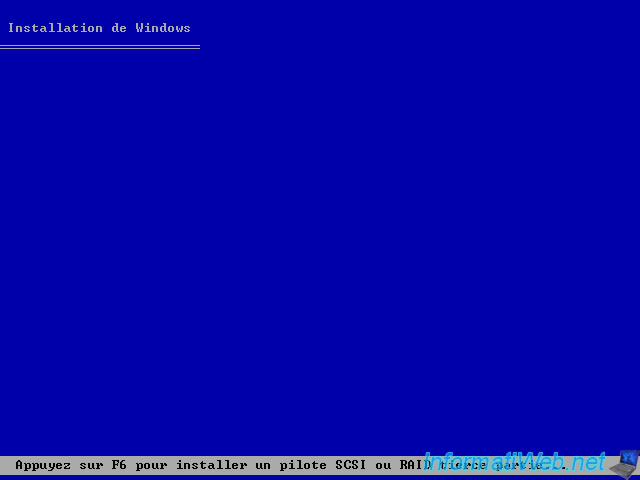
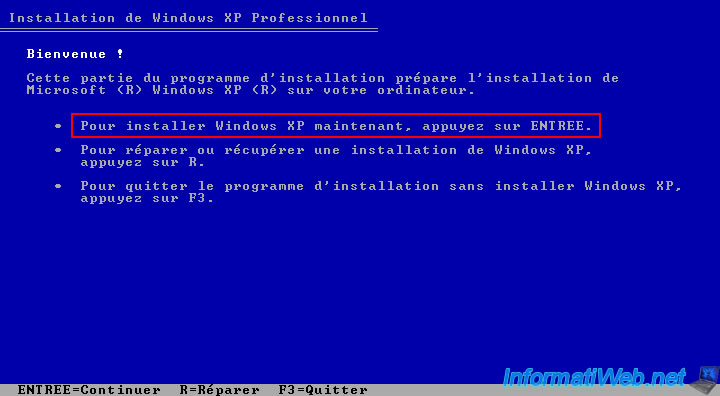
Wait a bit and the Windows XP installation menu will appear.
Press Enter.
In our case, we are using a blank hard disk (on which there is therefore no partition).
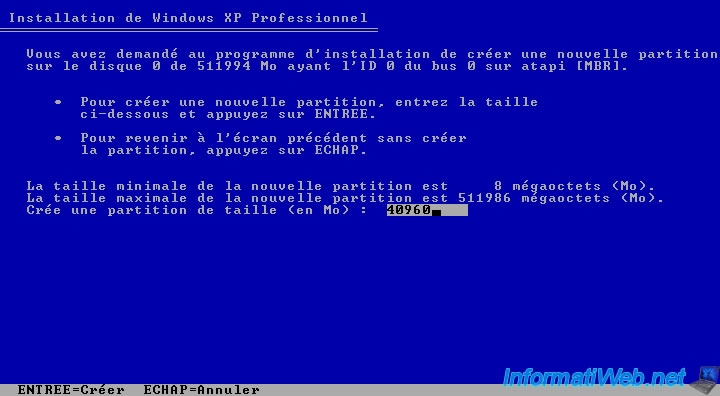
To begin, press "C" to create a new partition on this blank hard drive.
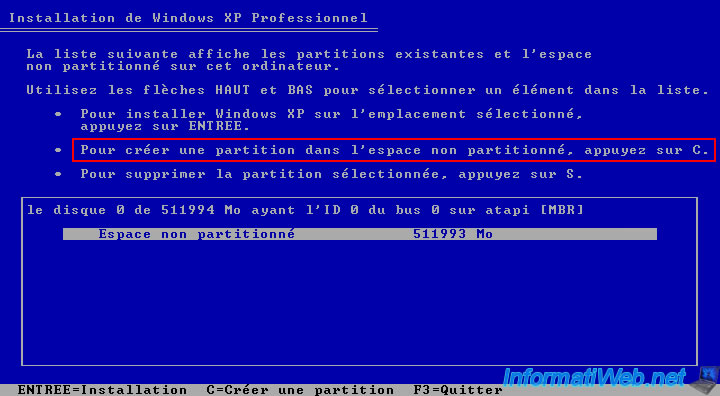
Specify "40960" MB to create a 40 GB partition (40 x 1024 MB = 40960 MB = 40 GB).
Which is more than enough for Windows XP since this version of Windows is very light.
However, the size needed for this partition also depends on the programs you want to install on this version of Windows.
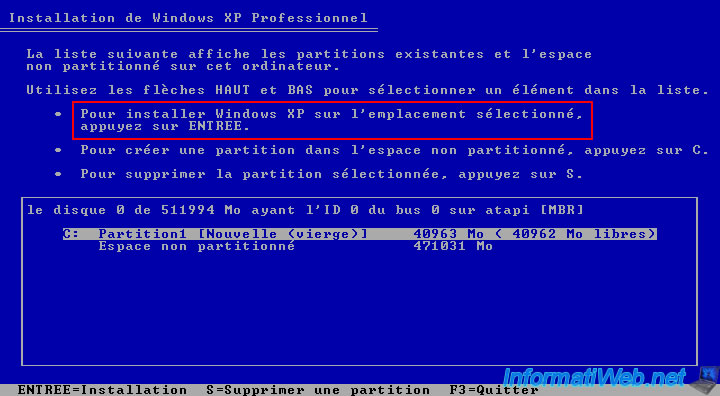
As you can see, there is currently only one partition on your hard drive.
You will create the others later.
As expected, Windows XP Setup assigned the letter "C" to your partition.
If so, press Enter.
Warning : as a reminder, Windows XP must be installed on the 1st partition of your hard disk so that the letter "C" is correctly assigned to this partition.
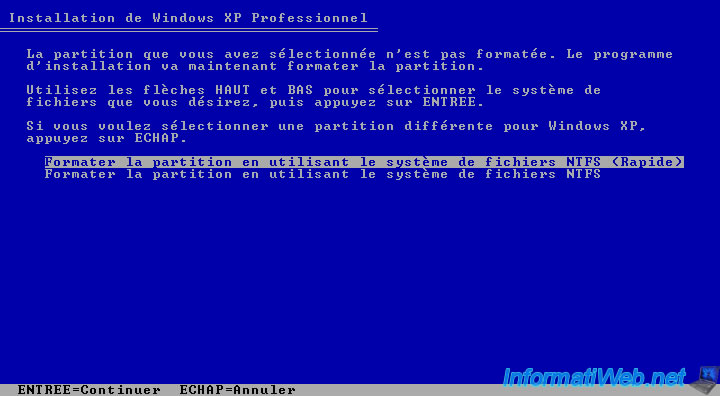
Select the line "Format the partition ... NTFS ... (Quick)".
The Windows XP installer formats the partition you selected.
Which means that its content is erased and the file system (in this case: NTFS) is created on it.
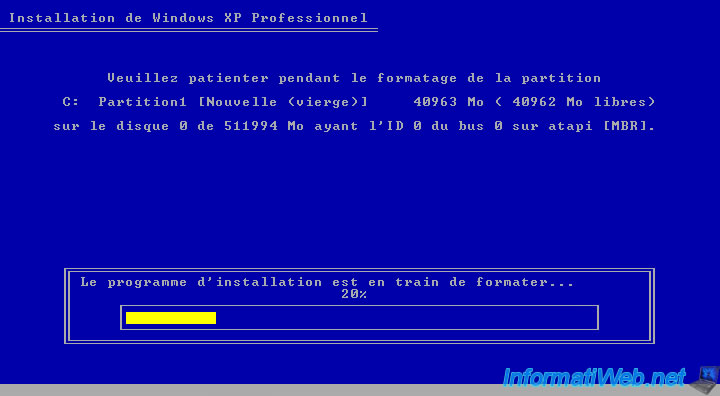
Next, the installer copies the Windows XP files.
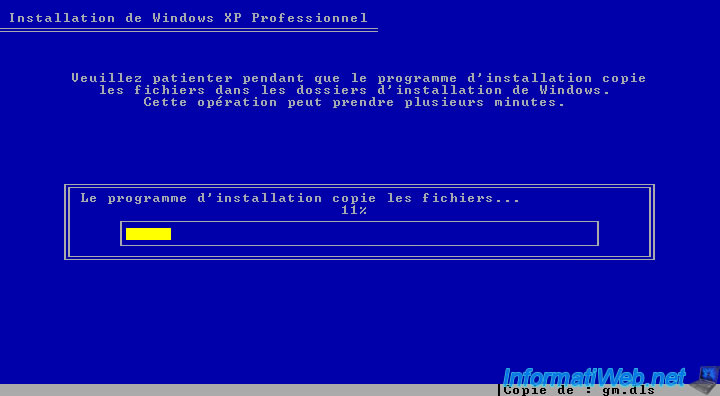
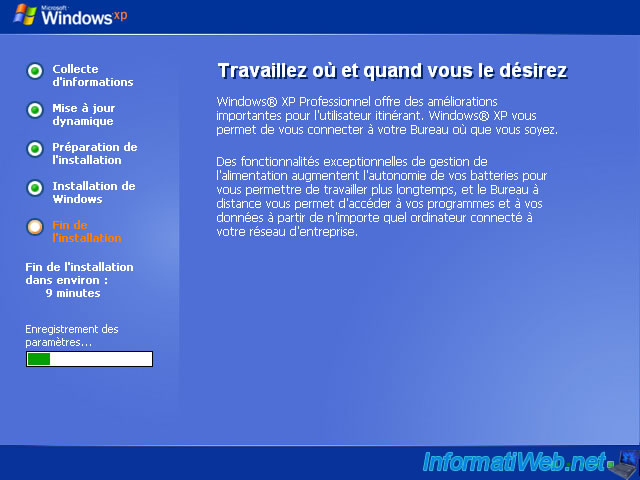
After a 1st restart, the installation of Windows XP will continue with a graphical interface.
If necessary, refer to our tutorial: Format your computer and reinstall Windows XP.
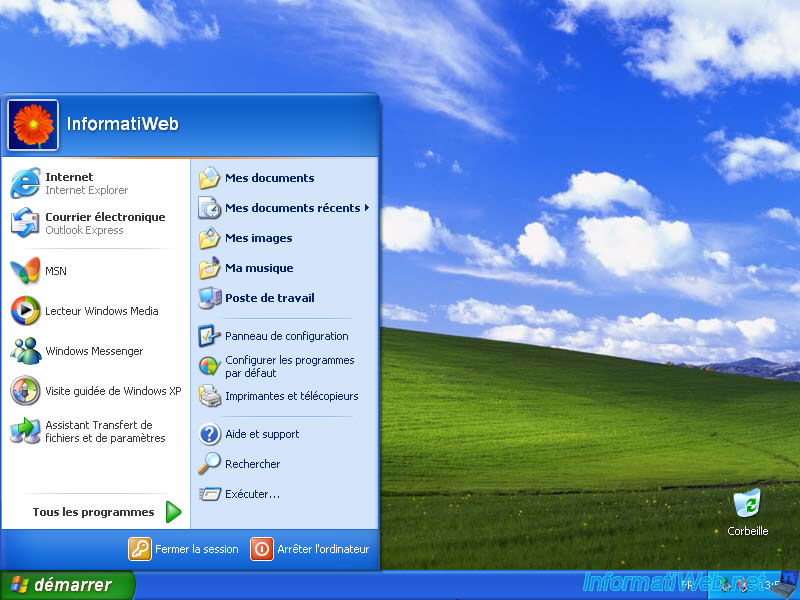
Windows XP has been installed.
Install your computer's drivers (provided by your motherboard and graphics card manufacturer).
In general, it suffices to use the CDs supplied with your components: Install the drivers on Windows from the supplied CDs.
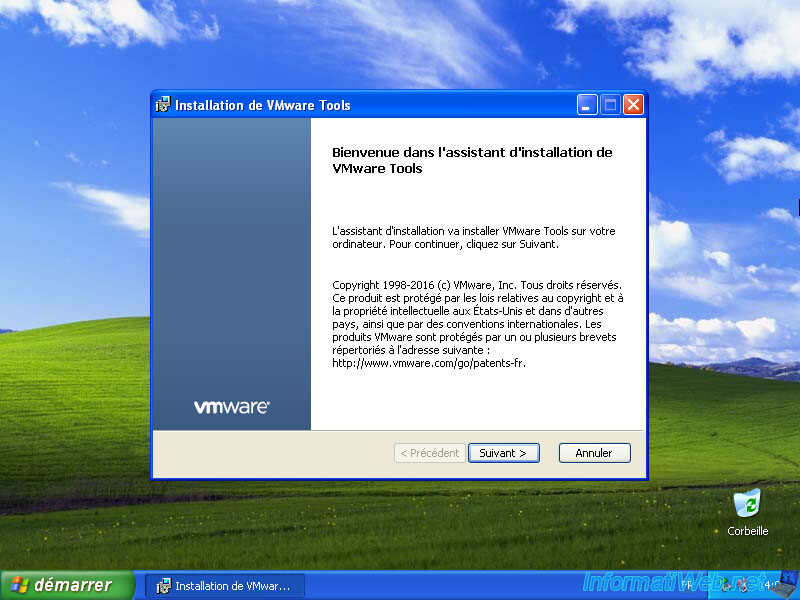
Note: in our case, this tutorial is carried out in a VMware virtual machine.
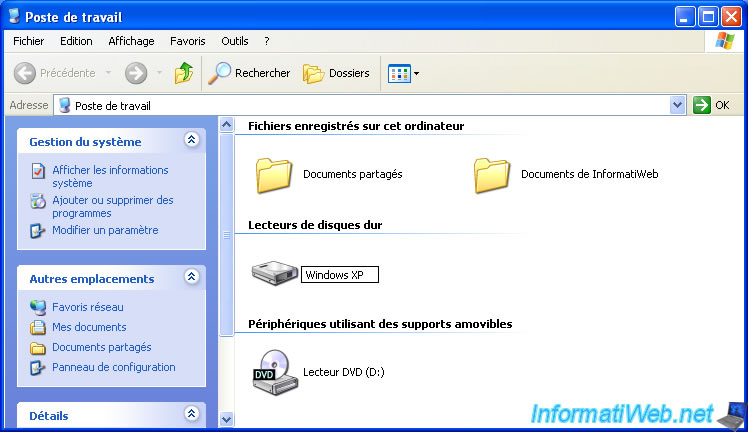
Once the drivers are installed, open the file explorer by going to the start menu, then clicking on: My Computer.
Slowly double-click the partition name or right-click "Rename" on it and put "Windows XP" as the name.
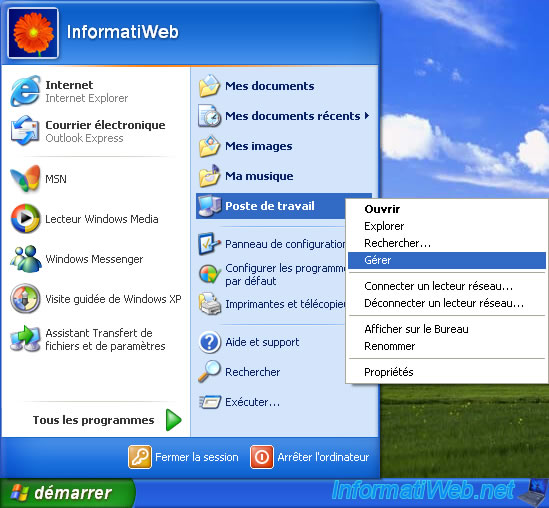
To see the partitions on your hard drive, open the start menu and right click "Manage" on "My Computer".
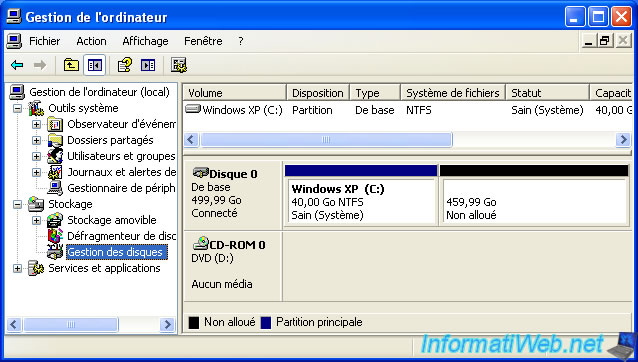
In the "Computer Management" console that appears, go to: Disk Management.
As you can see, your hard disk has a "Windows XP" partition with the letter "C" and an unallocated space (in our case since we used a blank hard disk).
Share this tutorial
To see also
-
Windows 11/3/2013
Windows XP - Connect to a Wifi network
-
Windows 12/25/2012
Windows XP - Install Windows XP on a SATA hard disk
-
Windows 11/18/2012
Windows XP - Startup repair
-
Windows 12/4/2015
Windows XP - System restore
You must be logged in to post a comment