Microsoft multiboot with Windows XP and Windows 7
- MultiBoot
- Windows XP
- 11 March 2024 at 14:50 UTC
-

- 2/3
2. Install Windows 7
Insert the Windows 7 installation DVD into your computer's CD/DVD drive and restart your computer.
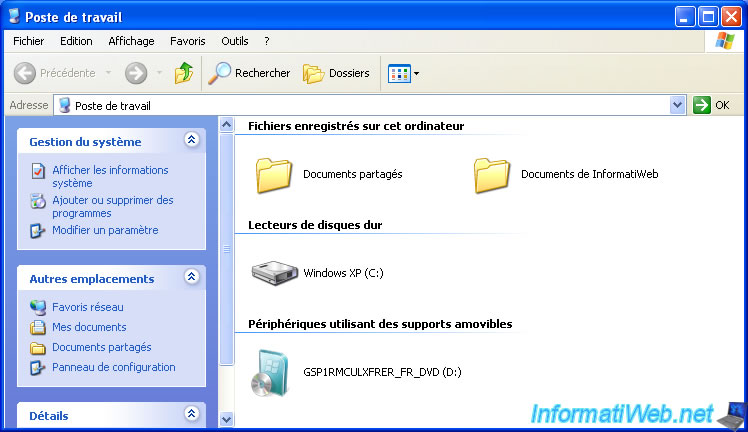
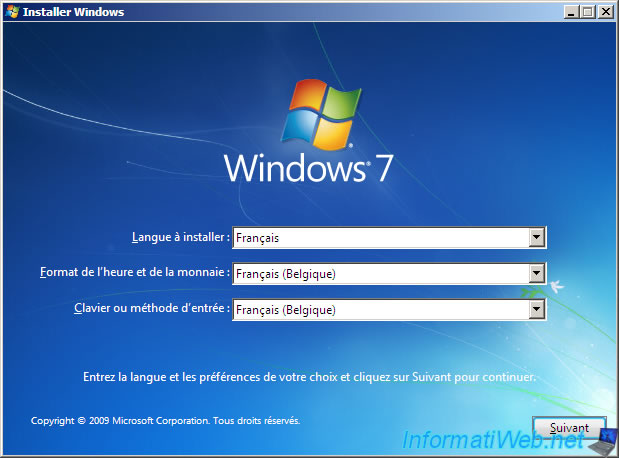
Boot this Windows 7 installation DVD and this will show up.
Select your language and your country, then click on: Next.
Then, click on: Install now.
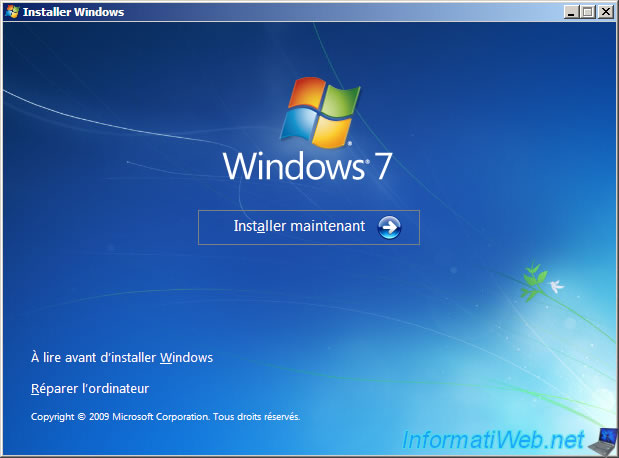
For the complete installation and configuration steps for Windows 7, refer if necessary to our tutorial: Format your computer, reinstall Windows 7 and update it.
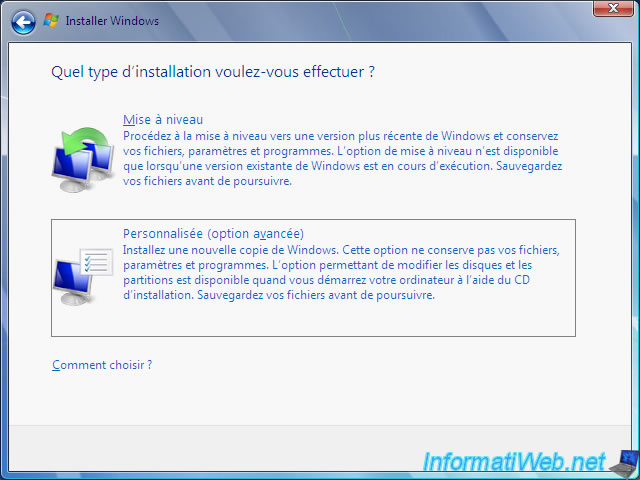
When the wizard asks you for the type of installation you want, click on: Custom (advanced option).
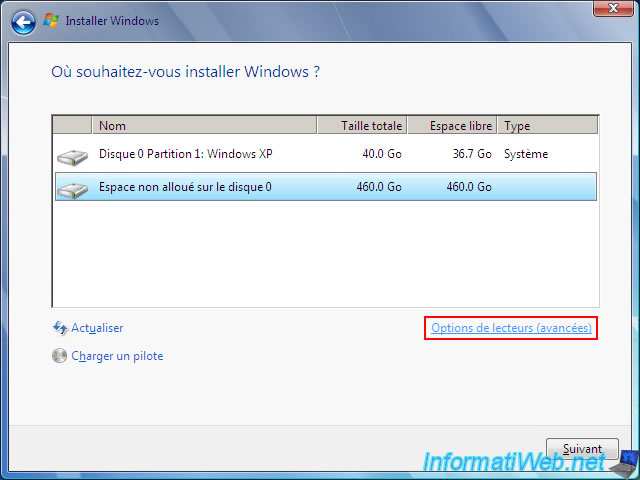
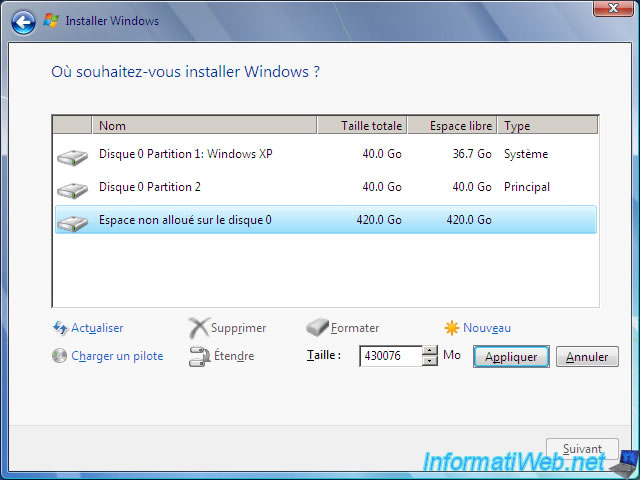
Select the unallocated space on your hard drive and click "Drive options (advanced)".
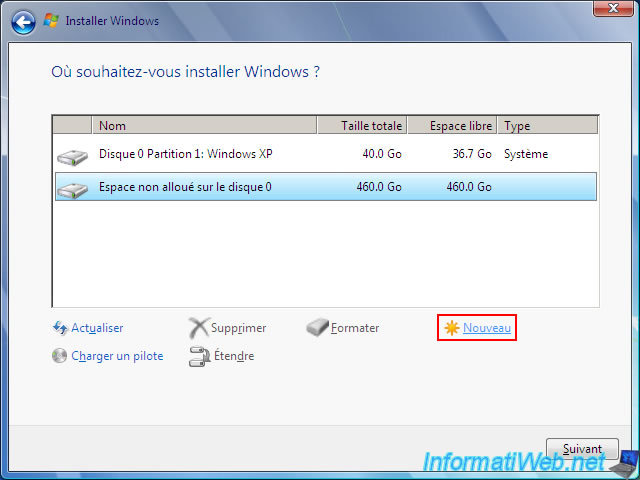
Then, click on: New.
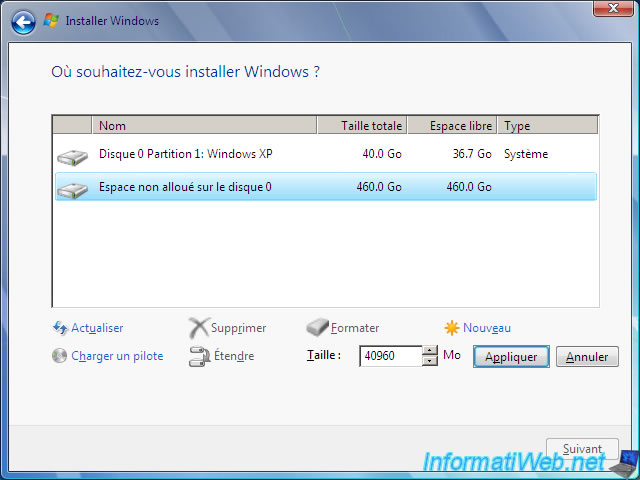
Specify "40960" MB to create a 40 GB partition again (40 x 1024 MB = 40960 MB = 40 GB).
Which is enough to install Windows 7 and your programs on it.
Then, click on: Apply.
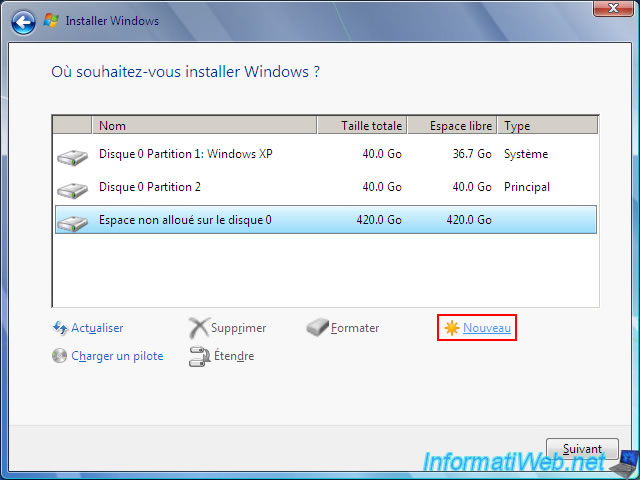
A "Main" type partition 2 appears.
As you can see, partition 1 named "Windows XP" is of type "System" (which is normal since Windows XP is installed on this partition).
You can now create one or more additional partitions to store your data and programs, for example.
To do this, click on "New".
Note that you can also do it later from Windows (preferably, from Windows 7 which is more recent).
If you leave the default size, a partition will be created on all remaining unallocated space.
In this case, click only on: Apply.
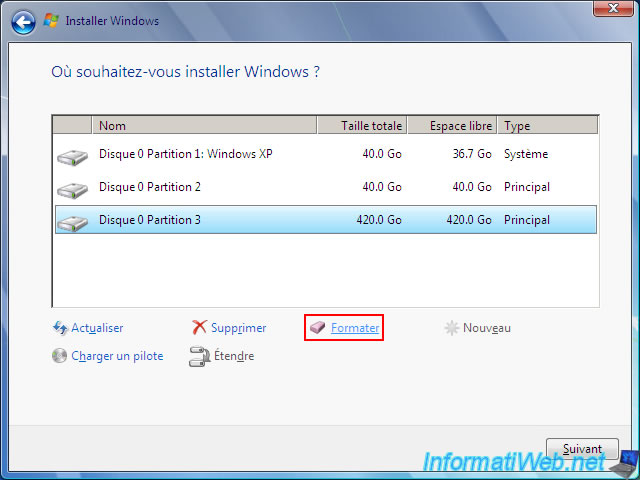
Select this new partition intended for data storage and click on: Format.
Warning : if you do not format this new partition at least once, it will appear with the mention "RAW" (= no file system present on this partition) in Windows disk management and it will therefore not be not usable.
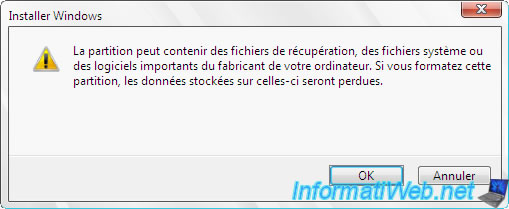
Ignore the warning that data stored on this partition will be lost as it currently contains nothing.
Click OK.
Now that your partition for data storage is formatted, you will notice that the total size and free space are almost identical within 0.1 GB.
This is due to the creation of the file system on it.
Select the 40 GB partition you created to install Windows 7.
This is the partition with total size AND free space of 40GB, type is "Primary".
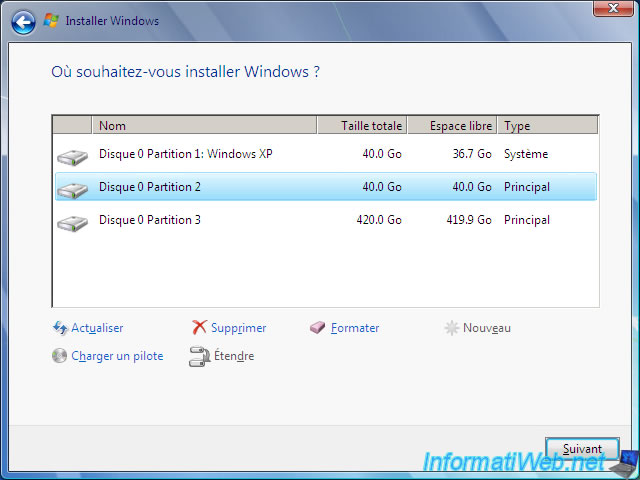
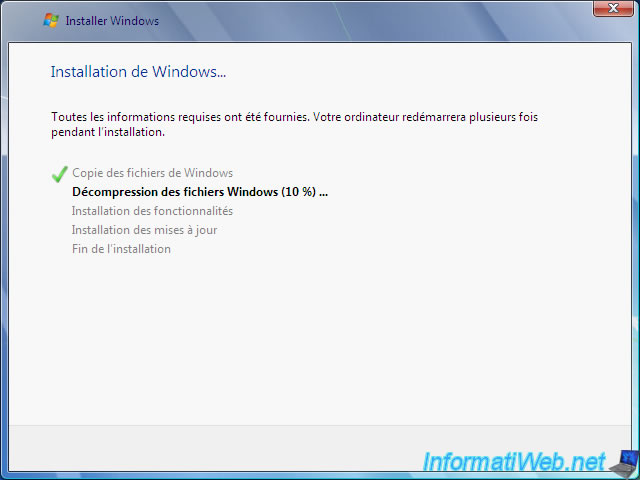
The installation of Windows 7 starts.
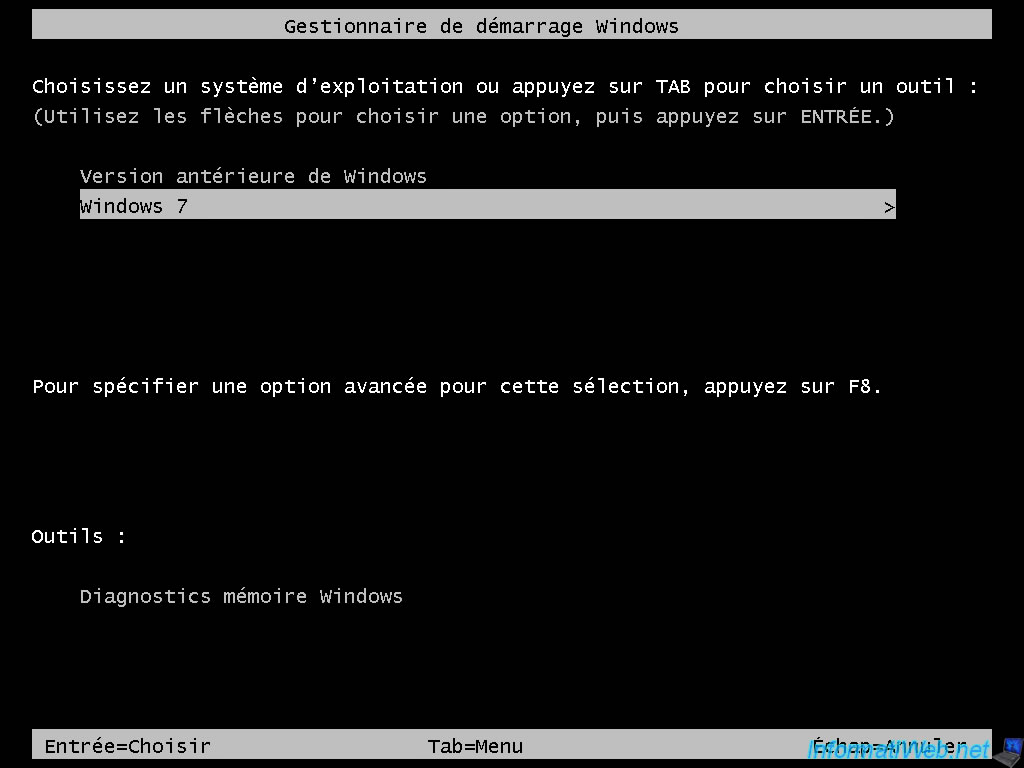
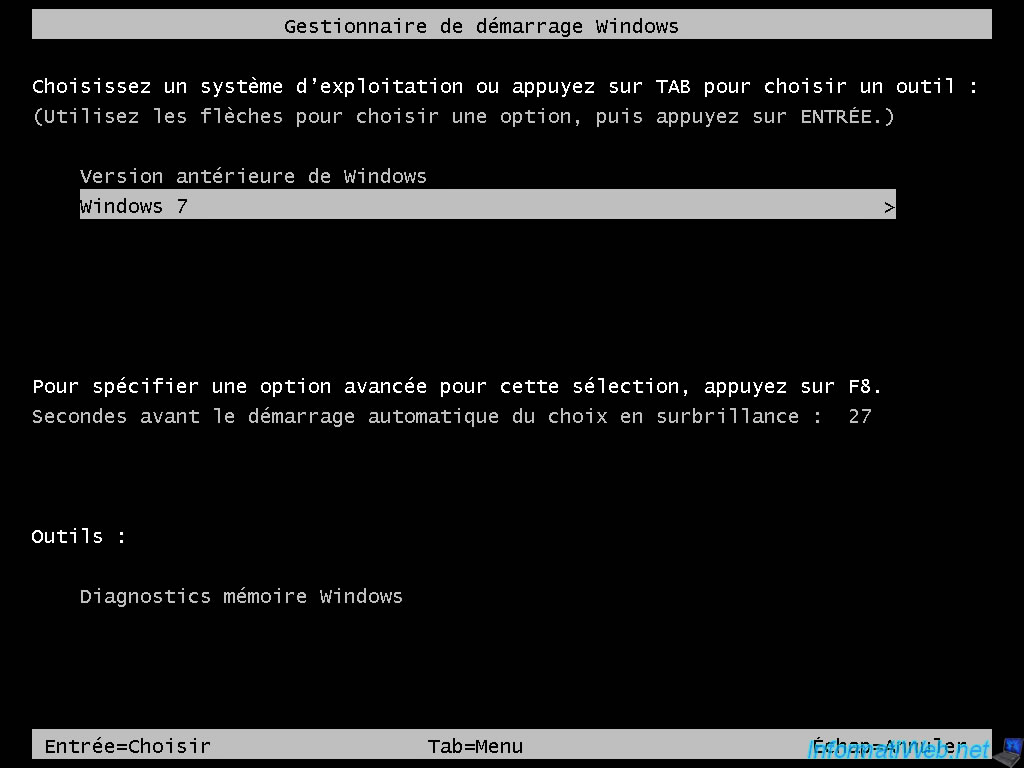
When your computer starts, you will see the Windows boot manager appear.
Which indicates that the Windows installer has automatically detected your installation of Windows XP installed on the 1st partition of your hard drive.
Thanks to this Windows startup manager created and configured automatically in a transparent way, you will be able to choose very easily each time you start your computer if you want to start:
- Earlier Version of Windows : on Windows XP.
- Windows 7 : on Windows 7.
Select "Windows 7" and press Enter.
Note: for the geeks, the Windows installer automatically detects the installation of Windows XP thanks to the "active" flag which was automatically added to the partition where Windows XP is installed during its installation.
The Windows 7 logo appears.

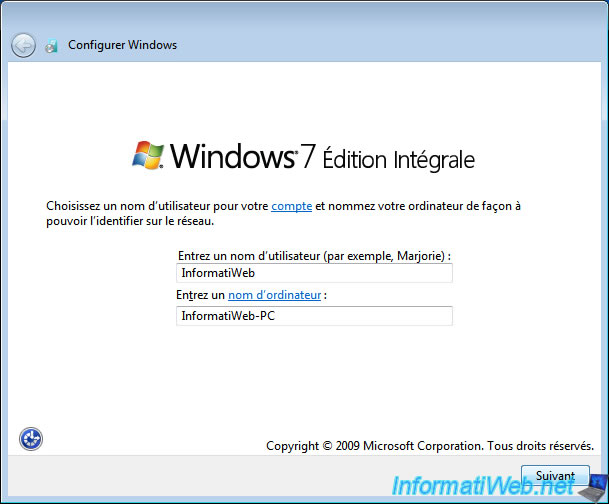
For the post-installation configuration steps for Windows 7, refer if necessary to the tutorial mentioned above.
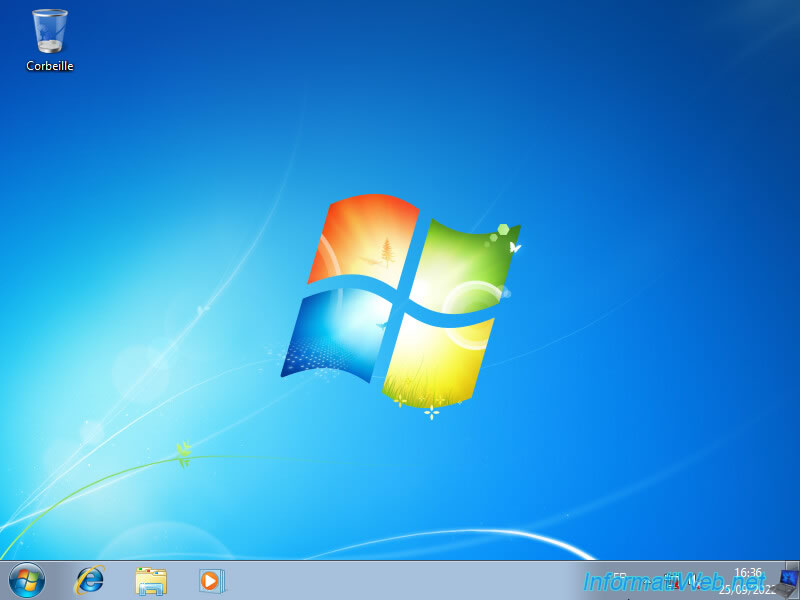
Windows 7 is installed.
Install drivers for Windows 7 on your computer.
If necessary, refer to our tutorial: Install the drivers on Windows from the supplied CDs.
Note: again, in our case, these drivers are provided by the virtualization solution used to create our virtual machine.
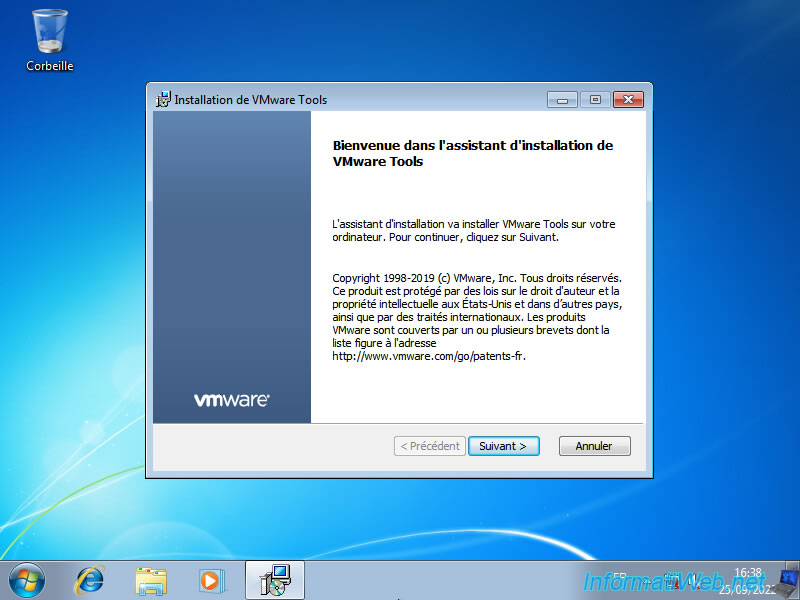
Once your computer's drivers are installed, restart your computer and select "Windows 7" again from the Windows boot manager that will appear.
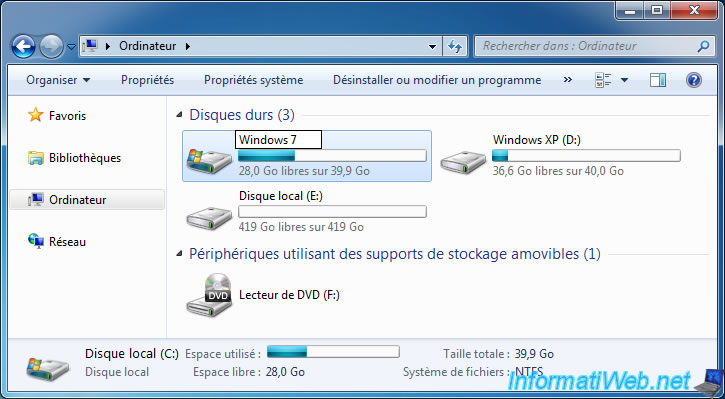
Open the file explorer by going to the start menu, then clicking on: Computer.
As you can see, Windows automatically assigned the letter "C" to the partition you installed it on.
Indeed, since Windows 7, Windows automatically uses the letter "C" for the partition where you install it (when you start this Windows installation).
The Windows XP partition therefore has the letter "D" in Windows 7.
When you return to Windows XP, the "Windows XP" partition will have the letter "C" and the "Windows 7" partition will have the letter "D".
Rename the partition where you installed Windows 7 by slowly double-clicking on its name or right-clicking "Rename" on it.
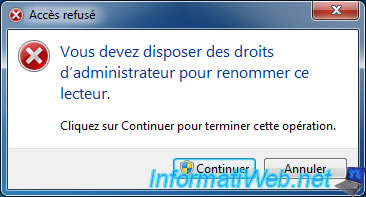
If an error "Access denied - You will need administrator permission to rename this drive" appears, click: Continue.
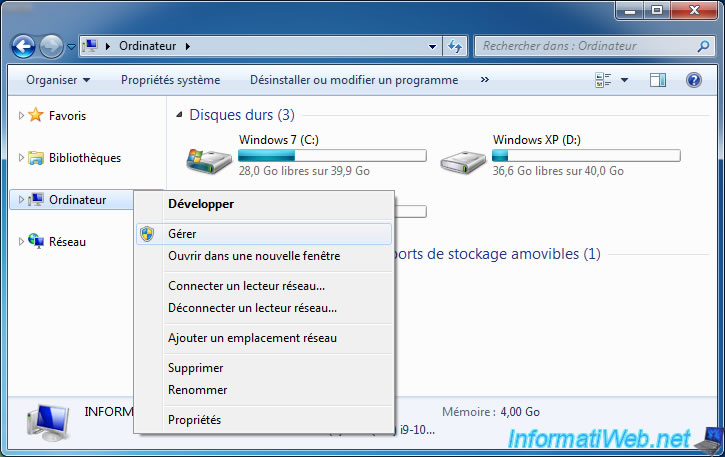
After Windows 7 partition is renamed, right click "Manage" on "Computer".
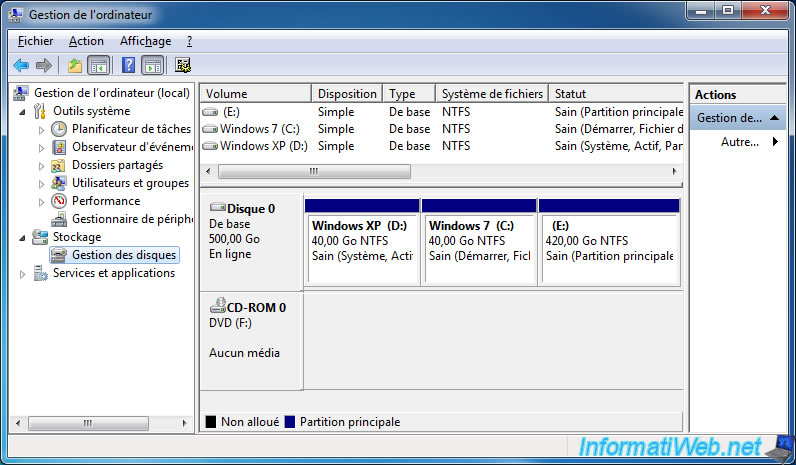
In the "Computer Management" console that appears, go to: Disk Management.
As you can see, your hard drive has 3 partitions:
- a 40 GB partition named "Windows XP" which has the letter "D".
- a 40 GB partition named "Windows 7" which has the letter "C".
- one or more data partitions with the desired size.
Note: by default, all these partitions use the NTFS file system.
Share this tutorial
To see also
-

Windows 8/12/2019
Control a computer remotely (Win XP)
-

Windows 11/22/2012
Windows XP - Create a bootable USB key to install Windows
-

Windows 5/18/2022
Windows XP - Enable the Administrator account
-
Windows 11/11/2012
Windows XP - Formatting and reinstalling
No comment