Microsoft multiboot with Windows XP and Windows 7
- MultiBoot
- Windows XP
- 11 March 2024 at 14:50 UTC
-

- 3/3
3. Manage the boot menu on Windows 7 (to change the default OS)
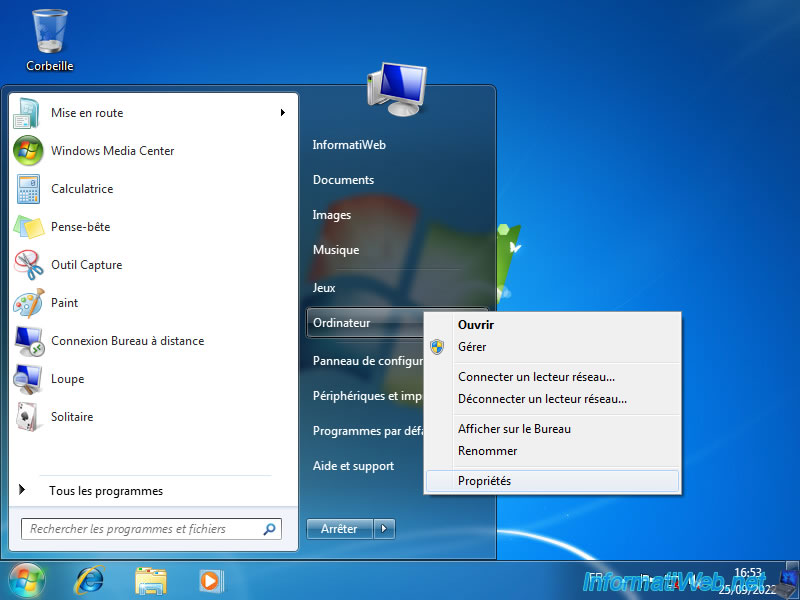
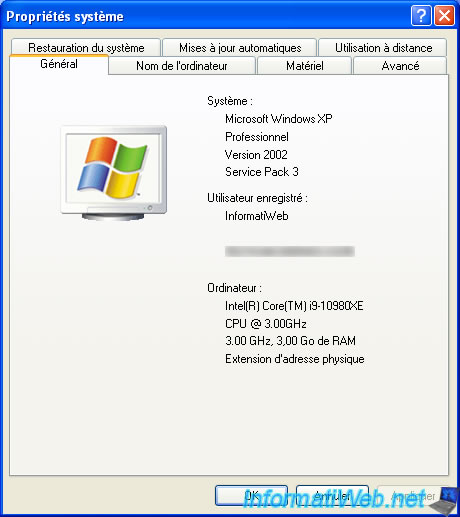
To manage the start menu on Windows 7, open the start menu and right-click "Properties" on "Computer".
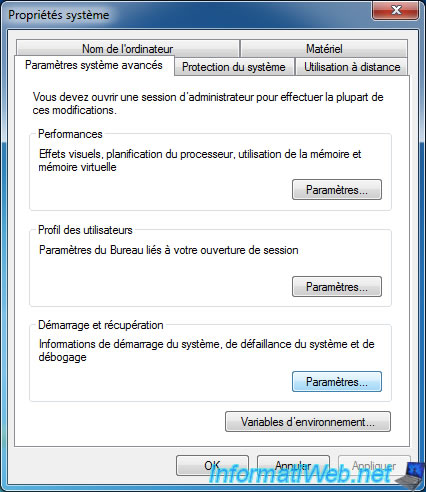
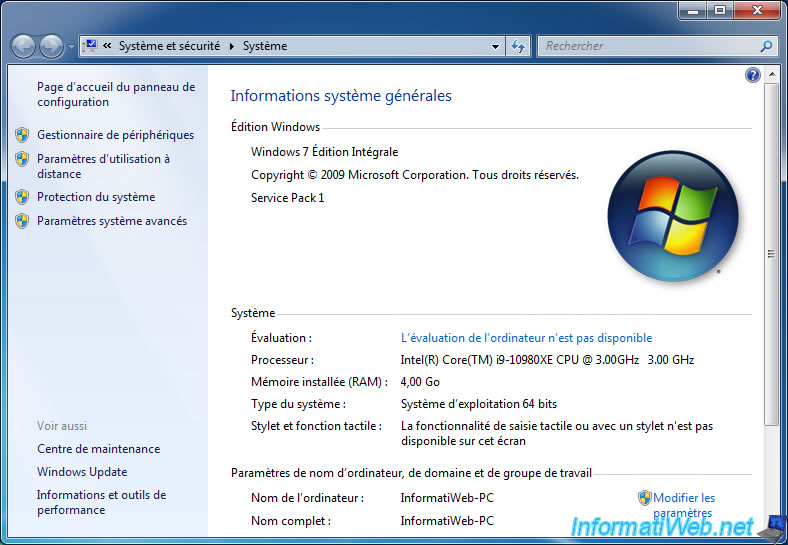
In the "General system information" window that appears, click on: Advanced system settings.

In the "System Properties" window that appears, click on the "Settings" button in the "Startup and Recovery" section.
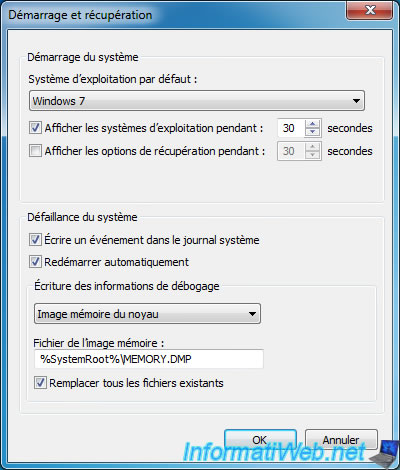
At the top of the "Startup and Recovery" window, you can:
- select the operating system which will be chosen by default. In this case: Windows 7.
- choose the delay for displaying choices for startup on either version of Windows.
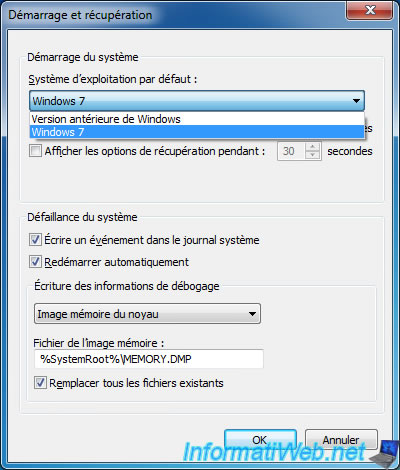
In the "Default operating system" list, you can choose in this case between:
- Earlier Version of Windows (Windows XP)
- Windows 7
4. Manage the boot menu on Windows XP (to change the default OS)
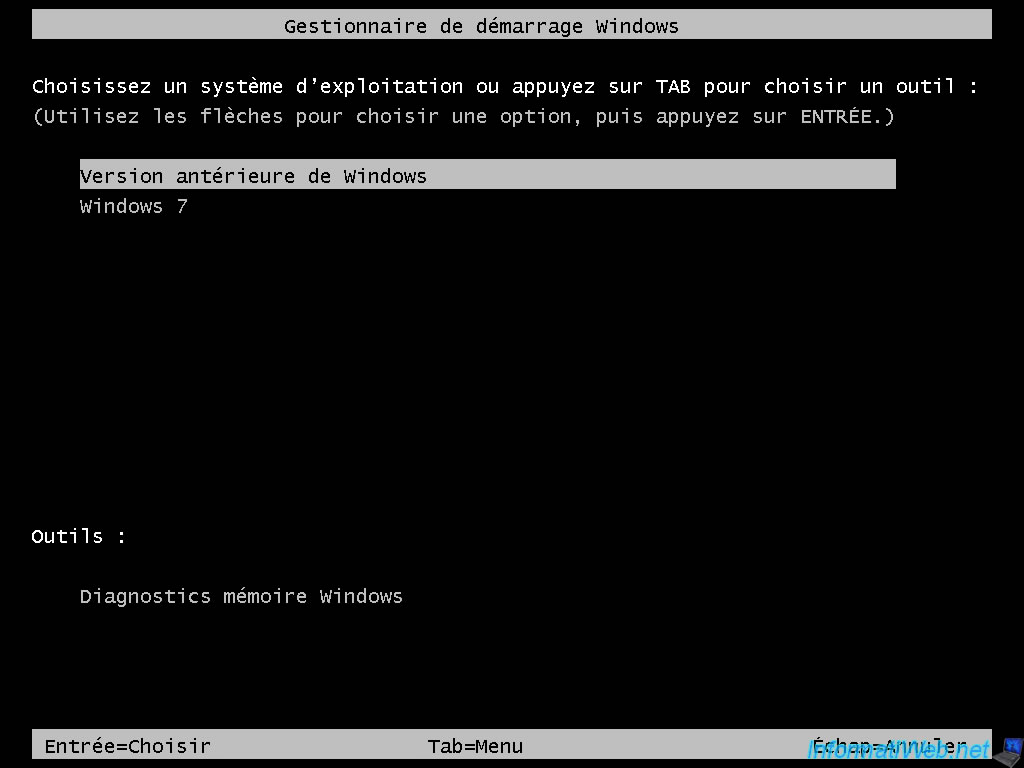
To manage the boot menu in Windows XP, restart your computer and choose: Earlier Version of Windows.
The Windows XP loading logo appears.
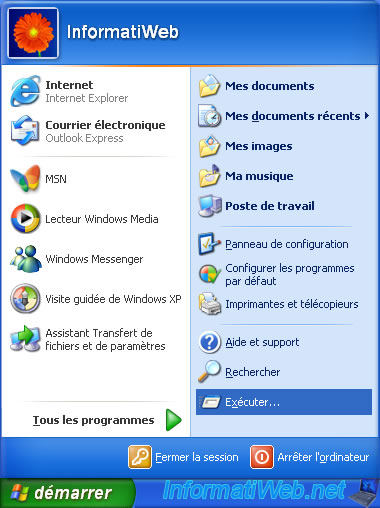
Open the start menu and click on: Run.
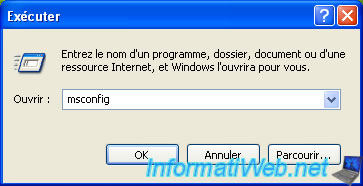
Specify "msconfig" in the box and click OK.
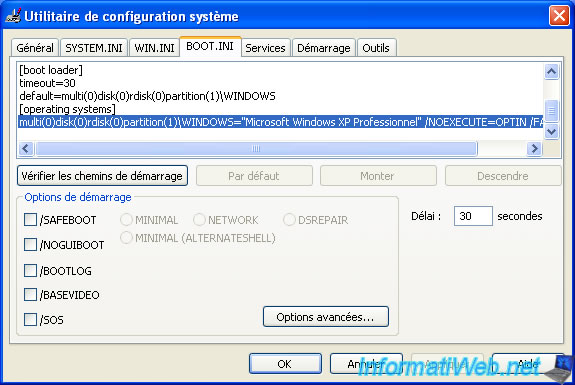
In the System Configuration Utility, go to the "BOOT.INI" tab.
However, since the boot manager used in Windows 7 (bootmgr) is not the same as in Windows XP (ntldr), you will not be able to modify the boot menu via the Windows XP "BOOT.INI" file. .
Hence the fact that your Windows 7 installation does not appear here.
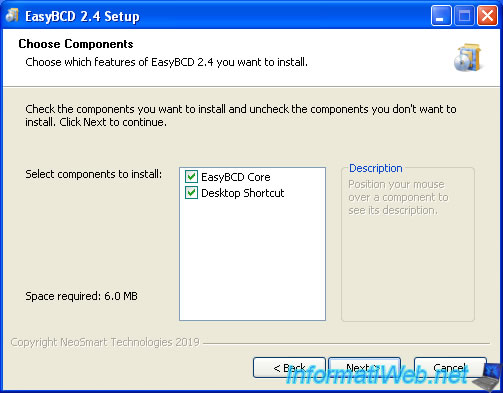
To modify the boot menu from Windows XP, you will need to download and install EasyBCD (which is free).
Click Next.
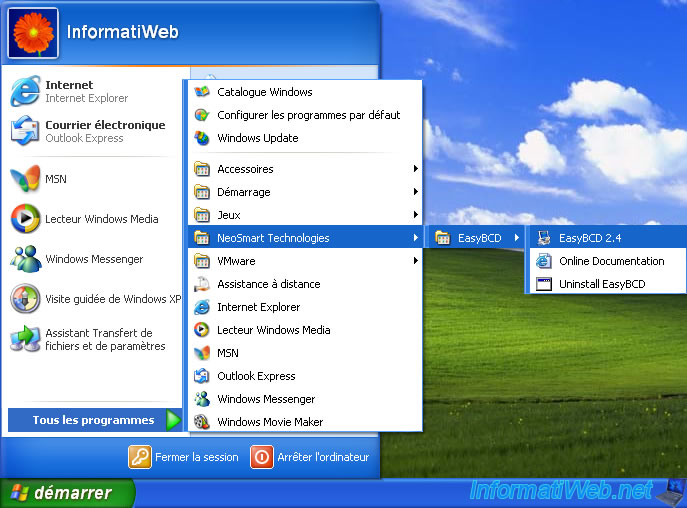
Once EasyBCD is installed, open the Windows XP start menu and go to: All Programs -> NeoSmart Technologies -> EasyBCD -> EasyBCD x.x.
Choose "English" and click on Go.

Just click OK.

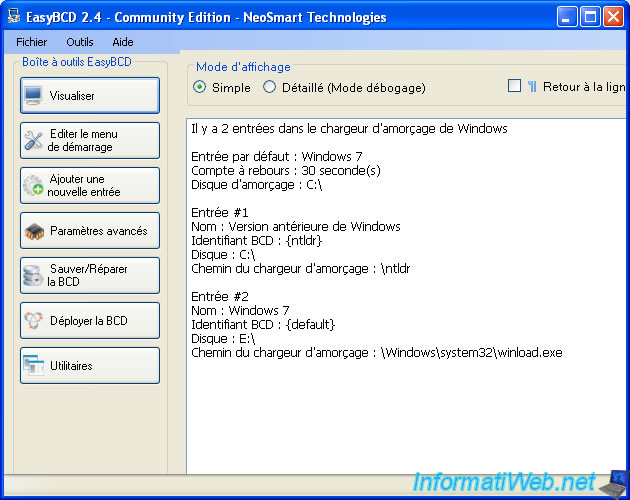
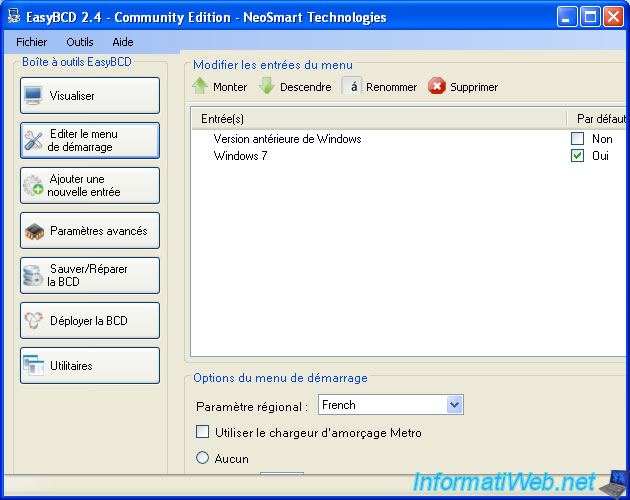
As you can see in the "View" section, EasyBCD correctly detected the Windows bootloader with 2 entries:
- Earlier Version of Windows : Windows XP
- Windows 7
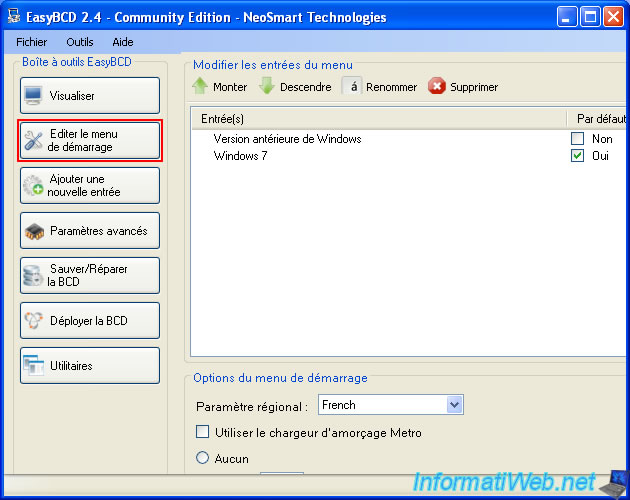
Click "Edit Boot Menu" and as you can see, Windows 7 is the default choice.
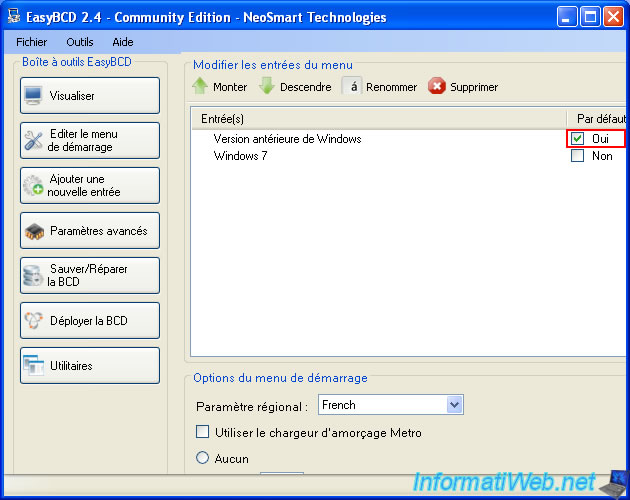
To make your computer boot into Windows XP by default, check the "Default" box for the "Earlier Version of Windows" line.
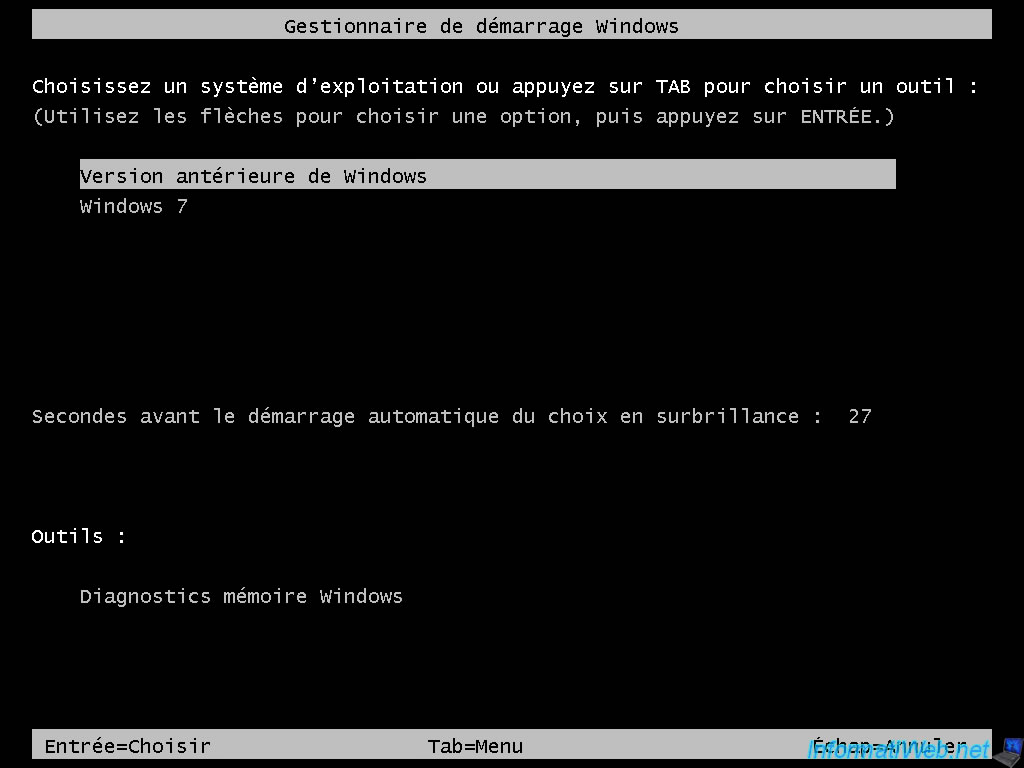
Restart your computer and you will see that the "Earlier Version of Windows" option will be selected by default.
As expected, you're back on Windows XP.
To reselect Windows 7 as the default when starting your computer, check the "Default" box for the "Windows 7" line.
As expected, the "Windows 7" option is selected by default in the Windows boot manager.
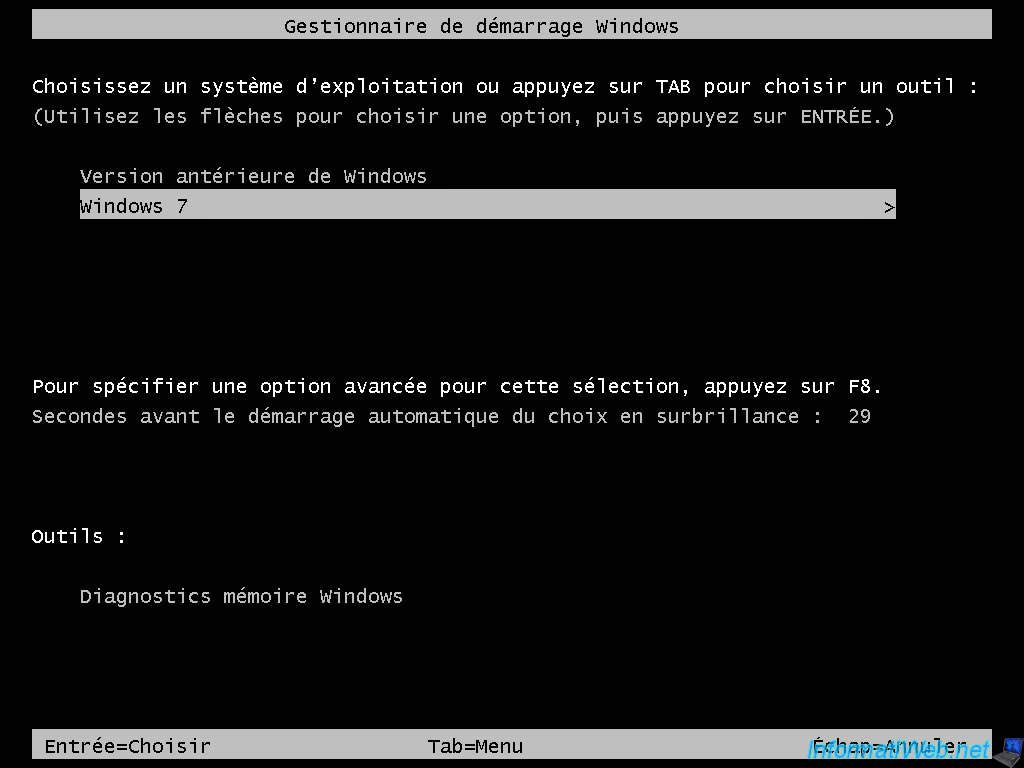
So Windows 7 starts by default.
You are now on Windows 7.
Share this tutorial
To see also
-

Virtualization 8/9/2019
VirtualBox - Virtualize Windows XP
-

Windows 11/22/2012
Windows XP - Create a bootable USB key to install Windows
-
Windows 4/4/2013
Windows XP - Start in safe mode
-

Windows 4/7/2012
Windows XP - Use a Bluetooth headset
No comment