- Windows
- Windows 10, Windows 11
- 22 March 2022 at 09:20 UTC
-

As you may already know, Windows 11 requires specific hardware, including the presence of a Trusted Platform Module (TPM) 2.0.
Nevertheless, only a part of recent computers have one.
If you want to upgrade your Windows 10 PC to Windows 11 and its hardware is not supported (because it has an older TPM module), you can force upgrade by following the procedure explained below.
Important : although the technique described in this tutorial is based on the tip provided by Microsoft, using Windows 11 on hardware not officially supported by Microsoft may prevent you from using some features, as well as prevent you from having access to Windows 11 automatic updates.
- Problems encountered with unsupported hardware
- Disable checking for the presence of the TPM and processor model
- Upgrade your computer to Windows 11 with unsupported hardware
1. Problems encountered with unsupported hardware
Most of the time, if you don't have supported hardware, it doesn't contain a Trusted Platform Module (TPM) 2.0.
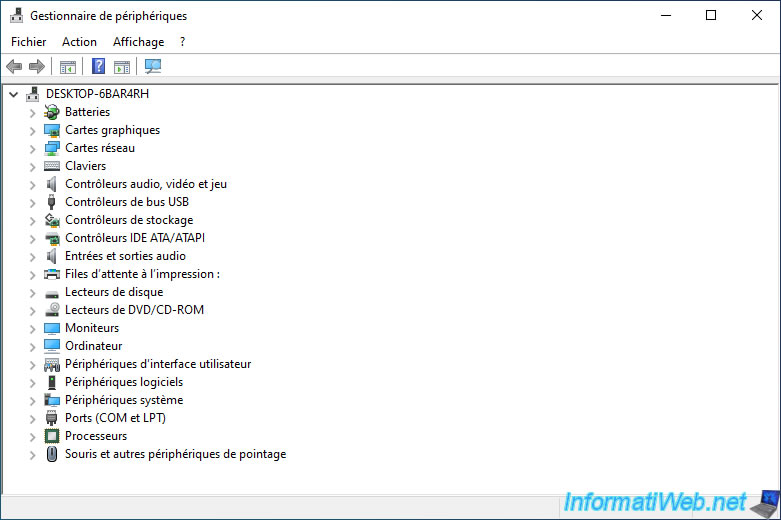
As you can check by opening the device manager. This Trusted Platform Module (TPM) 2.0 should have been in a "Security devices" section which is not present here.
Warning : in this case, a TPM module must still be present (even if its version is less than 2.0).
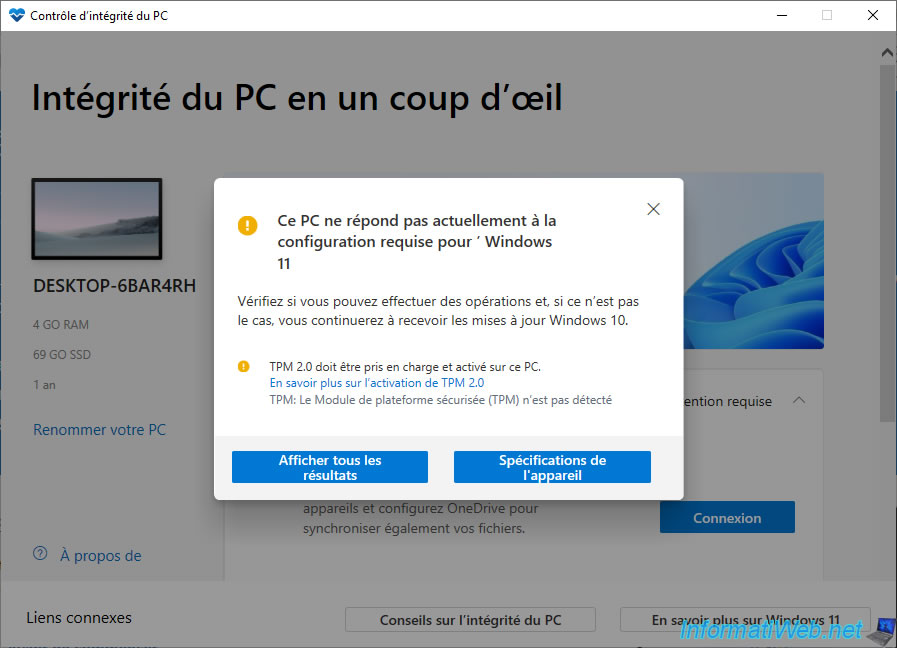
If you install the "PC Health Check" application and click the "Check Now" button, the error "This PC doesn't currently meet Windows 11 system requirements" will appear.
Most of the time, you will see in particular the "TPM: TPM not detected" line.
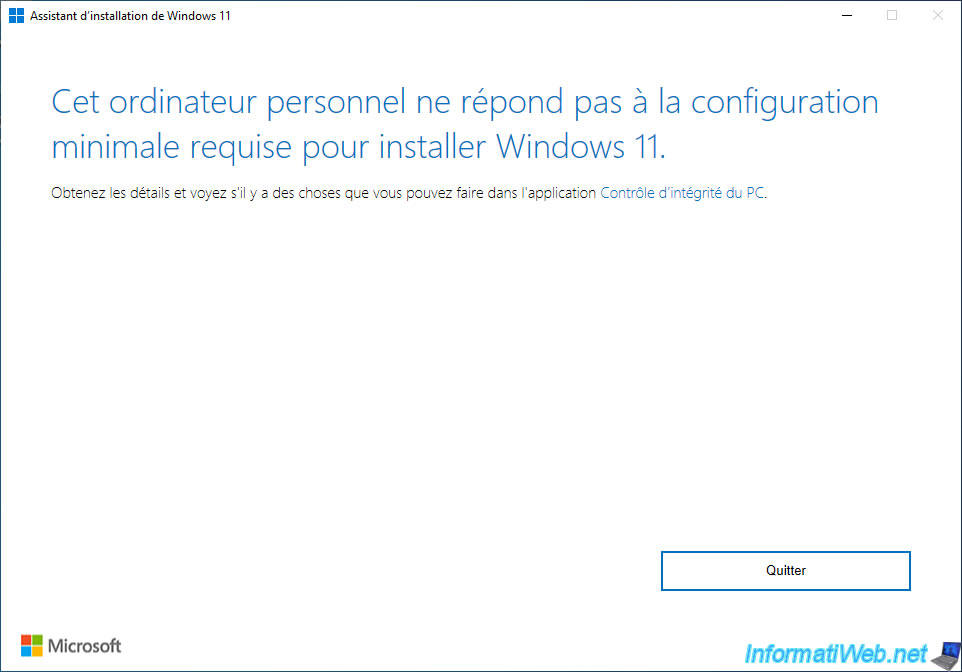
If you run the Windows 11 installation wizard, it will not work and show the error : This PC doesn't currently meet Windows 11 system requirements.
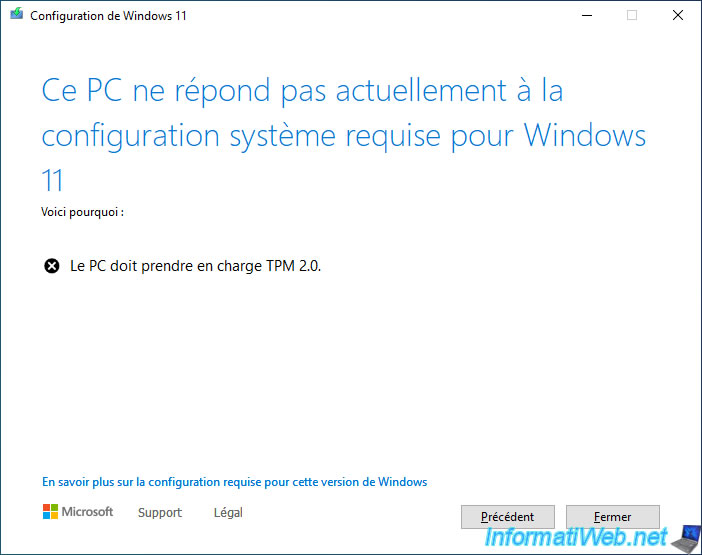
If you attempt to upgrade from a Windows 11 installation DVD, this error will appear : This PC doesn't currently meet Windows 11 system requirements.
The main causes will be :
- The PC must support TPM 2.0
- The processor isn't supported for this version of Windows
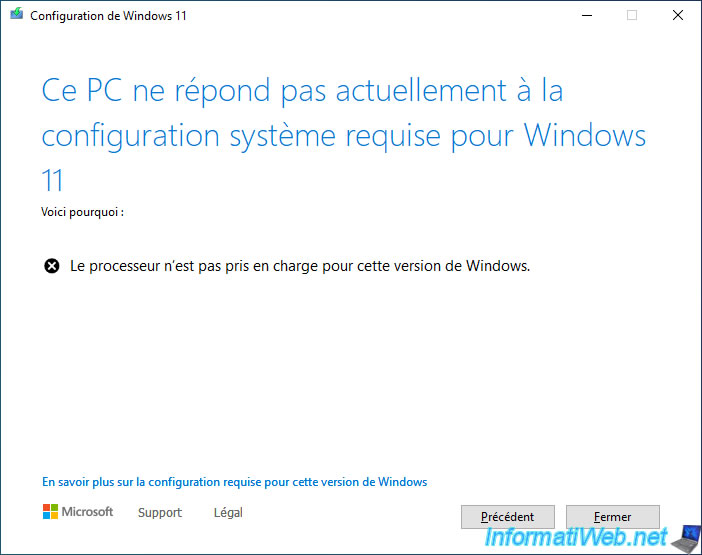
2. Disable checking for the presence of the TPM and processor model
To solve the problem on a computer that doesn't have a Trusted Platform Module (TPM) 2.0 and/or has a processor that is not officially supported for Windows 11, you just need to add a value in the registry of your computer on Windows 10.
To do this, open the Windows 10 start menu and run the "regedit.exe" program.
On Microsoft's "Ways to install Windows 11" page, you will find an official method that requires editing the registry (as below) to :
- disable cpu family and model checking
- decrease the restriction on the TPM module.
Warning : this doesn't remove the restriction regarding the presence of a Trusted Platform Module (TPM) in your computer's hardware, but lowers its restriction to accept at least version 1.2 of the TPM module instead of version 2.0.
If you don't have a TPM, this official method won't do you any good.
To overcome this restriction, you will have to use the unofficial technique described in our "Upgrade from Windows 10 to Windows 11 (not compatible hardware / unofficial method)" tutorial.
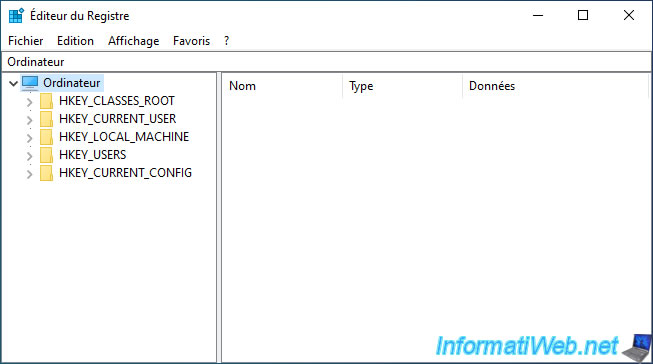
In the registry editor that appears, go to the "HKEY_LOCAL_MACHINE\SYSTEM\Setup\MoSetup" key.
If the "MoSetup" key (folder) doesn't exist, right click "New -> Key" on the "Setup" folder and create this "MoSetup" key (folder).
Then, select this "MoSetup" folder and in the right part, right-click : New -> DWORD (32-bit) value.
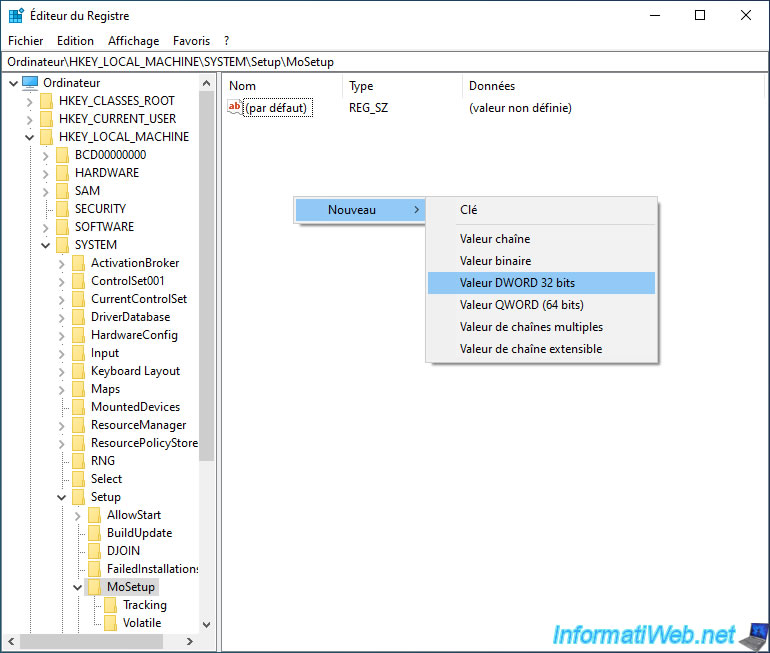
Name this data : AllowUpgradesWithUnsupportedTPMOrCPU.

Then, double click on it and enter 1 as the value.
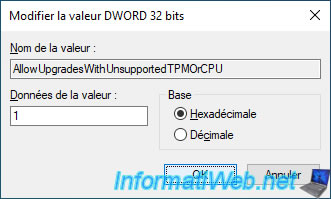
Now, the prerequisite will be "TPM 1.2 minimum" instead of "TPM 2.0".

3. Upgrade your computer to Windows 11 with unsupported hardware
Now that CPU and Trusted Platform Module (TPM) 2.0 verification are disabled, you can start installing Windows 11 on your Windows 10 computer.
To do this, insert the Windows 11 installation DVD and double-click on your CD/DVD drive.
Important : you must start the upgrade from the Windows 11 installation DVD for this to work.
Indeed, the modification made previously in the Windows 10 registry is only supported by the Windows 11 DVD installer. Not by the "Windows 11 Installation Assistant" program available on the Microsoft.
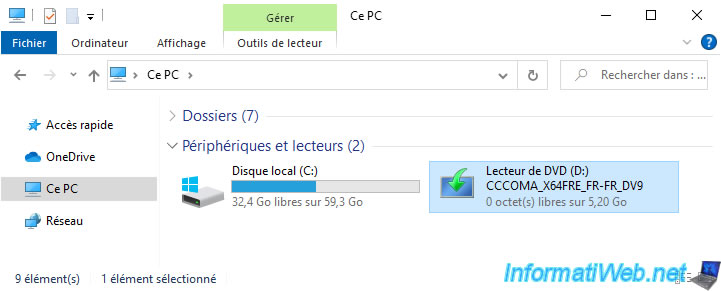
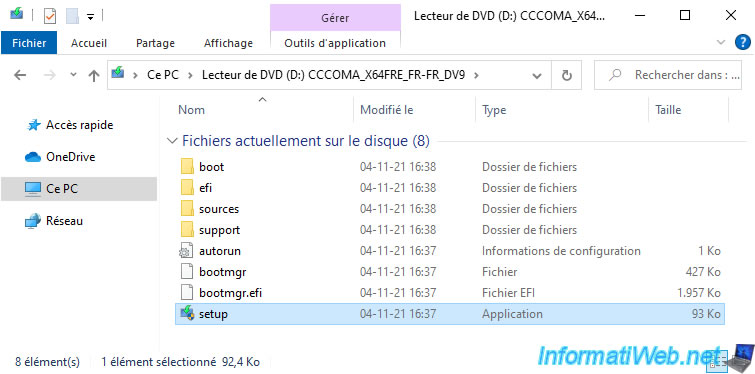
If the installation doesn't start, launch the "setup.exe" file located at the root of the Windows 11 installation DVD.
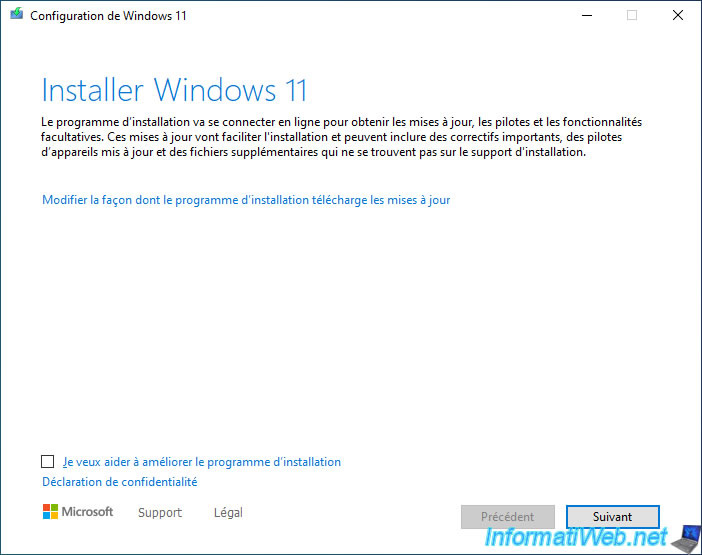
The "Windows 11 Setup" window appears with the title "Install Windows 11".
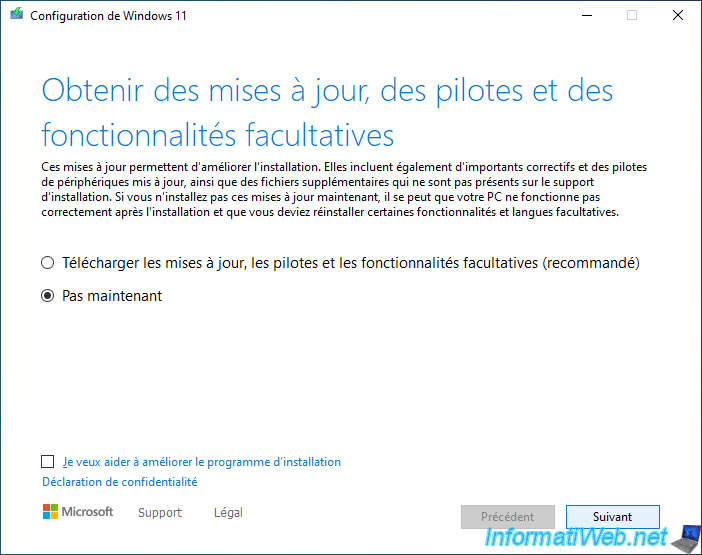
Important : for security, disable the download and installation of updates by clicking on the link "Change how Setup downloads updates".
Select "Not now", then click Next.
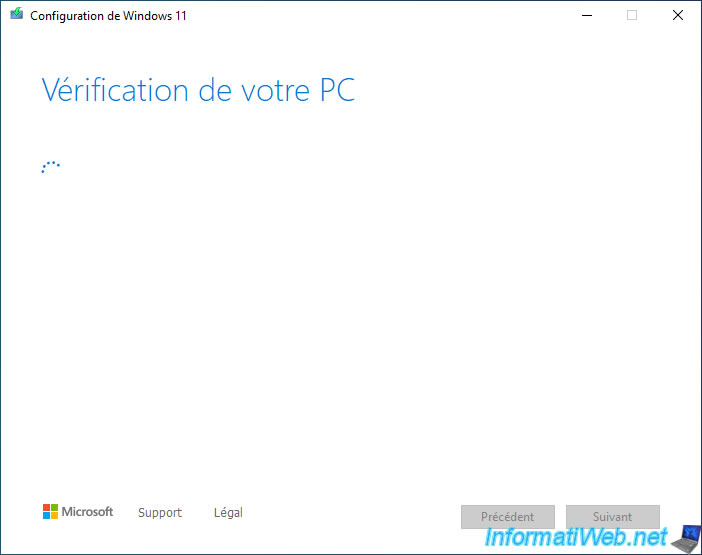
The message "Verifying your PC" appears.
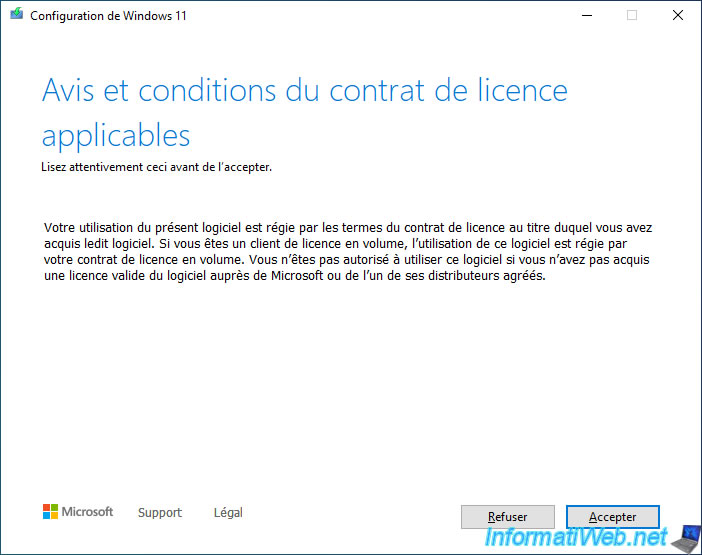
Click on "Accept".
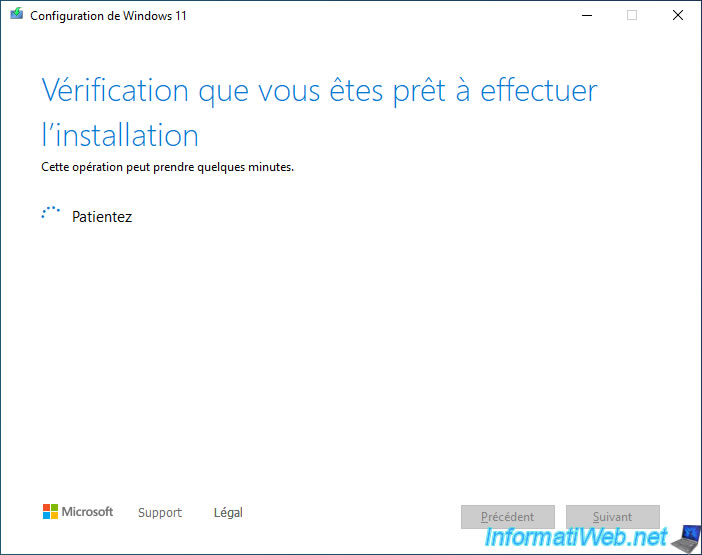
A check is carried out.
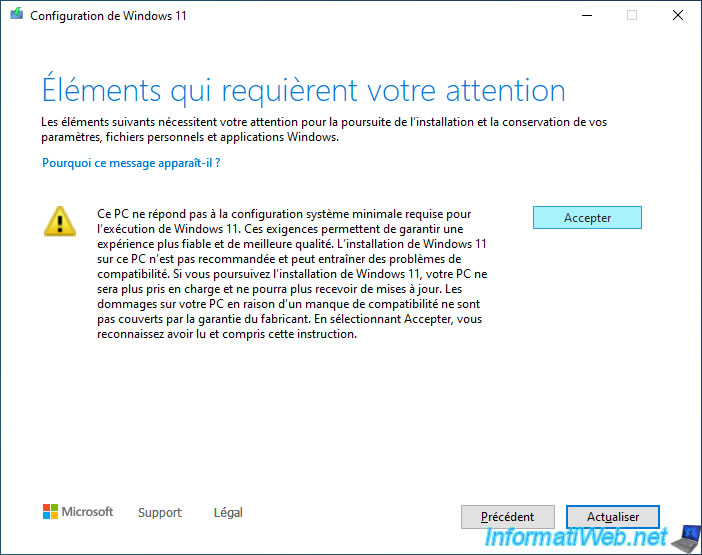
Adding the "AllowUpgradesWithUnsupportedTPMOrCPU" value in the Windows 10 registry allows you to disable Windows 11 installation blocking.
However, since your computer's hardware is not officially supported, a warning will appear telling you that your computer is not officially supported and this may cause compatibility issues.
Also, you will not have access to free Windows 11 updates.
Plain Text
This PC doesn't meet the minimum system requirements for running Windows 11 - these requirements help ensure a more reliable and higher quality experience. Installing Windows 11 on this PC is not recommended and may result in compatibility issues. ...
Click Accept.
As you can see, you are ready for installation. Even if your hardware is not officially supported.
Click Install.
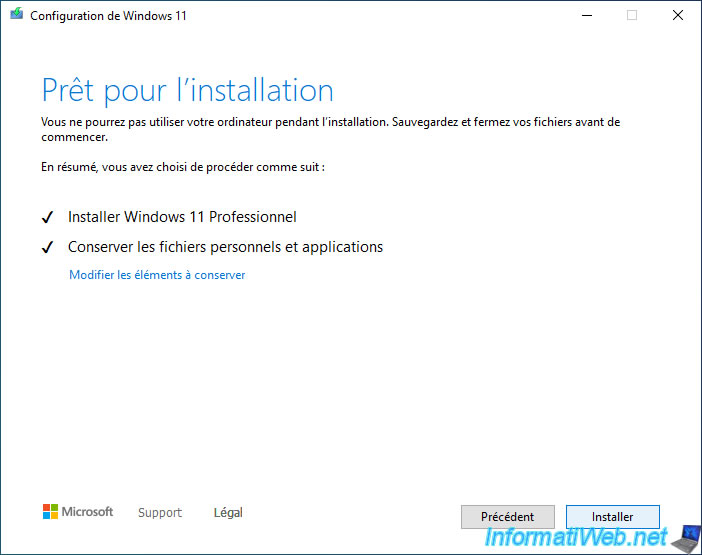
The upgrade of your computer to Windows 11 starts.

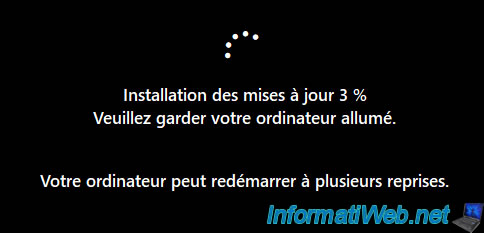
Then, your computer will restart.

Then, the different steps of upgrading from Windows 10 to Windows 11 will appear successively.


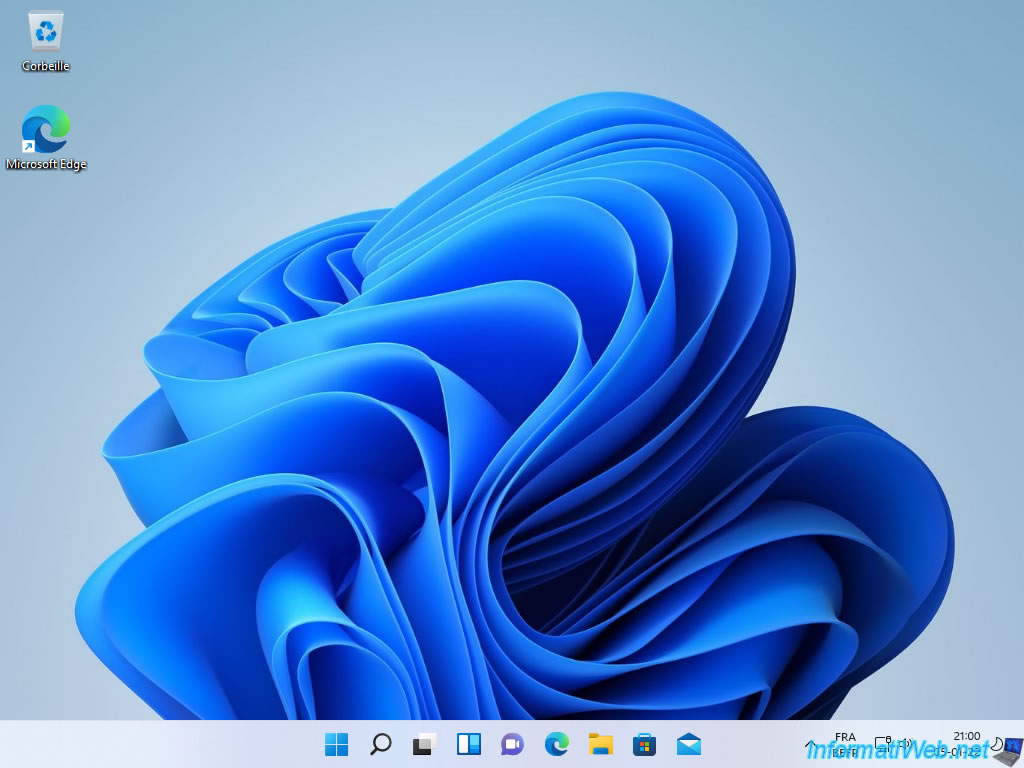
There you go, you are on Windows 11 despite the hardware of your computer not being officially supported by Microsoft for this version of Windows.
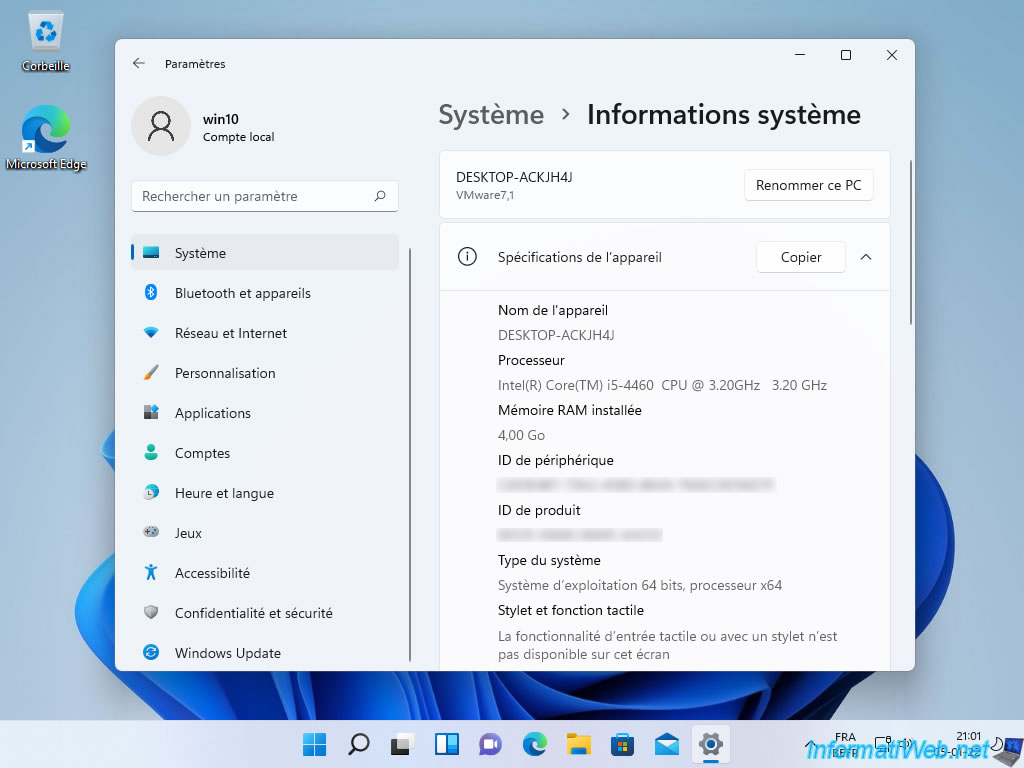
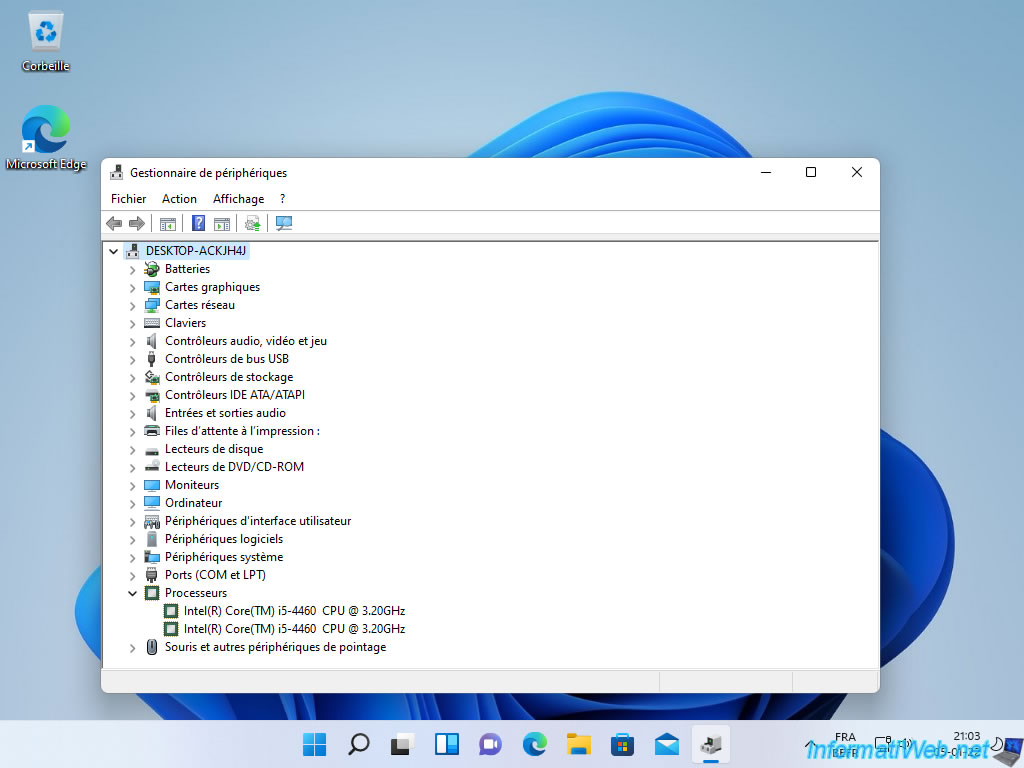
As you can see, in our case, Windows 11 is installed while our processor is not officially supported.
If we look in Windows 11 device manager, we can also see that there is no Trusted Platform Module (TPM) 2.0 on this computer.
Share this tutorial
To see also
-
Virtualization 2/23/2022
VirtualBox - Virtualize Windows 11 (unsupported hardware)
-
Windows 9/30/2024
Windows 10 - Disable history in quick access
-
Windows 5/1/2023
Windows 11 - Disable automatic Windows updates
-
Windows 5/16/2025
Windows 11 / 10 - Enable Windows Photo Viewer
You must be logged in to post a comment