- Windows
- Windows 11
- 30 January 2025 at 14:13 UTC
-

On Windows 11, as on Windows 10, you can easily place windows on the left or right half of your screen by moving the window against the corresponding side.
- Overview of window snapping on Windows 11
- Disable suggestions when snapping a window
- Anchor suggestions disabled
1. Overview of window snapping on Windows 11
On Windows 11, if you move a window against the left or right edge of your screen, an opaque rectangle appears to show you where your window will be placed.
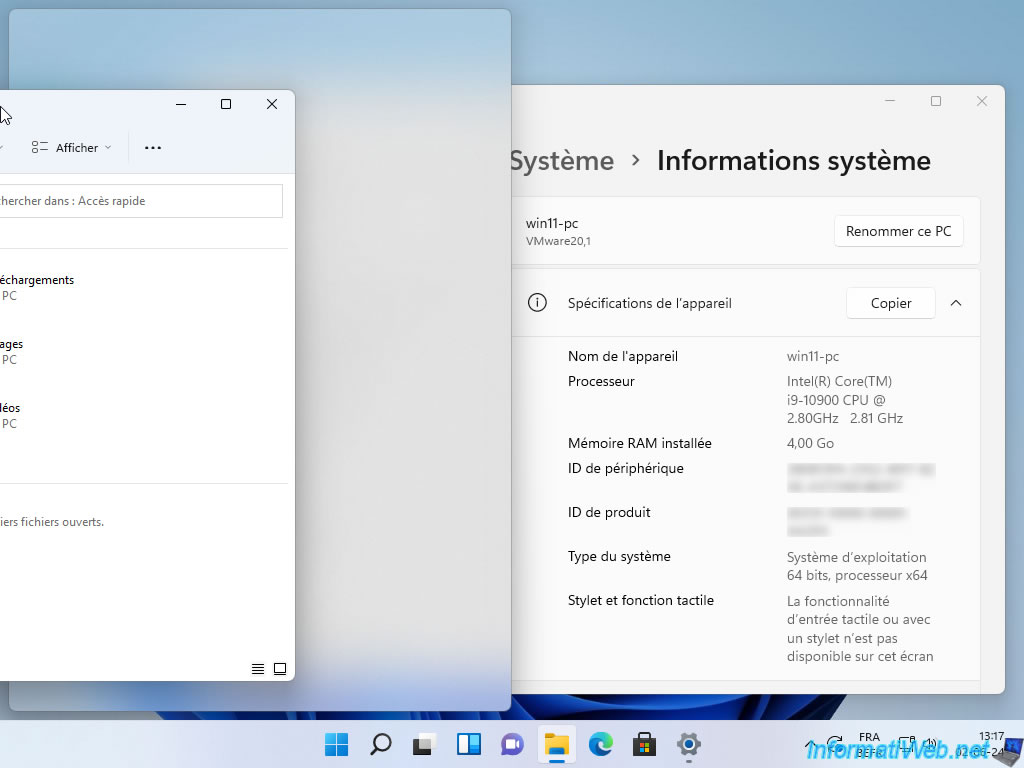
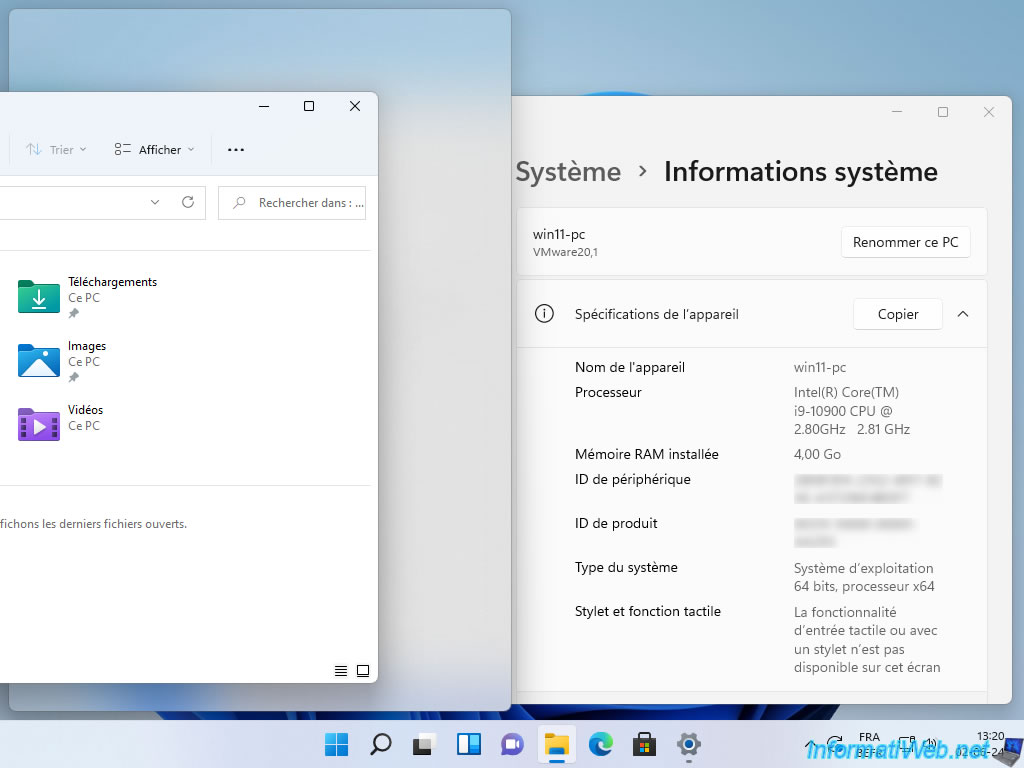
Then, once the window has automatically resized to take up half of your screen, Windows 11 will show you a list of other open windows that you could resize so that this second window takes up the remaining space on your screen.
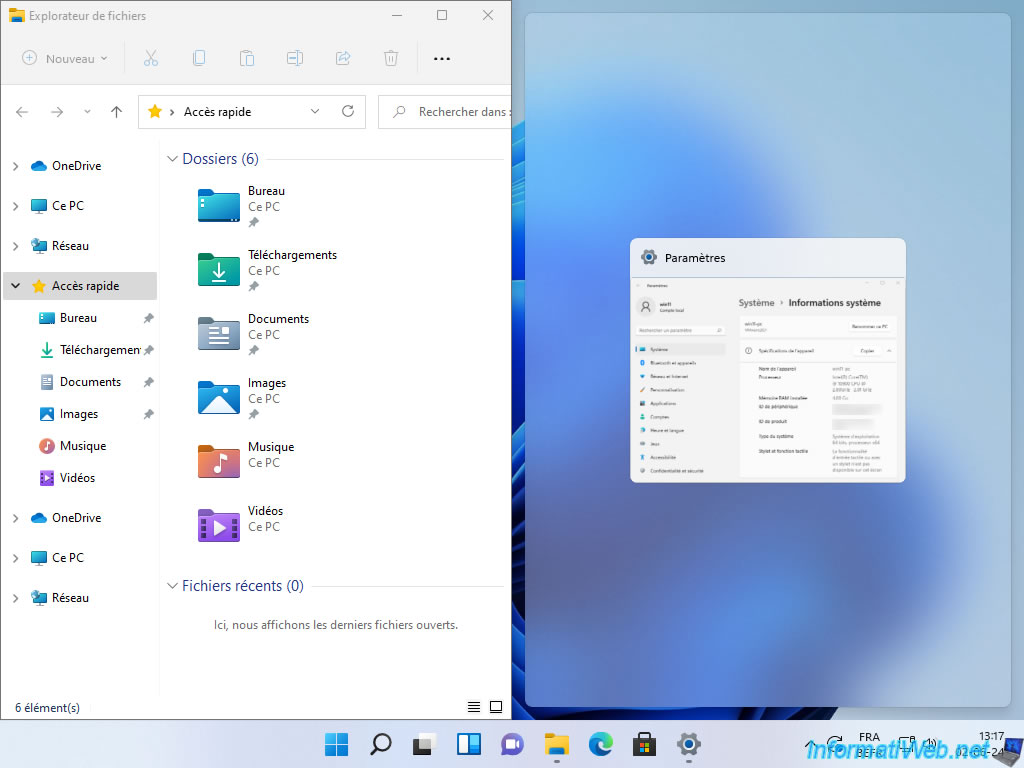
If you click on one of the proposed windows, the second chosen window will be automatically resized to take up the other half of your screen.
If you clicked on the opaque part, then the other windows will keep the size they already had.

2. Disable suggestions when snapping a window
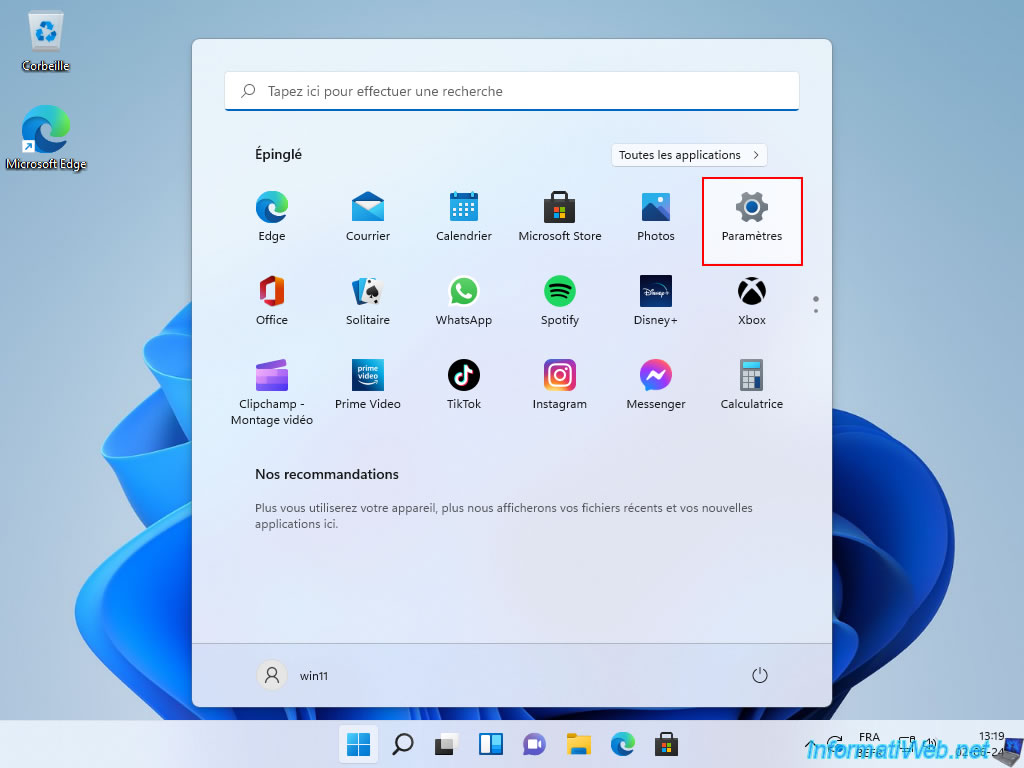
To disable this window suggestion when you drag one to one of the edges of your screen, open the Windows 11 start menu and open the "Settings" app.
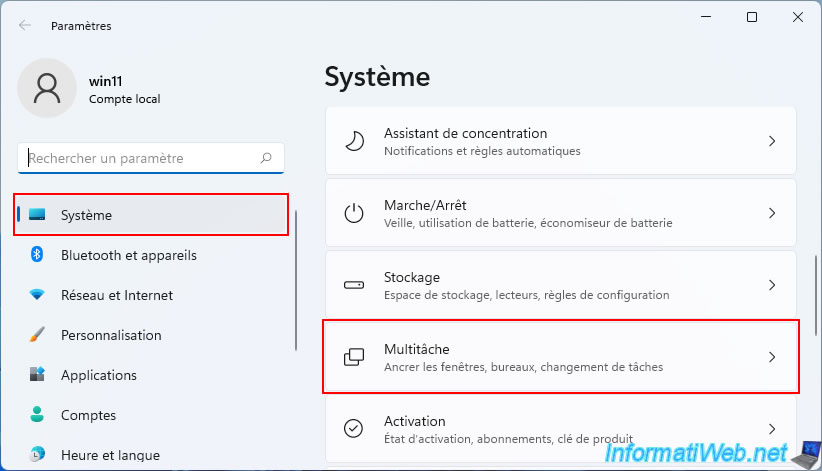
In the "Settings" app that appears, go to the "System -> Multi-tasking" section.
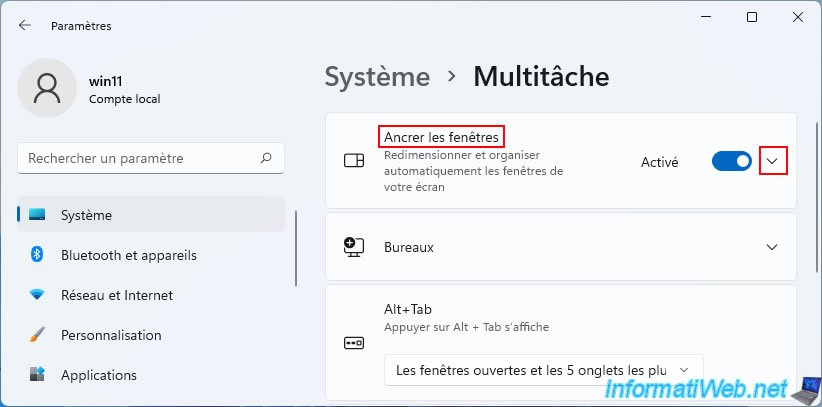
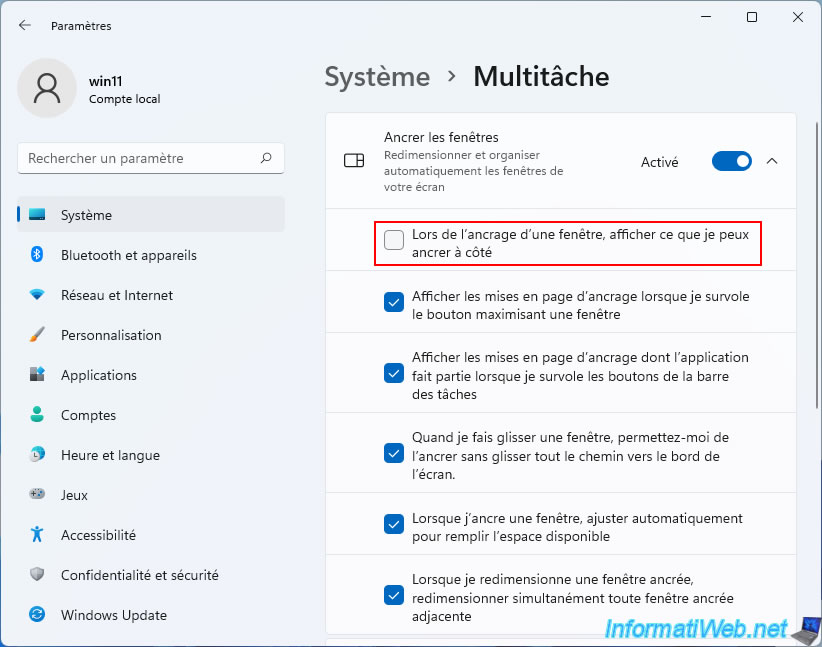
In the "Multi-tasking" section, locate the "Snap windows" setting and click the small arrow to the right of it.
As you can see, by default, all the snapping options are enabled on Windows 11.
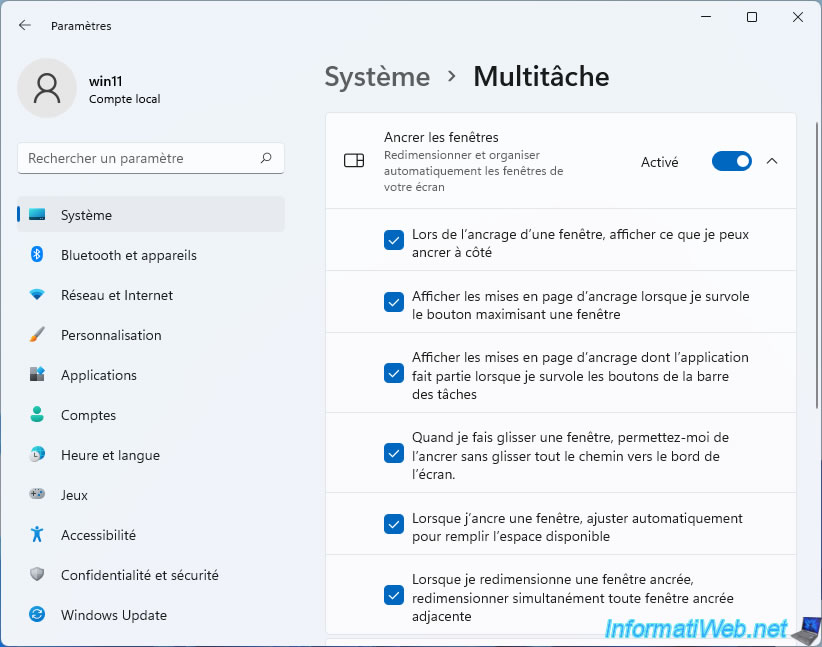
Uncheck the box "When I snap a window, show what I can snap next to it".
Once you have changed this setting, close this settings window.
3. Anchor suggestions disabled
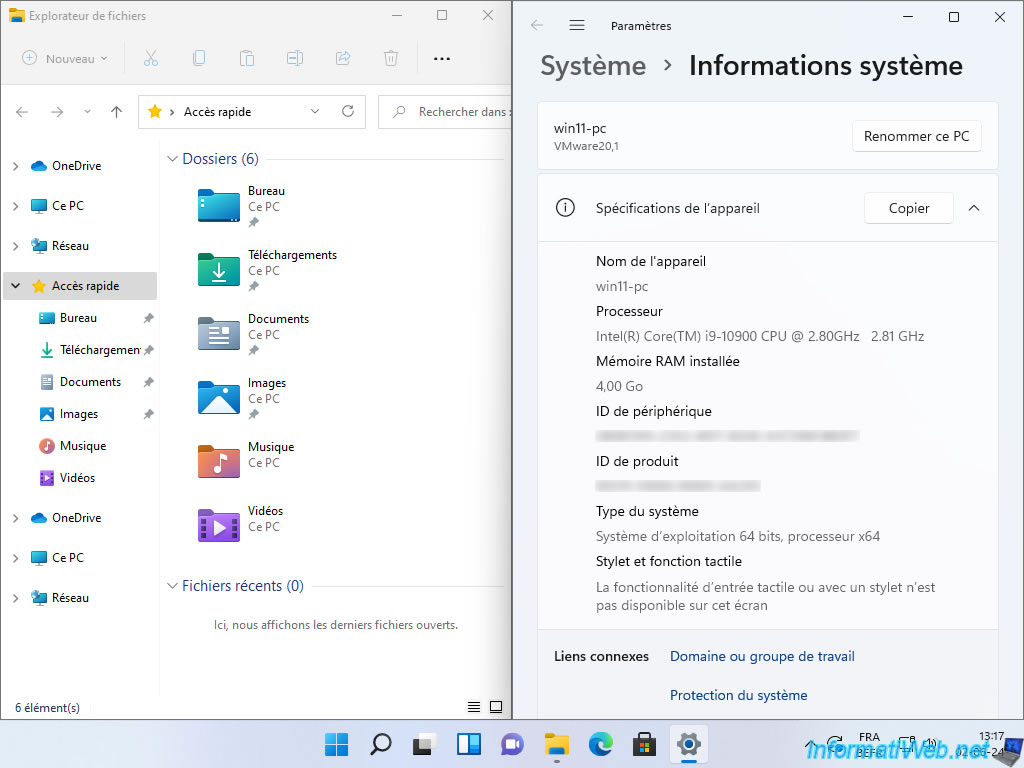
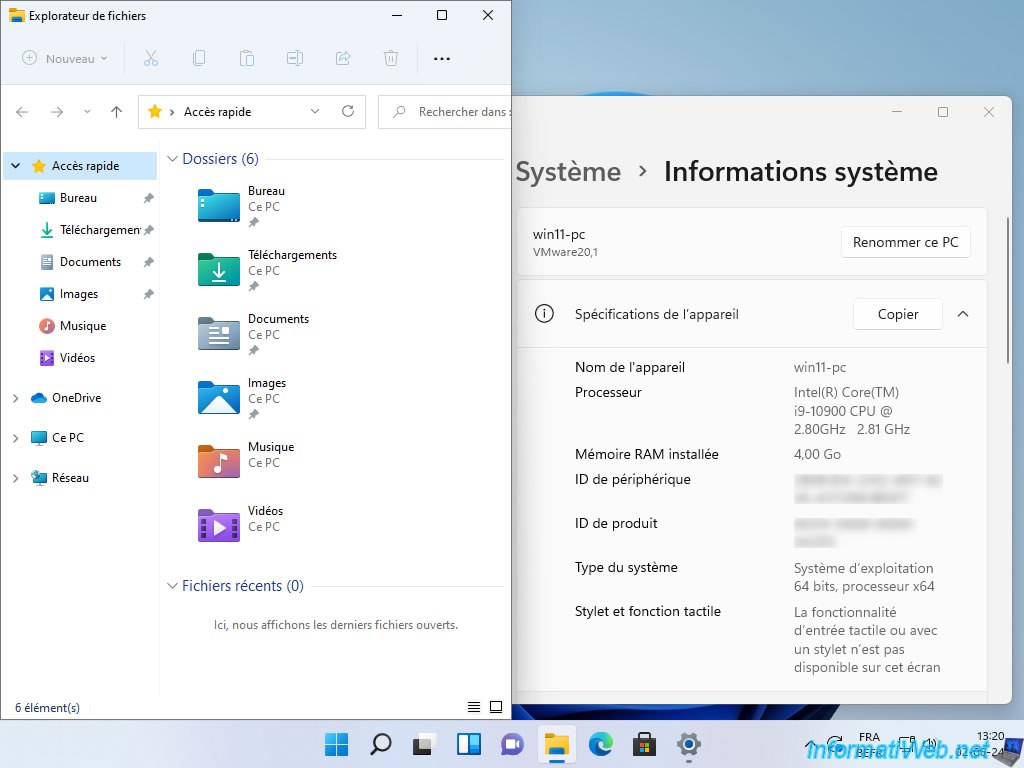
Now, move one of your windows to the left or right edge of your screen.
This time, the desired window is automatically resized to take the desired half of your screen and no suggestions are displayed by Windows 11 for the remaining space on your screen.
Share this tutorial
To see also
-

Windows 1/28/2017
Speed up your computer (ReadyBoost)
-
Windows 12/4/2023
Windows 10 / 11 - Create an EFS recovery agent
-
Windows 4/19/2022
Windows 11 - Create a local account
-
Windows 11/4/2024
Windows 11 - Use a Bluetooth headset
You must be logged in to post a comment