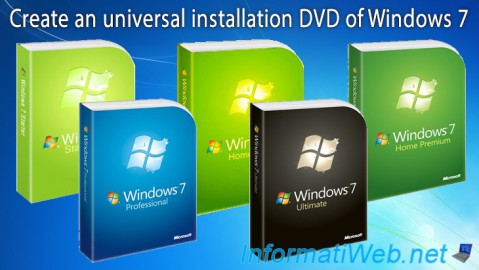
As you know, Windows 7 is available in several editions. This means that a IT professional should walk around with a CD edition / architecture (x86 / x64).
Fortunately, it is possible to create a universal Windows 7 DVD and easily. However, your serial number is valid only for one edition.
For this, there are 2 possibilities :
- Either you have software to directly modify a CD / DVD image to ISO format (apparently they are all paid). In this case, just delete the "ei.cfg" file located in the "sources" folder.
- Either you need to do several manipulations to achieve the same result using the free program that we will use.
Before you begin, you need either the CD / DVD image (ISO format preferred) or physical Windows 7 DVD (any edition).
If you have a license for Windows 7 and you have lost your installation DVD, you can download it by clicking here.
1. Copy files from CD / DVD image and changes
Either you have the physical DVD of Windows 7. In this case, copy the contents on the hard disk.
Either you have the CD / DVD image of Windows 7. In this case, you must unzip (or extract) the contents on the hard disk using "7-Zip" or equivalent.
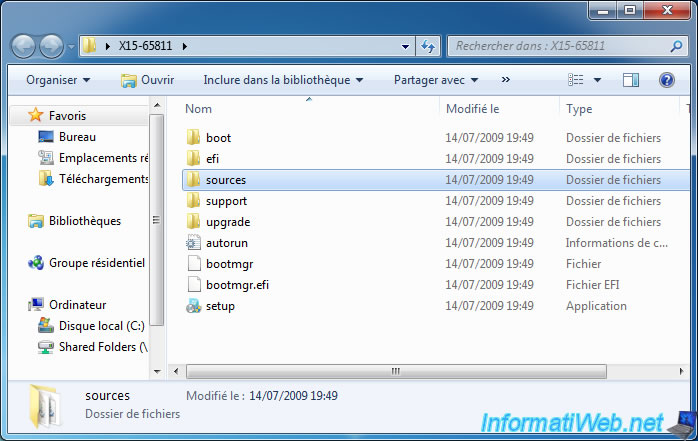
Once you copy the files from Windows 7 hard disk, go to the "sources" folder.
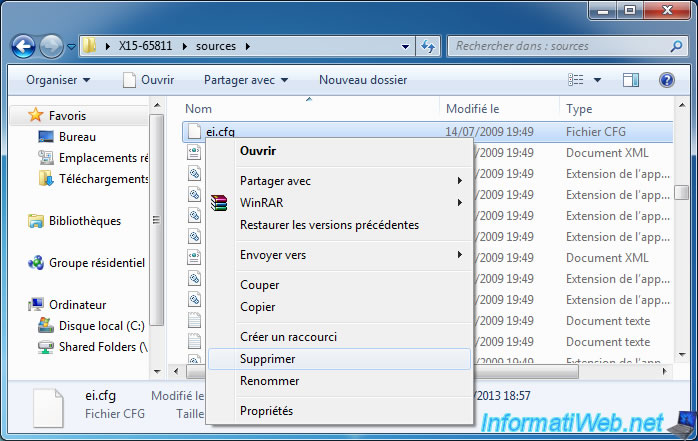
Then delete the "ei.cfg" file.
Information :
- This file actually says the edition to install. Since this file doesn't exist, the installation wizard will ask you which edition you want to install.
- Shortcut : Click a file in the list and press the "E" key on your keyboard to quickly find it.
2. Creating universal DVD Windows 7
To recreate this CD / DVD image, you'll need a free software for creating bootable CD / DVD images. Otherwise, the computer will not start on your new DVD.
The only free software that we have found to do this is "ImgBurn".
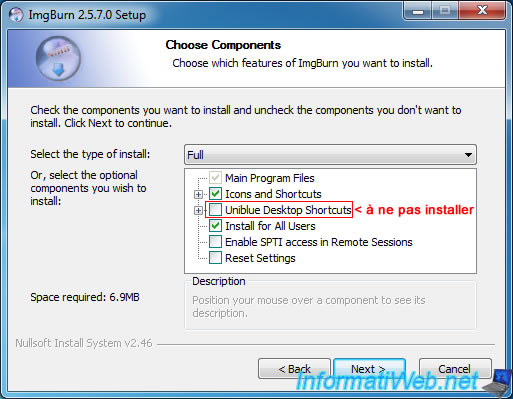
Warning : When installing, uncheck the "Uniblue Desktop Shortcuts" box because it's an adware that can crash your computer if you use it.
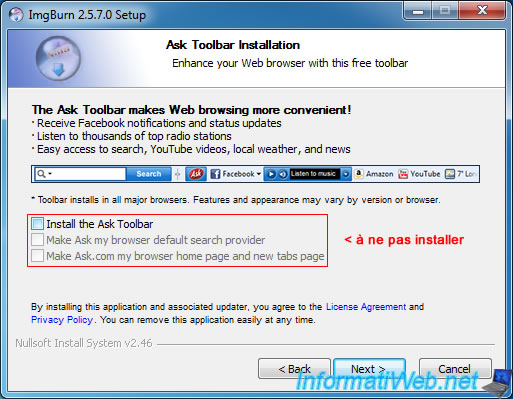
Warning : Uncheck the "Install the Ask Toolbar" box because this is also an adware which displays unwanted advertising windows.
The other two boxes will be automatically unchecked, as you can see on the image.
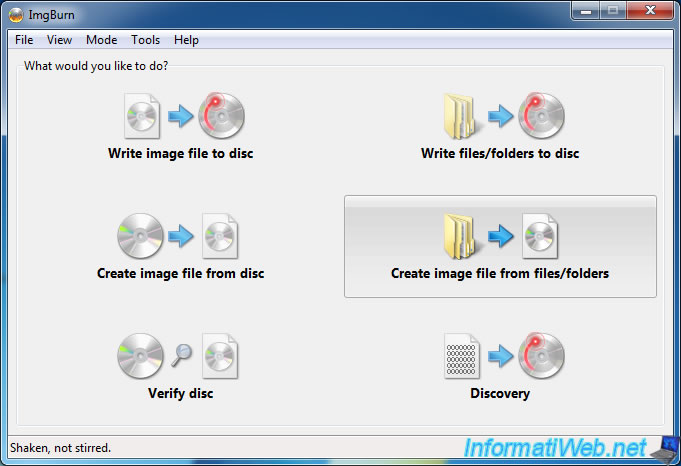
Once installed, click on "Create image from files / folders".
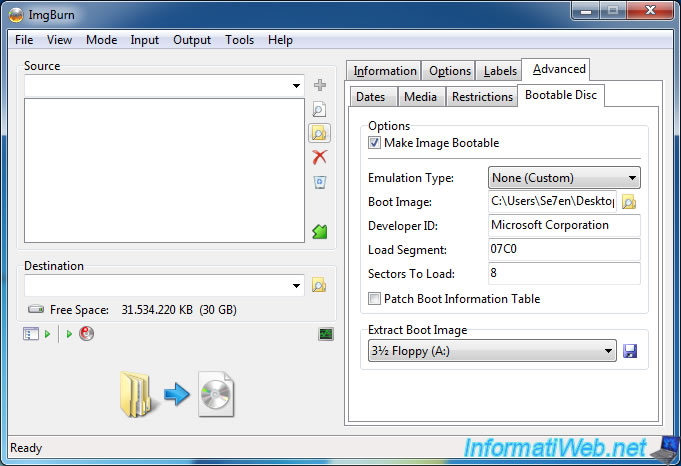
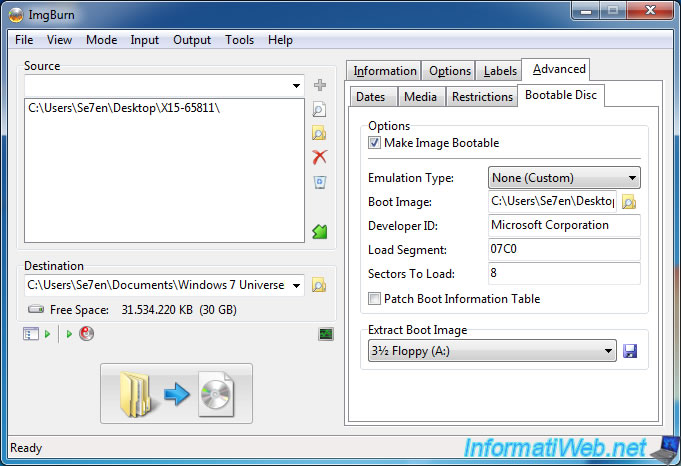
Then go to the tab "Advanced" and then "Bootable Disc" and set these options :
- Check the "Make Image Bootable" box
- Emulation Type : None
- Boot Image : Click the icon to the right and select the "etfsboot.com" file located in the "boot" folder on the DVD.
- Developer ID : Microsoft Corporation
- Load Segment : 07C0
- Sectors To Load : 8
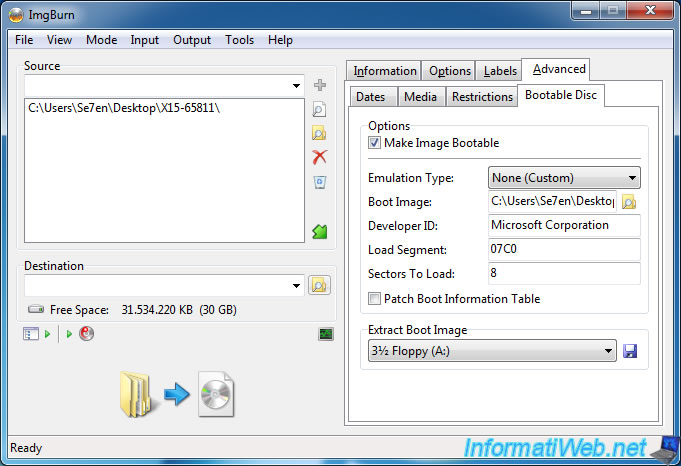
Once the information to make the image bootable are configured, then click the (frame : Source) "folder" icon on the left.
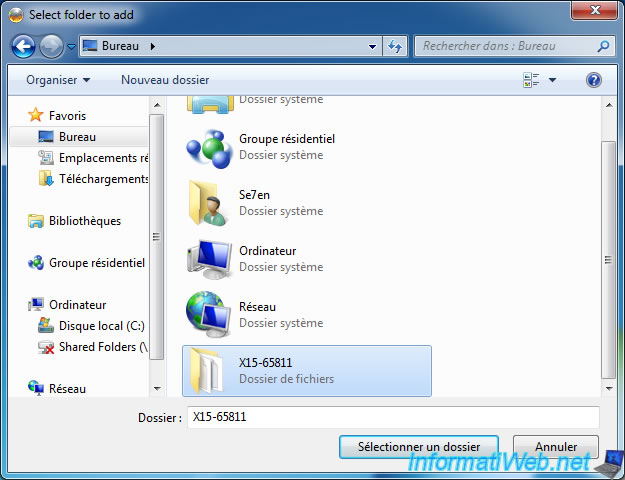
Select the folder that contains the files of the Windows 7 DVD (where you removed the ei.cfg file).
Once you have selected in the "Destination" folder on the left, click the "folder" icon.
Enter a name to save the ISO image.
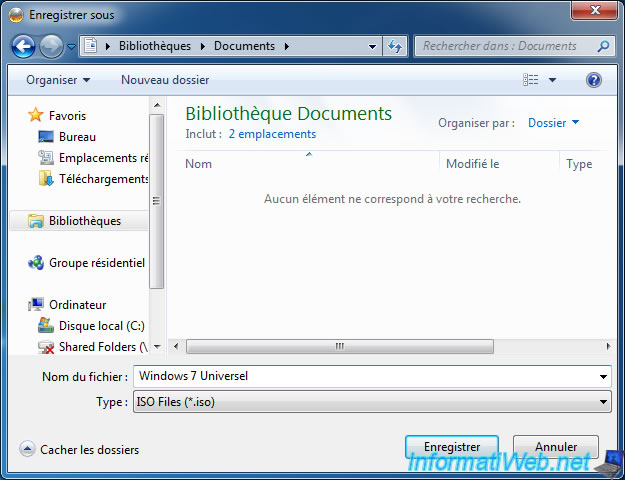
Now that everything is configured, click the big button at the bottom left.
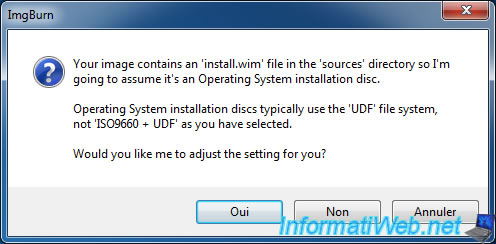
If ImgBurn asks you whether to adjust the settings, click "Yes".
Then, enter a name for your DVD. For example : Win7.
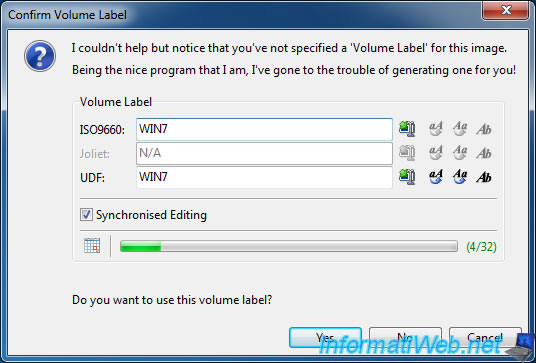
A window appears first (before the creation of the image).
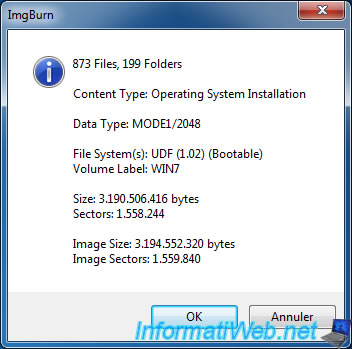
Then, ImgBurn create your ISO image.
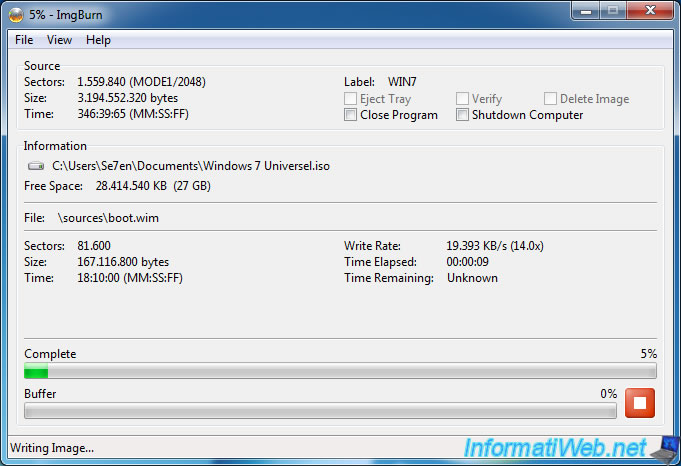
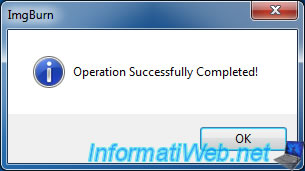
Now that the image is created, you can burn it with your favorite burning software or by ImgBurn by clicking the "Write image file to disc" button.
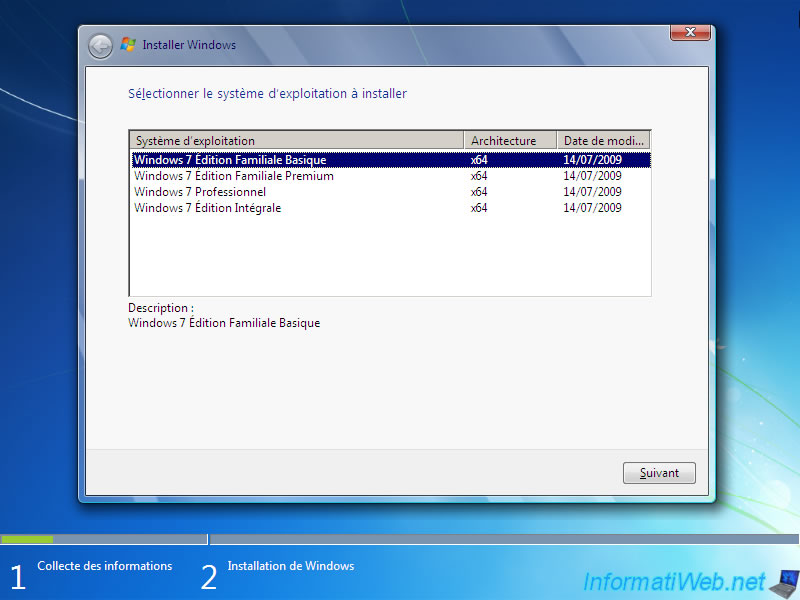
When you test your DVD, here is the screen that appears before installation.
Note : "Starter" edition isn't present on the image because this edition is only available for 32-bit (x86) architectures.
Share this tutorial
To see also
-
Windows 6/7/2022
Delete a recalcitrant file
-
Windows 9/5/2022
Windows - Install the drivers from the device manager
-
Virtualization 8/9/2019
Windows 7 - XP mode
-
Windows 5/18/2022
Windows 7 / 8 / 8.1 / 10 / 11 - Enable the Administrator account

You must be logged in to post a comment