- Windows
- Windows 8 / 8.1, Windows 7, Windows 10, Windows 11
- 05 September 2022 at 08:41 UTC
-

On Windows, there are 2 techniques for installing drivers from the device manager.
- Install or update the driver from inf, sys, cat, ... files
- Install or update the driver from the Internet (from Microsoft's server)
1. Install or update the driver from inf, sys, cat, ... files
Sometimes, it happens that the manufacturer of your hardware only provides the driver (composed of ".inf" and ".sys" files, and sometimes also of ".cat", ".dll", ... files) without an installer .
In this case, you will have to right click "Install" on the ".inf" file of the driver to install or launch the device manager for Windows to install it for you.
To open the device manager (available on all versions of Windows), open the file explorer and right click "Manage" on "This PC" (or "Computer" depending on your version of Windows).
On Windows 11, right click "Show more options -> Manage" on "This PC".
In the "Computer Management" window that appears, click on "Device Manager" in the left column.
As you can see, in our case 3 other devices are displayed with a yellow icon. This means that the drivers associated with these devices are not installed.
To manually install a device driver, right click "Update driver" on the desired device.
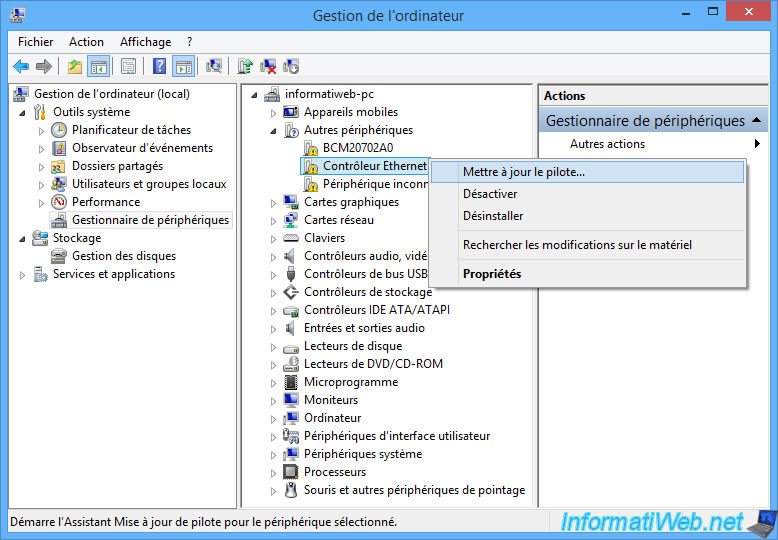
Choose : Browse my computer for driver software.
On Windows 11, this option has been renamed : Browse my computer for drivers.
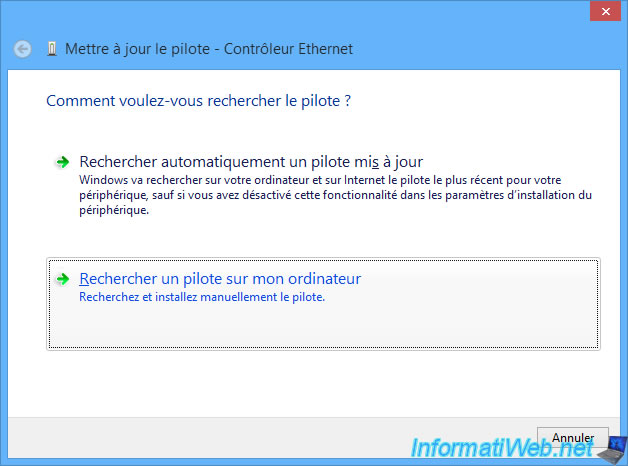
Click the "Browse" button and select the folder containing the driver files to install.
Note that by default, Windows 7 and later versions of Windows are configured to also search in subfolders of the selected folder.
Important : if you downloaded the driver from the manufacturer's site, it's probably in zip format. In this case, you must of course unzip it (via a right click "Extract") before selecting the folder concerned here.
Otherwise, the driver will not be detected by this wizard.
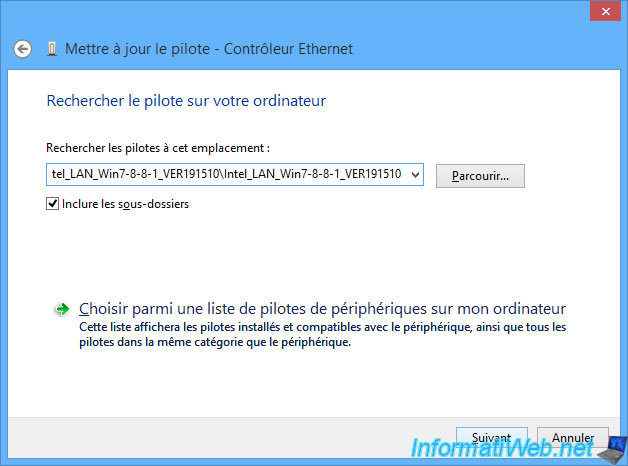
If the correct driver is present in the selected folder, the "Installing driver software" message will be displayed.
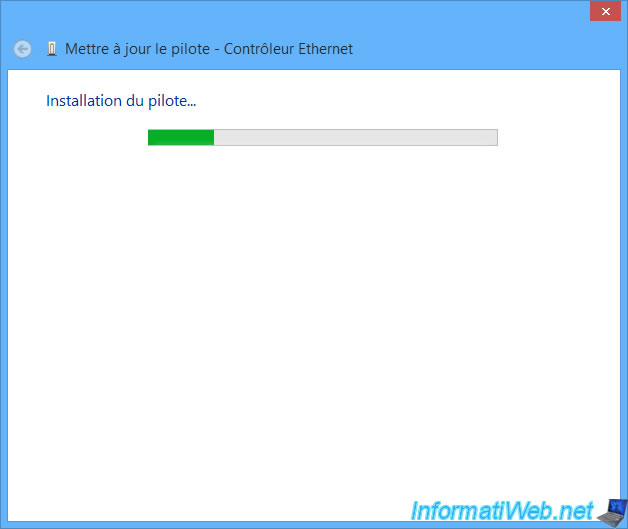
Once the driver is installed, Windows will show you this :
Windows has successfully updated your driver software.
Windows has finished installing the driver for this device: [name of the device for which the driver was installed].
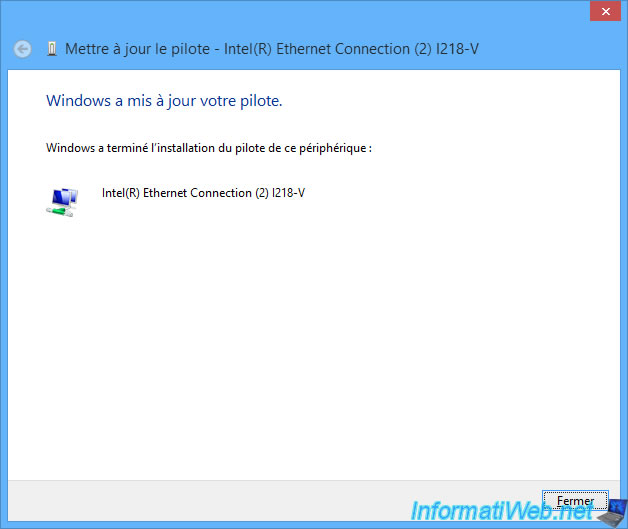
Now, the device is recognized by its real name in the device manager.
Note that a restart of your computer may be necessary depending on the affected device for it to function properly.
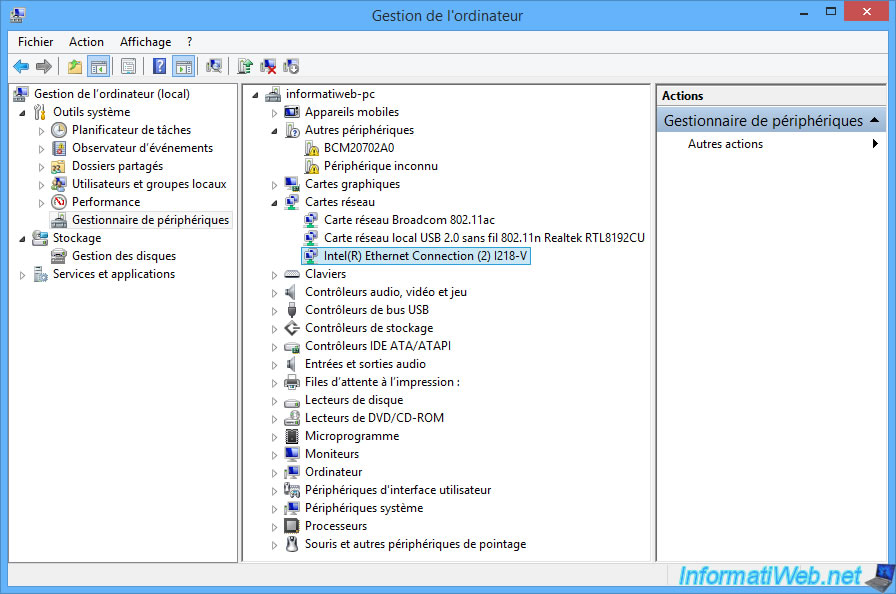
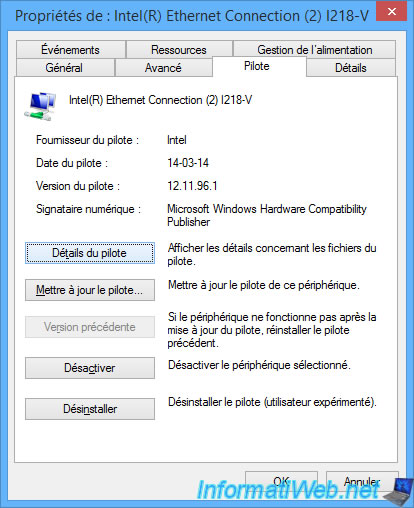
If you right click "Properties" (or double click) on the device for which you just installed the driver, you will be able to view the driver details.
To do this, go to the "Driver" tab of its properties and click on the "Driver Details" button.
Windows will show you the drivers used by this device.
All devices use at least one ".sys" file (which represents the driver itself) and sometimes other types of files.
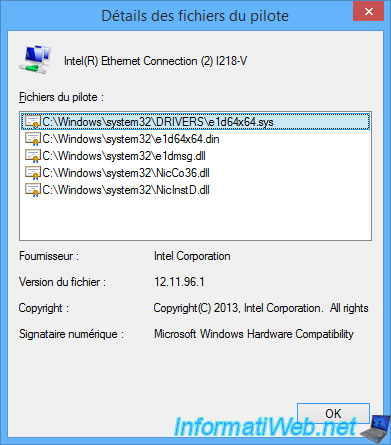
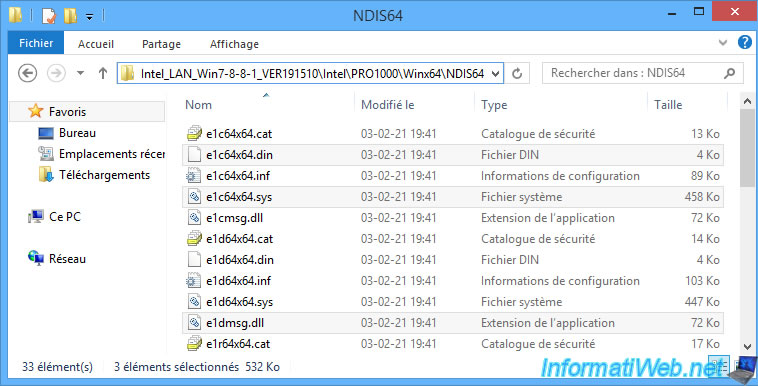
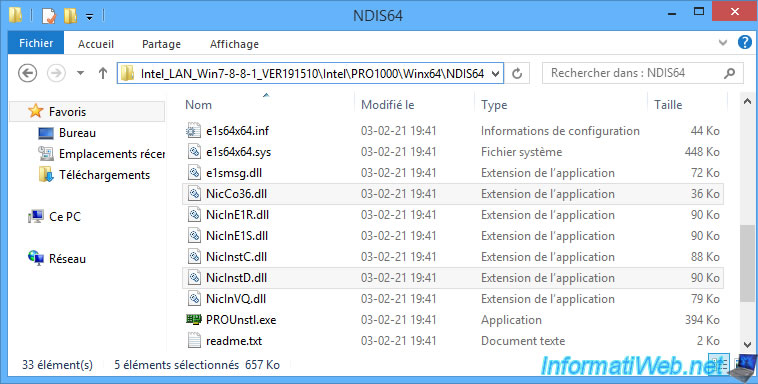
If we go to the driver folder downloaded from the manufacturer's site, we find the files displayed by Windows above.
2. Install or update the driver from the Internet (from Microsoft's server)
2.1. Install a network adapter
Depending on your version of Windows and the model of your wired (Ethernet) and/or wireless (Wifi) network card, Windows may already recognize it.
However, if this is not the case, you will need to install the driver for your network card from the manufacturer's site.
If necessary, you can temporarily use a WiFi USB key for which you have previously copied the installation files of its driver to an USB key.
Once the driver is installed, Windows will recognize it.
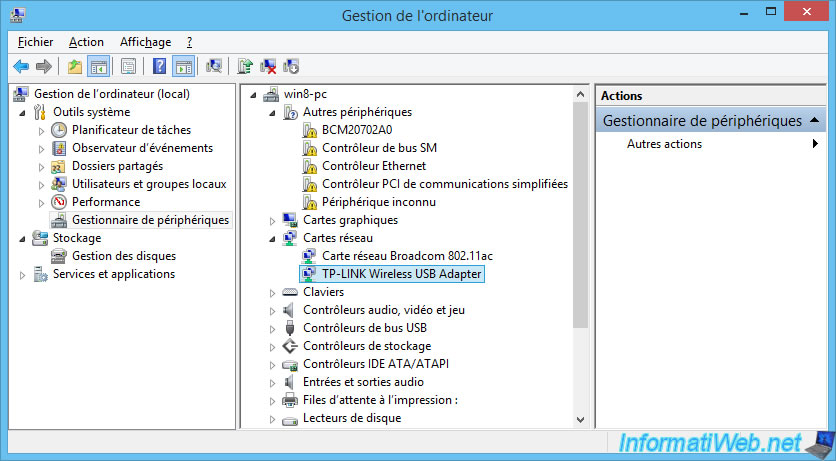
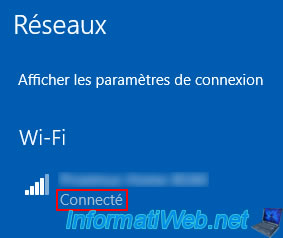
If it's a WiFi network card, don't forget to connect to your WiFi network.
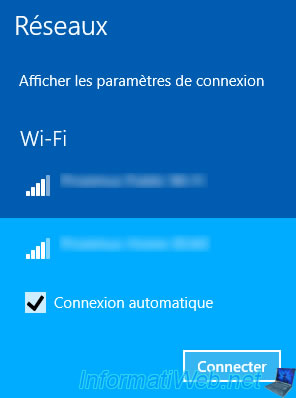
Once connected to the Wifi network, the "Connected" mention will appear.
2.2. Install or update the driver from Microsoft's server
To install the drivers for a component or a device, it's recommended that you install the drivers provided by its manufacturer to benefit from all the features offered by the latter.
However, if you can't find them, you can try to download them automatically from Microsoft's servers.
Indeed, Microsoft has many drivers on its servers and in particular those for Intel, Nvidia, ... components
To find the suitable driver, Windows uses the hardware identifier of the component or device selected and searches for the compatible driver suitable for it on Microsoft's servers.
To use this handy Windows feature, right-click "Update Driver" on the device for which you want to automatically download and install the appropriate driver.
In our case : the "PCI Simple Communications Controller" device.
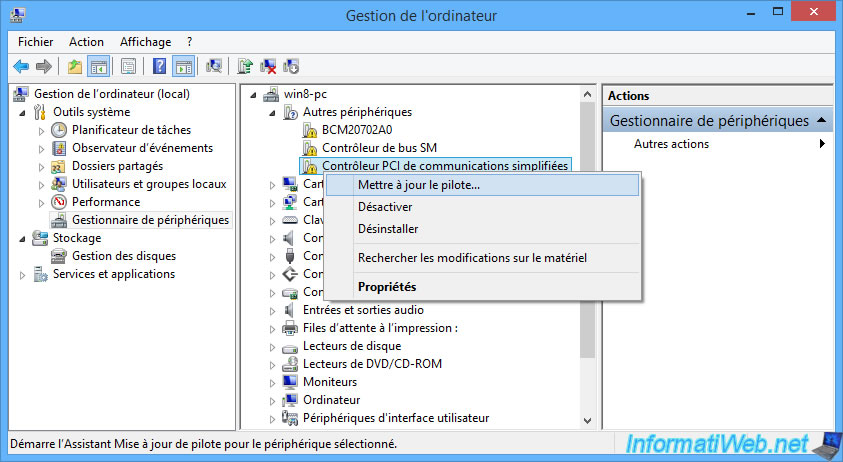
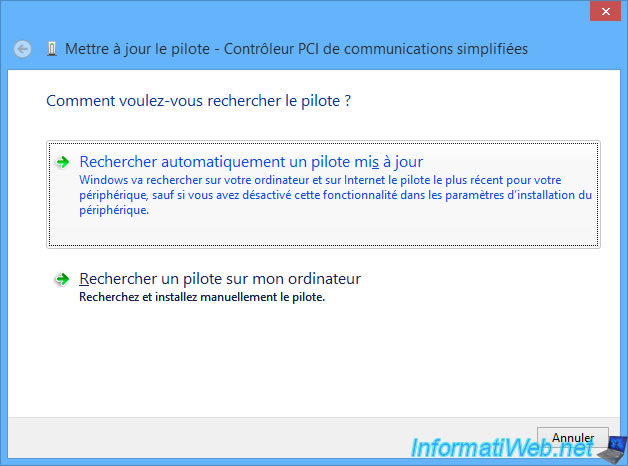
Then, click on : Search automatically for updated driver software.
On Windows 11, this option has been renamed : Search automatically for drivers.
The search may or may not be faster depending on the device concerned.
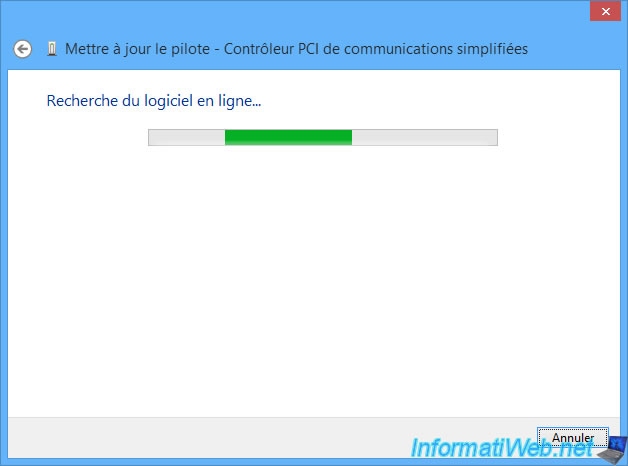
If Microsoft has drivers for the desired component and/or device, the "Downloading drivers software" message will be displayed.
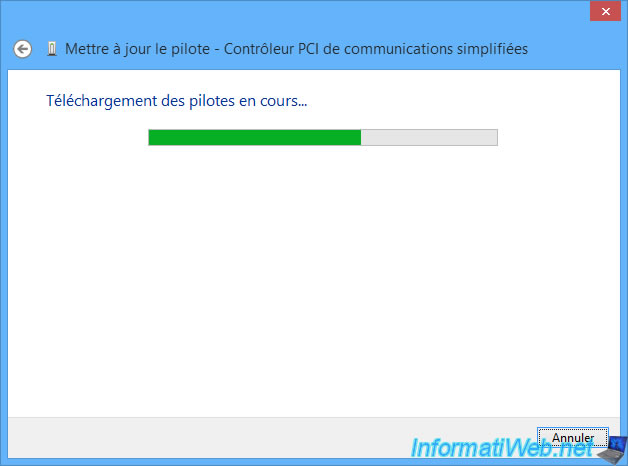
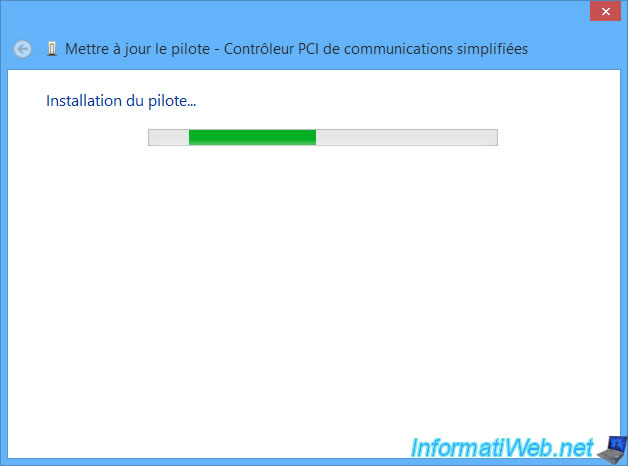
Once the drivers are downloaded, Windows will install them seamlessly.
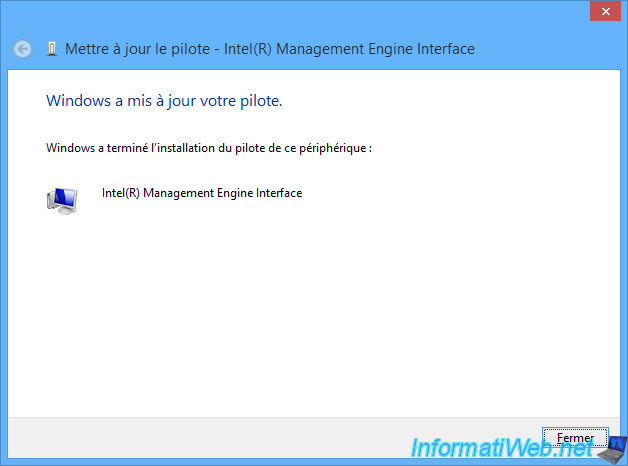
Once the correct drivers are installed, the name of the affected device will be displayed.
In our case : Intel Management Engine Interface.
2.3. Install the driver of your NVIDIA graphics card from Microsoft's server
This feature of automatically downloading drivers from Microsoft's servers is particularly useful for easily installing the driver for your NVIDIA graphics card.
Important : although this works very often for NVIDIA graphics cards, be aware that the downloaded driver will be very old (as you will see later in this tutorial).
As you can see in the image below, Windows recognizes our NVIDIA graphics card as : Microsoft Basic Display Adapter.
Which allows you to have a display, but which indicates that the real graphics driver is not installed.
To install it automatically (via the Internet), right click "Update Driver Software" on this "Microsoft Basic Display Adapter" device.
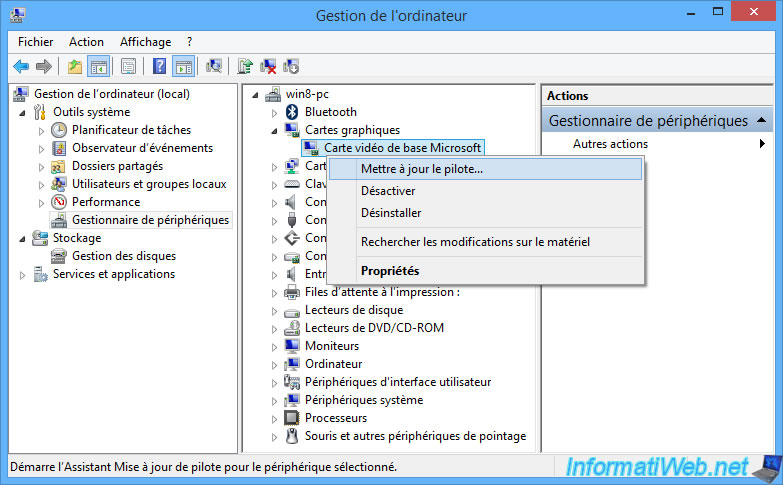
An "Update Driver Software - Microsoft Basic Display Adapter" window appears.
Click on : Search automatically for updated driver software.
On Windows 11, the window will be named "Update Drivers - Microsoft Basic Display Adapter" and you should click on : Automatically search for drivers.

Wait while searching for the software online.
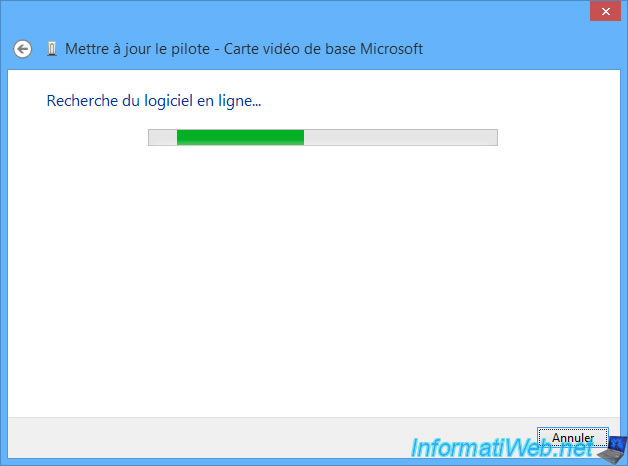
Windows will then download the drivers for your NVIDIA graphics card.

Once the drivers have been downloaded, you will see in the title of the window that Windows now recognizes that it's a "NVIDIA GeForce GTX 750 Ti" graphics card.
Wait while the driver is installed.
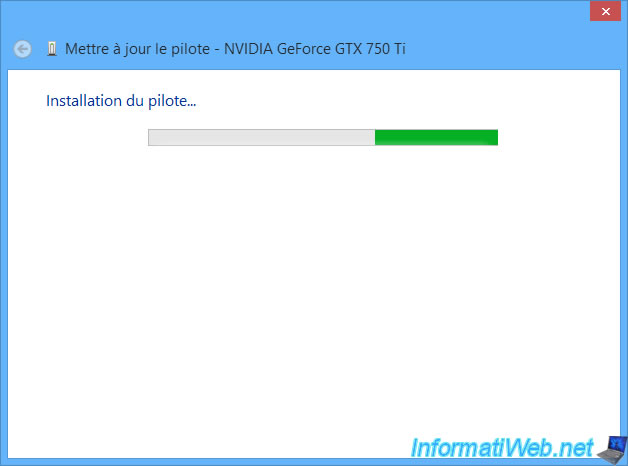
Once the NVIDIA driver is installed, Windows will tell you this :
Windows has successfully updated your driver software.
Windows has finished installing the driver software for this device: NVIDIA GeForce GTX 750 Ti.
The hardware you installed will not work until you restart your computer.
Click on Close.
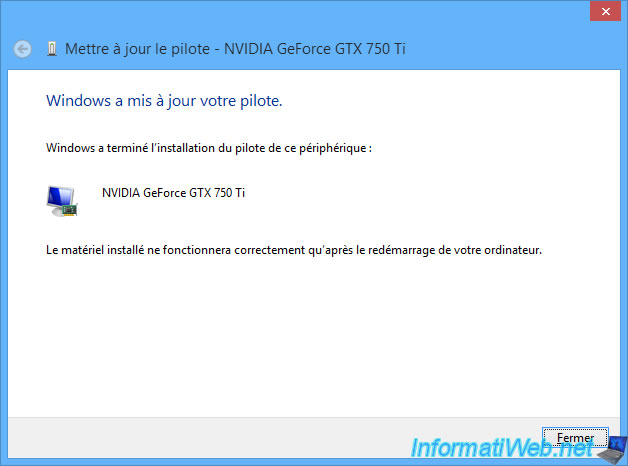
As indicated by the update driver wizard, you will need to restart your computer.
If this message appears, click "Yes" to restart your computer.

Warning : NVIDIA drivers downloaded automatically from Microsoft's server are never up to date.
To check this, simply open the NVIDIA control panel accessible via the green icon in the taskbar (next to the time) or via the Windows Control Panel -> Appearance and Personalization.
As you can see, Windows 8.1 has just installed version "391.35" of the driver for our "NVIDIA GeForce GTX 750 Ti" graphics card.
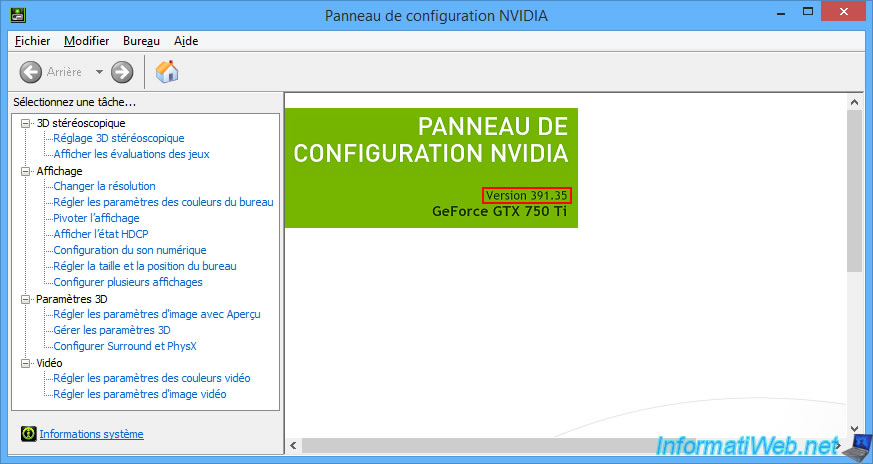
If you search for this version "391.35" on Google, you might find this NVIDIA page where it says that this driver is dated 03/27/2018.
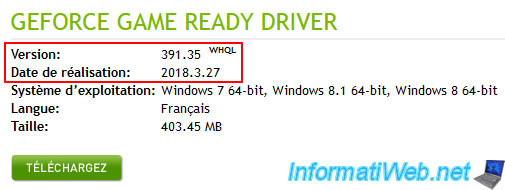
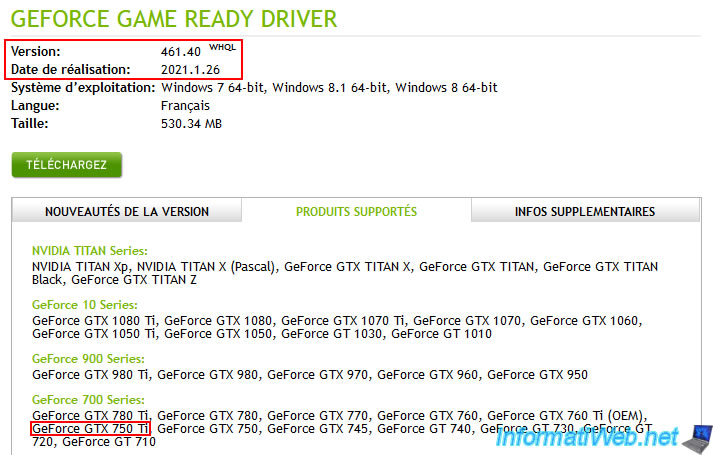
However, the latest version available for our NVIDIA graphics card on Windows 8.1 is version "461.40" dated 01/26/2021.
The driver stored on the Microsoft server has therefore been obsolete for 3 years.
If you are using your computer for gaming, then you will need to download the driver directly from the NVIDIA official site to get the best performance and recent game support.
Share this tutorial
To see also
-
Windows 4/6/2013
Get the serial number of Windows
-
Windows 3/17/2025
Windows 11 / 10 / 8.1 / 8 - Expand a simple storage space (software RAID 0)
-

Windows 4/21/2013
Windows 7 - Create Universal Installation DVD
-
Windows 4/11/2022
Windows 8 / 8.1 - Delete an old network profile
You must be logged in to post a comment