- Windows
- Windows 7
- 16 January 2015 at 12:02 UTC
-

- Create a bootable USB drive to install Windows 7
- Integrate an USB 3.0 driver for USB 3.0 keys
- Note for users of the virtual CD / DVD drive "Zalman ZM-VE300"
1. Create a bootable USB drive to install Windows 7
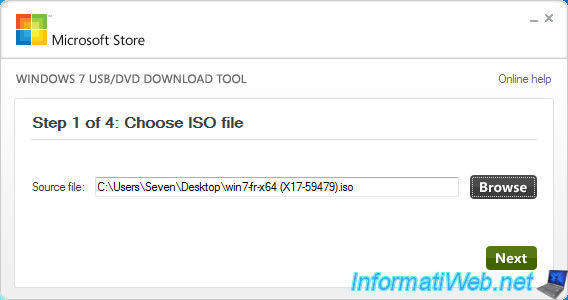
To begin, create a bootable USB drive of Windows 7 (SP1) using the "Windows USB/DVD Download Tool" program.
To do this, install the program and select the ISO file of Windows 7.
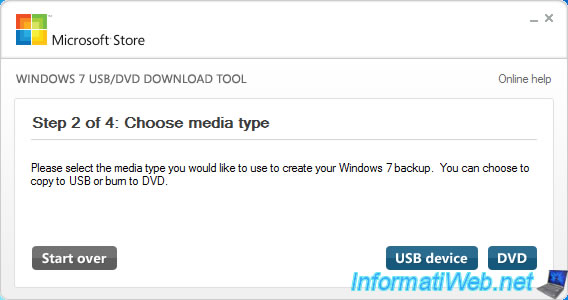
Click on "USB device".
Select your USB drive (either USB 3.0 or not) and click on "Begin copying".
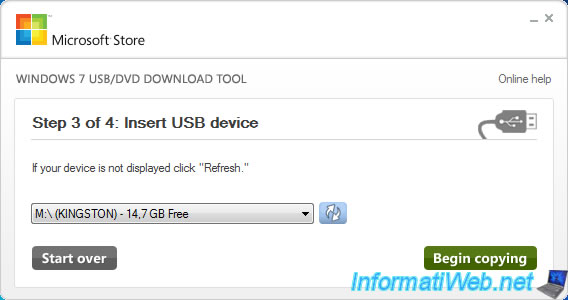
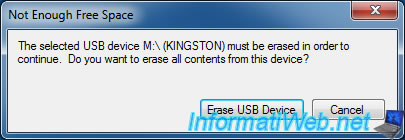
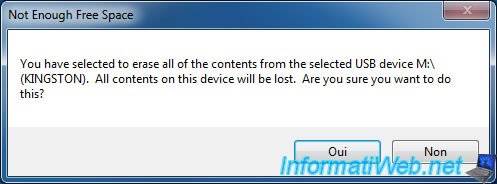
If messages "Not Enough Free Space" appears, click "Erase USB Device" and then "Yes".
Warning : All data on your USB drive will be erased.
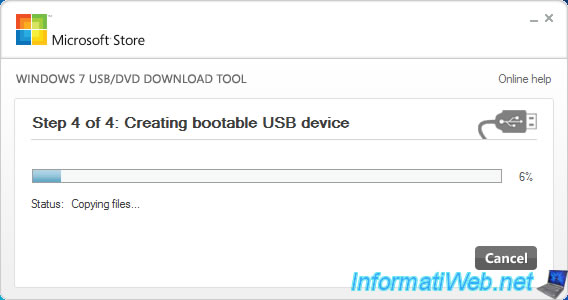
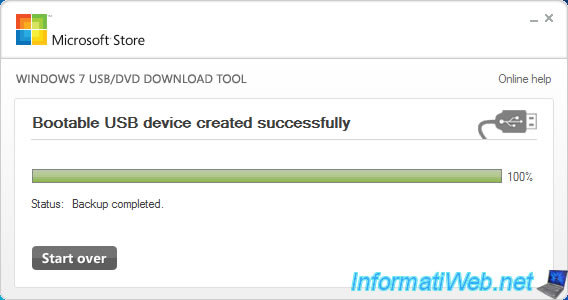
Windows 7 USB/DVD Download Tool copies the files to your USB drive and make your USB key bootable. (A simple file copy isn't sufficient)
Once the bootable USB key is created, quit the program.
For now, your bootable USB key can't be used on an USB 3.0 port to install Windows 7. To overcome this problem, read the rest of this tutorial.
2. Integrate an USB 3.0 driver for USB 3.0 keys
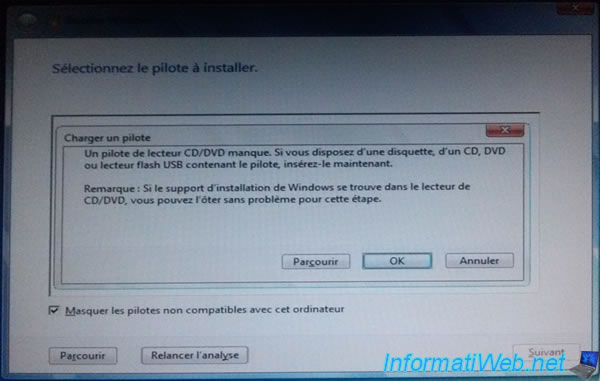
If you have already tried to install Windows 7 with a USB key 3.0 (plugged into an USB 3.0 port), you had to get an error "A CD / DVD drive driver is missing" after choosing the language.
This error occurs because Microsoft has not integrated USB 3.0 driver in the Windows 7 DVD. To resolve this issue, simply integrate the USB 3.0 driver of your motherboard to the boot image "boot.wim" present in the "sources" folder of your USB key.
Pour cela, téléchargez et installez le "Kit d’installation automatisée (AIK) Windows® pour Windows® 7 (WAIK)" et le "Supplément du Kit d’installation automatisée (AIK) Windows® pour Windows® 7 SP1" pour gérer les images Windows 7 SP1. L'installation du WAIK est très simple mais pour l'installation du supplément, vous devrez suivre ceci : "Installer le supplément AIK pour Windows 7 SP1".
To do this, download and install the "The Windows® Automated Installation Kit (AIK) for Windows® 7" and the "The Windows® Automated Installation Kit (AIK) Supplement for Windows® 7 SP1" to manage Image Windows 7 SP1. The installation of the WAIK is very simple but for the installation of the supplement, you should follow this : "Install AIK supplement for Windows 7 SP1".
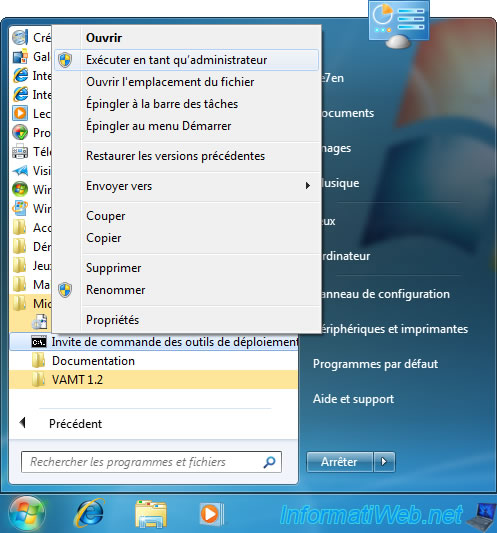
Une fois installés, lancez un "Invite de commande des outils de déploiement" en tant qu'administrateur.
Create, for example, a "C:\test\offline" folder and mount the boot image "boot.wim" of the dvd in this folder.
Note : "M" is the letter that Windows has allocated to our USB key.
Batch
Dism /Mount-Wim /WimFile:M:\sources\boot.wim /index:2 /MountDir:C:\test\offline
Add a driver using the following command :
Batch
Dism /Image:C:\test\offline /Add-Driver /Driver:C:\drivers\mydriver.INF
Or add several drivers by specifying a folder. To install the drivers of a folder and its subfolders, use the "/recurse" option. In our case, we will add the "Intel USB3.0" driver of our motherboard (Asus Z77-V LX).
Batch
Dism /Image:C:\test\offline /Add-Driver /Driver:C:\Intel_USB3_V105235_Win7\Drivers\Win7\x64
Use the "Dism /Get-Drivers" command to list the drivers added into the boot image.
Batch
Dism /image:c:\test\offline /Get-Drivers
In our case, this command displays the USB3 drivers that we have added.
Plain Text
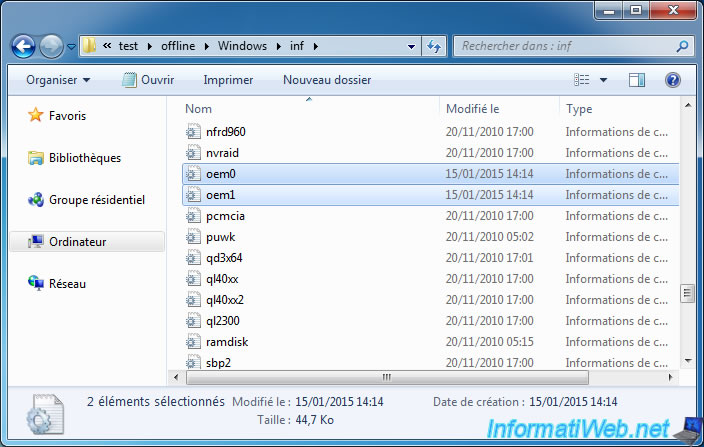
Published Name : oem0.inf
Original File Name : iusb3hub.inf
Inbox : No
Class Name : USB
Provider Name : Intel(R) Corporation
Date : 05/21/2012
Version : 1.0.5.235

Published Name : oem1.inf
Original File Name : iusb3xhc.inf
Inbox : No
Class Name : USB
Provider Name : Intel(R) Corporation
Date : 05/21/2012
Version : 1.0.5.235
Inf files displayed by the command "Dism ... /Get-Drivers" are located in the "C:\test\offline\Windows\inf" folder.
Finally, "unmount" the image and apply the changes by using this command.
Batch
Dism /Unmount-Wim /MountDir:C:\test\offline /commit
Note : This procedure is based on 2 articles from Microsoft :
- Add and Remove Drivers Offline
- Add Driver Packages to a Boot Image
3. Note for users of the virtual CD / DVD drive "Zalman ZM-VE300"
If you try to use the Windows 7 ISO file in the virtual CD / DVD drive "Zalman ZM-VE300", this error will also occur if the virtual drive is plugged into an USB 3.0 port.
To solve this problem, you must integrate the USB 3.0 driver of your motherboard in the "boot.wim" file of the iso file of Windows 7. To do this, follow the point 2 of this tutorial.
Then, to re-create the ISO file of Windows 7, follow the point 2 of the tutorial "Windows 7 - Create DVD Universal Installation".
Share this tutorial
To see also
-
Windows 3/26/2013
Check and repair the file system
-

Windows 3/13/2021
Windows 7 - Switching from IDE to AHCI without reinstalling Windows
-

Windows 4/9/2021
Windows 7 - Translate Windows using language packs (MUI)
-

Windows 5/18/2022
Windows 7 / 8 / 8.1 / 10 / 11 - Enable the Administrator account
You must be logged in to post a comment