- Articles
- 06 August 2014 at 12:00 UTC
-

- 1/3
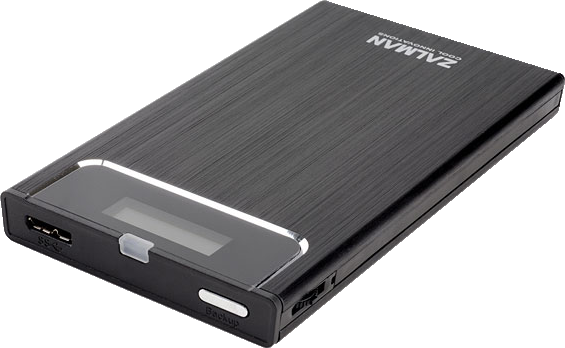
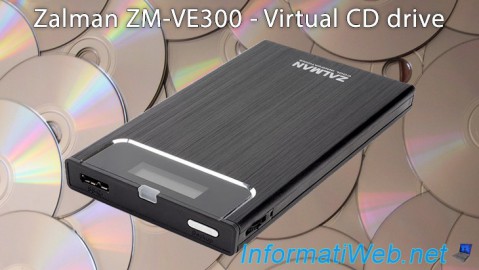
In this article, we'll talk about the "Zalman ZM-VE300". This is a casing for external SATA HDD (or SSD because they are also in 2.5" format) and it will allow you to boot your computer from your ISO on your external hard drive. (The external HDD isn't included)
This case therefore serves as a virtual CD / DVD for iso files but you can also create virtual floppy, virtual removable drives and virtual hard disks. This case therefore serves as the virtual CD / DVD for iso files but you can also create virtual floppy, virtual and virtual hard disks removable drives. When you select an iso image, a disk image ... the controller make arrangements to Windows to recognize a floppy drive (virtual of course), a CD / DVD drive ... The only limit is: the size of your external hard drive (or SSD).
The device comes with a free program and specific to it which will allow you to create these floppy, these removable drives, ... on your external hard drive. It will also allow you to perform backups on your external hard drive.
Note :
- In this article you will see the display shows "USB2.0" screen. However, this device is designed for USB 3.0 and is backward compatible with USB2.0. Because our USB3.0 ports are at the back of our tour, we plugged into a USB 2.0 port on the front of the tower for facility.
- Because you need to take the device in hand to select the iso to mount ... we recommend that you use an SSD instead of a traditional external hard drive because SSDs are much less sensitive to shocks.
- Connect the external hard drive in the casing
- First use
- Virtual CD/DVD drive (iso files)
- Virtual HDD - Virtuals Floppy disks, removable disks, ...
- Backup Utility
- Eject the device safely
- Interesting device options
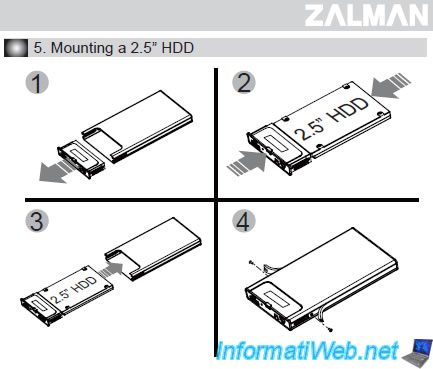
1. Connect the external hard drive in the casing
To connect the external hard drive (or SSD) disk in the casing, nothing more simple. Simply follow point 5 of the manual supplied with the device.
Note: The screws and the mini screwdriver are supplied with the device.
2. First use
At the first use of this casing, the message "NO_ISO Folder" will appear on the "Zalman ZM-VE300."
If this isn't the case, make sure that your external hard drive is partitioned. For the partitioning, follow the tutorial on your version of Windows:
- Windows XP - Partitioning your hard drive
- Windows Vista / 7 / 8 / 8.1 - Partitioning your hard drive

For this article, we named the partition of our external hard drive "InformatiWeb Ext." (Ext. means : External).
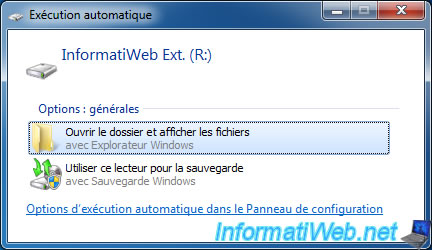
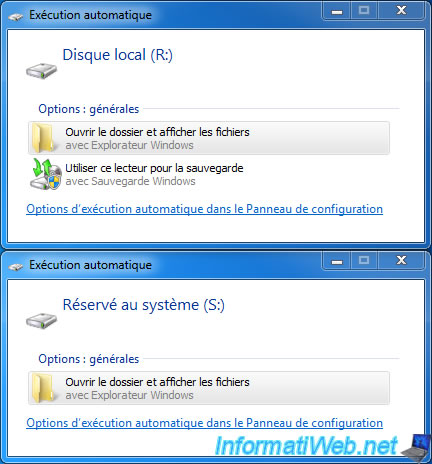
If you have created multiple partitions on your external hard drive, all partitions will be recognized by the device.
Note: In our case, it was an SSD where Windows was installed (hence the presence of the partition : System reserved).
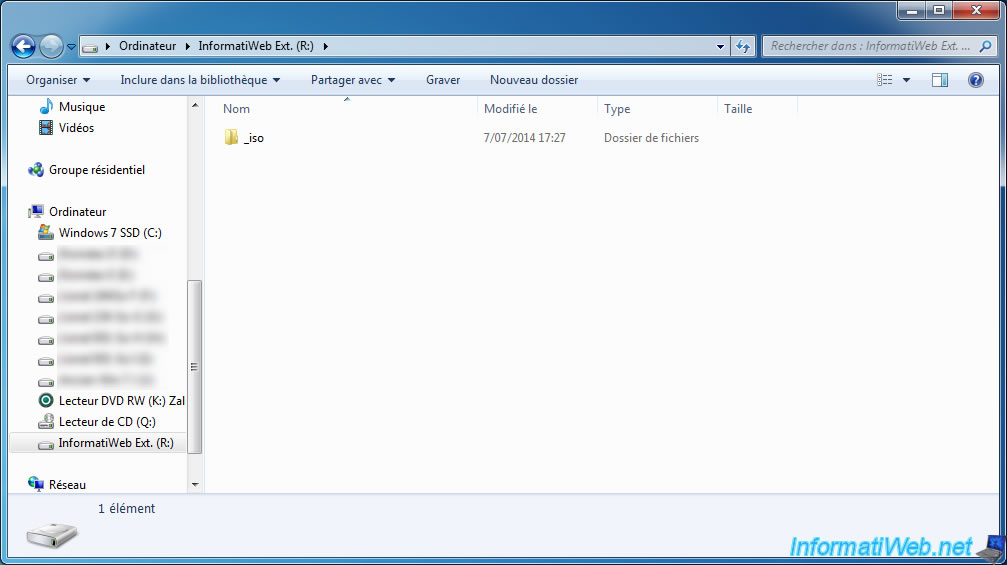
Normally, during this first use, the "_iso" folder will automatically be created on your external hard drive.
As you can see, you need to copy your bootable iso in that folder.
3. Virtual CD/DVD drive (iso files)
For this article, we downloaded the iso of Ultimate Boot CD and Hiren Boot CD.
These are 2 bootable CD very well known and useful, as you can see through these articles and tutorials :
- Article on Ultimate Boot CD
- UBCD - Ultimate Boot CD Customize
- Article on the Mini-XP of Hiren Boot CD
- Hiren Boot CD - Modify the local registry of Windows
Note : You can create folders in the "_iso" folder to organize your iso images. However, avoid using long names for files and folders.
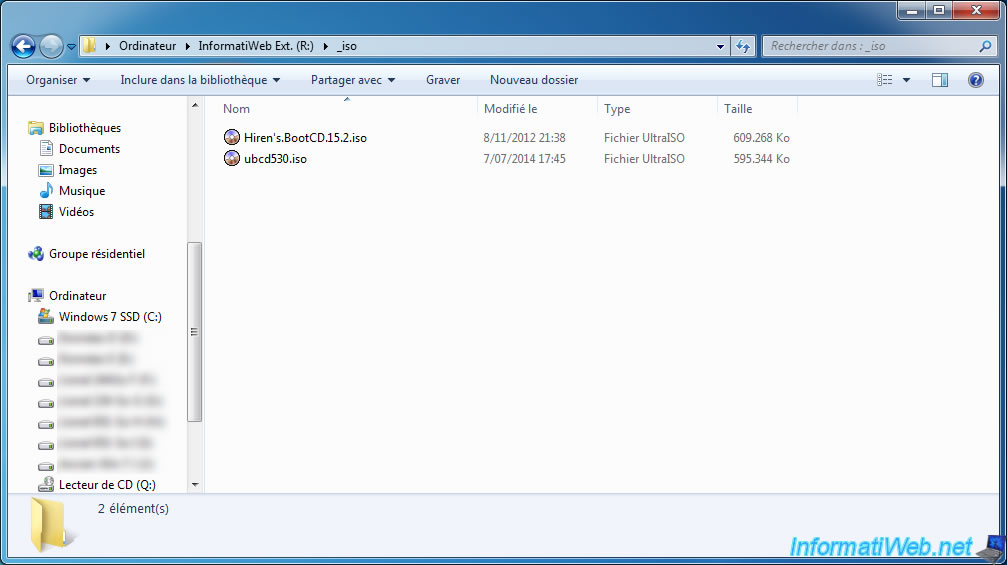
Once you have copied your iso files in this folder, you may need to refresh the device to detect the new iso files.
To do this, press the left wheel (present in the top left of the device) until a menu appears on the screen.
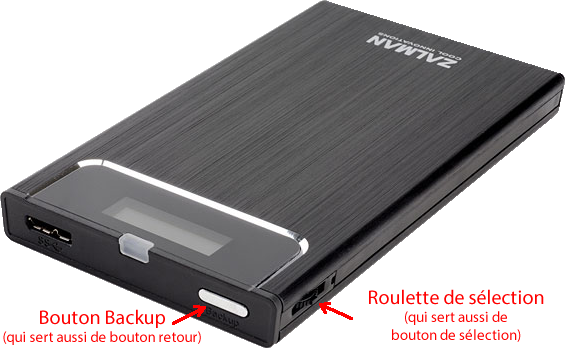
In the menu that appears, use the wheel to go down to "USB Connect" and then press the wheel.
Then, go to "Refresh" and press the wheel again .
![]()
The device will restart by displaying the following messages : "Please Wait" and finally "ZM-VE300".

Now, the device displays a list of your iso files.
Reminder : iso files must be in the "_iso" folder.
Note : Normally, the message "NO_ISO Folder" has disappeared.

To select an image iso to "mount", use the wheel, and press once (don't hold) on the wheel to select it.
Once selected, a CD icon will appear on the screen.
Note : To unmount the iso image, simply re-press once on the wheel.

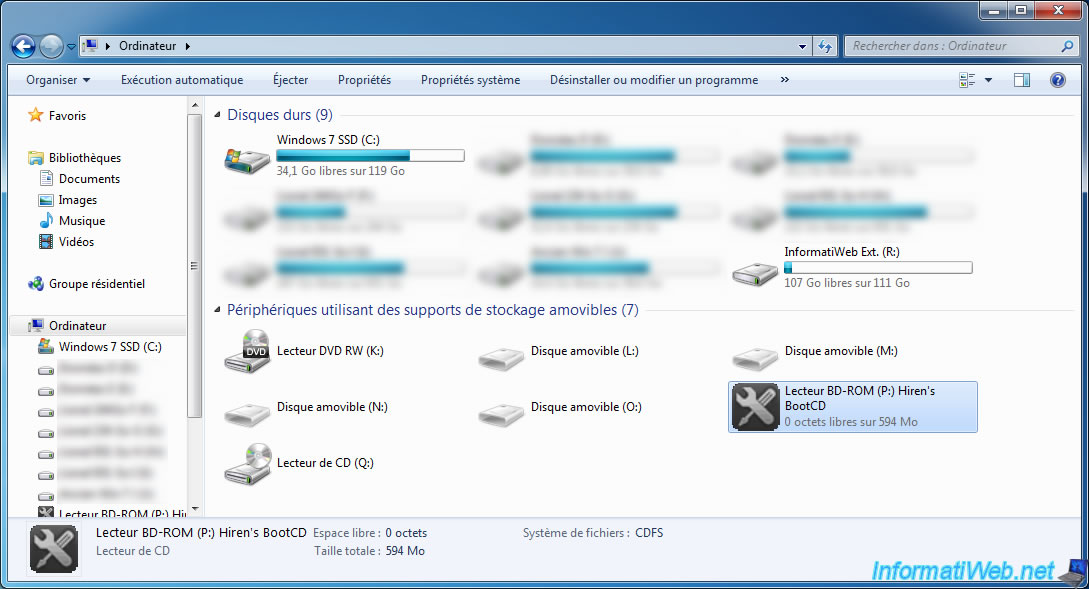
In My Computer (or Computer since Windows Vista), you will see that the "BD-ROM" virtual CD/DVD drive contains the selected cd.
In our case, this is Hiren's Boot CD.
3.1. Boot the computer on a bootable iso
Now, we will boot our computer on our virtual CD / DVD drive.
To do this, leave the iso in the virtual CD / DVD drive and restart your computer.
On reboot, before Windows, press the key that corresponds to the start menu (usually F8 or F12).
To learn more about the boot order of your BIOS, refer to the tutorial "Change the BIOS boot priority"
In the list that appears, locate the lines "ZALMAN External HDD" and "ZALMAN Virtual CD-ROM".
To boot from the virtual CD/DVD drive, select the "ZALMAN Virtual CD-ROM" line and press Enter.
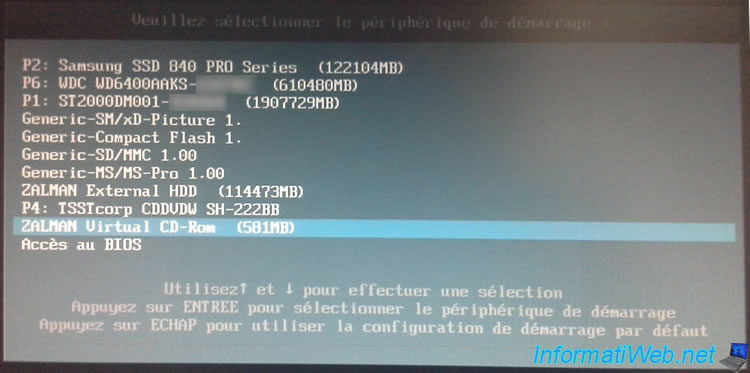
If all goes well, the selected bootable cd on the device should boot.
In our case, we select the iso Hiren Boot CD.
If the computer does not start on your bootable iso, check if :
- the iso image is bootable (Examples of bootable CD : those mentioned in this article, CD/DVD to install Windows or Linux (including Ubuntu) ...
- the image is mounted in the virtual drive. To do this, make sure that the icon ![]() is displayed on the device.
is displayed on the device.
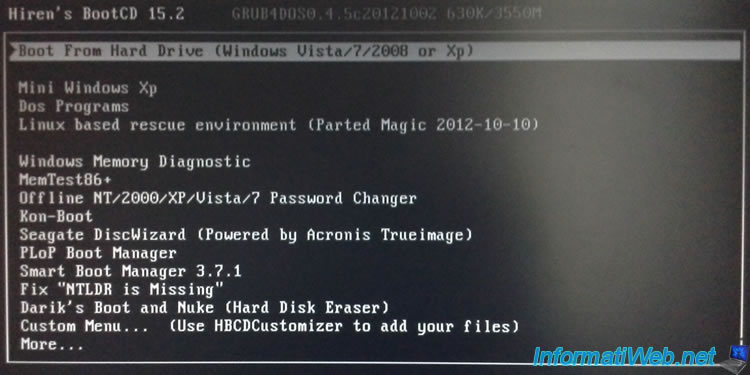
Now, you know how use this device to its known function.
Share this tutorial
To see also
-
Articles 12/16/2024
Easily unplug Molex connectors
-
Articles 3/7/2017
Intel NUC Skull Canyon - Unboxing
-

Articles 1/30/2023
PRISKA MAX EASY - Know your consumption with connected sockets
-
Articles 11/2/2014
Some practical infos about USB storage devices
You must be logged in to post a comment