Zalman ZM-VE300 - Virtual CD drive and case for External HDD (or SSD)
- Articles
- 06 August 2014 at 12:00 UTC
-

- 2/3
4. Virtual HDD - Virtuals Floppy disks, removable disks, ...
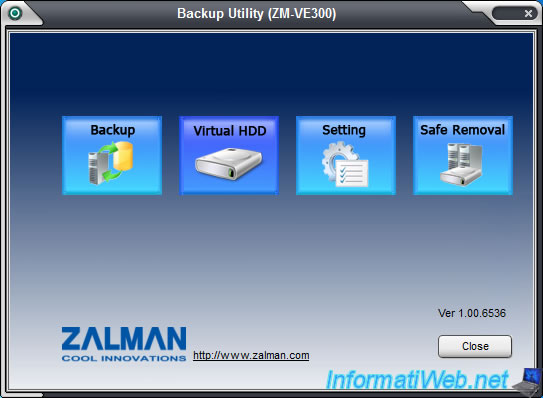
Now, we will use the "Backup Utility" program supplied with the device to create virtual floppy, virtual removable drives and virtual hard disks (HDD). These features aren't highlighted by the manufacturer but they are nevertheless present in this device.
To begin, start the program and click "Virtual HDD".
4.1. Virtual Floppy
To begin, we will create a virtual floppy.
To do this, select "Floppy Disk" on the left side, specify a file name in the box at right and then click the "Add" button.
Note: The size is fixed because the device can only create floppies of 1,440 KB (approximately 1.4 MB). Which corresponds to the 3.5" floppies.
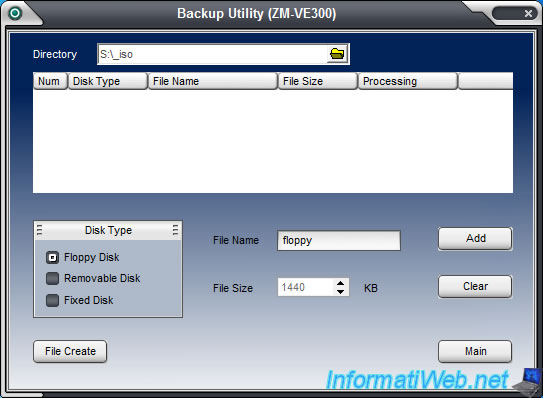
Then, click the "File Create" button to create the virtual floppy.
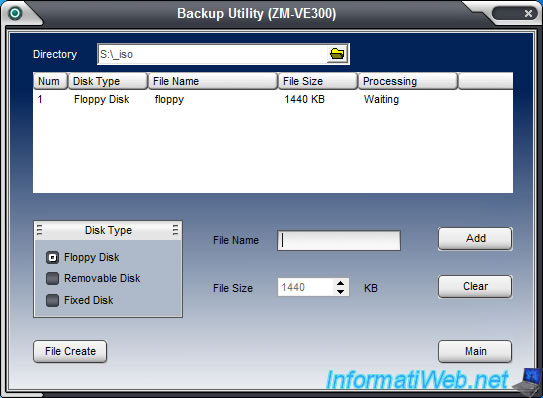
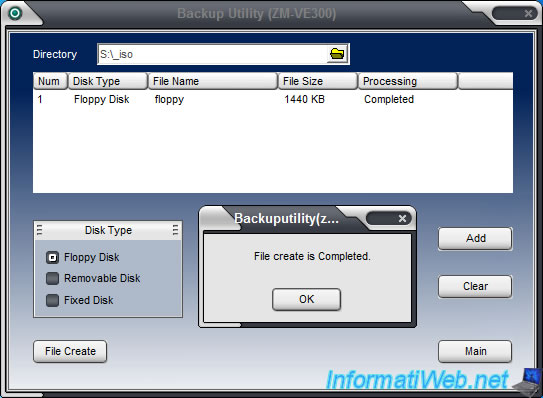
To use a virtual floppy disk (.ima), the method is the same as for iso images.
Select it with the wheel then press the wheel to "mount" the virtual floppy.

Once "mounted", an icon ![]() will appear.
will appear.
Note: To remove the floppy, you must "dismount" all virtual disks. But we'll see that about later.

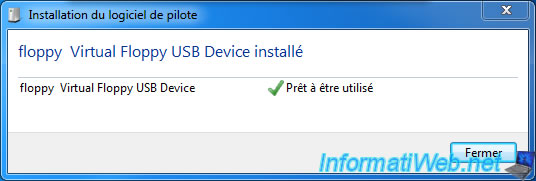
Windows will install a driver to use the virtual floppy drive.
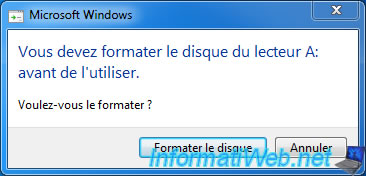
Since the floppy created does not contain any file system, Windows will ask you to format it. Click "Format disc".
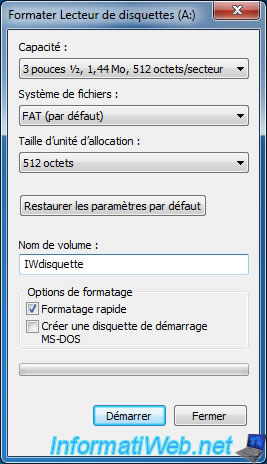
Leave the file system "FAT" (by default) and specify a volume name if you wish. Then, click "Start".
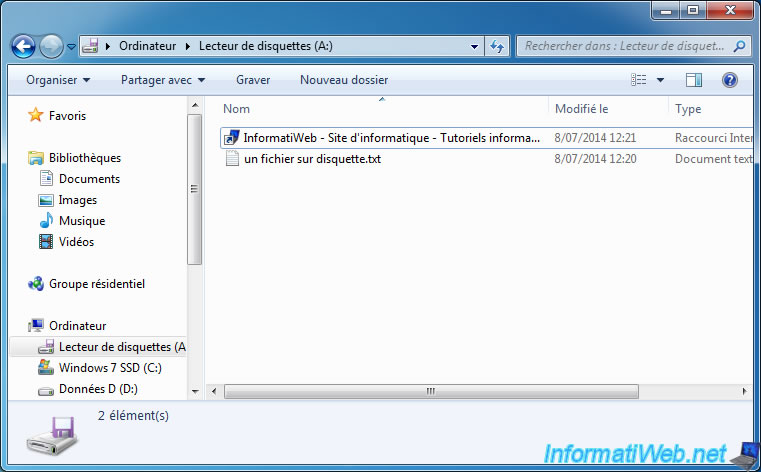
Now, you can store files in your virtual floppy.
4.2. Virtual removable disk
To create a virtual removable disk, the method is always the same except that you must select "Removable Disk", this time.
Specify a file name, specify the size in GB (you can not exceed the maximum size of your external hard drive), click on "Add" and then "File Create".
Then, wait while creating your virtual removable disk.
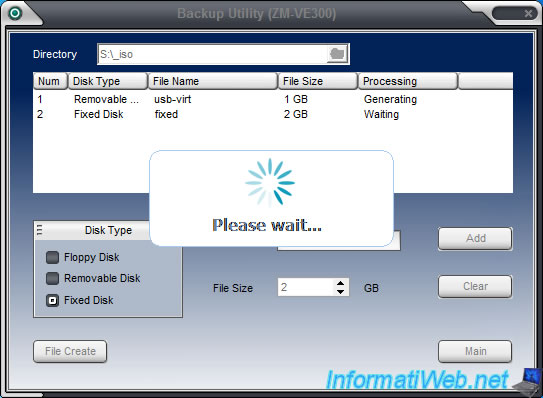
Once created, mount the virtual removable drive via the device. This is the file with the ".rmd" extension.

Windows will install a driver to use the virtual removable disk.
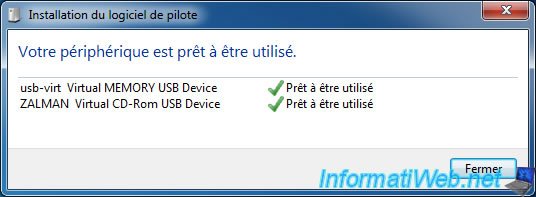
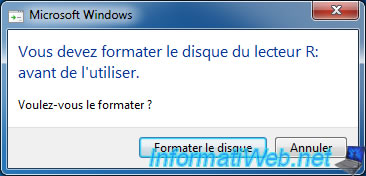
As earlier, Windows will ask you to format it.
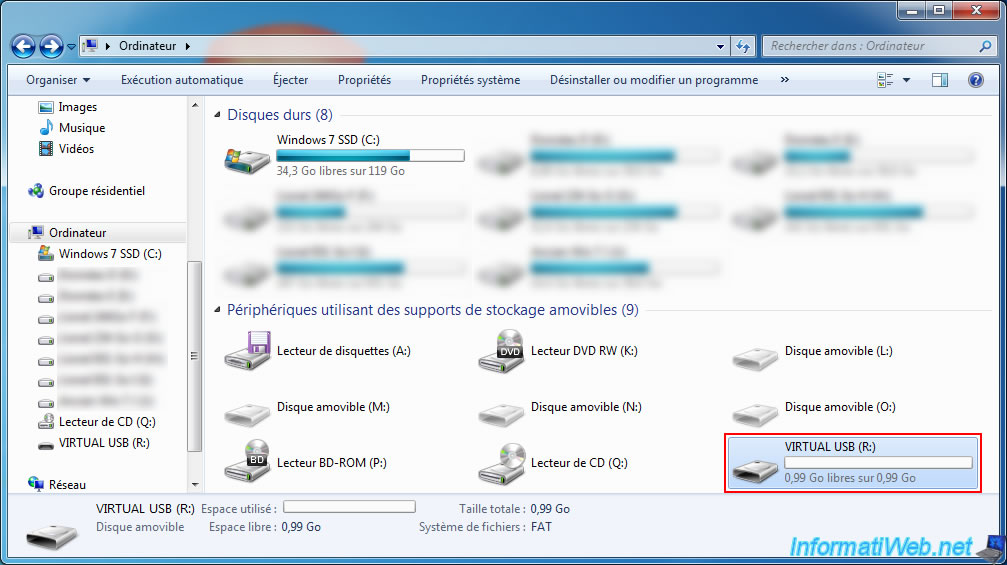
Then, your removable drive appear in "My Computer" (or Computer).
4.3. Virtual Hard disk drive (HDD)
To create a virtual hard disk (HDD), the method is a little longer. In fact, when you buy a traditional hard drive, this hard drive isn't partitioned and therefore doesn't appear in the computer after connecting. For the hard disk appears in the computer, you will need to create partitions on it and format the partitions to create the file system on each of them.
To begin, select "Fixed Disk".
Specify a file name, specify the size in GB (you can't exceed the maximum size of your external hard drive), click on "Add" and then "File Create".
Then, wait for the creation of your virtual hard disk.

Once created, mount the fixed disk via the device. It's the file with the extension ".dsk".

Once mounted, the icon ![]() will appear on the device and Windows will install a driver to use the Virtual hard drive (HDD).
will appear on the device and Windows will install a driver to use the Virtual hard drive (HDD).
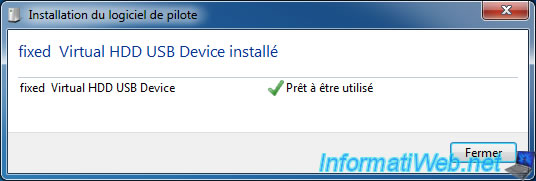
As mentioned a little earlier, the virtual hard disk is not visible in the computer (by default) because this virtual hard drive is not partitioned.
To create these partitions, follow the tutorial on your version of Windows :
- Windows XP - Partitioning your hard drive
- Windows Vista / 7 / 8 / 8.1 - Partitioning your hard drive
Once partitioned, the partitions will be displayed.
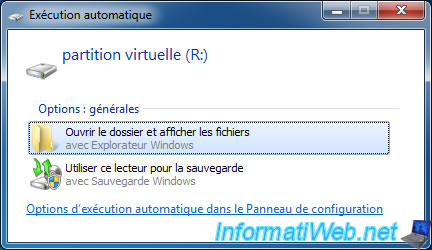
4.4. "Unmount" Virtual HDDs
When mounting "Virtuals HDDs" (Floppy, removable disks, virtual ...), you no longer have access to the physical hard disk. This is a safety feature or a limitation of the controller. Anyway, for them "dismount" you must go to the "Advanced" menu and select "Unmount VHDD".
Once unmounted, the physical hard disk and the virtual CD drive will be available (depending on the selected mode : Dual mode, ODD Mode or HDD Mode).
Note : It isn't possible to unmount the floppy disks and virtual hard disks separately. Mounting is carried out separately but unmounting is global.

Share this tutorial
To see also
-
Articles 2/17/2017
Corsair Flash Padlock 3 - Secure USB key with hardware encryption
-
Articles 1/28/2015
Create your own PC configuration
-
Articles 3/7/2017
Intel NUC Skull Canyon - Unboxing
-
Articles 1/21/2017
Presentation of the various USB keys
No comment